Blog
DIY Felted Wool Dryer Balls: A Fun and Eco-Friendly Craft

Hey there, fellow craft enthusiasts! Robert Kline, your friendly neighborhood artist, here. Today, we’re diving into the wonderful world of felted wool dryer balls – a fun, easy, and eco-friendly project that will revolutionize your laundry routine!
You might be thinking, “Dryer balls? What in the world are those?” Well, they’re these amazing little spheres of felted wool that you toss in with your laundry instead of using dryer sheets. They’re natural, reusable, and they actually work wonders!
Intrigued? I thought so! Let’s gather our supplies and get felting!
What You’ll Need to Make Felted Wool Dryer Balls:
- Wool Roving: This is the heart of your dryer balls. Look for wool roving that’s specifically designed for felting. You can find a variety of colors and textures at your local craft store or online. And hey, if you’re lucky enough to have your own sheep (jealous!), even better!
- Stockings (aka Nylons, Pantyhose, Tights): These will be our trusty little cocoons for the felting process. Any old pair will do!
- Scissors: For snipping those stockings and freeing our felted creations.
- Washer & Dryer: The dynamic duo that will transform our roving into beautiful dryer balls.
- Scale (Optional): If you want to be precise with your roving measurements, a scale can be helpful.
5 Simple Steps to Felted Wool Dryer Ball Bliss:
1. Measure Out Your Roving (Optional)
This step is all about how big you want your dryer balls to be. Aim for a softball size (maximum) for each ball. You can either eyeball it or use a kitchen scale to weigh out 4-ounce portions of roving.
Expert Tip: Weighing your roving is a good idea if you plan on selling your dryer balls. It helps you determine the cost of materials and set a fair price.
2. Create Your Roving Ball
Now for the fun part! Take your roving and roll it into a tight ball, just like a ball of yarn. Start by winding it around your fingers a few times to get a good base. Keep winding and rolling until you’ve used up all your roving.
Expert Tip: To speed up the process, start with three strands of roving, then gradually reduce to two and finally one as you get closer to the desired size. Be mindful of the ball’s shape – you want it to be nice and round!
3. Stock Up on Roving Balls (Literally!)
Grab your trusty stockings! Carefully stuff a roving ball all the way down into each stocking leg, making sure it’s nice and snug. Tie a secure knot above each ball to keep them separated and prevent them from felting together. Repeat until your stocking is full of roving-filled compartments.
Expert Tip: Turn those stockings inside out! Wool tends to felt to the toe seam, so it’s best to have that seam facing outwards.
4. Time for a Washing Machine Adventure
Toss those caterpillar-like stocking creations into your washing machine. Add laundry detergent and set the water to hot. Let the felting magic begin!
Expert Tip: You might need to run them through a second wash cycle to ensure they felt properly. If your washing machine tends to get unbalanced (we’ve all been there!), add a large towel to the load for stability.
5. Freedom! Extract and Dry Those Dryer Balls
Once the wash cycle is complete, you’ll have slightly damp, felted wool dryer balls! Carefully snip an escape hole in each stocking compartment and gently work those beauties out. Don’t worry if some wool has felted to the stocking – just peel it back carefully. Now, pop those dryer balls into the dryer for one hot cycle to dry them completely.
Expert Tip: To avoid a dryer-induced headache from all the bouncing, toss that trusty towel (you know, the one from step 4) in with your dryer balls. It’ll muffle the sound and keep things peaceful.
Voila! You’ve Made Felted Wool Dryer Balls!
See? Easy peasy! I love to package my felted wool dryer balls in sets of four and add a cute tag explaining what they are and how to use them.
Want to take your dryer balls to the next level? Check out my bonus video tutorial on needle felting adorable designs onto your creations!
Click Here for the BONUS Video
Share your felting journey with us in the comments below! We’d love to see your creations. And don’t forget to explore the rest of Robert Kline Art for more unique, handcrafted gift ideas.
Happy felting, everyone!
 DIY Sheep Crafts | How To Make Felted Wool Dryer Balls | Shepherd Like A Girl
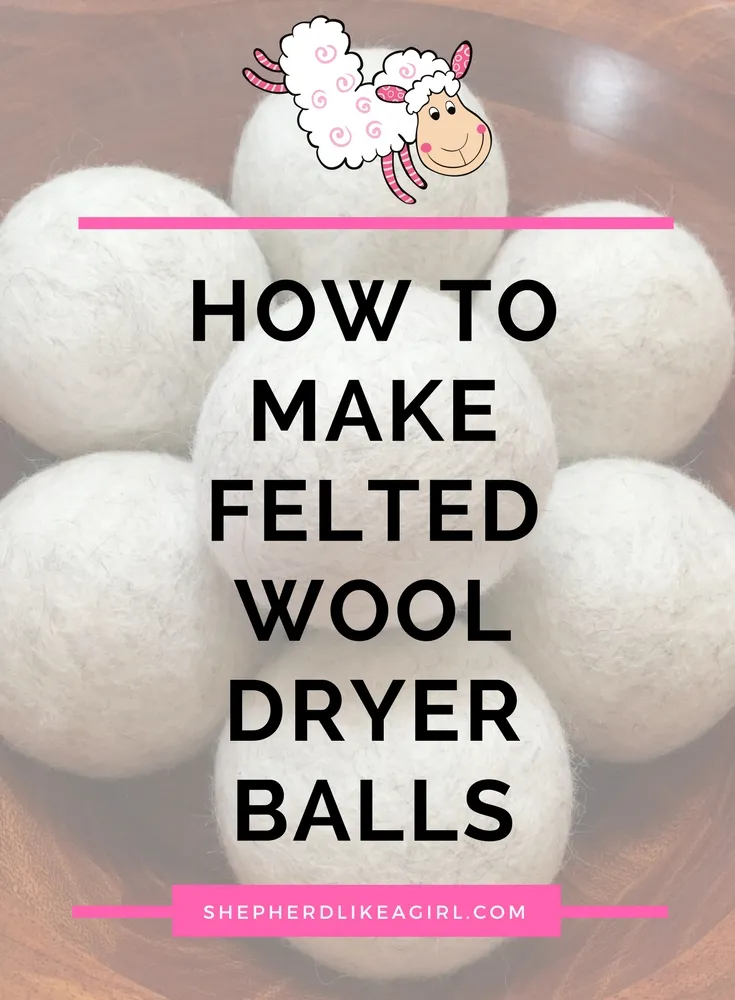
Felted wool dryer balls ready for action!
