Blog
DIY Felted Soap: A Step-by-Step Guide to Crafting Luxurious and Long-Lasting Soap
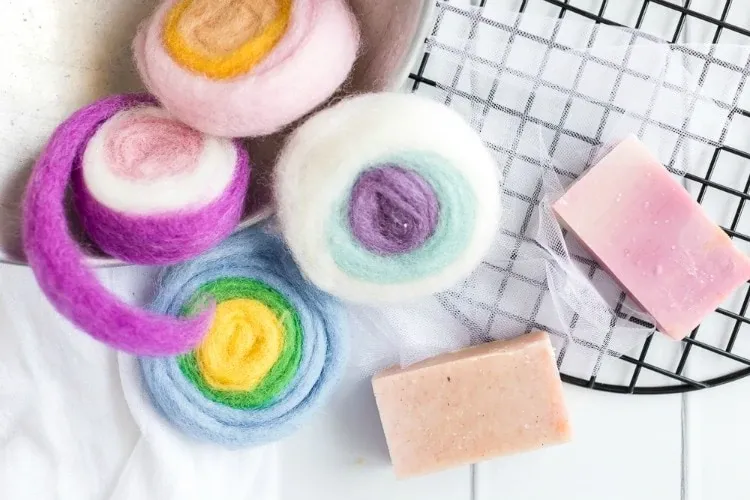
Have you ever experienced the unique delight of using felted soap? It’s a luxurious treat that transforms an ordinary shower into a spa-like experience. And the best part? Crafting your own DIY felted soap is easier than you might think! Here at Robert Kline Art, we’re passionate about empowering you to embrace the joy of handmade creations. Join me as we delve into the world of felted soap, exploring its benefits and guiding you through a step-by-step process to make your own.
The Allure of Felted Soap: More Than Just a Pretty Bar
Felted soap isn’t just a feast for the eyes; it’s a practical and eco-friendly choice that elevates your bathing routine. Imagine a bar of soap that’s delightfully textured, providing gentle exfoliation while offering a rich, creamy lather. The felted wool acts as a natural washcloth, eliminating the need for synthetic alternatives. Plus, it helps your soap last longer, saving you money and reducing waste.
“Felted soap is a testament to the beauty of combining practicality with artistry,” says renowned artisan and soap maker, Sarah Jenkins. “The wool not only enhances the soap’s aesthetic appeal but also adds a layer of functionality that elevates the entire bathing experience.”
Gathering Your Supplies: A Checklist for Crafting Felted Soap
Before we embark on this creative journey, let’s gather our tools and ingredients:
- A Bar of Soap: Opt for a handmade bar for a truly personalized touch. Experiment with different scents and ingredients to create your signature blend.
- Wool Roving: Merino or alpaca wool work best due to their fine texture and felting properties. Don’t be afraid to play with colors and patterns!
- Netting or Nylon Stocking: This will encase the soap and wool, keeping everything secure during the felting process.
- Large Bowl of Hot Water: Be mindful of the temperature, especially if young crafters are joining the fun.
- Liquid Castile Soap (Optional): This can be added for extra bubbliness, enhancing the felting action.
- Towels: For absorbing excess water and providing a clean workspace.
- Cold Water: Essential for rinsing and setting the felt.
- Drying Rack: Allows for proper air circulation, ensuring your felted soap dries thoroughly.
Transforming Soap into Art: A Step-by-Step Felting Guide
Ready to dive into the magic of felting? Let’s get started:
-
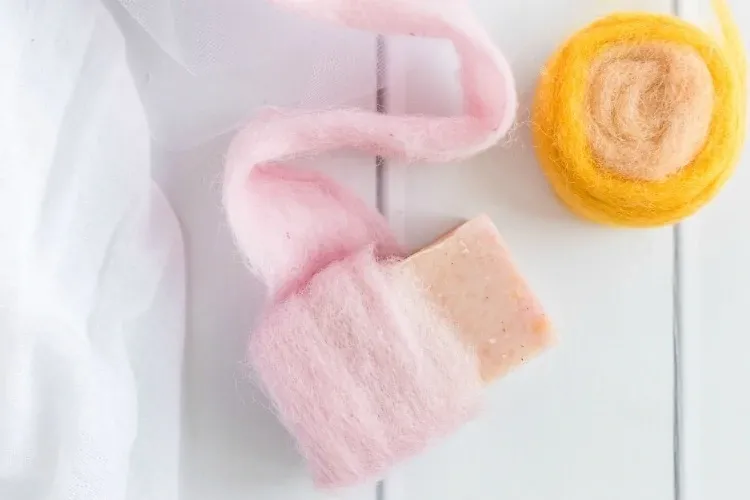
Wrap It Up: Begin by enveloping your soap bar in the wool roving. Wrap it tightly and evenly, ensuring complete coverage with multiple layers. This is your canvas for creativity; feel free to experiment with different colors and patterns.
 Felting a bar of soap with wool
 -
Secure with Netting: Encase the wool-wrapped soap in the netting or nylon stocking. This acts as a gentle hug, keeping the wool in place during the felting process.
 Wrapping the soap in netting
 -
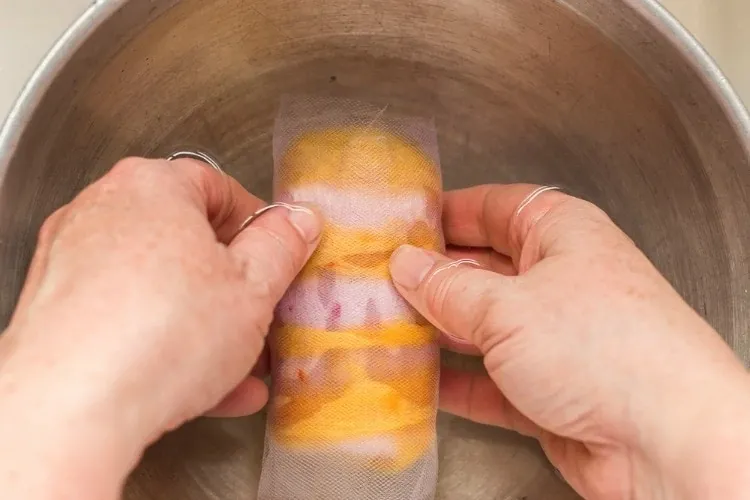
The Hot Water Bath: Submerge the soap-filled netting into the bowl of hot water. Allow it to soak, ensuring the heat penetrates the wool and initiates the felting process.
 Soaking the soap in hot water
 -
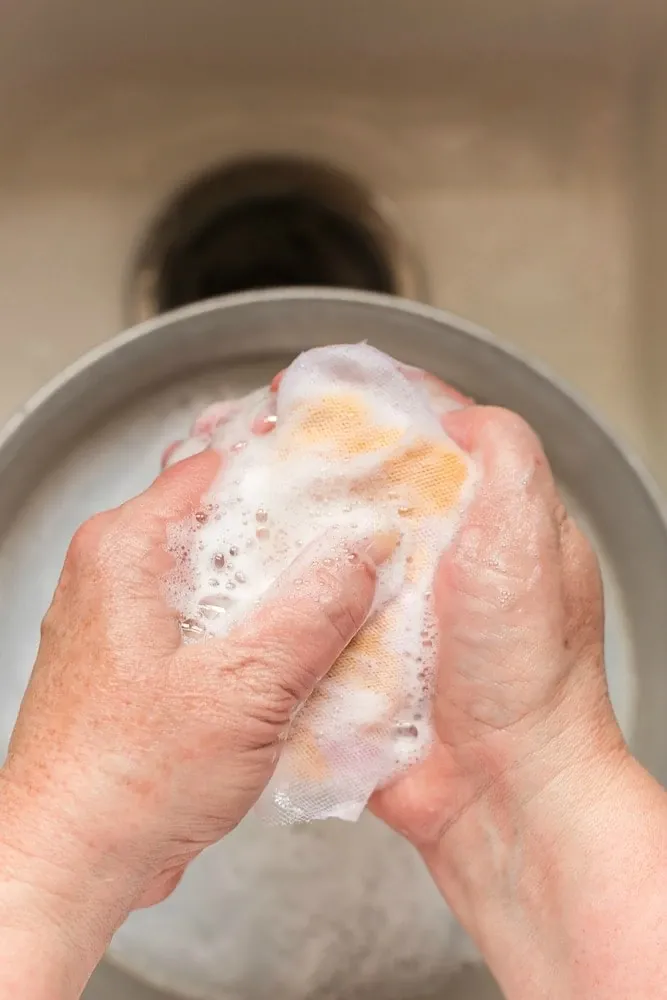
Gentle Agitation: Begin gently massaging the soap through the netting. Move it between your hands, applying slight pressure to encourage the wool fibers to bind together.
 Gently agitating the soap in the water
 -
The Felting Dance: As the wool starts to felt, you’ll notice it shrinking and adhering to the soap. Increase the agitation, using more pressure and rubbing the soap vigorously. The heat, water, and movement work in harmony to transform the wool into a cohesive felt.
 Soap starting to felt in the netting
 -
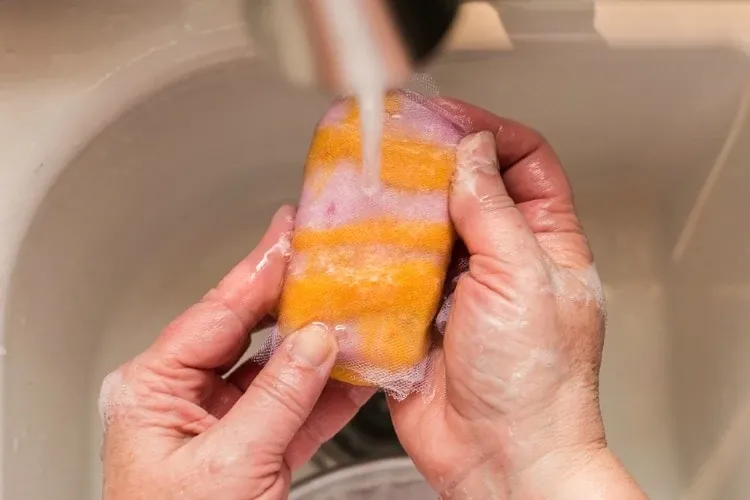
The Cold Rinse: Once the wool feels firm and securely felted, rinse the soap under cold water. This helps to set the felt and stop the felting process.
 Gently agitating the soap in the water
 -
The Final Touch: Gently squeeze out excess water and place your felted soap on the drying rack. Allow it to air dry completely, which might take a couple of days. You can speed up the process by placing it in a well-ventilated area or even using a hairdryer on a low setting.
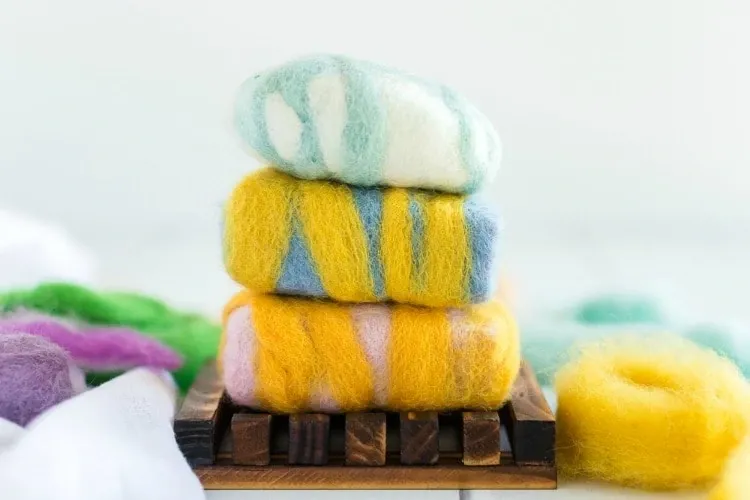 Finished felted soap drying on a rack
Enjoy the Fruits of Your Labor: Using and Caring for Your Felted Soap
Congratulations on creating your very own felted soap! To use, simply wet the wool and lather as you would with a regular bar of soap. The felt will provide gentle exfoliation and a luxurious lather.
Remember to allow your felted soap to dry thoroughly between uses to extend its lifespan. Store it in a soap dish that promotes air circulation. Once the soap is used up, you can even repurpose the felted wool as a washcloth or cut it open to insert a new bar of soap.
Embrace the World of Handmade Luxury
Creating your own felted soap is a rewarding experience that allows you to express your creativity while enjoying the benefits of a natural and long-lasting product.
“Don’t be afraid to experiment and make this project your own,” encourages Sarah Jenkins. “The beauty of handmade lies in the unique touch that each maker brings to their creations.”
Here at Robert Kline Art, we celebrate the art of handmade. Explore our website for more inspiring DIY projects, gift ideas, and a curated selection of unique handcrafted items. Join us in embracing the beauty and satisfaction of creating something truly special with your own two hands!
