Blog
DIY Boho Wall Hanging: Craft a Touch of Trendy Charm for Your Home
Hey there, fellow craft enthusiasts! Robert Kline here, and I’m thrilled to share a project that infuses a trendy, bohemian vibe into your living spaces. This DIY boho wall hanging is incredibly easy to create, yet it makes a big statement. Whether you’re looking to add a touch of whimsy to your nursery, a bohemian chic feel to your bedroom, or a playful element to your playroom, this craft project is sure to spark your creativity!
Gathering Your Supplies
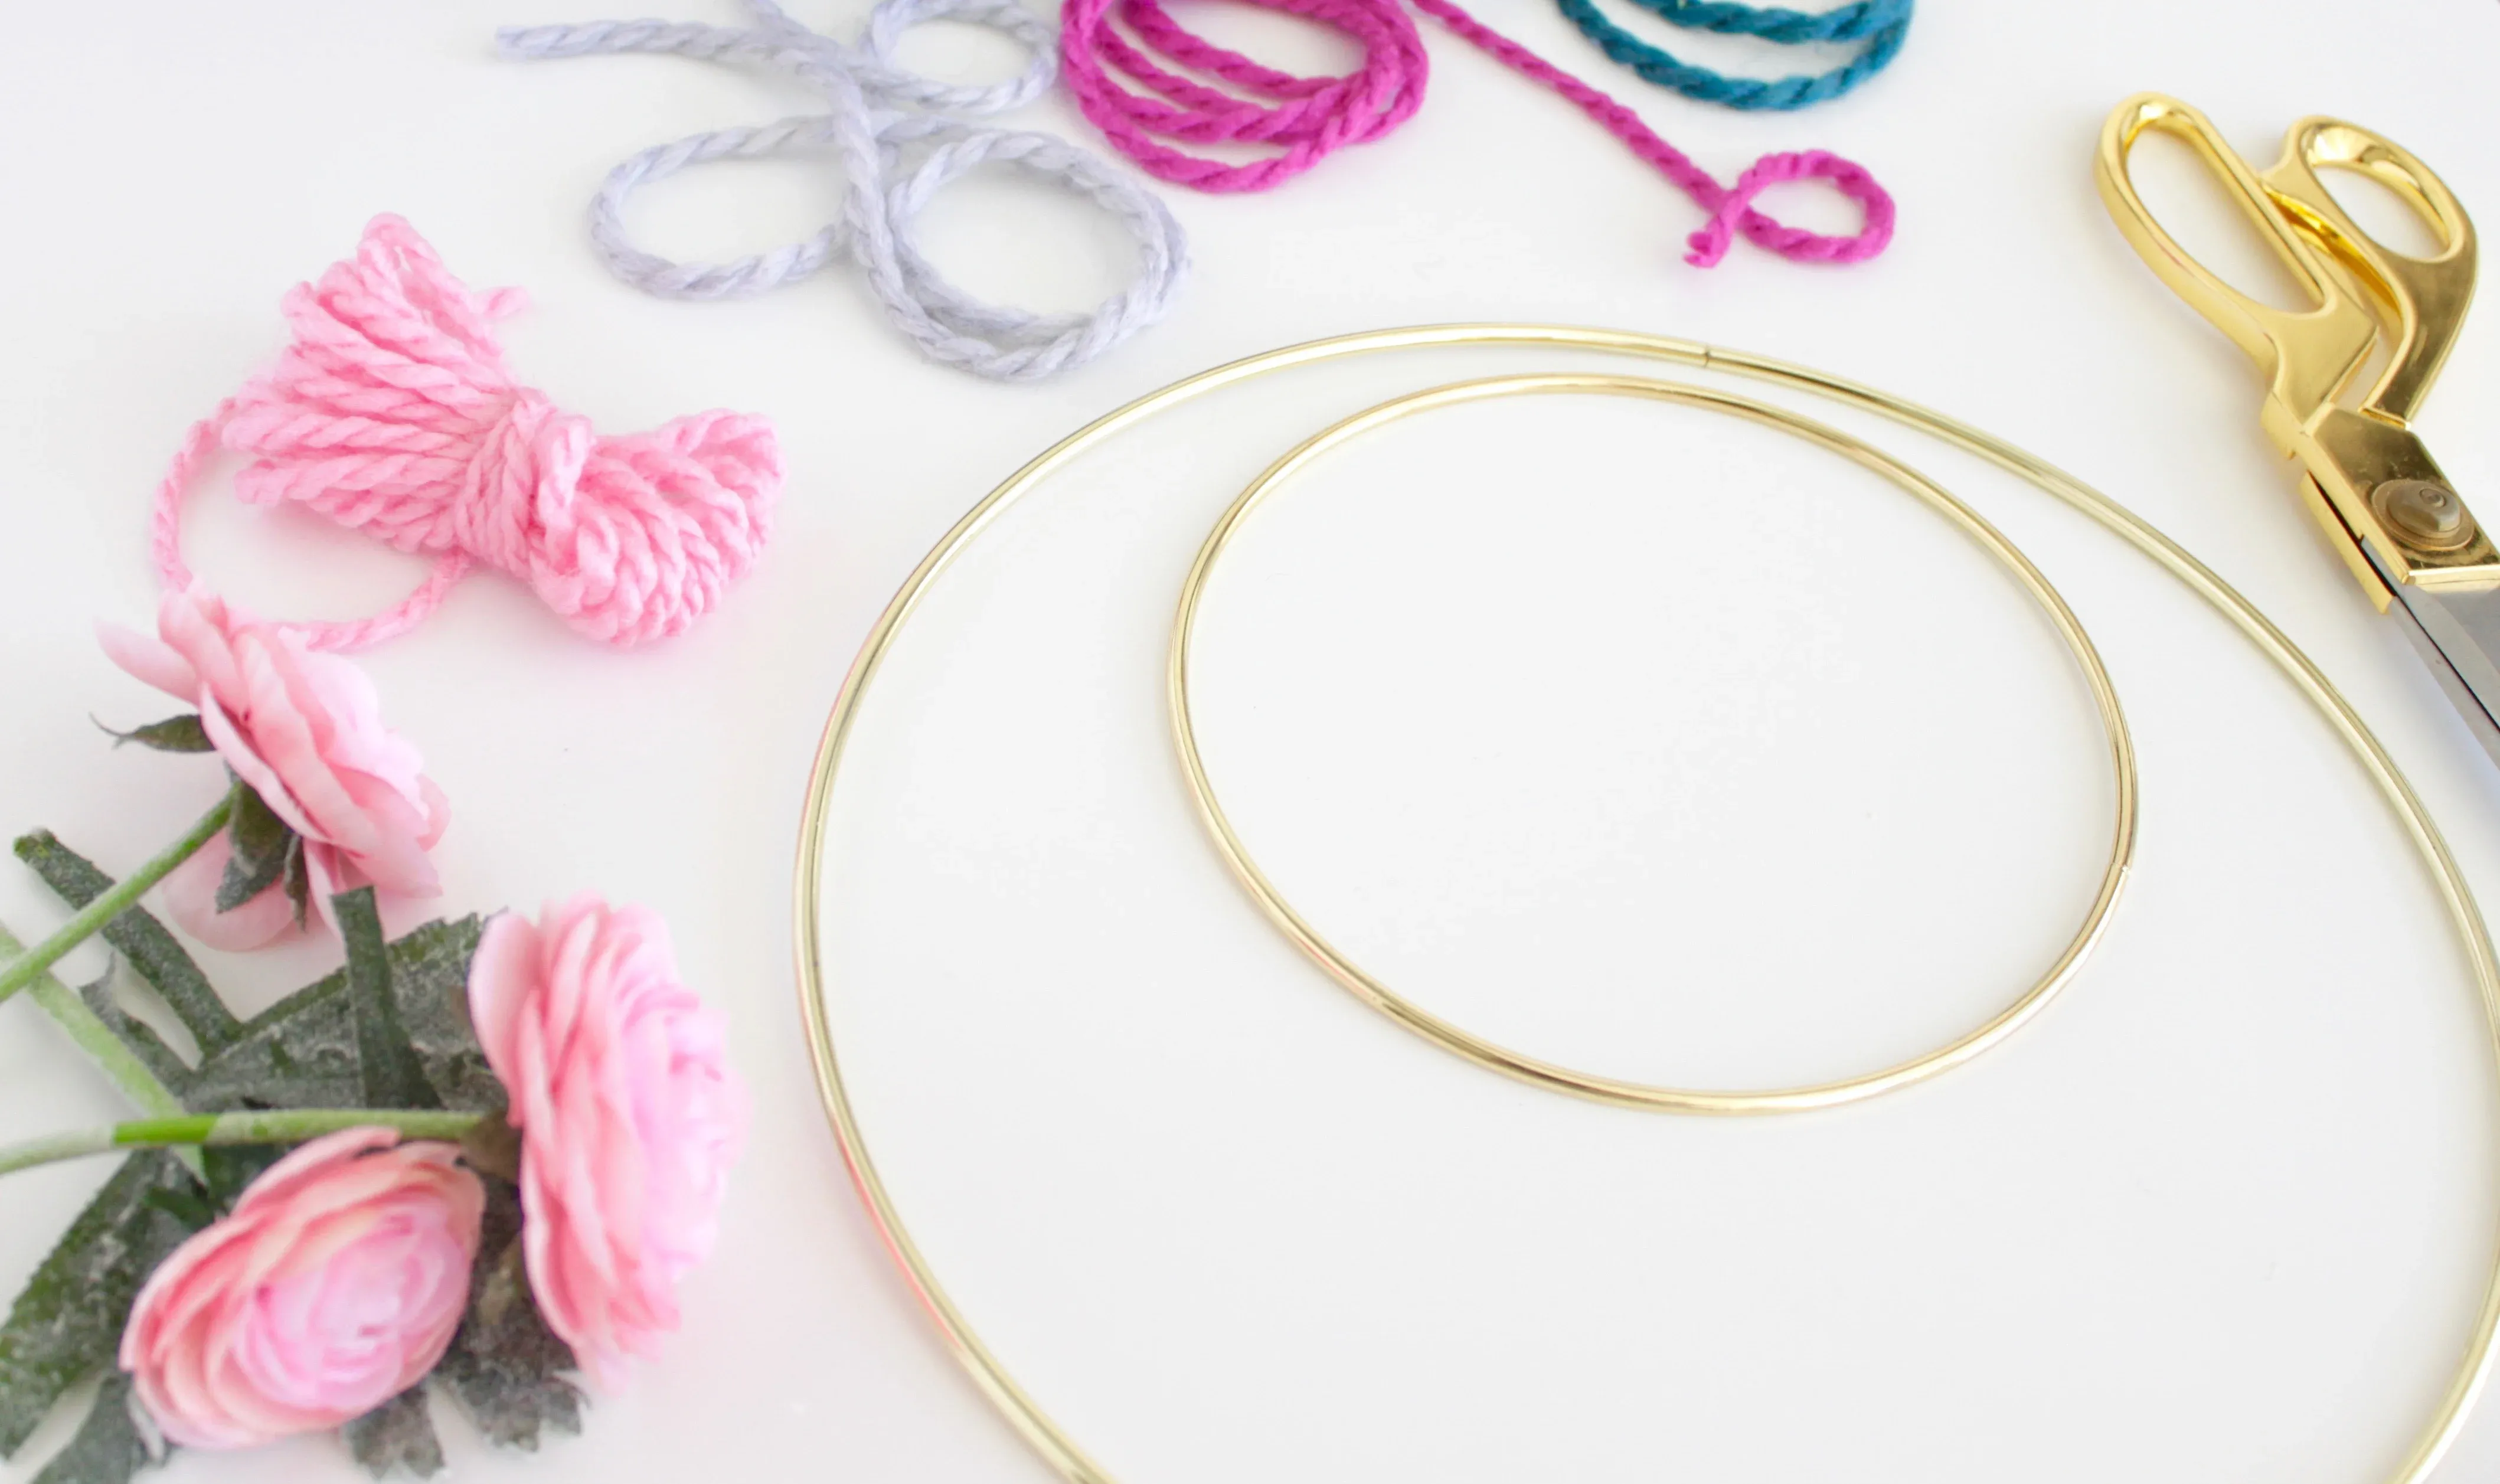
Before we dive into this fun and easy project, let’s gather our crafting essentials. Don’t worry, you won’t need anything too fancy! Here’s what you’ll need:
- Macrame Hoop: The base of our boho creation!
- Yarn: Choose a variety of colors that speak to your style.
- Faux Flowers: Add a touch of nature’s beauty.
- Leather Cording: For a rustic and natural hanging loop.
- Scissors: A crafting must-have!
- Hot Glue Gun: Your secret weapon for securing those lovely faux flowers.
Easy Steps to Craft Your Boho Masterpiece
This DIY project is so simple, you’ll be amazed at what you can create in just a few easy steps. Here’s how it’s done:
-
Cut and Loop Your Yarn: Start by cutting your yarn into 28″ pieces. Remember, we’re going for a casual, bohemian look, so no need to be overly precise. Fold each piece in half to create a loop.
-
Create Your Yarn Tassels: Now, let’s attach those loops to the macrame hoop. Simply take a looped piece of yarn, place it under the hoop, and then pull the ends of the yarn through the loop. Pull gently to secure it to the hoop. Repeat this process, alternating yarn colors to create a visually appealing pattern.
Pro Tip: Experiment with different yarn textures and colors to create a unique design. Remember, this is your chance to unleash your creativity!
-
Add a Touch of Leather: For a rustic touch, use a piece of leather cording to create a hanging loop. Secure it to the top of your macrame hoop using the same looping technique we used with the yarn.
-
Flower Power: Now, it’s time to add some floral charm! Arrange your faux flowers on the hoop and secure them in place using a hot glue gun. Get creative with your placement!
-
Trim and Finalize: Once you’re happy with your arrangement, trim the ends of the yarn to create a cascading effect. You can experiment with different lengths and styles to achieve your desired look.
Boho Wall Hanging Variations: Endless Possibilities Await!
The beauty of this DIY project lies in its versatility. Here are a few ideas to inspire you:
- Ombre Magic: Create a mesmerizing ombre effect by gradually transitioning from lighter to darker shades of yarn.
- Beaded Beauty: Thread some beads onto your yarn before attaching it to the hoop for added texture and sparkle.
- Braided Boho: Braid several strands of yarn together for a more intricate and textured look.
- Nature’s Touch: Incorporate dried flowers or foliage for a truly unique and earthy vibe.
Showcase Your Boho Creation
And there you have it – your very own DIY boho wall hanging! This simple yet stylish piece is sure to add a touch of personality to any room. Don’t forget to share your creations with us at Robert Kline Art – we love to see your crafty masterpieces!
Ready to explore more handcrafted treasures? Browse our collection of unique, handcrafted items on Robert Kline Art, perfect for adding a personal touch to your home or finding that perfect gift for someone special.
Happy crafting!
 A Completed Boho Wall Hanging
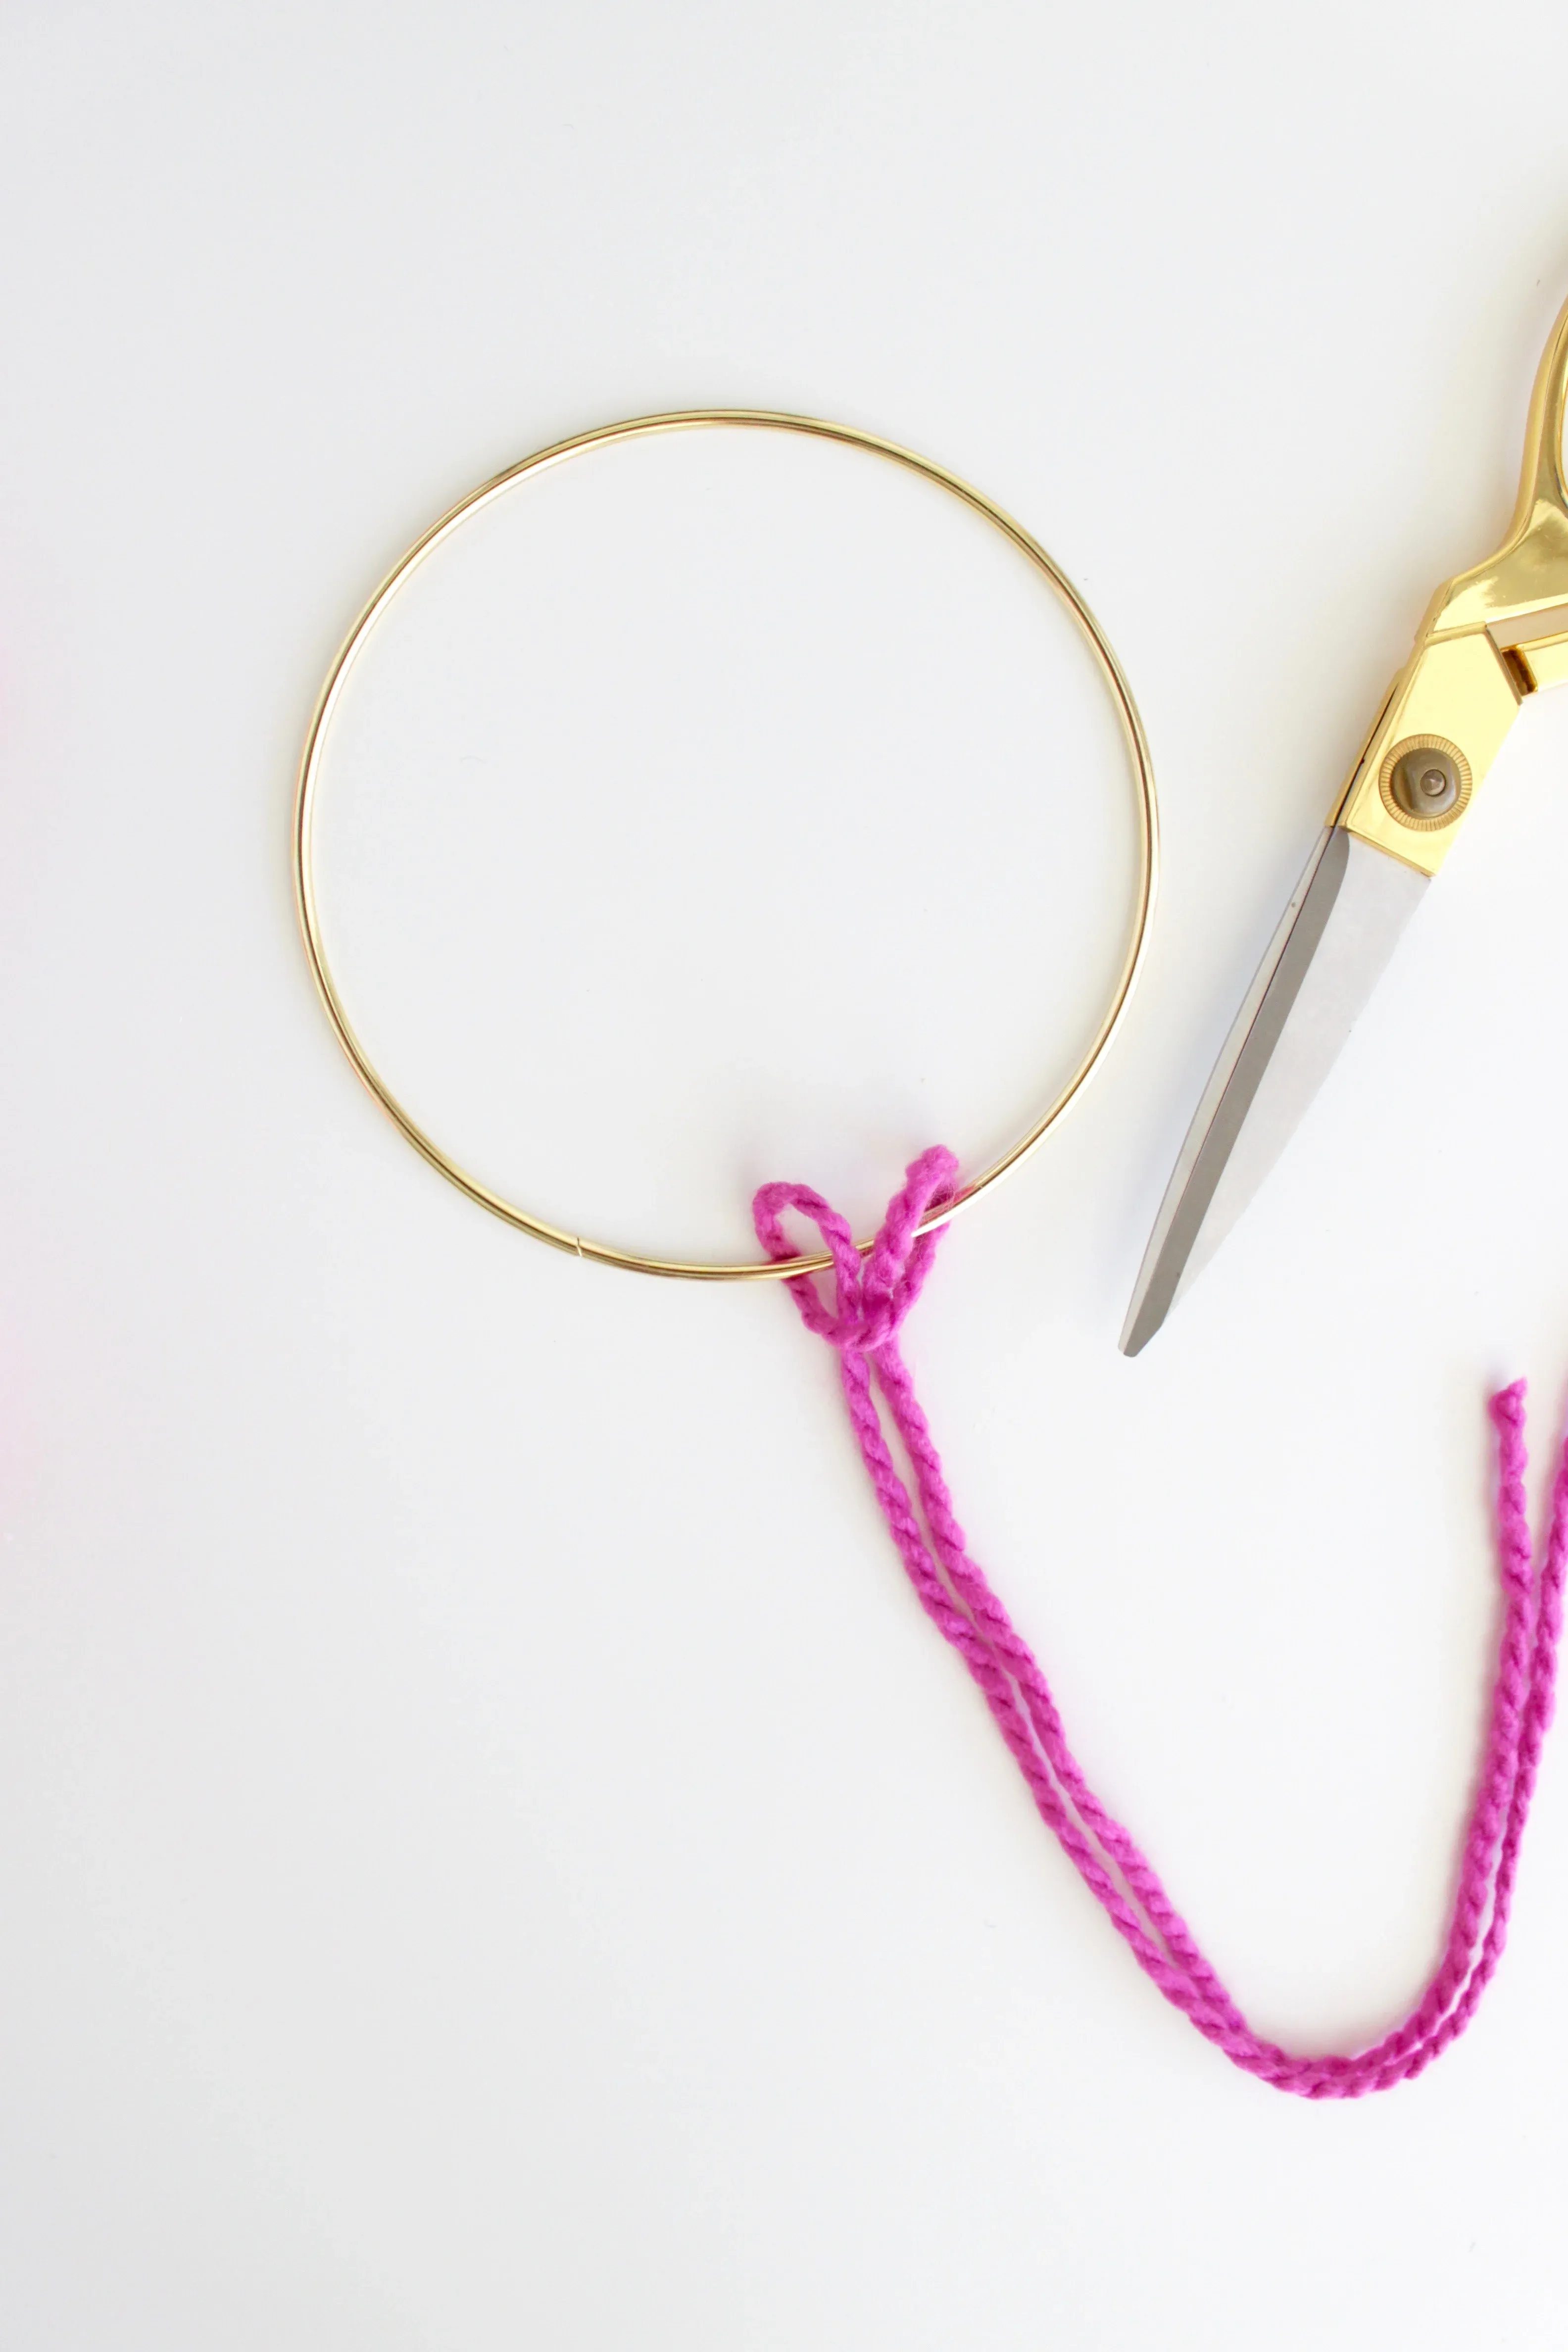 Creating yarn tassels for a boho wall hanging
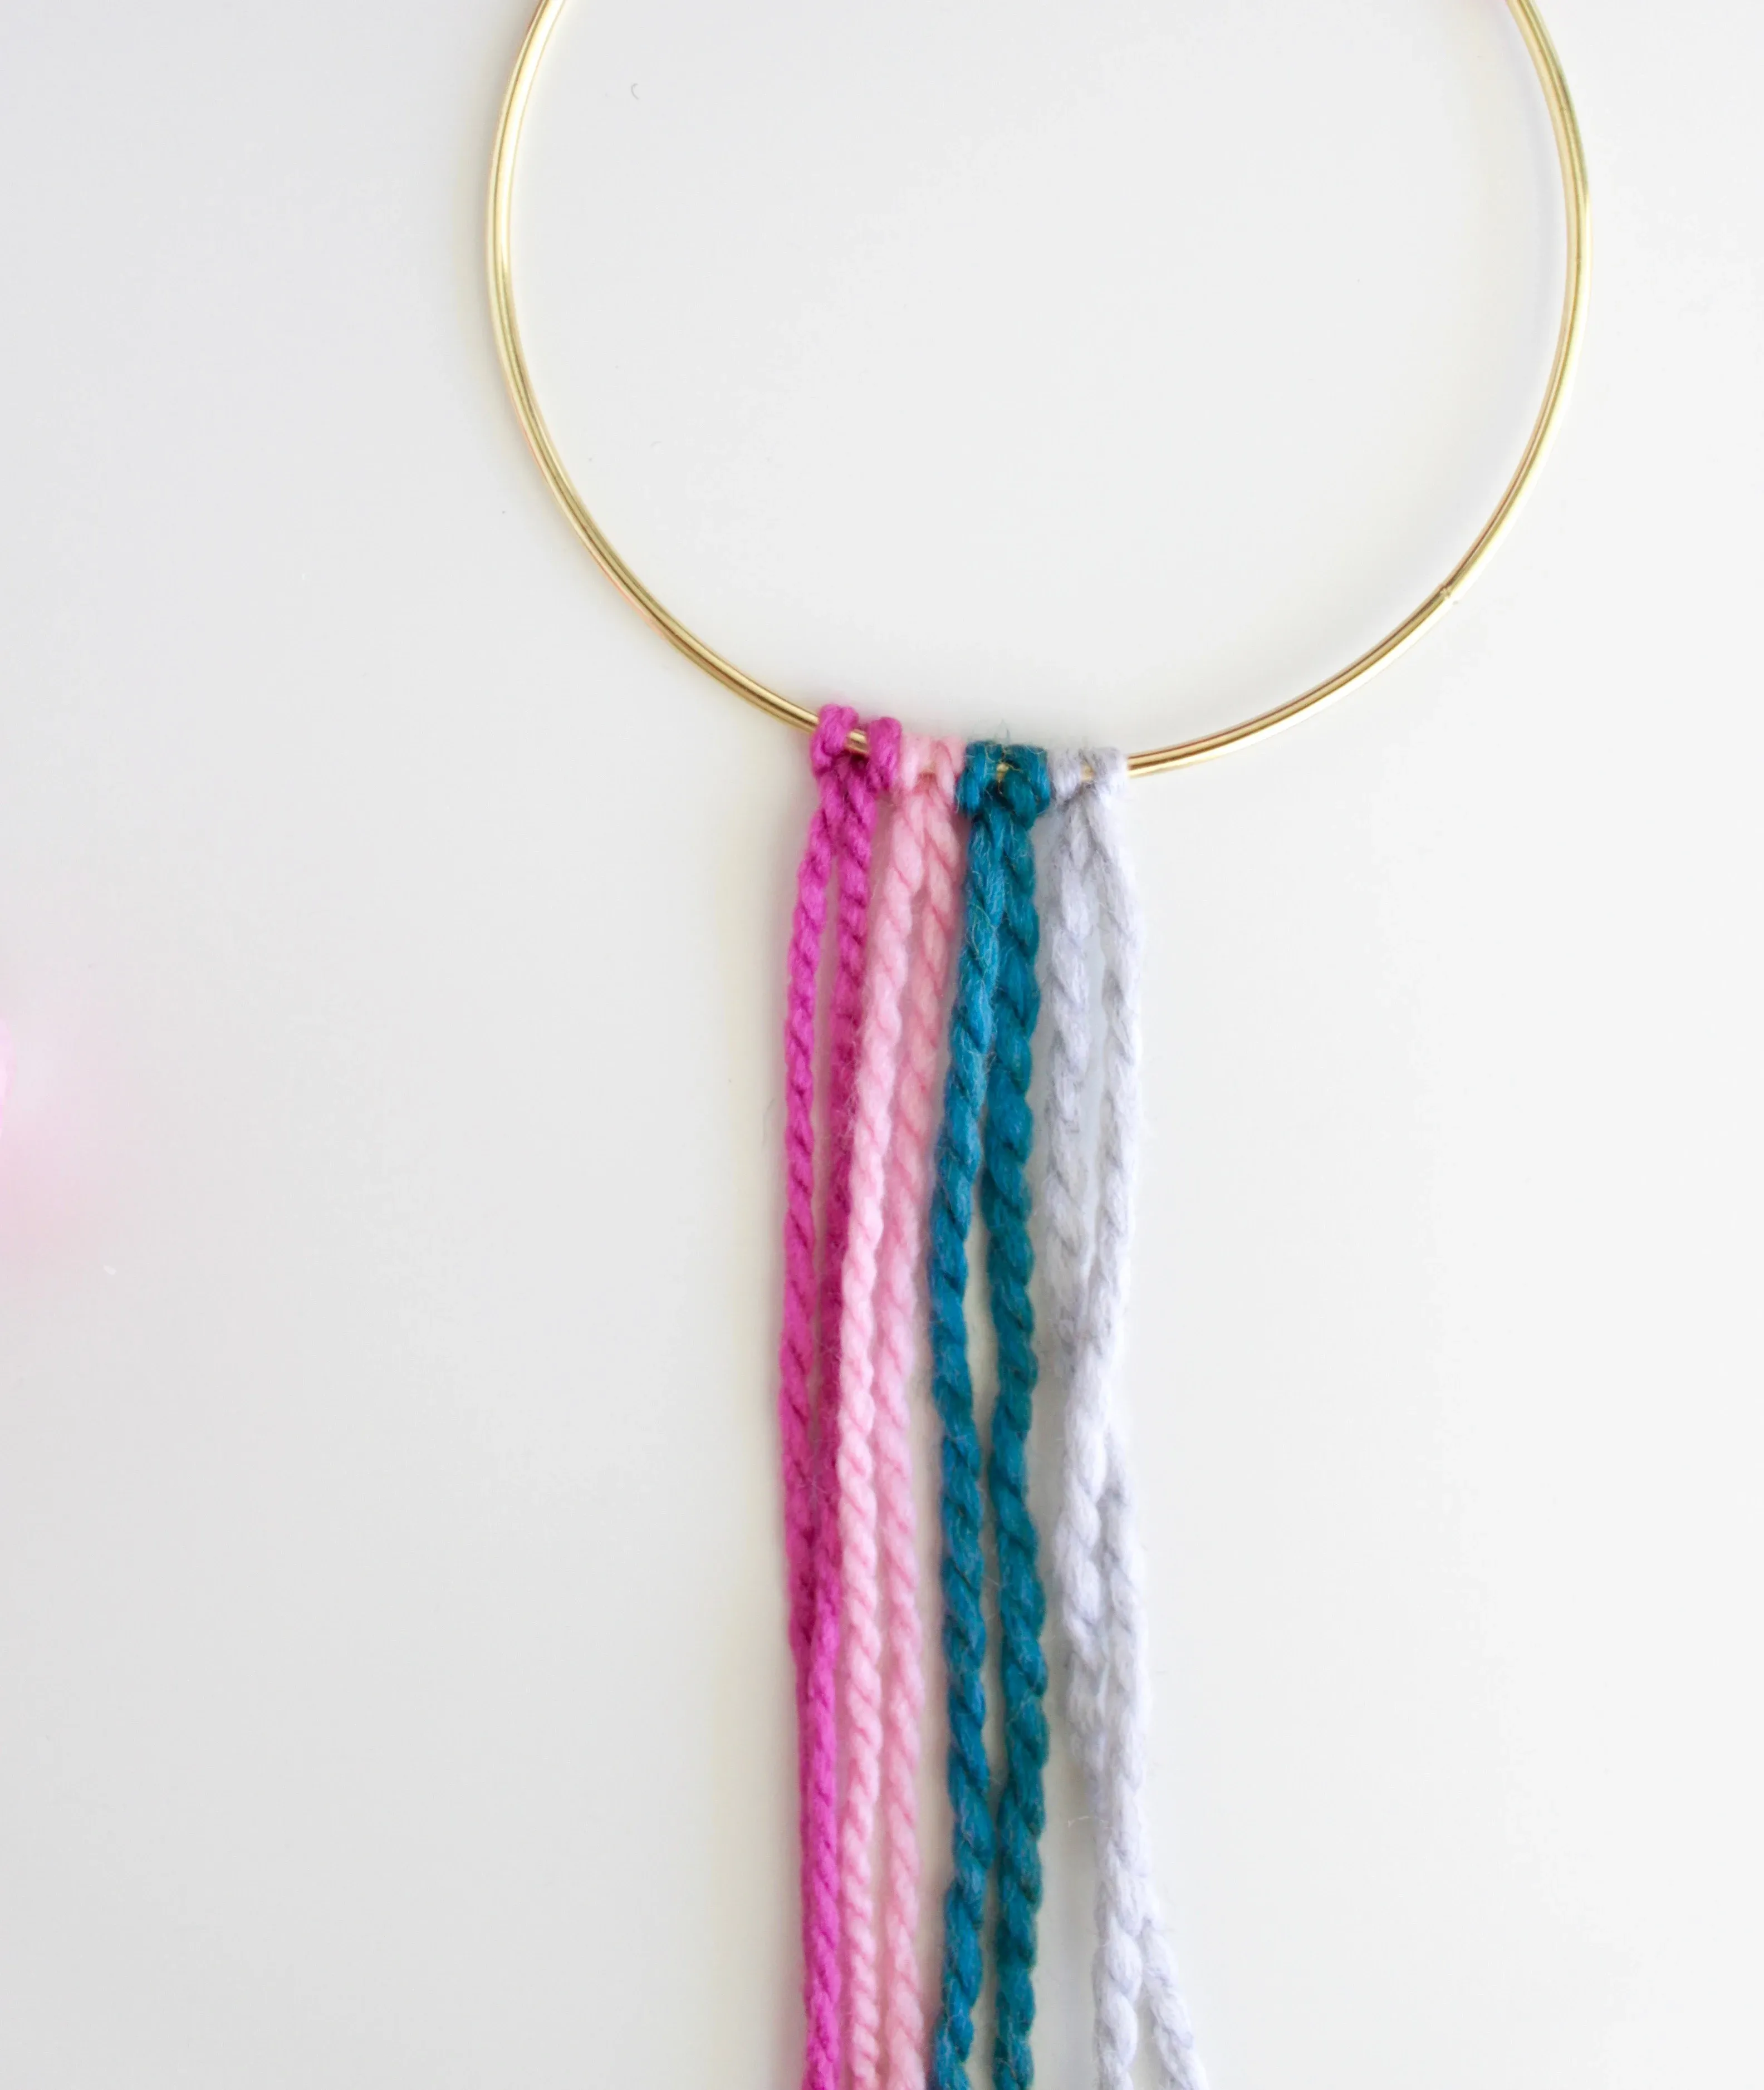 Attaching faux flowers to a boho wall hanging
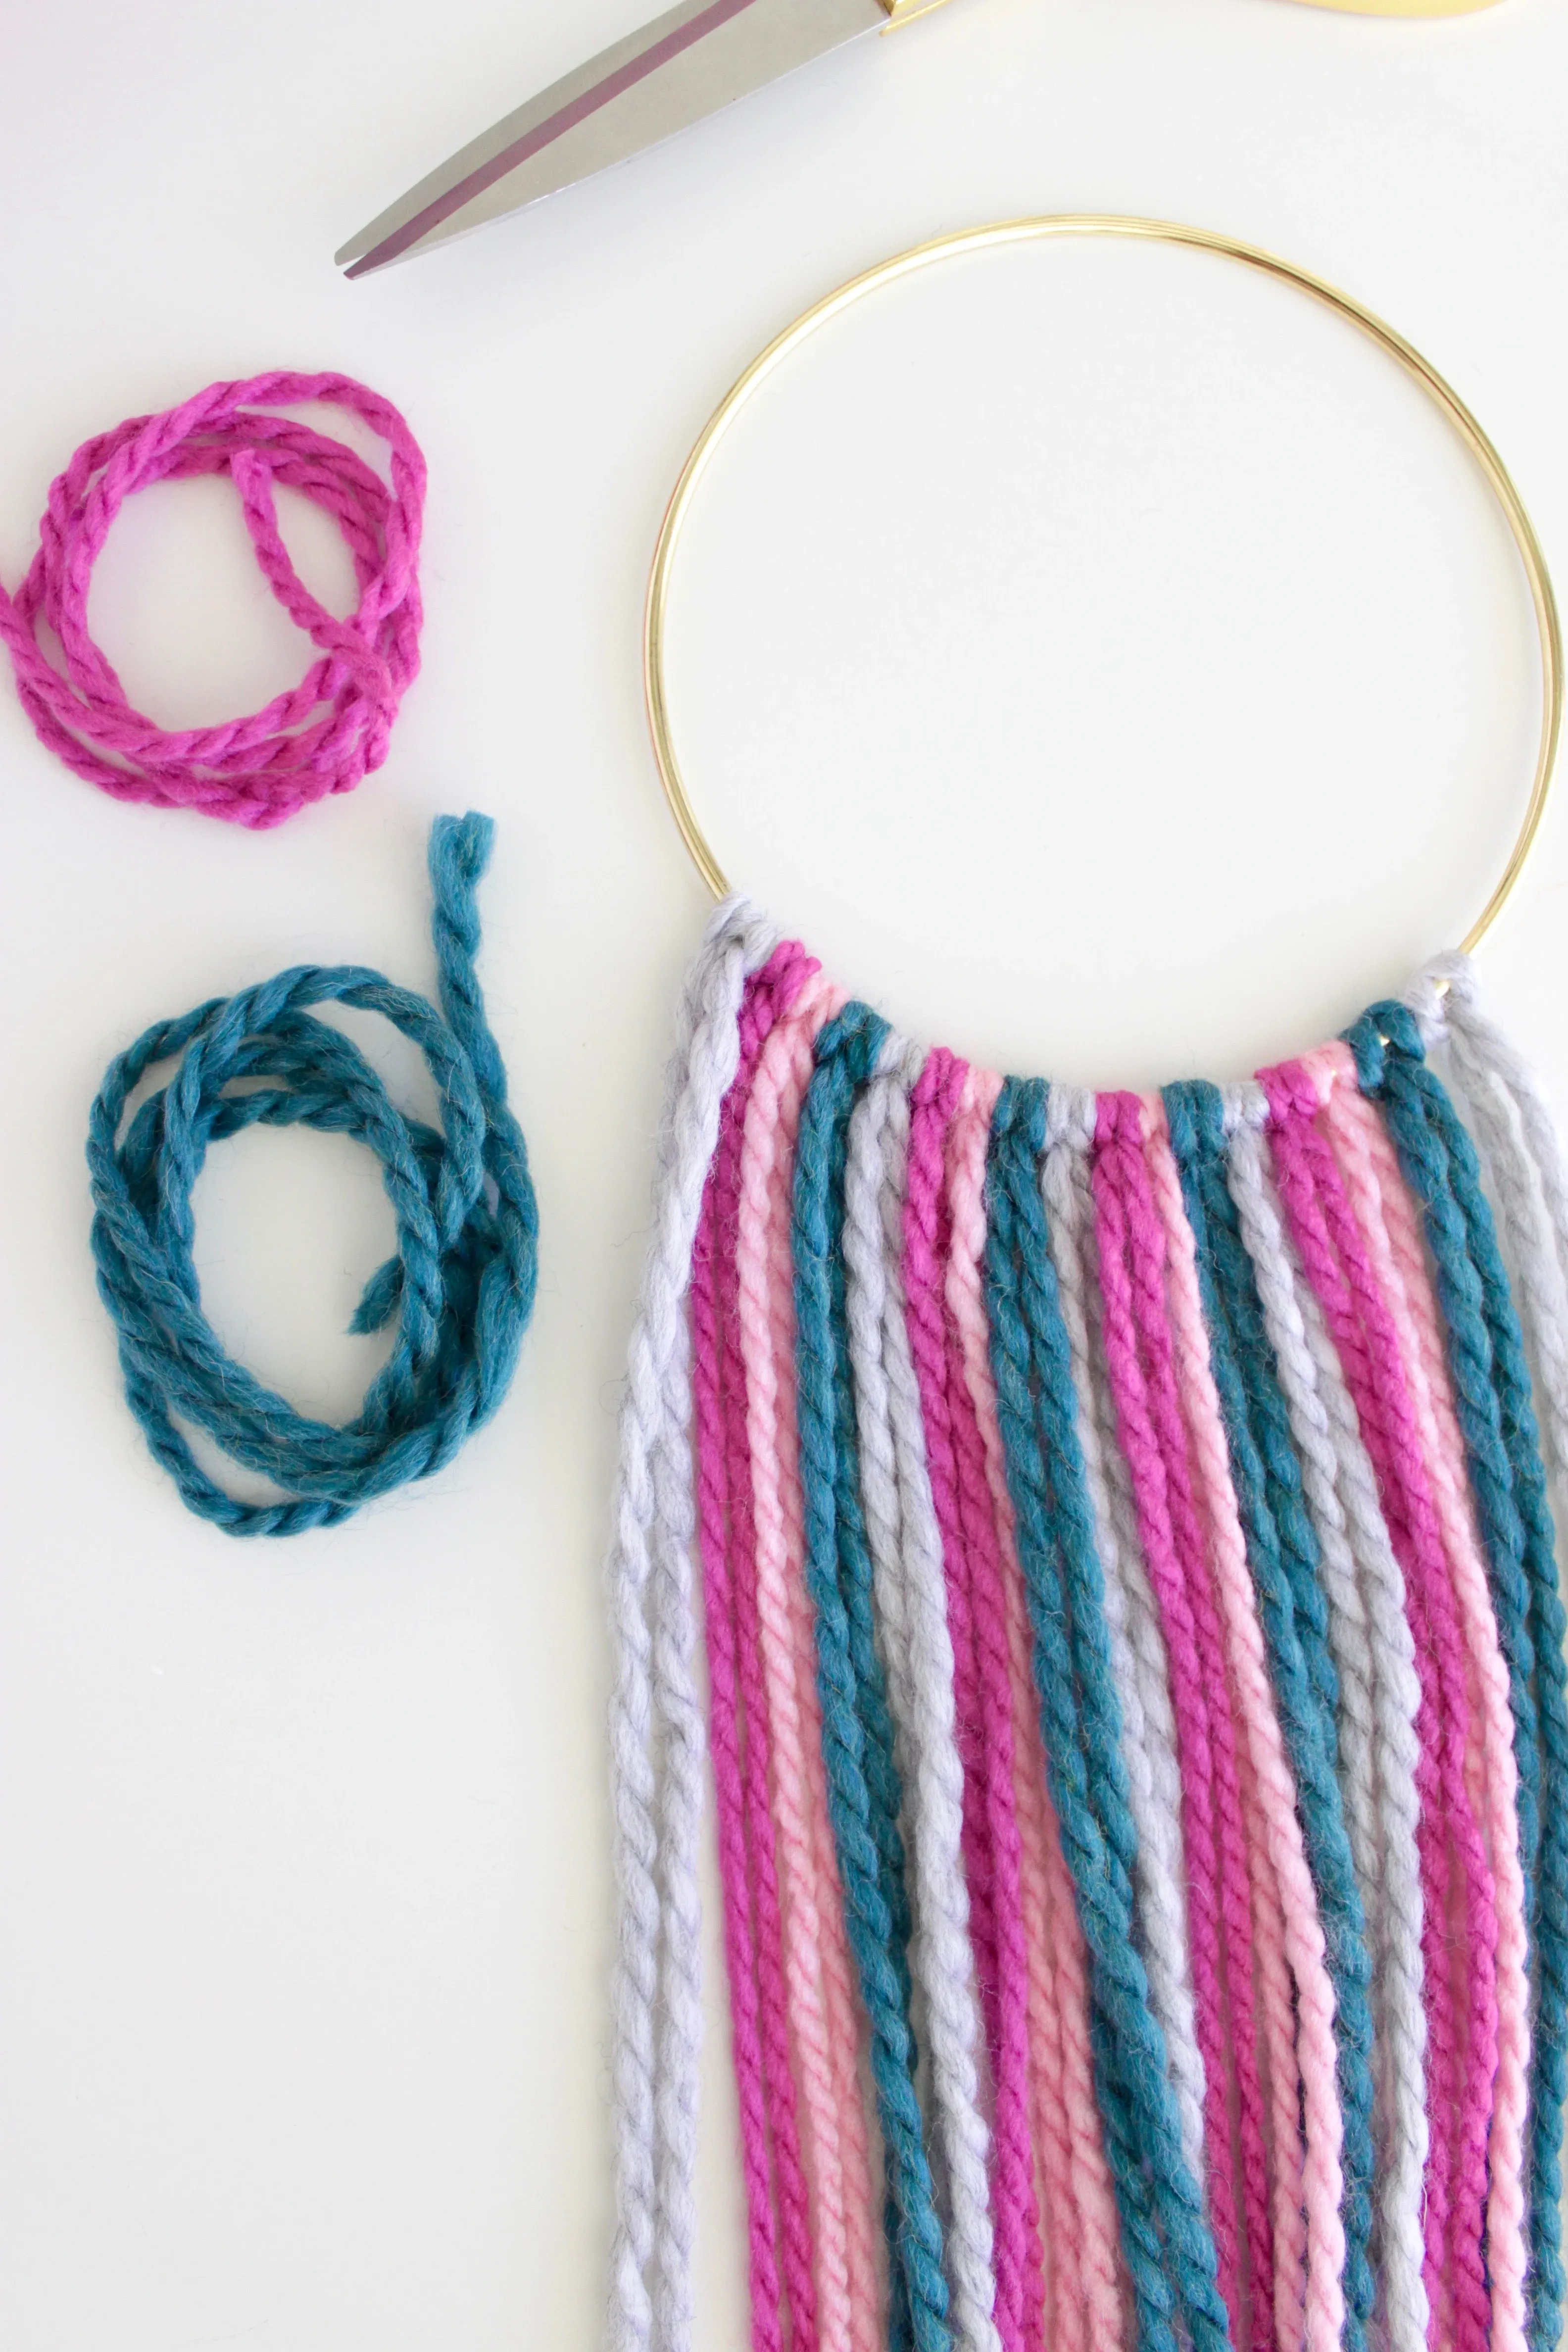 Adding finishing touches to a boho wall hanging
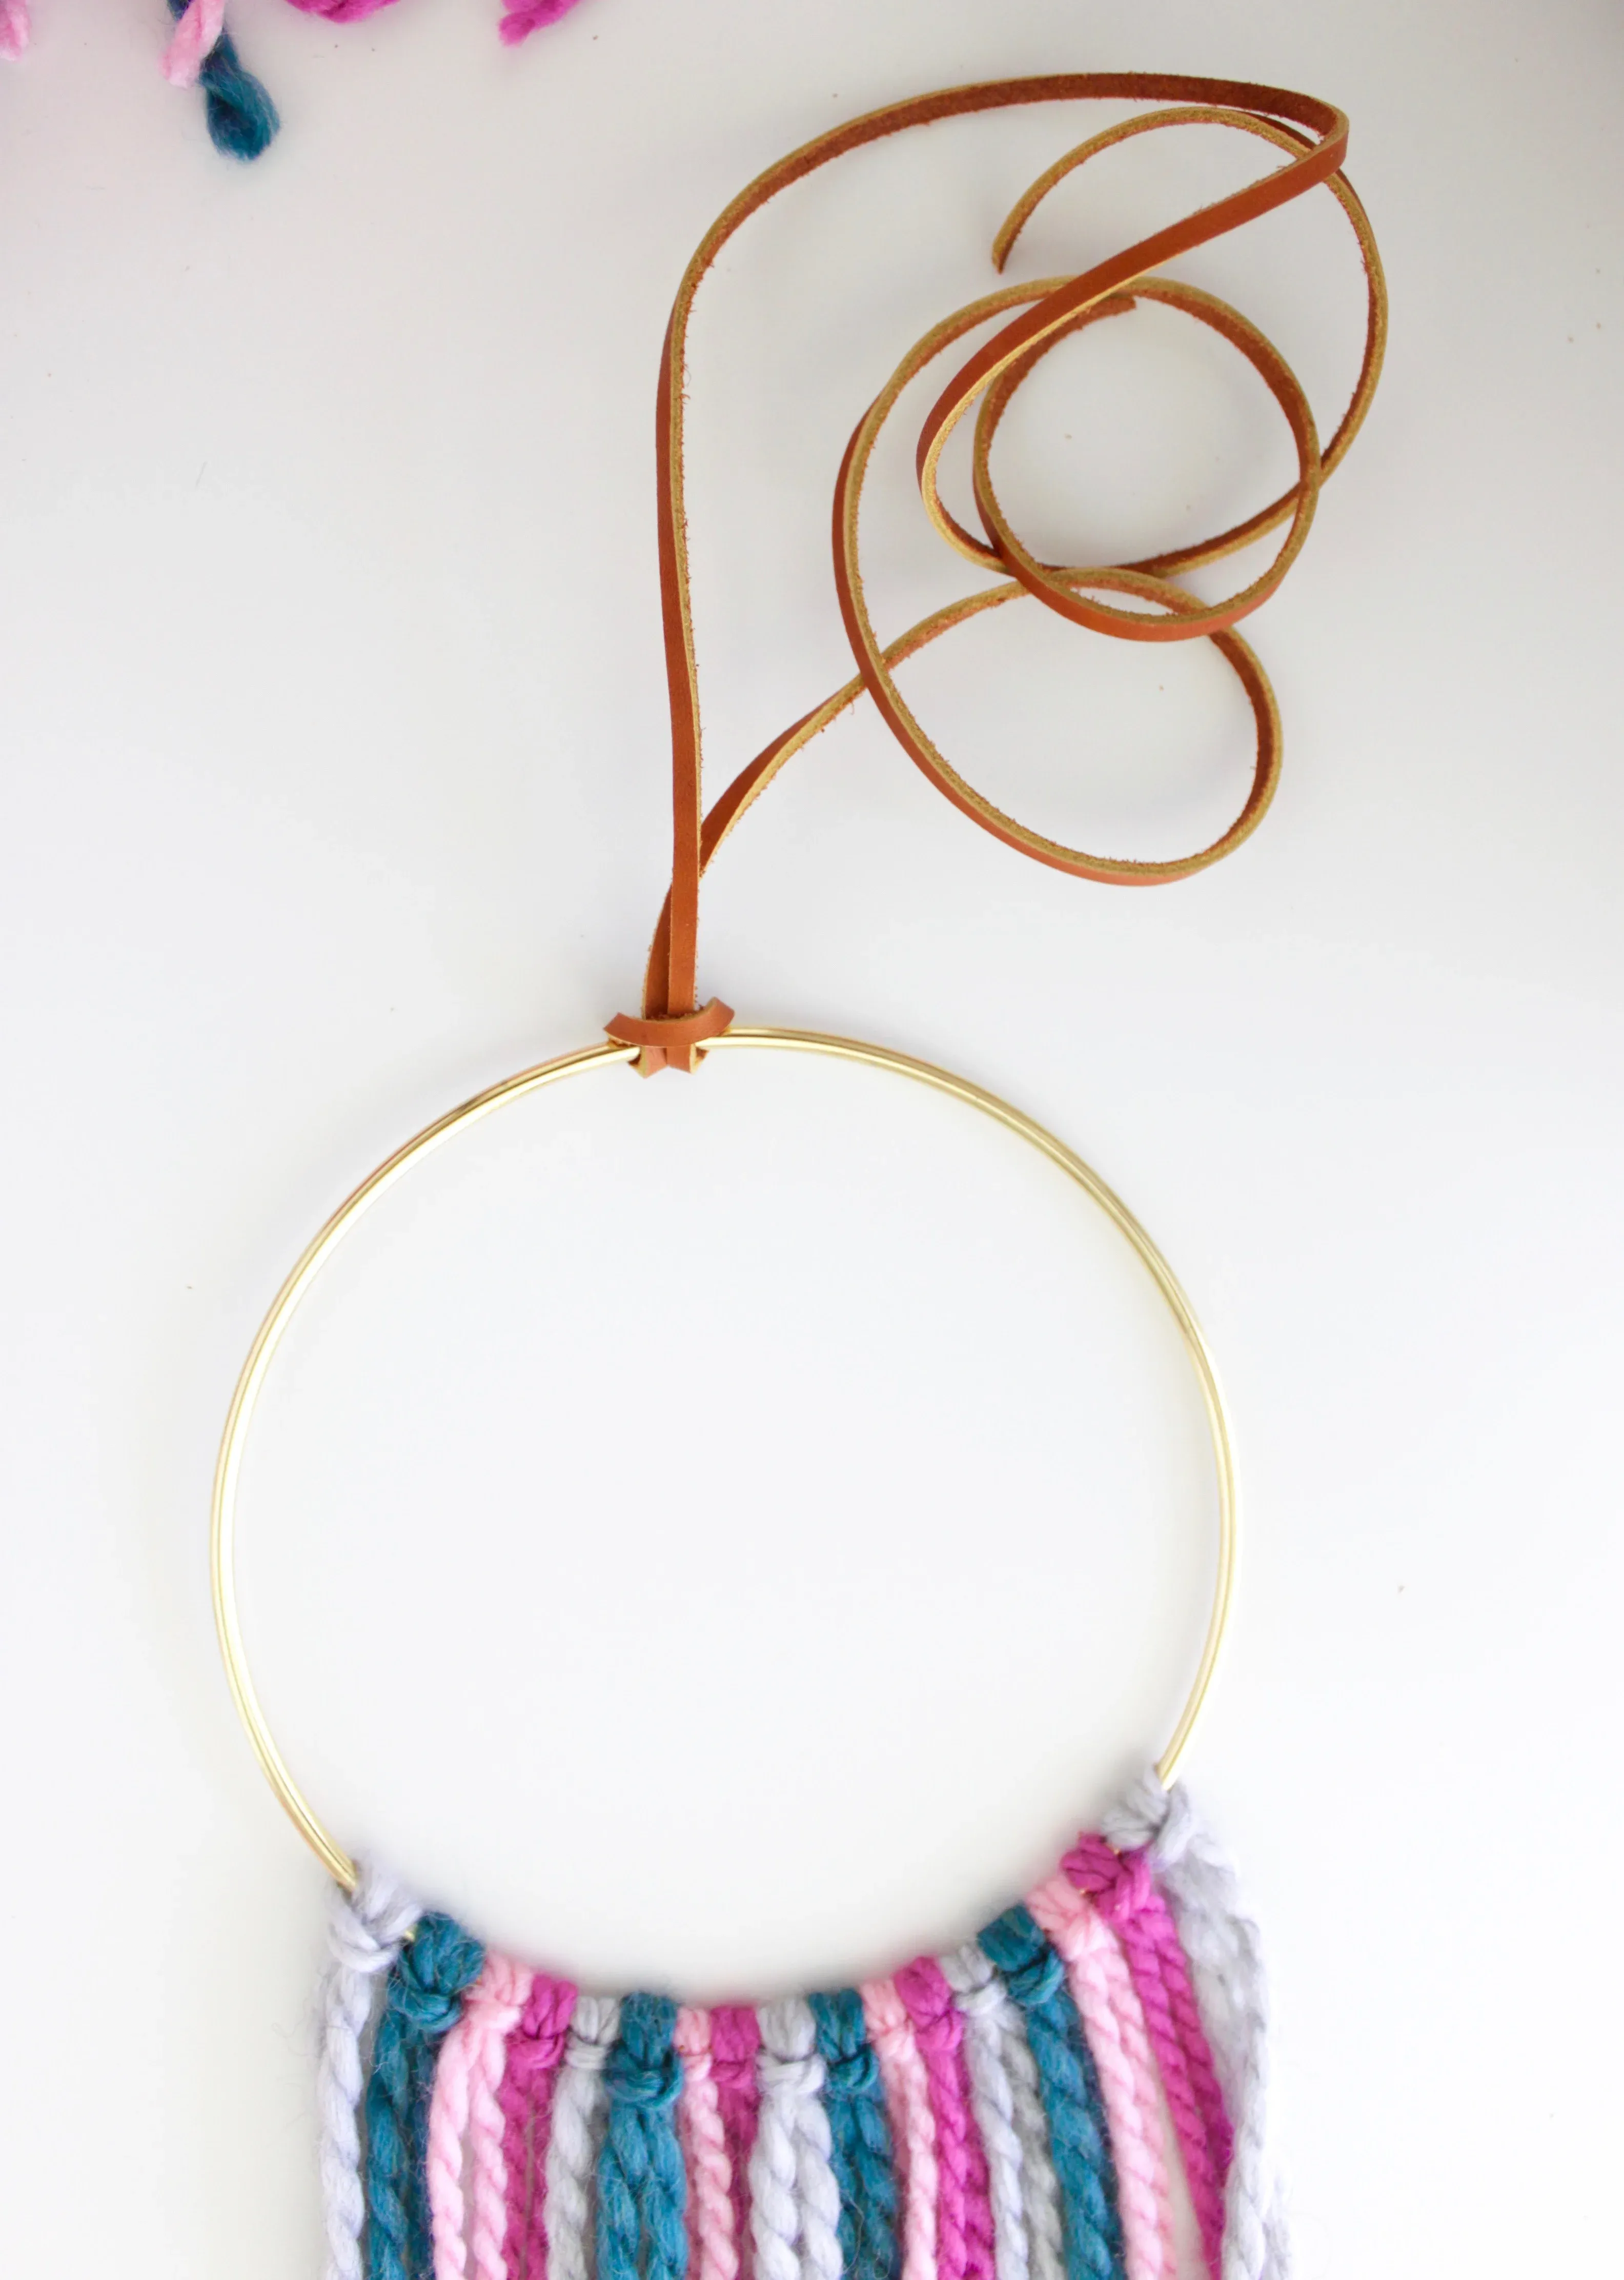 Showcasing the completed boho wall hanging
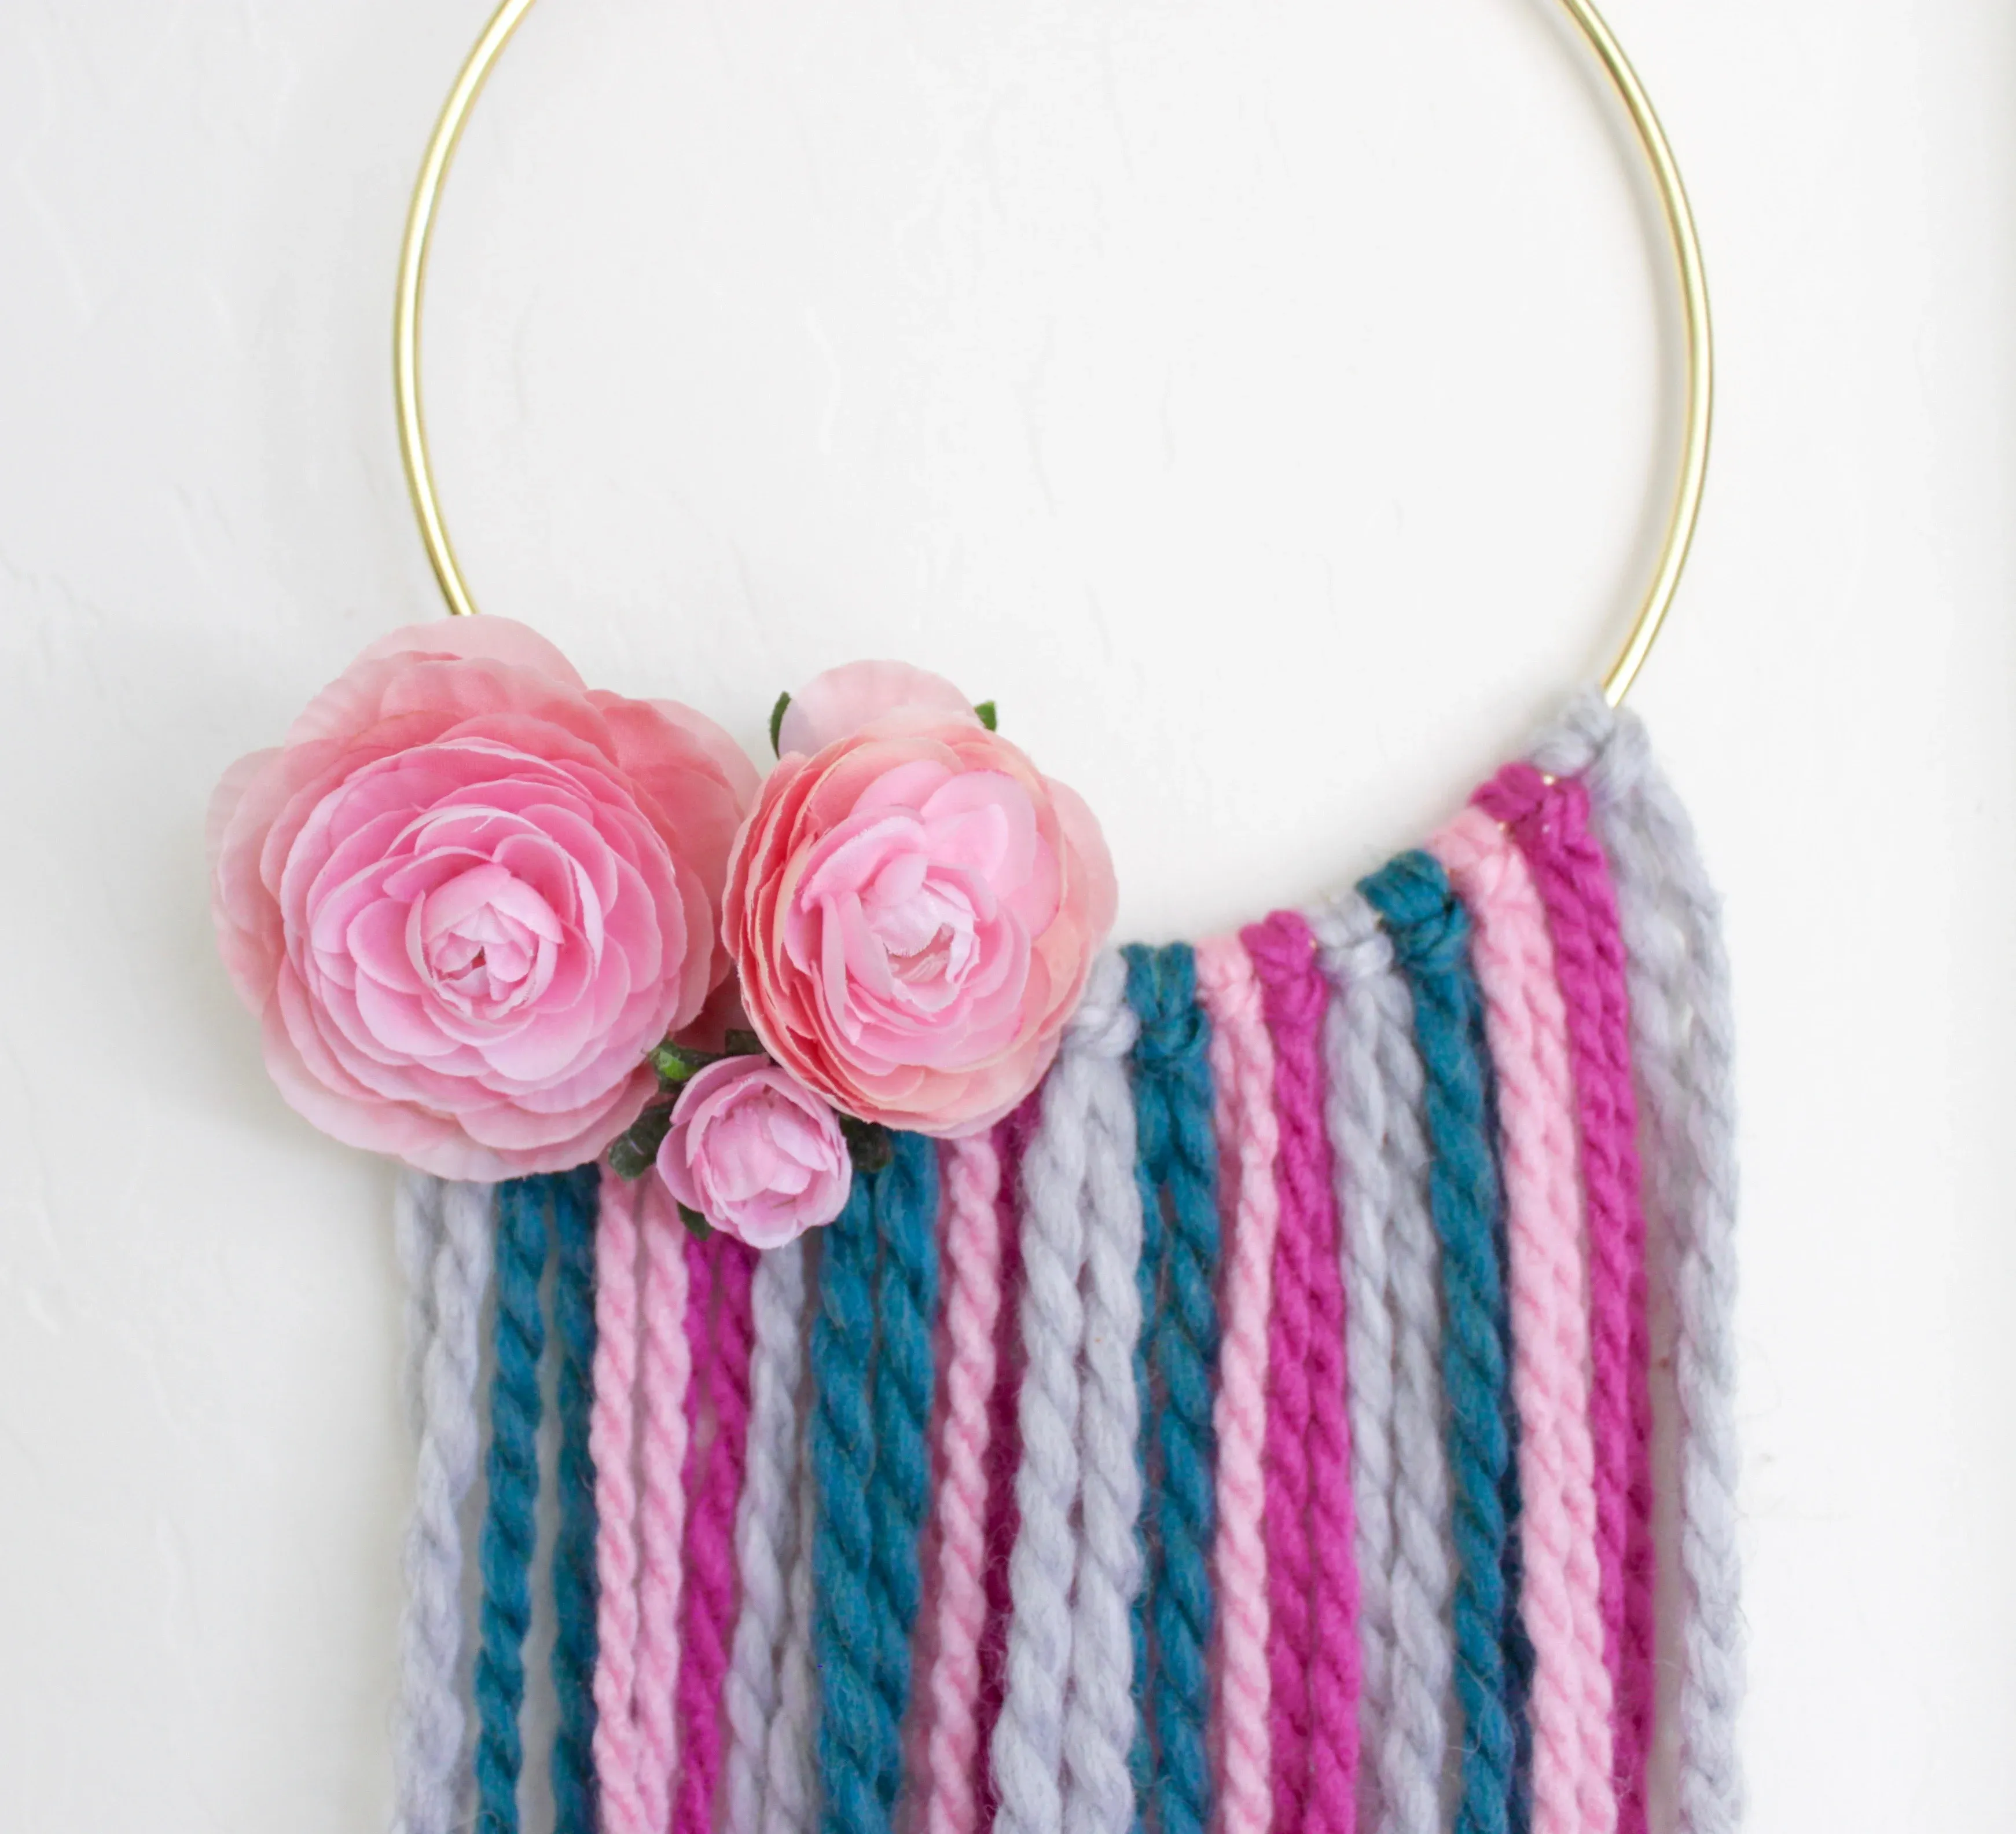 A variety of yarn colors for a boho wall hanging
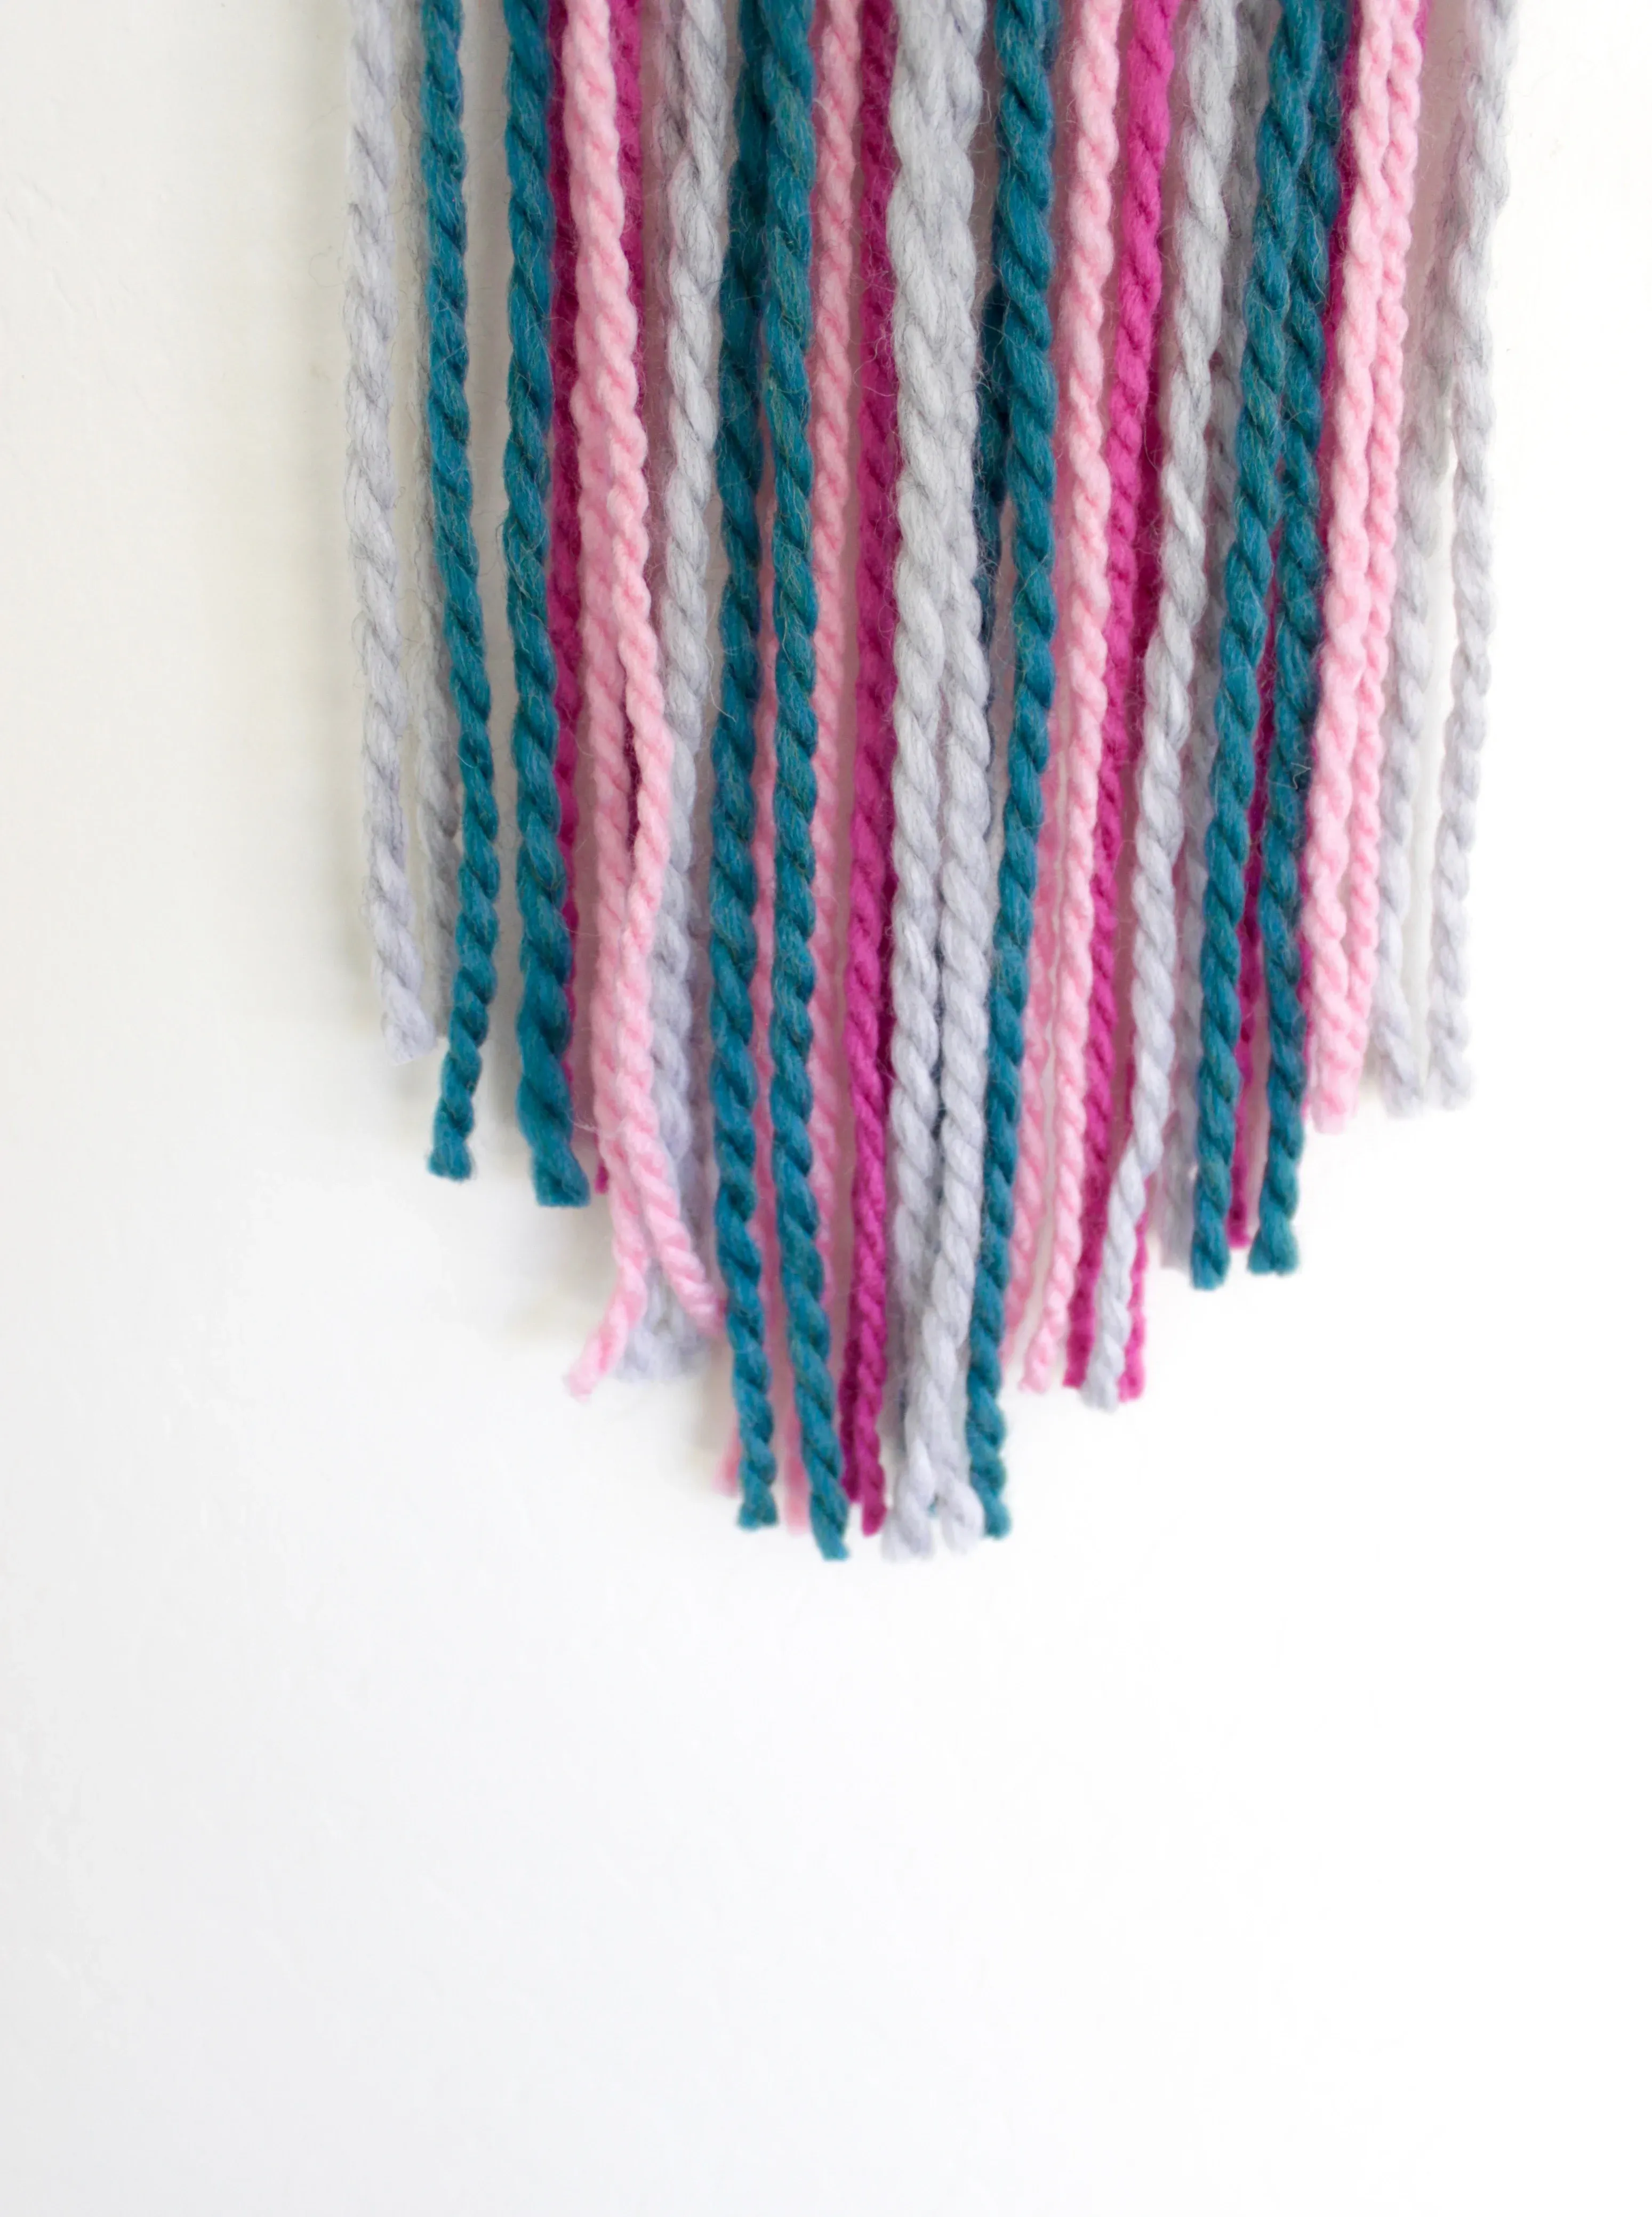 Close-up of yarn tassels on a boho wall hanging
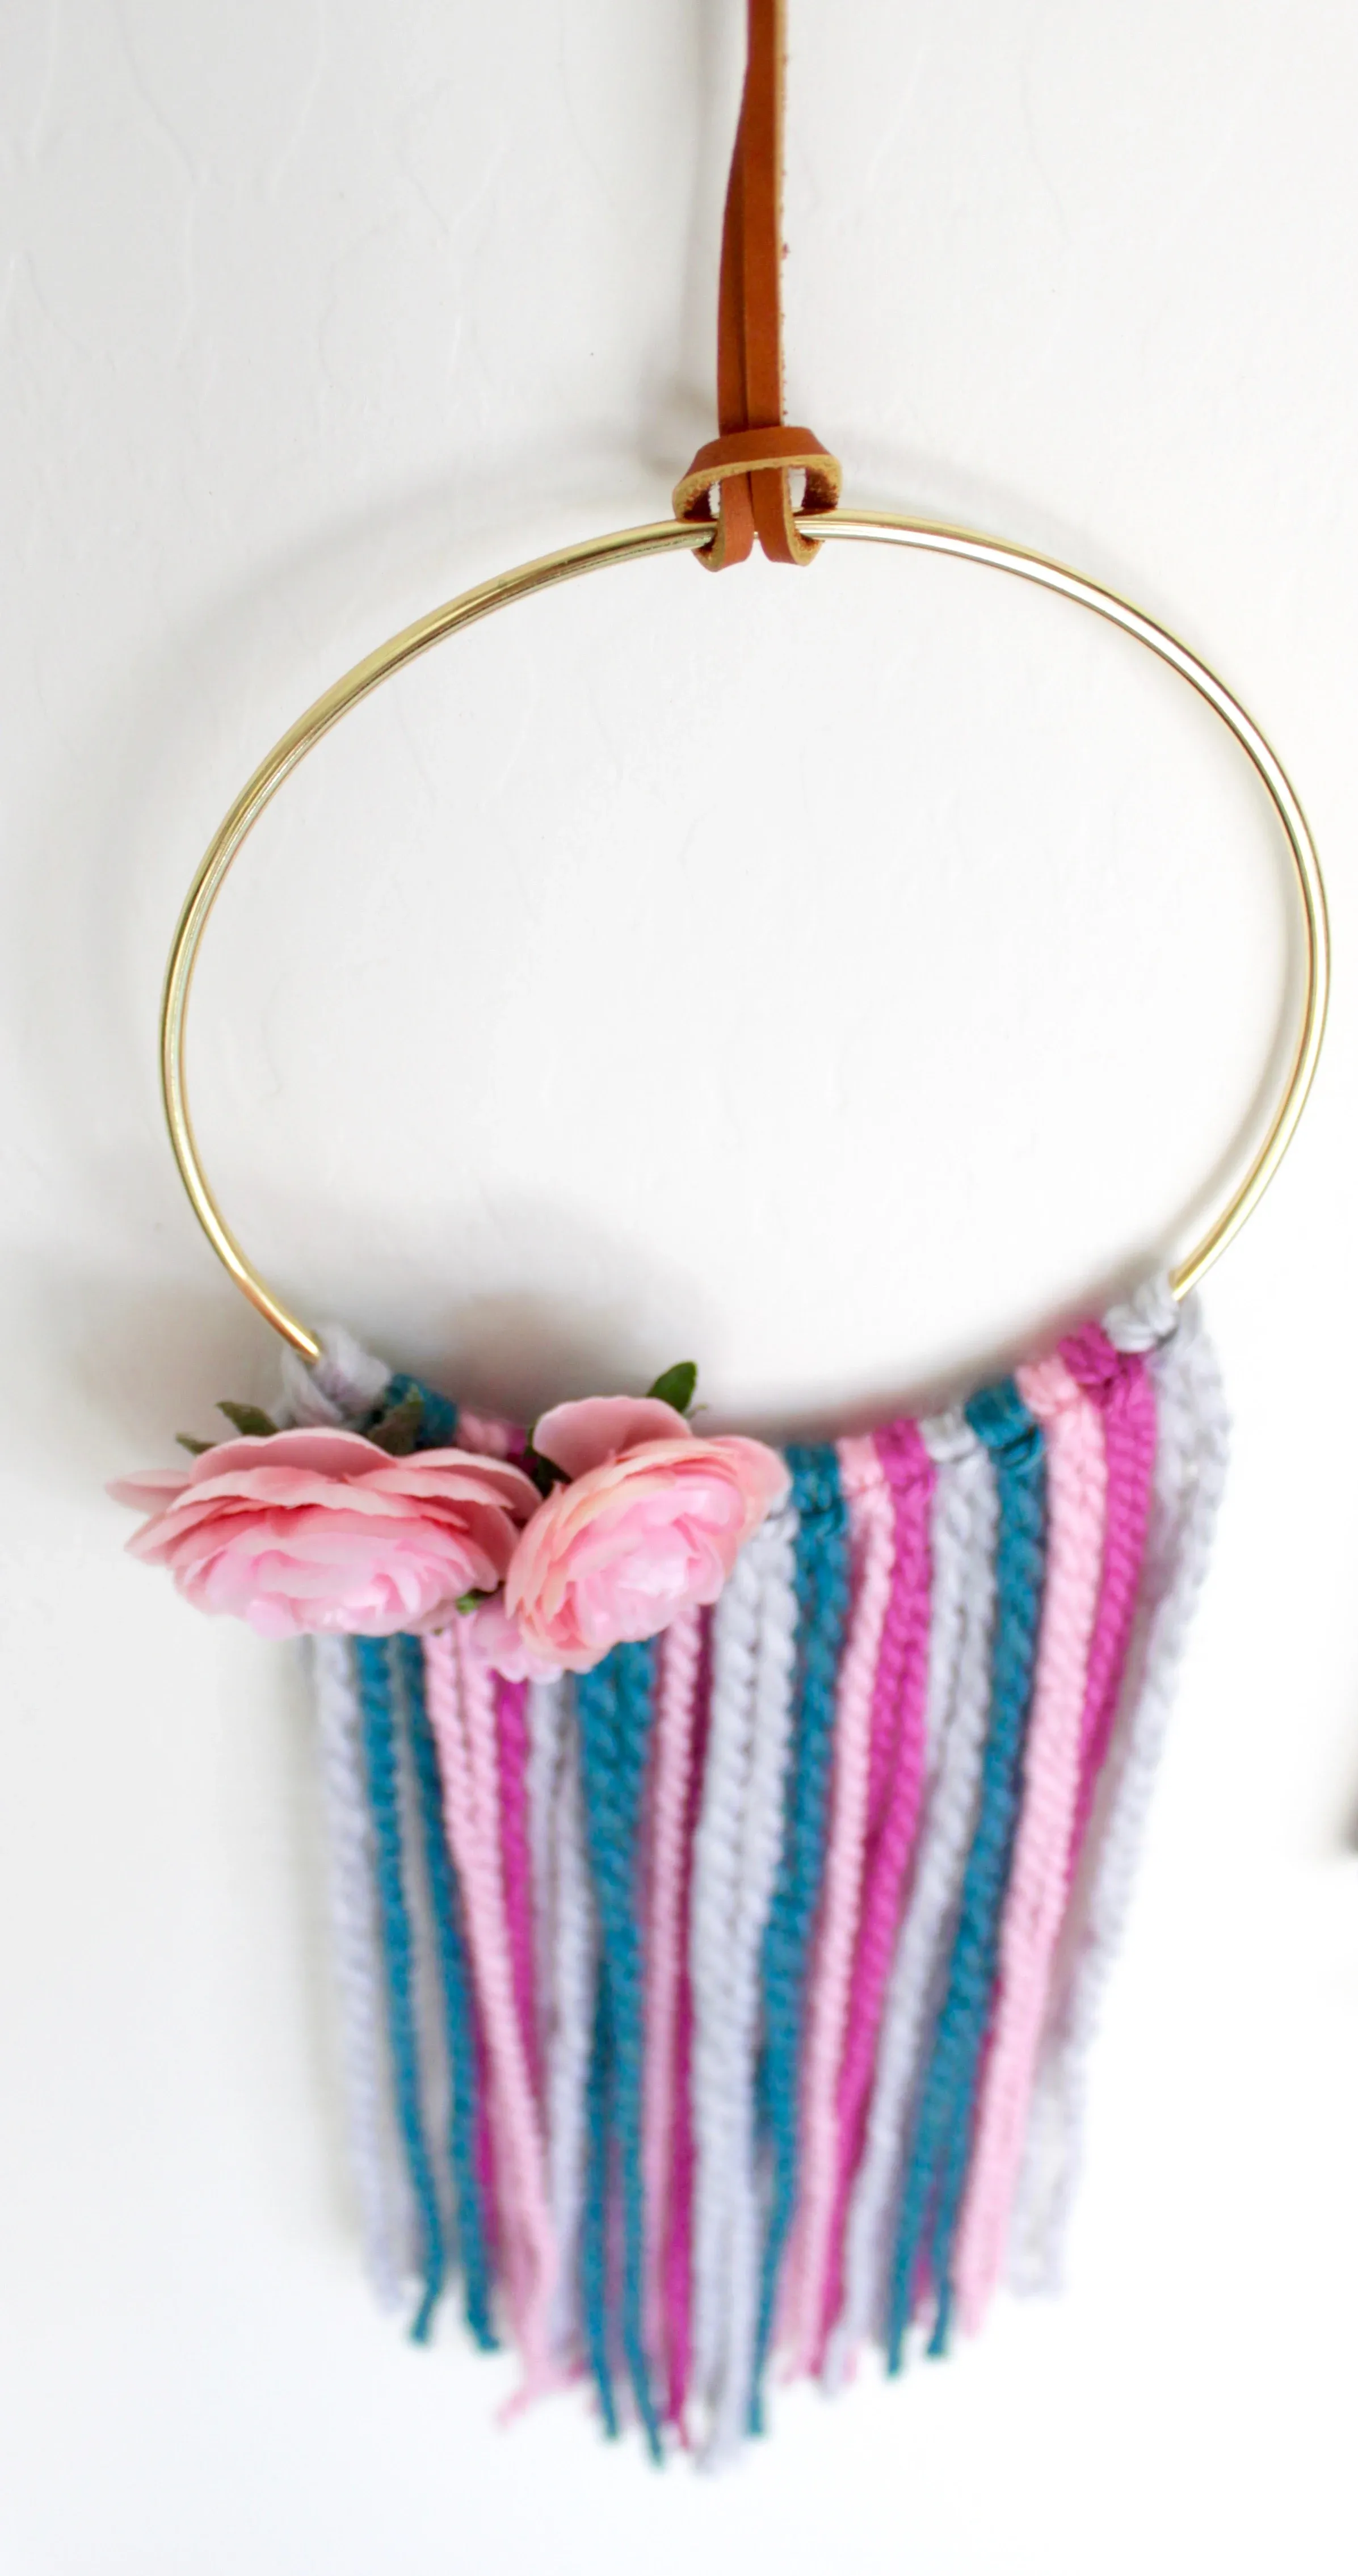 Attaching yarn to a macrame hoop for a boho wall hanging
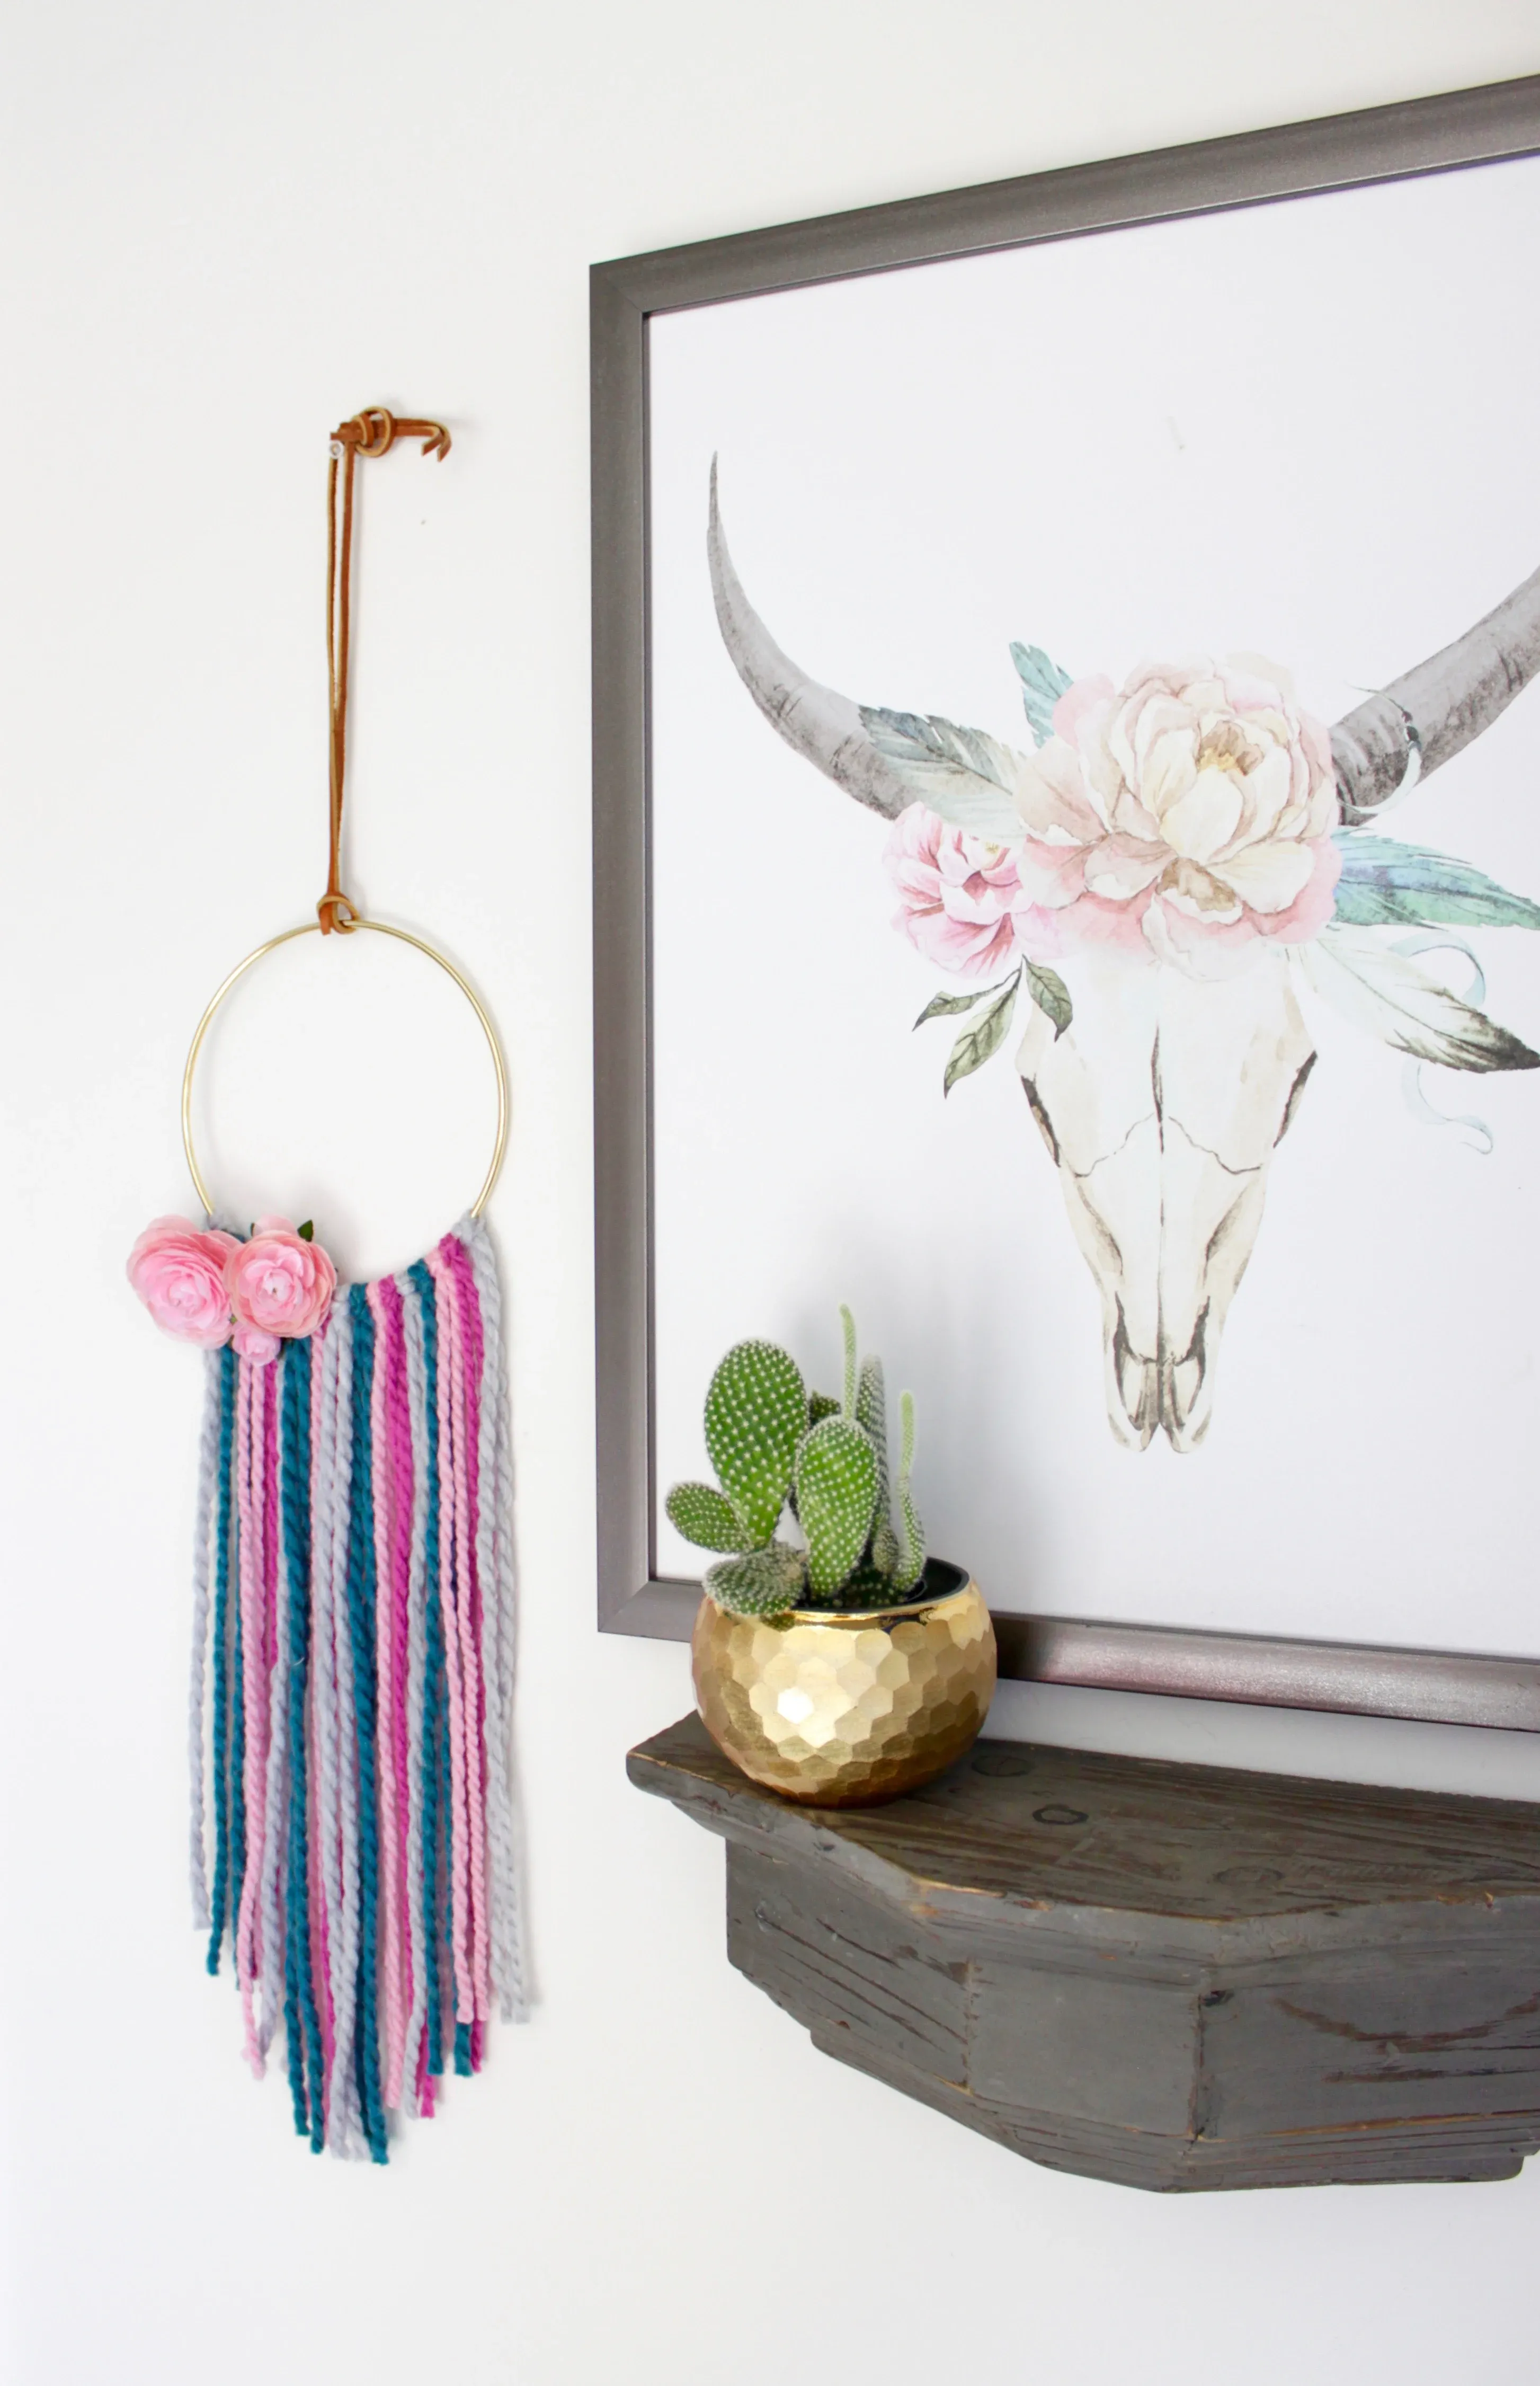 The finished boho wall hanging displayed on a wall
