Blog
Craft a Thoughtful Anniversary Gift: A DIY Photo Frame

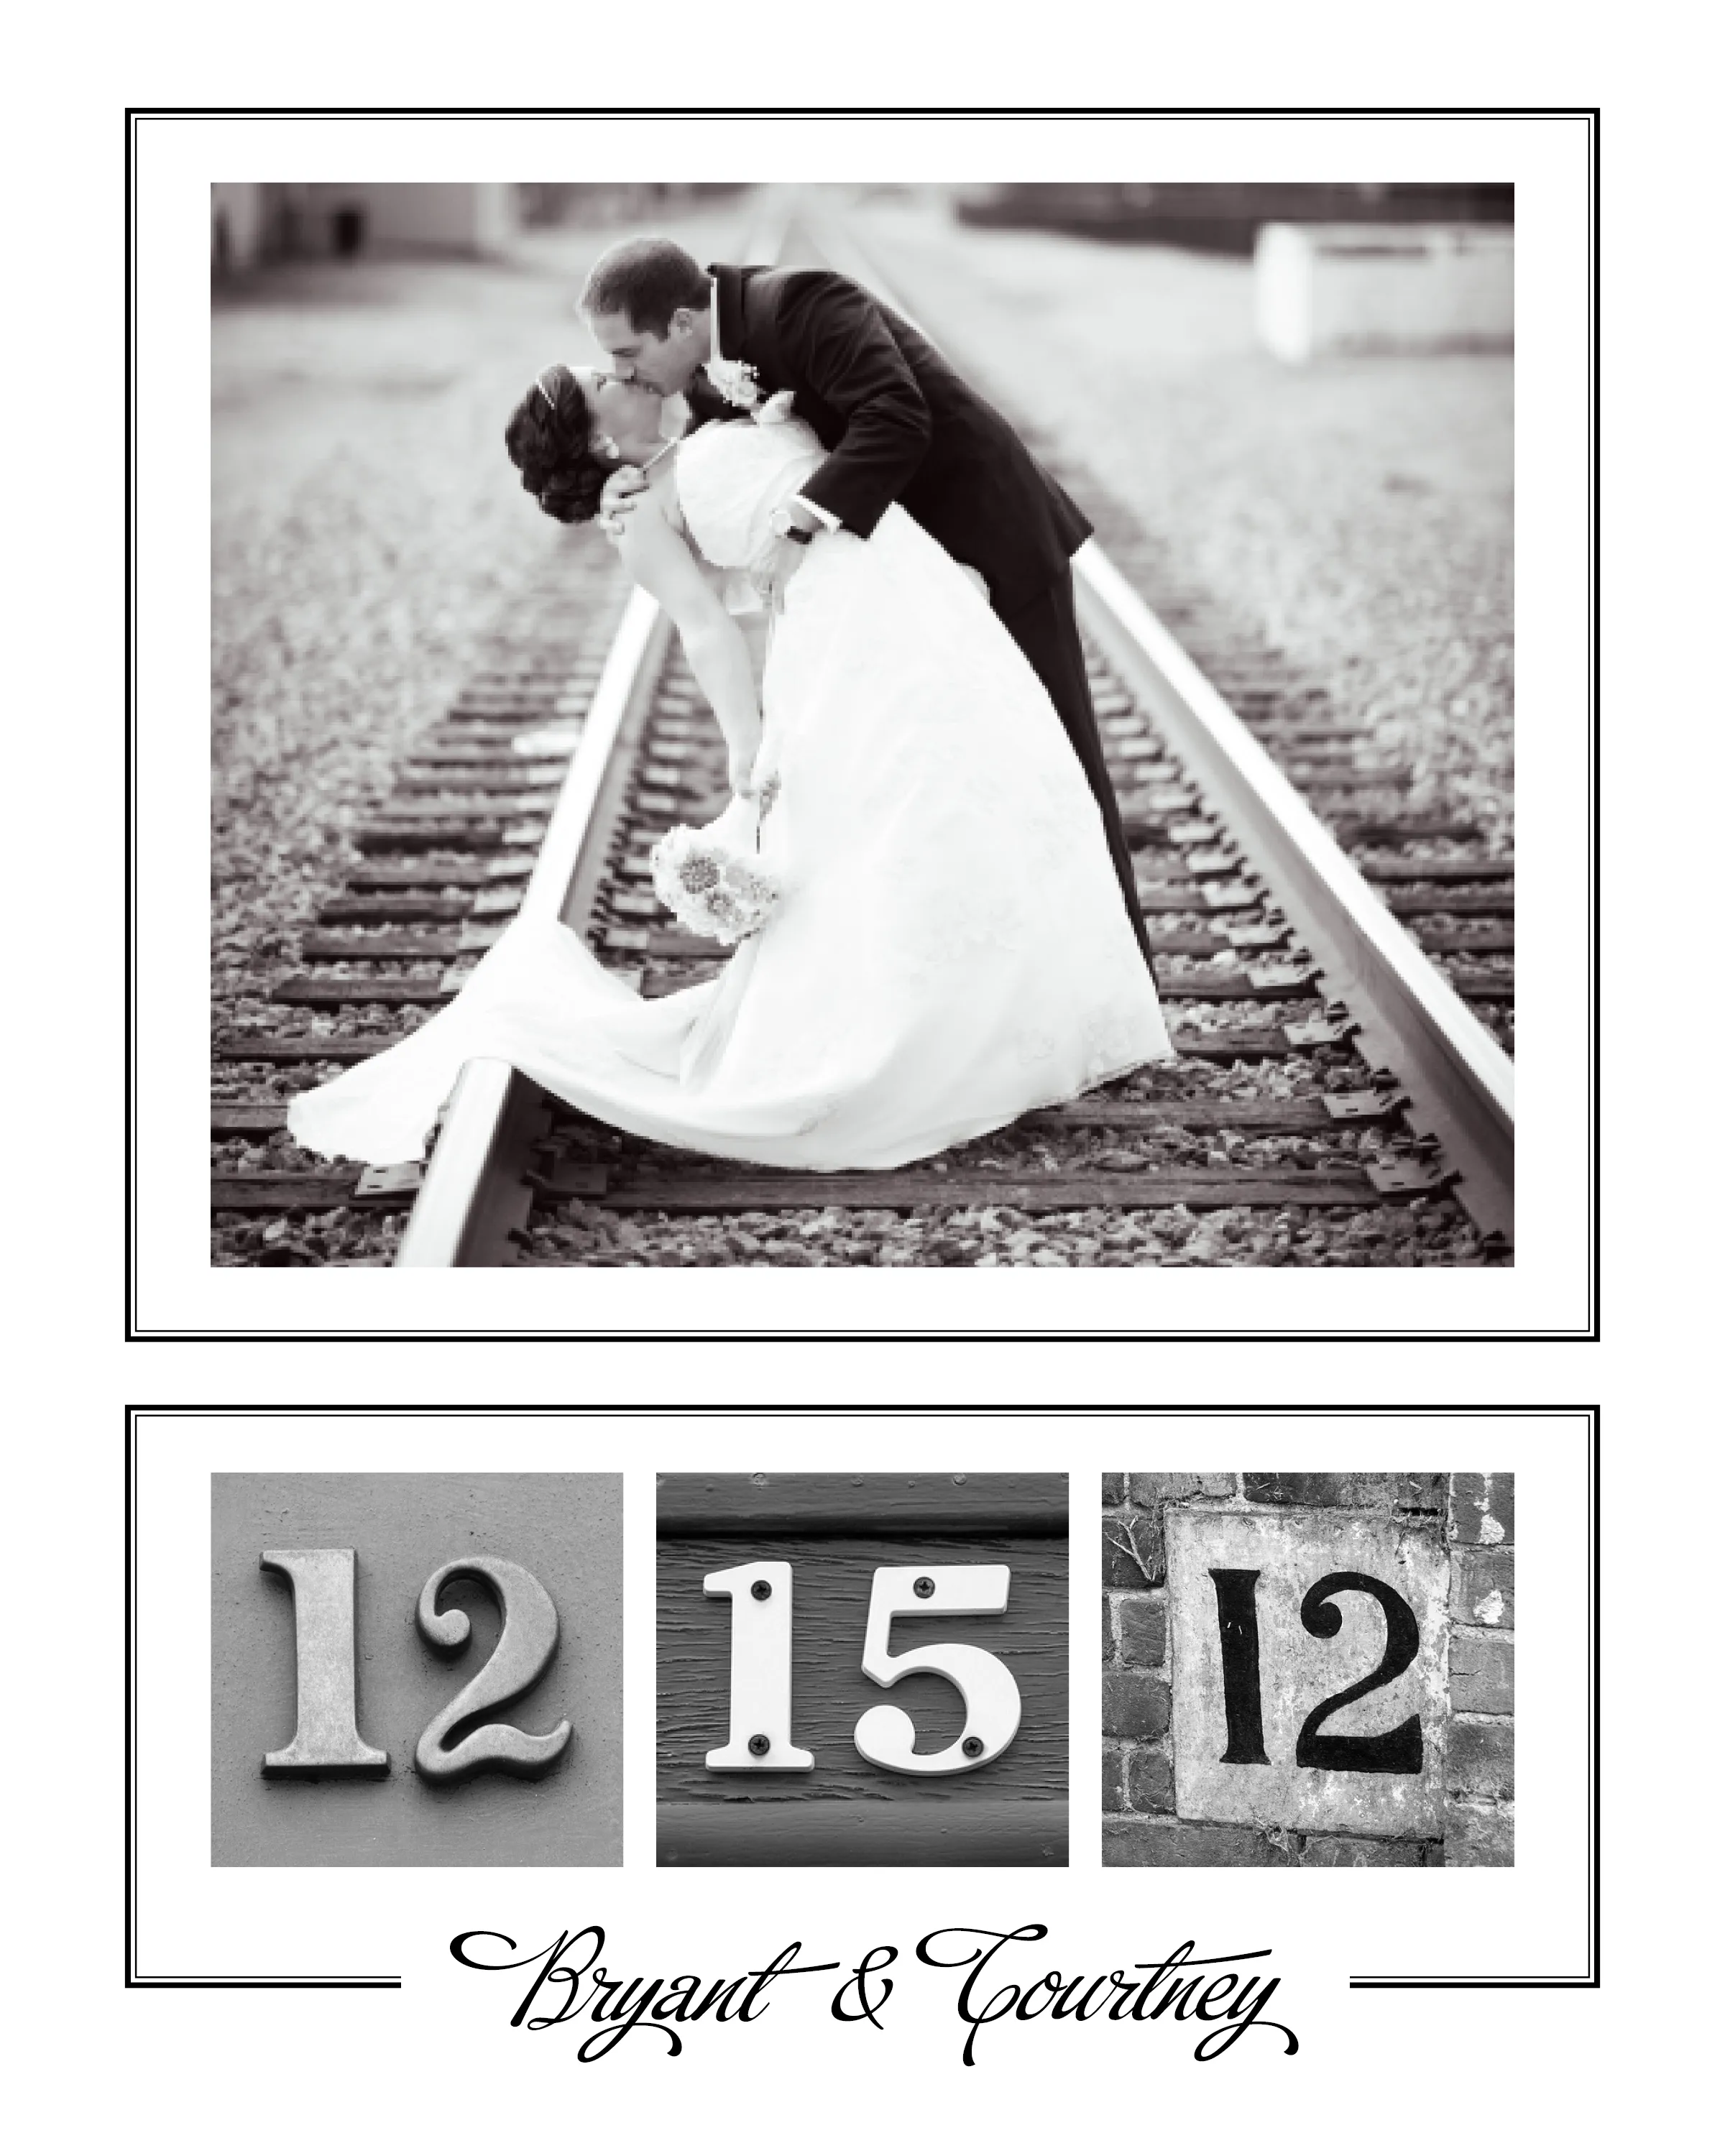
Anniversaries are special milestones that deserve to be celebrated and remembered. As an artist who finds joy in handmade creations, I’m always on the lookout for personalized gifts that carry a heartfelt touch. Today, I’m excited to share a DIY anniversary gift idea that perfectly blends sentimentality with creativity: a custom photo frame showcasing a cherished wedding picture and the significant date.
The Inspiration Behind the Frame
I first stumbled upon the idea of these anniversary frames on Pinterest before my own wedding, and I was instantly smitten. The way the date is artfully integrated with a wedding photograph truly captured my heart. I knew I had to have one!
Having a background in graphic design proved to be a boon for this project. I was able to source the numbers from a fantastic resource on Flickr and then simply converted all the letters and images to black and white for a timeless aesthetic. Printing the design as an 8×10 photo was a breeze at my local Target, and I snagged a frame at Hobby Lobby for a steal during their 50% off sale.
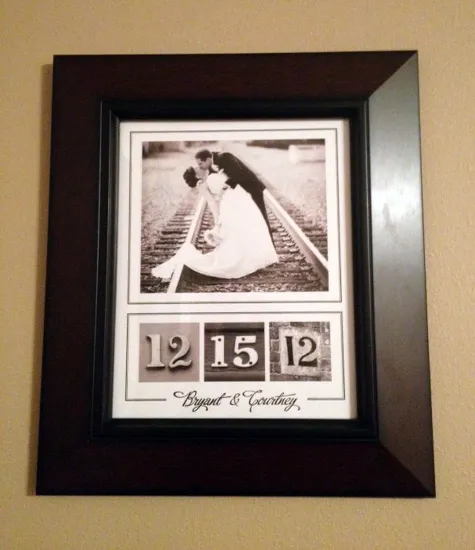
The finished product now hangs proudly above my jewelry box, a constant reminder of our special day.
A Heartfelt Gift Idea
Inspired by the success of my own anniversary frame, I decided to create one for my sister as a housewarming gift. It was a resounding success! These frames make for incredibly thoughtful and budget-friendly anniversary gifts that can be tailored to any couple’s style.
 Batchelor_WeddingFrame
Crafting Your Own Anniversary Frame: A Step-by-Step Guide
Ready to embark on this creative journey? Here’s what you’ll need:
- A digital wedding photograph: Choose a photo that holds special meaning for the couple.
- Graphic design software (optional): While not mandatory, software like Photoshop or Canva can be helpful for adding text and adjusting the image.
- Number templates: Numerous free resources are available online where you can download elegant number templates.
- A printer: Access to a high-quality printer, either at home or through a printing service, is essential.
- Photo paper: Opt for photo paper in your desired size (8×10 is standard).
- A picture frame: Choose a frame that complements the couple’s home decor.
Steps:
- Prepare your design: If you’re using design software, create a new canvas sized to your chosen photo paper. Import your wedding photograph and adjust the size and placement as needed. Add the anniversary year using your chosen number templates. If you prefer a minimalist approach, simply print the photo and write the date directly onto the photo mat using a calligraphy pen.
- Print your design: Print your finalized design onto your photo paper.
- Frame your masterpiece: Carefully insert the printed photo into the frame.
 frame2
Tips for a Personal Touch
- Color palettes: Consider the couple’s wedding colors or home decor when choosing your frame and photo mat.
- Fonts: Experiment with different fonts for the anniversary year to match the overall style of the frame.
- Embellishments: For added flair, incorporate subtle embellishments like dried flowers, ribbons, or small charms onto the frame.
Sharing the Joy of Handmade Gifts
This DIY anniversary frame is not merely a decorative item; it’s a testament to enduring love and the beauty of personalized gifts. The act of creating something with your own hands adds an invaluable layer of meaning to any present.
I encourage you to try crafting this meaningful gift for the next anniversary celebration you’re attending. Explore the “Gifts” section on Robert Kline Art for more handmade gift ideas. And if you decide to embark on this creative journey, I’d love to hear about your experience! Feel free to share your creations and connect with me in the comments below. Let’s spread the joy of handmade artistry, one heartfelt gift at a time.
