Building a DIY Bunk Bed: A Step-by-Step Guide
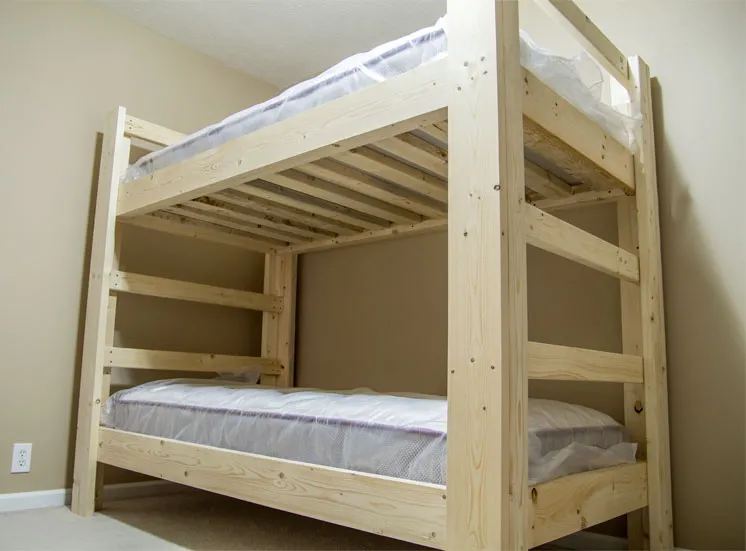
Hey there, fellow DIY enthusiasts! Robert Kline here, from Robert Kline Art, your go-to source for all things handmade and crafted with passion. Today, I’m excited to share a project that’s close to my heart (and my workshop!) – building a custom bunk bed.
 bunk bed
A custom bunk bed is a great addition to any home, especially for those who love DIY projects.
The Why and How of Building Your Own Bunk Bed
Remember that time when you walked into a furniture store and gasped at the price of a bunk bed? Yeah, we’ve all been there. That’s when my DIY spirit kicks in!
Building your own bunk bed is incredibly rewarding. You get exactly what you want, save money, and end up with a piece of furniture that’s built to last. Plus, there’s a unique satisfaction in saying, “Yeah, I built that!”
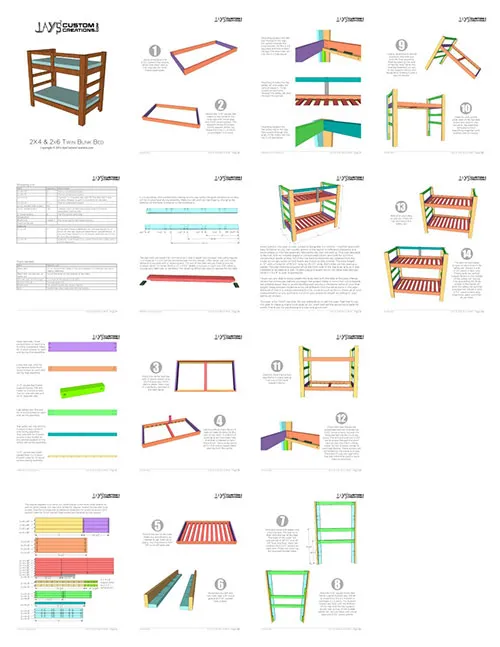 bunk-bed-collage small
A DIY bunk bed is a budget-friendly and rewarding project for any skill level.
Let’s Get Started: Gathering Your Materials
This bunk bed design is special. It’s sleek, sturdy, and best of all, uses readily available materials. Here’s what you’ll need:
Lumber:
- Construction grade pine 2x4s
- Construction grade pine 2x6s
Fasteners:
- Wood glue
- Pocket hole screws
- Wood screws
- Brad nails
Tools:
- Measuring tape
- Pencil
- Saw (Circular saw, bandsaw, or table saw)
- Drill
- Pocket hole jig
- Clamps
- Sander (optional)
- Thickness planer (optional)
Safety Gear:
- Safety glasses
- Hearing protection
Pro Tip: Always double-check your measurements before making any cuts!
Building the Bunk Bed: A Step-by-Step Breakdown
1. Crafting the Bed Frames
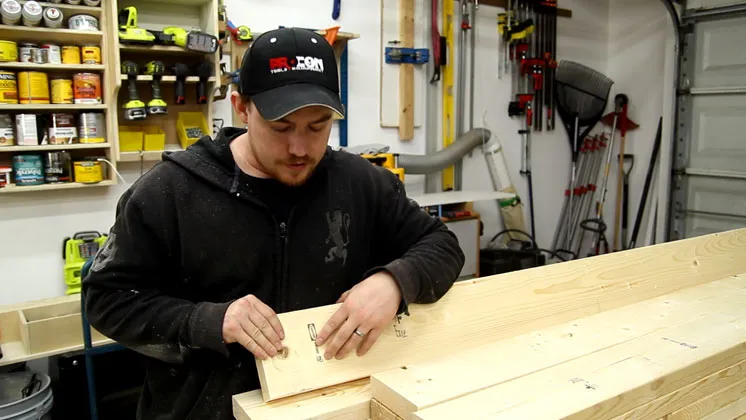
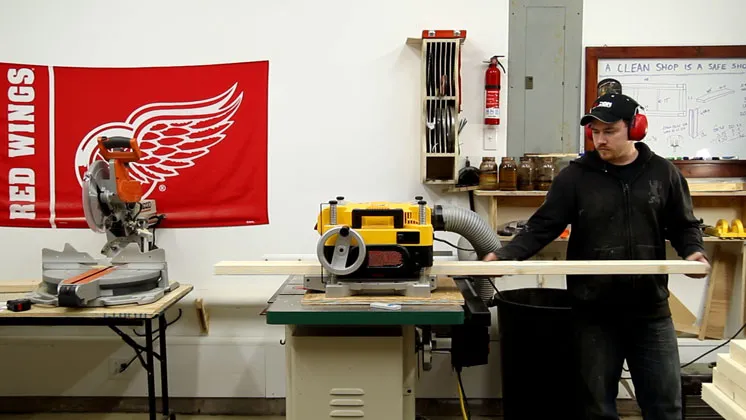
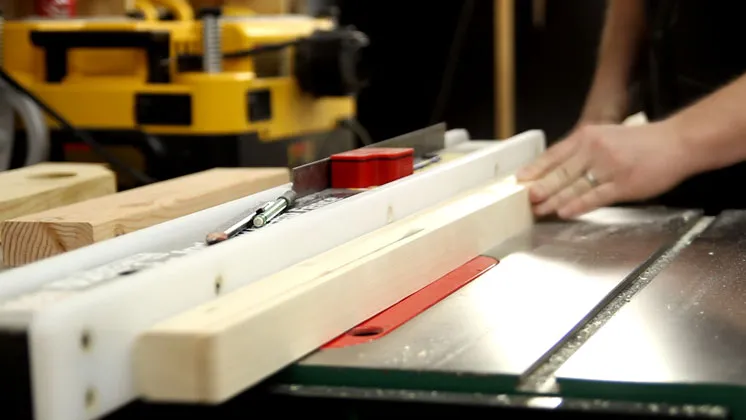
- Start by cutting the 2×6 boards to size for the bed frames.
- I like to use my thickness planer to remove any manufacturer markings and get a smooth finish, but sanding works just as well.
- Use pocket hole screws and wood glue to join the frame pieces, creating a rectangular frame.
- Attach 2×2 support rails to the inside of the frames. These will support the slats.
 bunk bed plans (1)
Start by building the bed frames for the top and bottom bunks.
2. Making the Slats
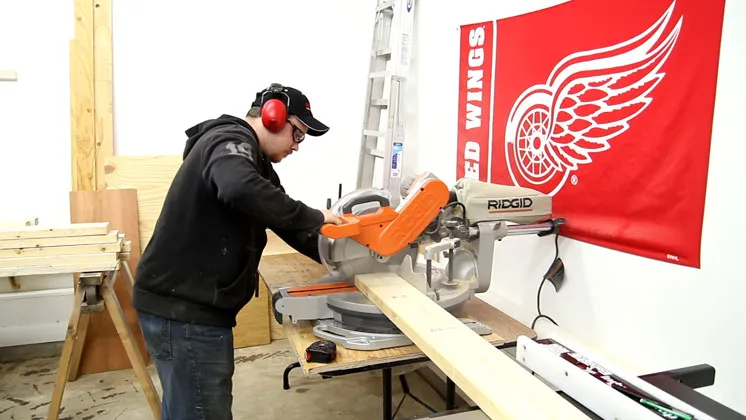
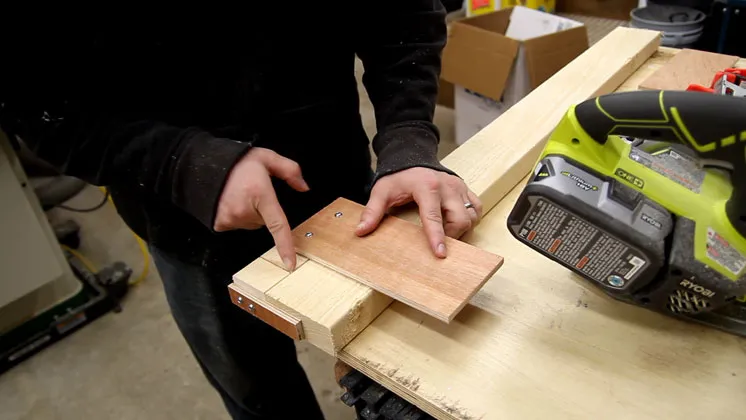
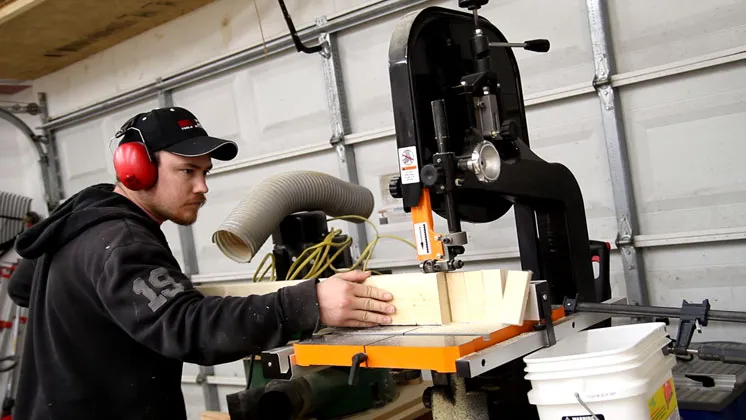
- Cut the 2x4s to size for the slats.
- To create a snug fit and prevent slipping, cut rabbets on each end of the slats. You can use a circular saw and a couple of jigs for this, or opt for a bandsaw for quicker cuts.
- Secure the center slat to each frame with screws. The rest of the slats will be floating, held in place by the rabbets.
 bunk bed plans (2)
Cut the slats to size and create rabbets on each end to prevent slipping.
3. Assembling the Legs
- The legs of this bunk bed are what give it that clean, modern look. Each leg is an L-shape, created by joining a 2×4 to a 2×6 using pocket hole screws.
- Be mindful of the pocket hole placement – they should be hidden by the ladder rungs later on.
 bunk bed plans (3)
Assemble the legs using 2x4s and 2x6s, creating an L-shape for a modern look.
4. Creating the Ladders
- The ladder rungs are attached to the 2×4 side of the legs, effectively concealing the pocket holes.
- Use a spacer block to ensure consistent spacing between rungs when pre-drilling holes.
- Attach the rungs to the legs using wood glue and screws, making sure they stay perpendicular to the legs.
 bunk bed plans (6)
Attach the ladder rungs to the legs, ensuring they are perpendicular for stability.
5. Adding Support Blocks
- Cut small blocks that will act as supports for the bed frames during assembly.
- Place one block at each corner of both bed frames.
 bunk bed plans (9)
Use support blocks to hold the bed frames in place during assembly.
6. Assembling the Bunk Bed
- This is where it all comes together! Slide one side of the lower bed frame into place, securing it temporarily with a clamp. Repeat on the other side.
- Carefully lower the top bed frame onto the assembled legs and secure it with screws.
- Once the frames are attached to the legs, install the remaining slats.
 bunk bed plans (11)
Assemble the bunk bed by attaching the bed frames to the legs and adding the remaining slats.
Finishing Touches and Safety First
- You can leave your bunk bed as is for a natural look, or apply your favorite finish.
Safety Tips:
- Always use guardrails on the top bunk.
- Make sure the ladder rungs are securely attached and spaced appropriately.
- Use a mattress that fits snugly within the frame.
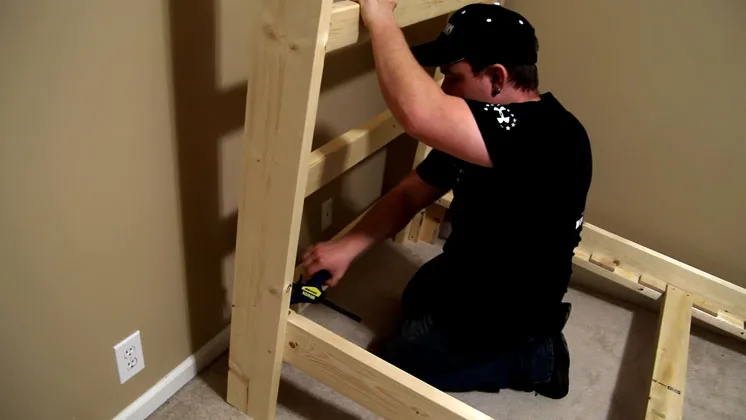 bunk bed plans (18)
Ensure the safety of your bunk bed by adding guardrails, securely attaching the ladder rungs, and using a properly sized mattress.
That’s a Wrap!
Congratulations! You’ve just built a fantastic, sturdy bunk bed that’s sure to be a hit with kids and adults alike. I hope this guide has inspired you to tackle your own DIY bunk bed project.
For a detailed plan with precise measurements and illustrations, check out the Robert Kline Art Bunk Bed Plan.
Remember, the beauty of DIY is in the creating. Don’t be afraid to add your own personal touches, experiment with different finishes, and make it your own. And as always, happy crafting!
Got questions? Leave a comment below, and let’s chat! And for more amazing DIY projects, be sure to explore the Robert Kline Art website.
