Blog
Building Character and Storage: A DIY Guide to Built-in Bookshelves with a Hidden Door
For years, I’d fantasized about the charm and practicality of built-in bookshelves. Envisioning those sturdy shelves, brimming with literary treasures, igniting a room with character and warmth. It felt like a distant dream, until now! Join me, at Robert Kline Art, as I guide you through the exciting journey of crafting your own built-in bookshelves, complete with a secret door.
The Spark: A Hidden Bookcase Door!
Every DIY project needs a spark, and for us, it was the idea of a hidden bookcase door. Imagine the intrigue of a secret passageway concealed behind a wall of books! This “Scooby-Doo” door was the missing piece that ignited the project, transforming a long-held dream into a tangible reality.
Gathering Materials and Tools
Every masterpiece begins with the right tools and materials. For our built-in bookshelf project, we relied on:
- Plywood: The backbone of our bookshelves.
- 2x4s: For added support and structure.
- Circular Saw and Kreg Rip Cut Jig: These were game-changers for accurately ripping plywood.
- Kreg Pocket Hole Jig and Screws: Essential for creating strong and discreet joints.
- Pocket Hole Plugs: For a polished, seamless look.
- Clamps, Square, Pencil, Drill, Brad Nailer, Brad Nails, Putty, Caulk, Paint: A collection of essential tools and materials to bring everything together.
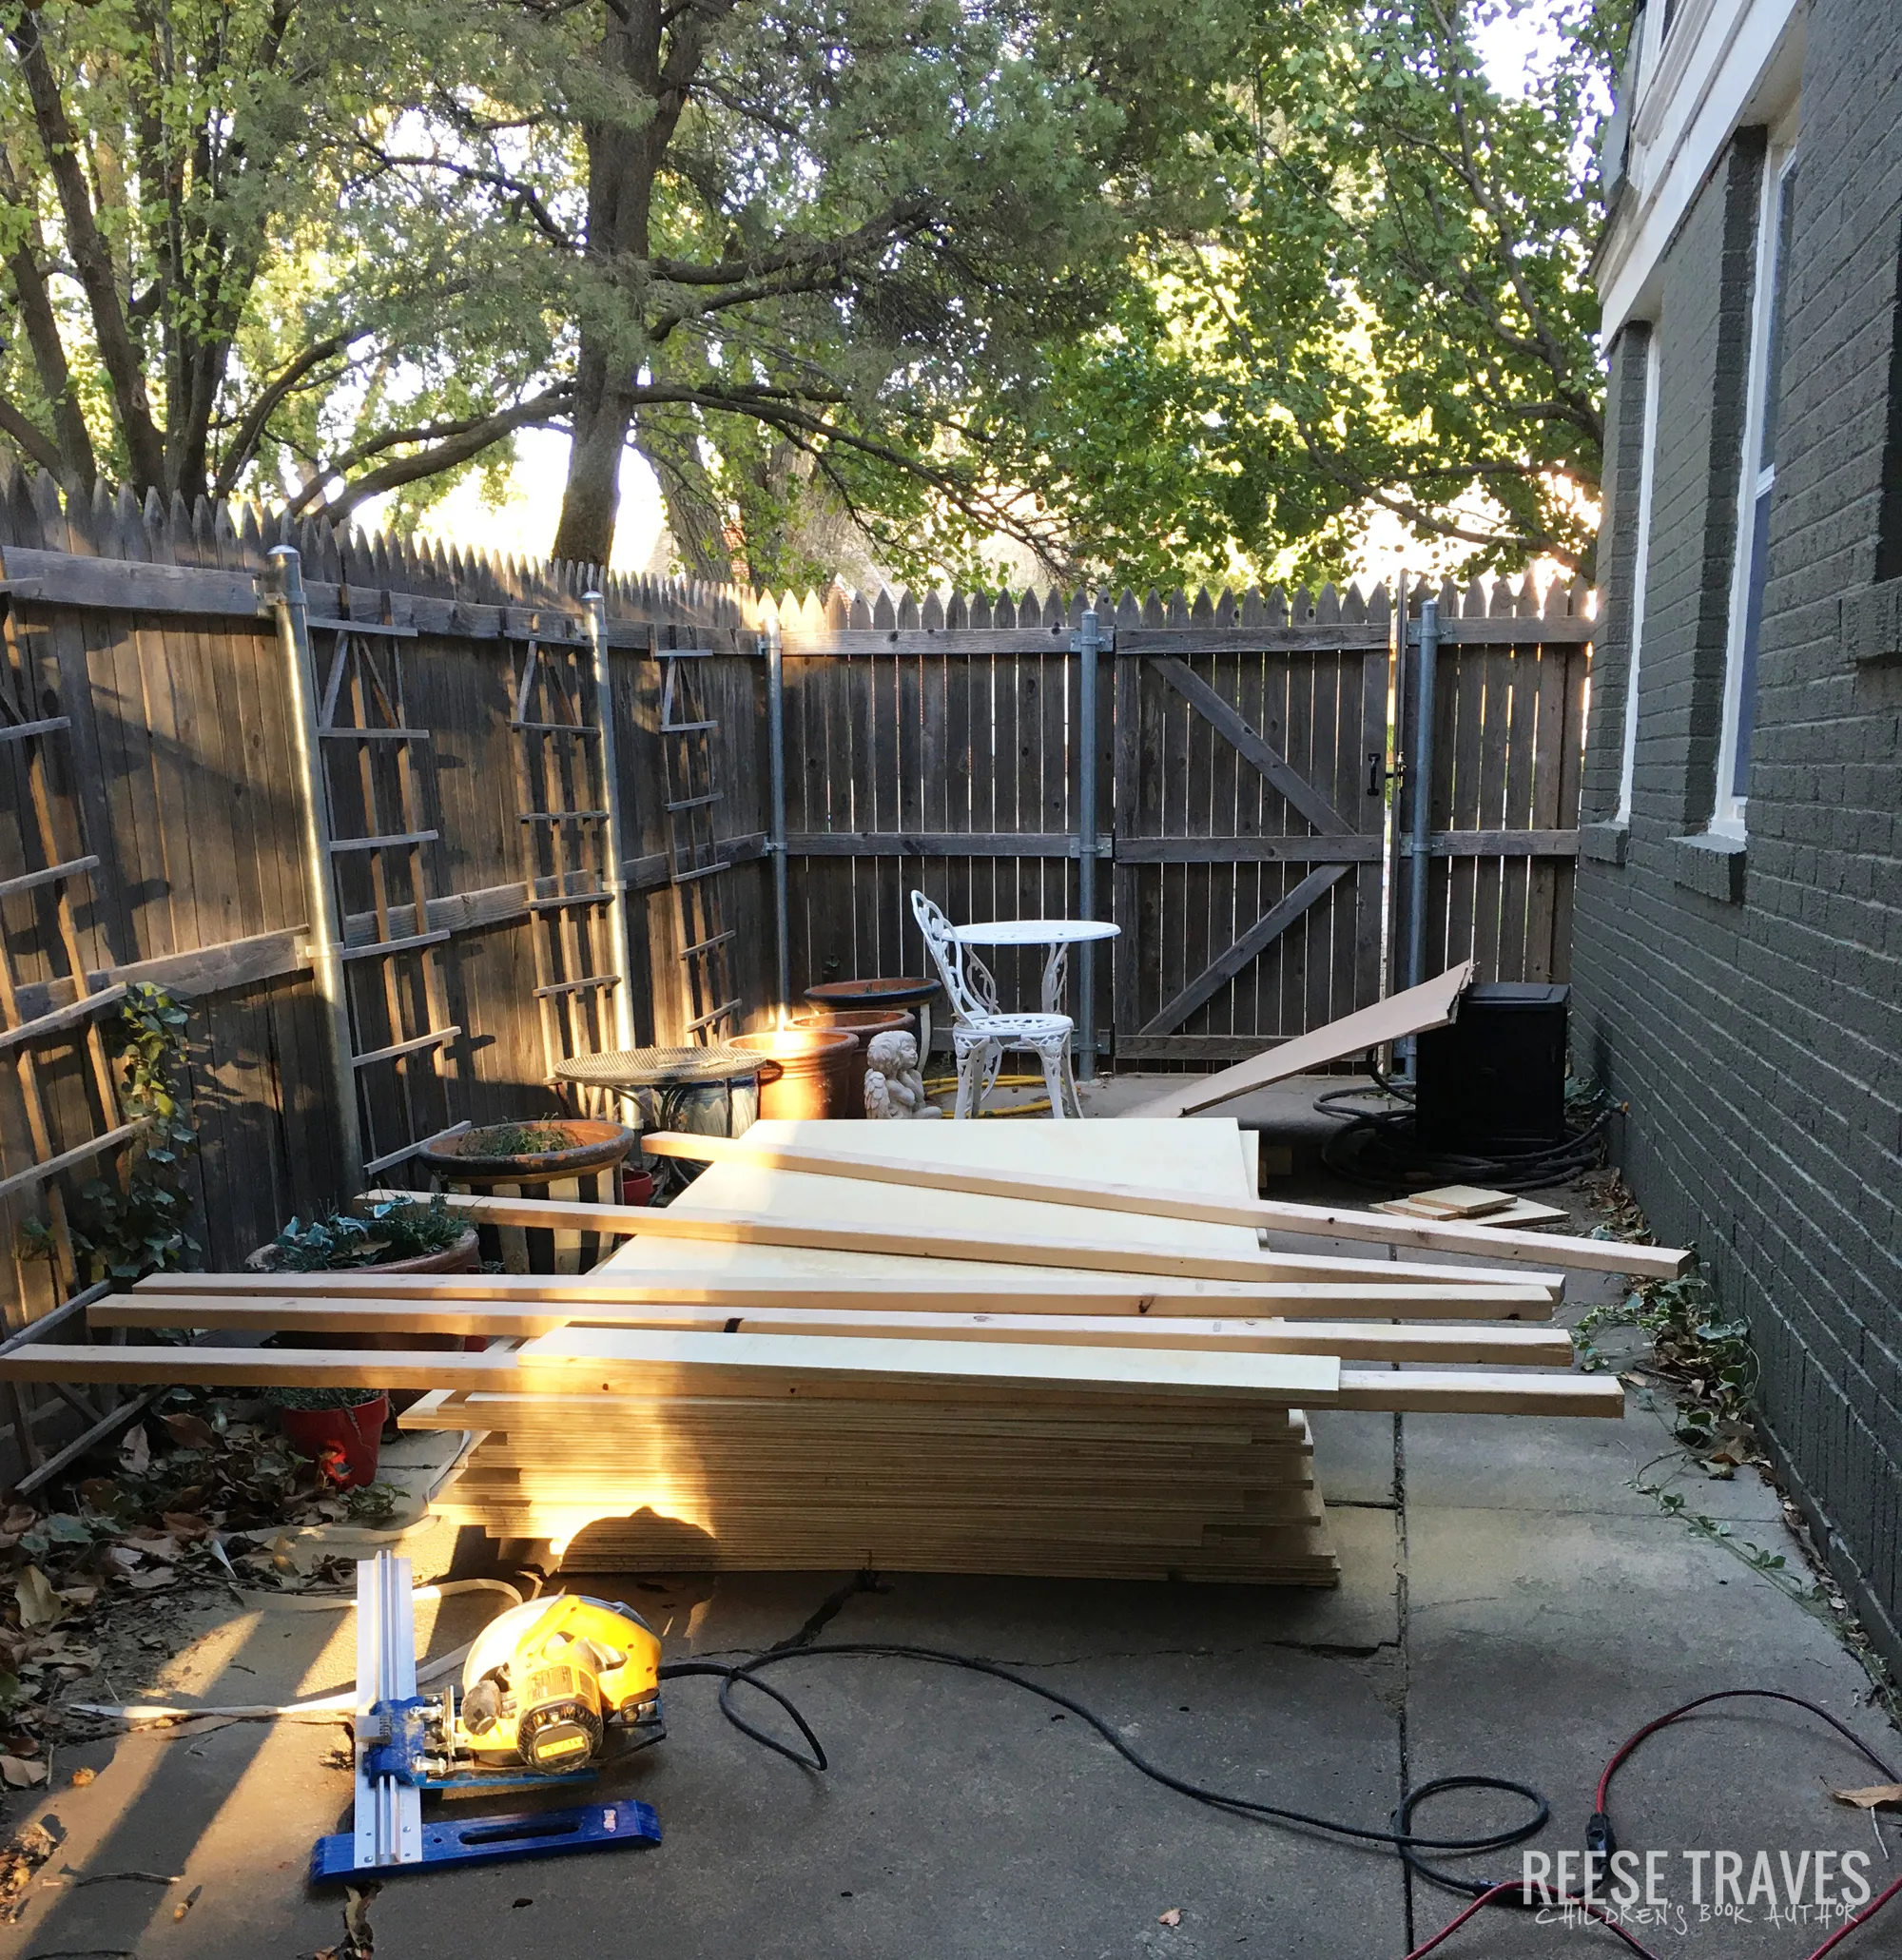
 pallet of plywood to build built-in bookcases for diy project
Photo: Gathering the Lumber for the Bookshelves
Building Our Bookshelves: A Step-by-Step Guide
With tools and materials ready, we embarked on our construction adventure.
-
Ripping and Crosscutting: Using our circular saw and the Kreg Rip Cut Jig, we carefully ripped and crosscut the plywood to the desired dimensions. This step ensures all our pieces fit together seamlessly.
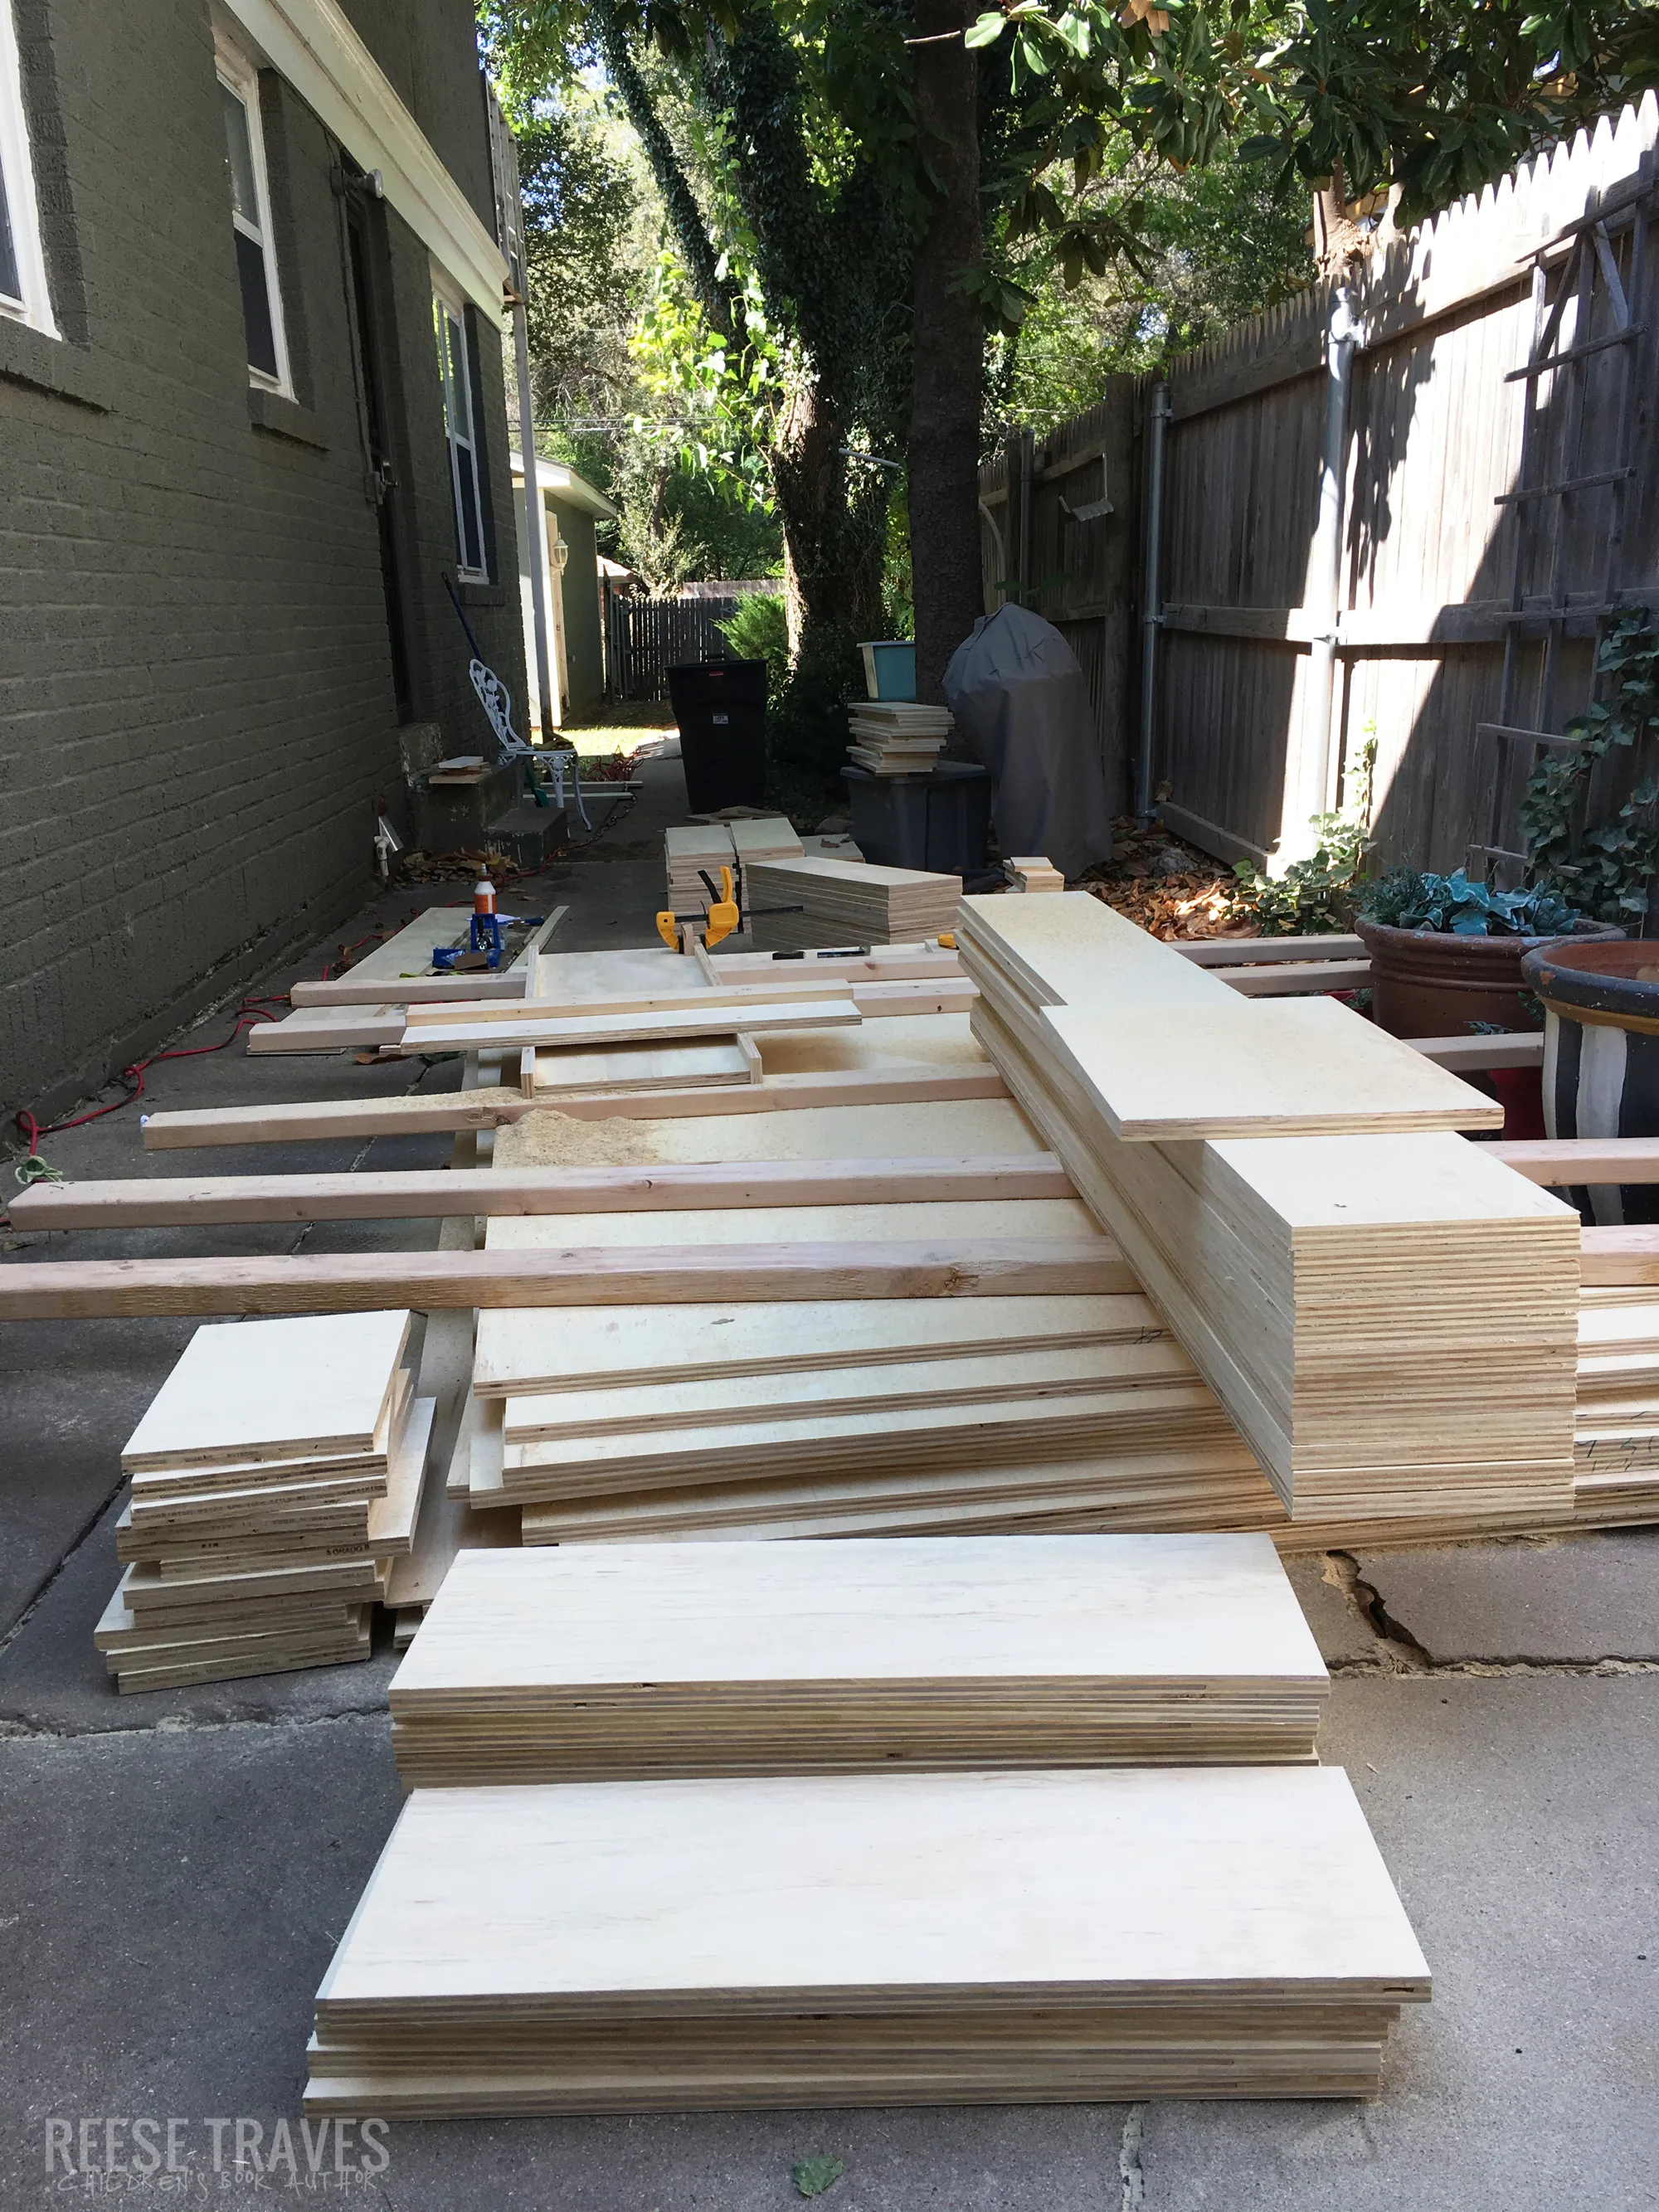 ripping and cross-cutting plywood for built-in bookshelves
Photo: Precise Cutting for a Perfect Fit
-
Assembling the Bookcases: Armed with our trusty Kreg Pocket Hole Jig, we joined the plywood pieces, creating sturdy bookcase frames. These jigs ensured strong joints while maintaining a clean, professional finish.
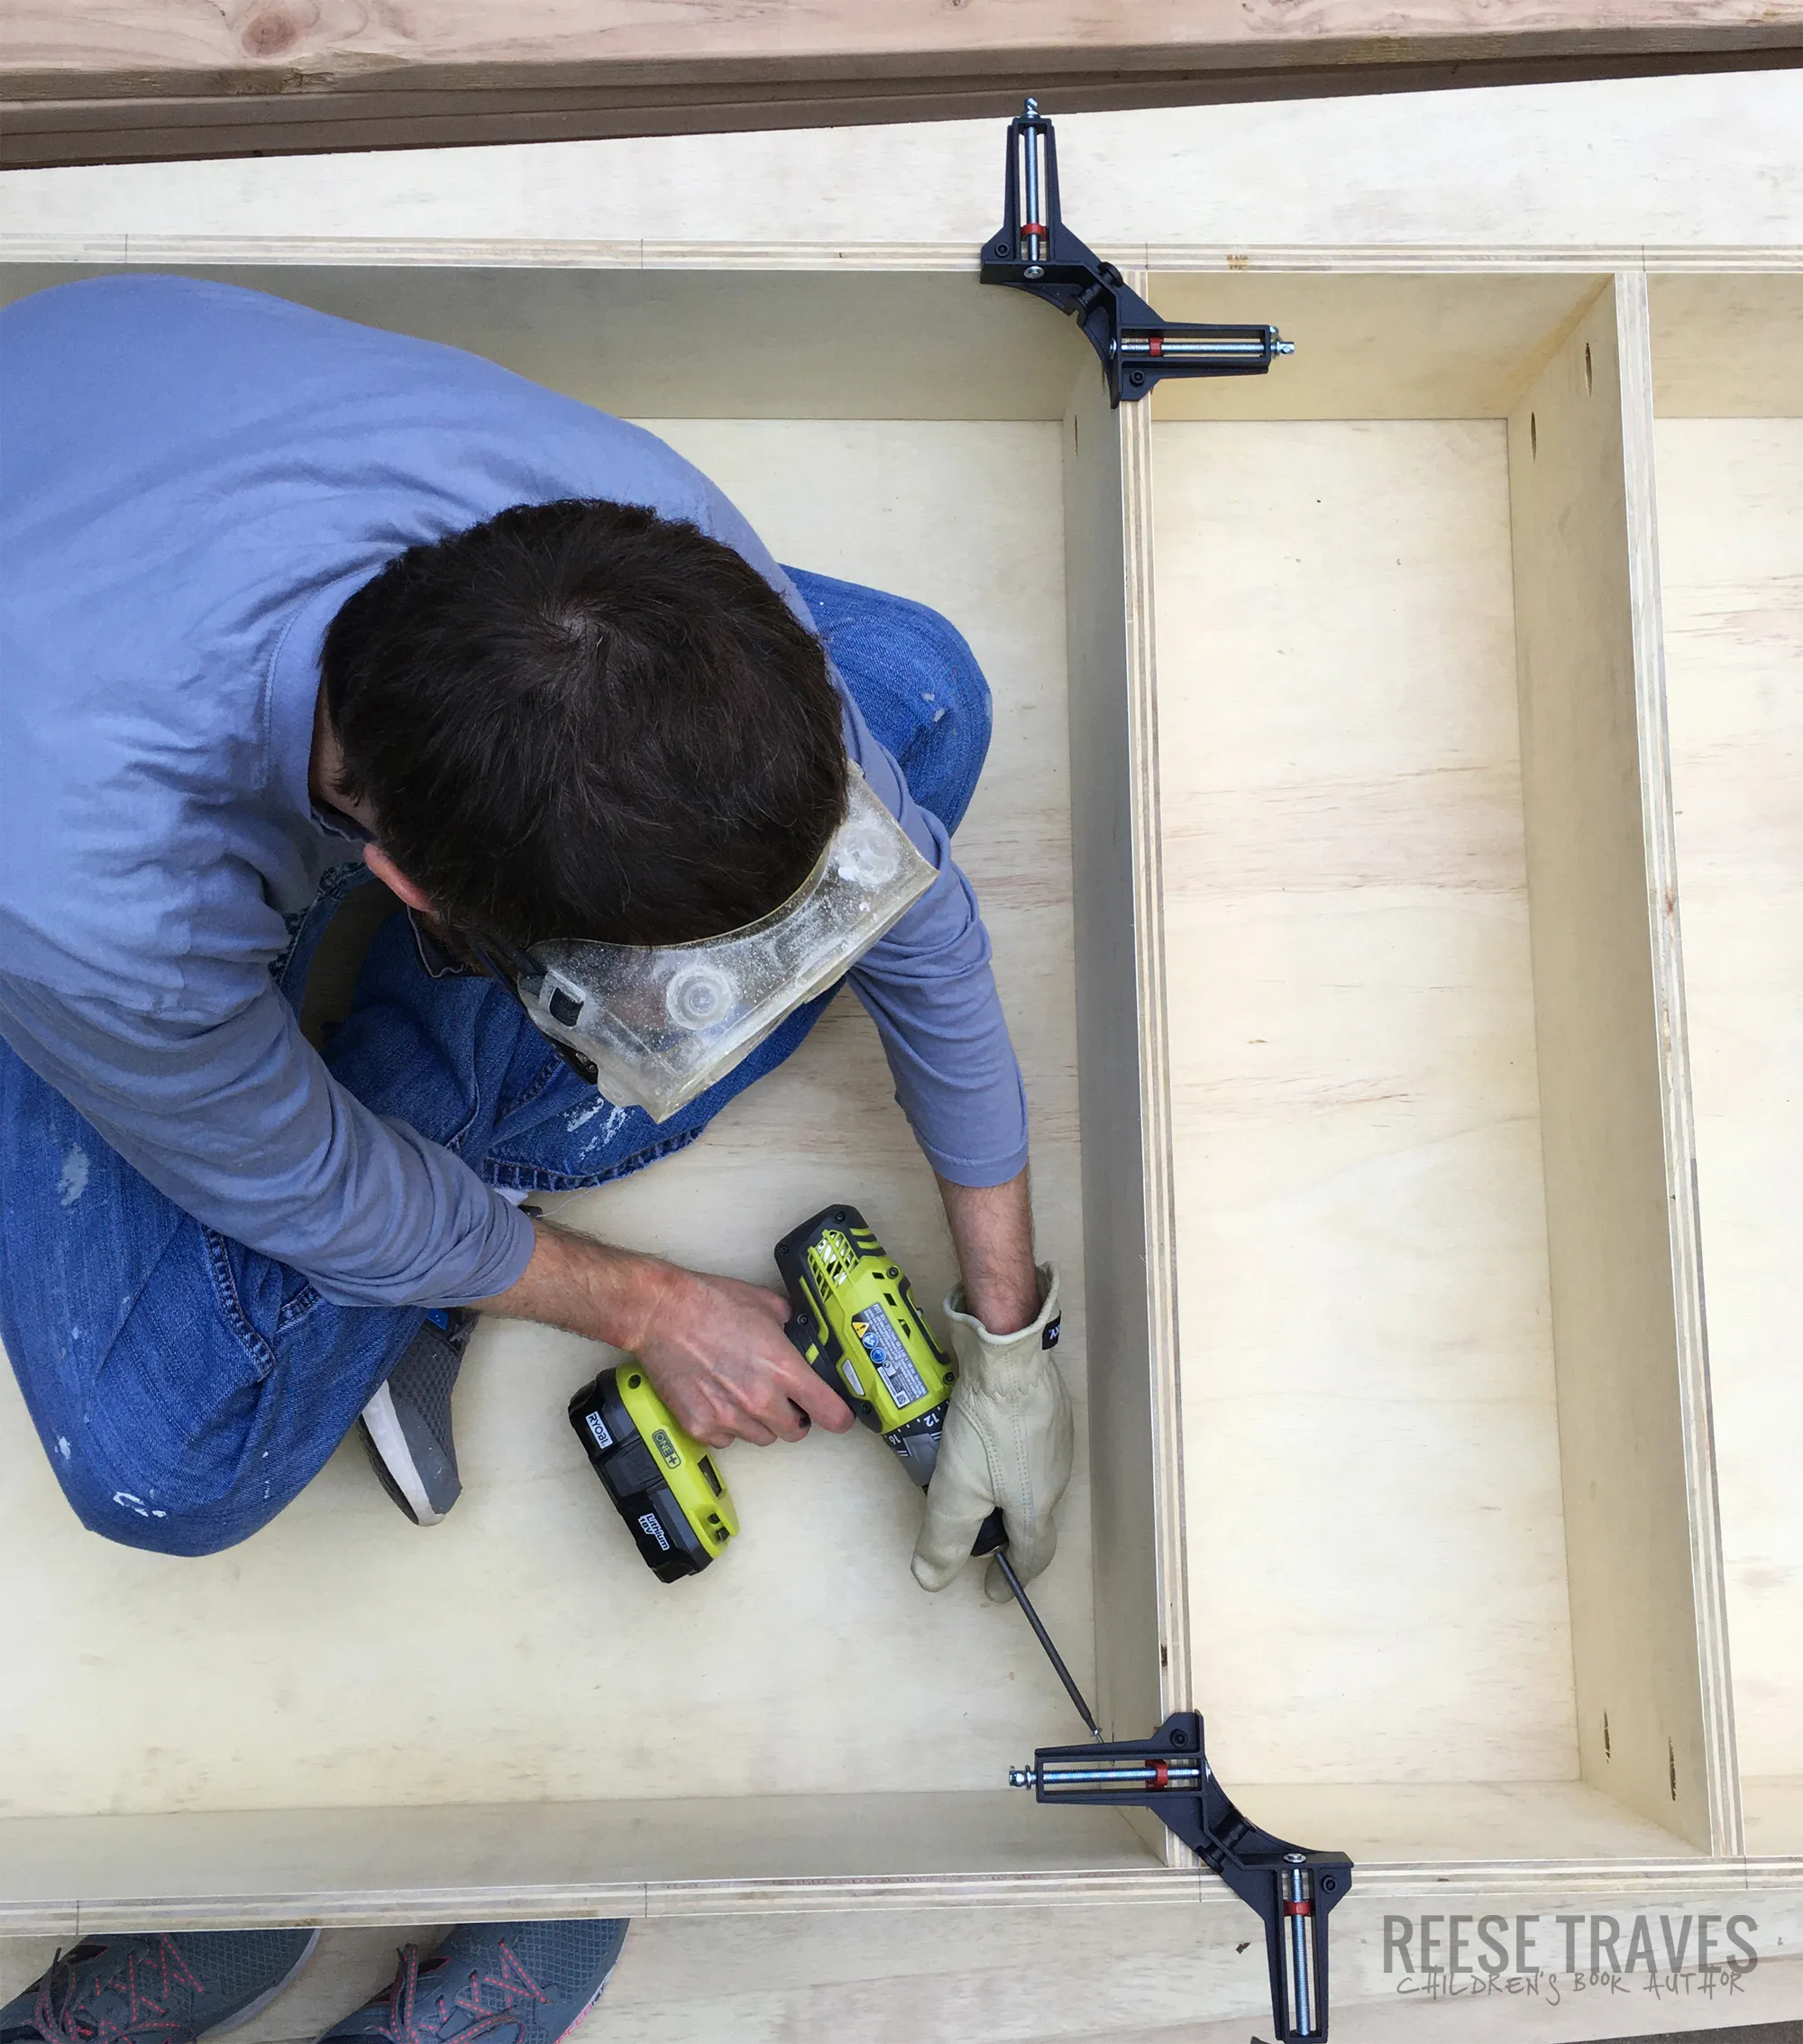 Using pocket screws to join corners of plywood bookcase.
Photo: Creating Strong and Discreet Joints
-
Building the Base: To support our masterpiece, we constructed a sturdy base using plywood. This base not only elevates the bookshelves but also adds to the overall stability.
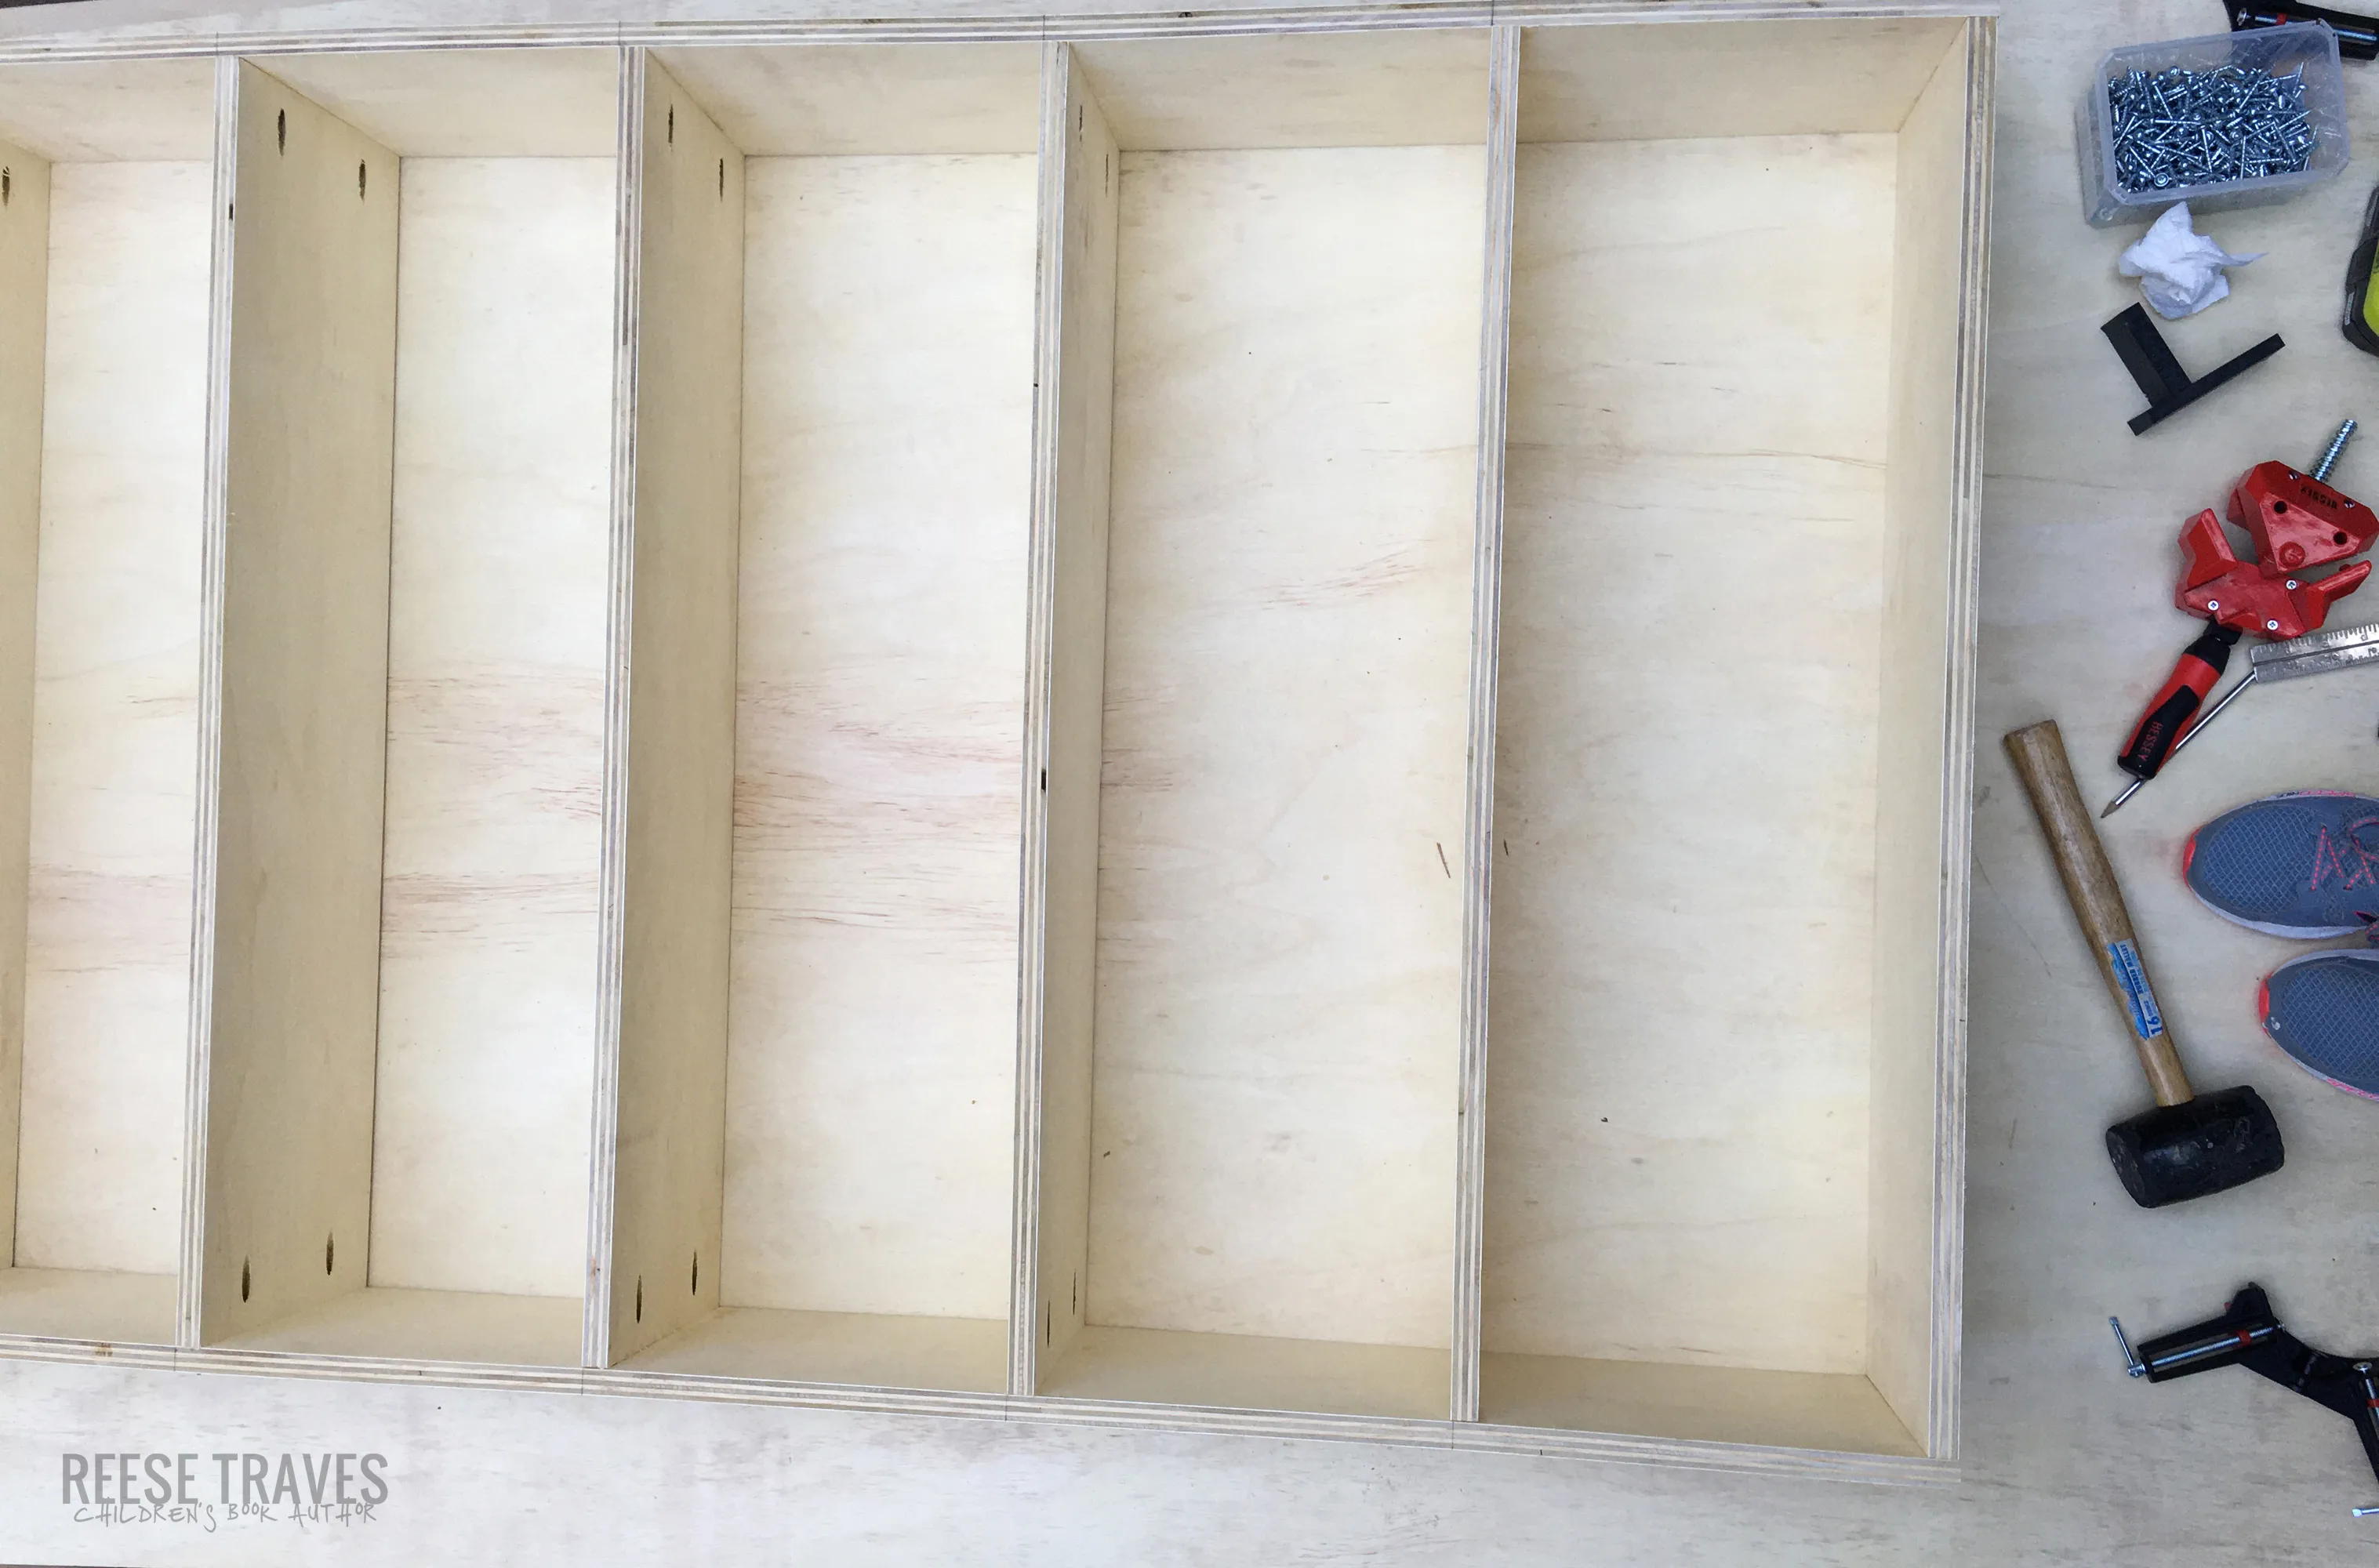 First completed bookcase out of 7 total for a DIY built-in bookshelves project that has a hidden door too!
Photo: Our First Bookcase Frame
Crafting the Hidden Door
Now for the most exciting part! Creating the hidden door that would add a touch of magic and mystery to our bookshelves.
-
Framing the Door: We used plywood to build a sturdy frame for our hidden door, ensuring it blends seamlessly with the surrounding bookshelves.
-
Choosing the Right Hinges: After careful consideration, we opted for traditional commercial door hinges. These hinges provide the necessary strength and stability for our hidden door, allowing it to swing open smoothly.
-
Installing Casters: To ensure easy movement and prevent sagging, we installed casters at the base of our hidden bookcase door. This allows the door to glide effortlessly, even when fully loaded with books.
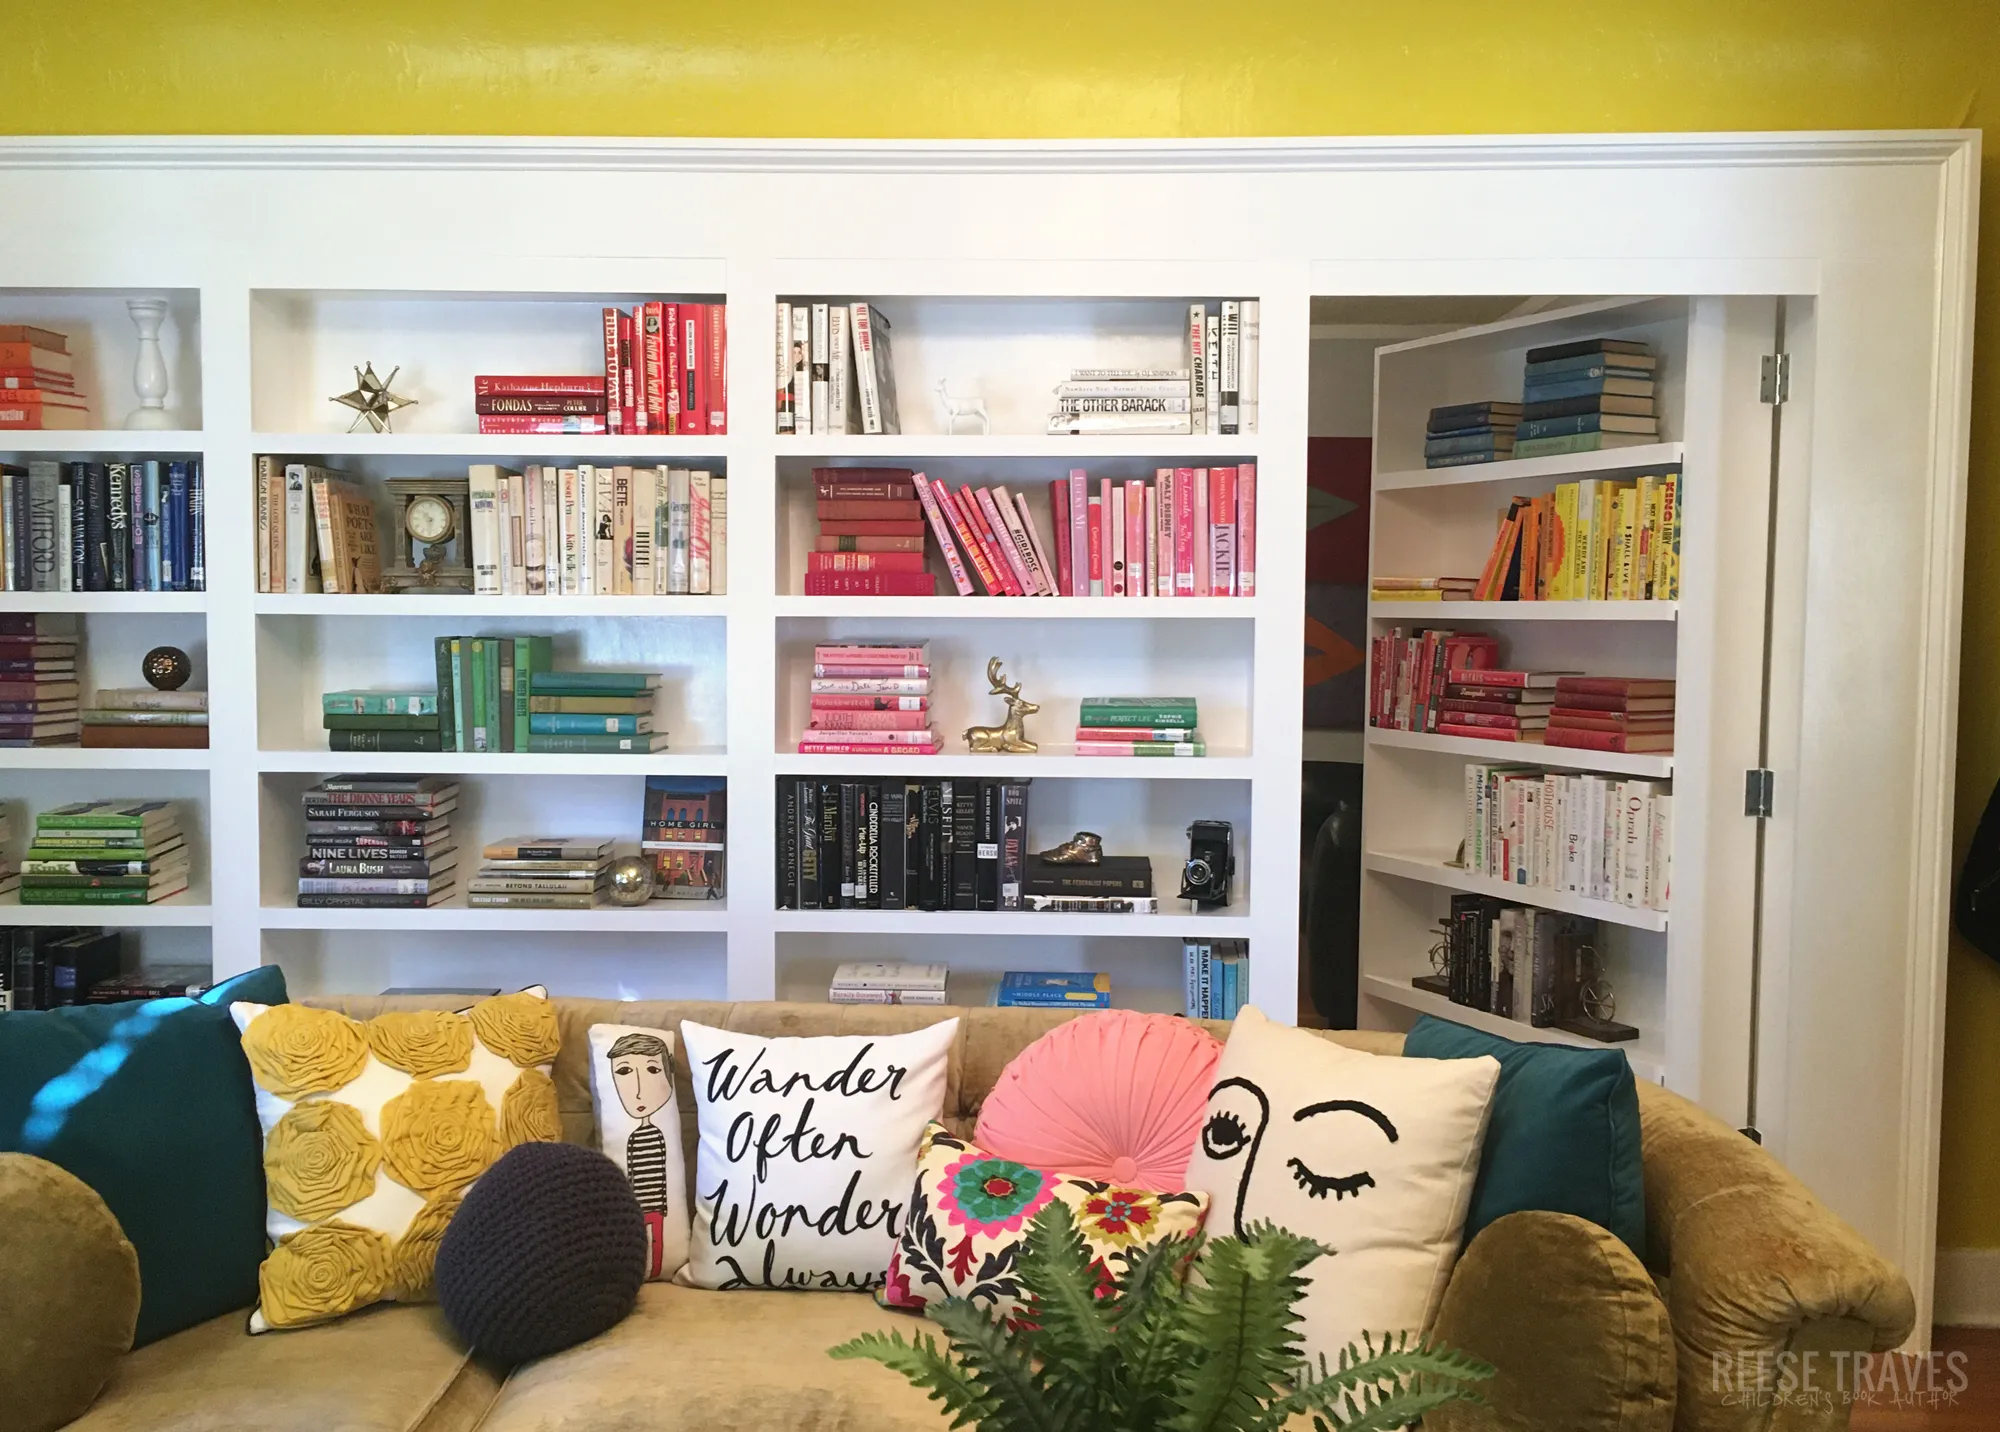 Here's the hidden bookcase door. It's on casters so it can hold more books.
Photo: The Hidden Bookcase Door on Casters
Finishing Touches and Styling
With the structure complete, it’s time for the finishing touches that transform our DIY project into a work of art.
-
Filling and Sanding: Using putty, we filled any gaps or imperfections, creating a smooth and flawless surface.
-
Painting: A fresh coat of paint brought our bookshelves to life, giving them a polished and professional look that complements our decor.
-
Adding Books: The moment we’d all been waiting for – filling our new shelves with beloved books!
 DIY built-in bookshelves that have a hidden bookcase door.
Photo: The Finished Bookshelves with Hidden Door
Conclusion
Creating these built-in bookshelves with a hidden door was an incredibly rewarding experience. This DIY project not only added character and storage to our home but also ignited a passion for woodworking and a sense of accomplishment.
Ready to embark on your own DIY adventure? Visit Robert Kline Art for more inspiration and unique handmade gifts.
