Blog
DIY Wood Photo Ornaments: Crafting Memories This Christmas
At Robert Kline Art, we believe in the power of handmade gifts. There’s something truly special about presenting a loved one with a creation infused with your personal touch. This Christmas, why not adorn your tree – or surprise someone special – with uniquely personalized DIY Wood Photo Ornaments? They’re surprisingly easy to make, budget-friendly, and the end result is a keepsake brimming with sentimental value.
Let’s Gather Our Crafting Supplies
Before we embark on our creative journey, let’s ensure we have all the necessary tools at our disposal:
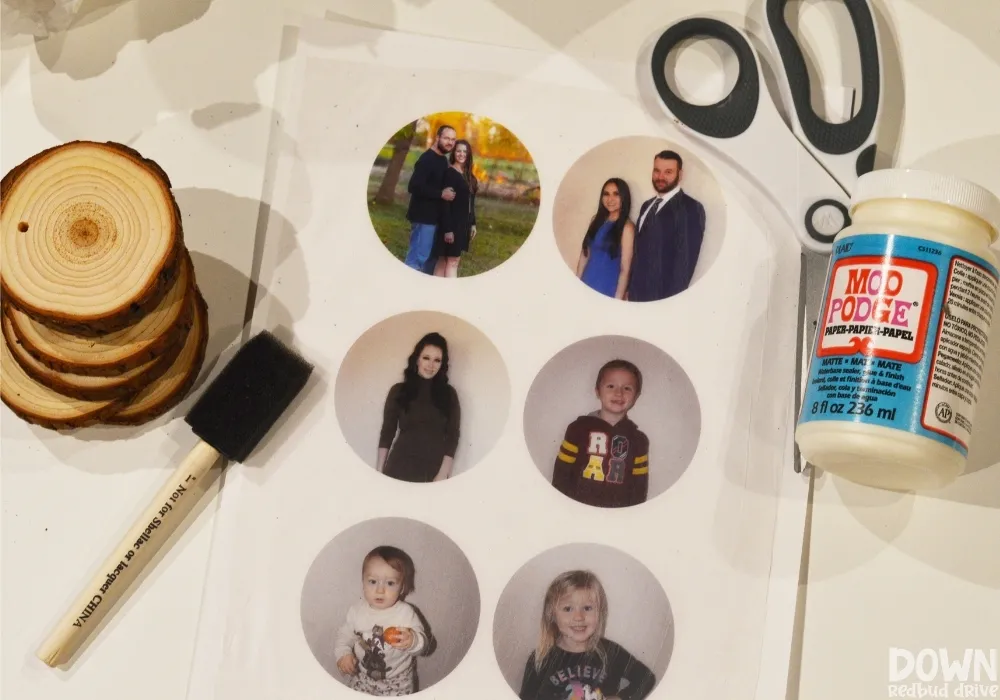
- Wood Slice Ornaments: These provide a rustic and charming base for our project.
- Cardstock: Opt for standard white cardstock.
- White Tissue Paper: The key to transferring your photos.
- Photo Template: We’ll guide you on creating one using Canva.
- Tape: Scotch tape works best.
- Mod Podge: This magical sealant will hold everything together.
- Foam Paint Brush: For smooth Mod Podge application.
- Scissors: Choose a sharp pair for intricate cutting.
- Toothpick: You’ll see why this little tool is a game-changer!
- Hot Glue Gun: Optional, but perfect for adding festive embellishments.
- Greenery and Ribbon: Also optional, for adding a final touch of holiday flair.
 Overhead shot of the supplies for the DIY Wood Photo Ornaments.
Crafting Picture-Perfect Ornaments: A Step-by-Step Guide
Ready to infuse your Christmas with personalized charm? Let’s get crafting!
Step 1: Prepping Your Photos for Printing
-
Template Time: For optimal results, aim for photos cropped to a 2.75″ circle. Canva, a fantastic online design tool, makes this a breeze. Don’t have an account? No worries, it’s free! Simply create one, open their template, upload your photos, and drag them into the provided circles. Save your masterpiece as a PDF for print.
-
Expert Tip: Ensure the “PDF for Print” option is selected to preserve your desired photo sizing.
Step 2: Printing with Precision
-
Tissue Paper Trick: Cut a sheet of white tissue paper slightly smaller than your cardstock. Smooth out any wrinkles, and using scotch tape, secure it to the cardstock, matte side up. This will ensure a polished finish on your ornaments.
-
Pro Tip: Tape along all edges of the tissue paper to prevent the printer from snagging and potentially tearing it.
-
Print and Marvel: Load your printer with the tissue paper side facing up. Now, hit that print button and watch as your photos come to life on the delicate tissue paper!
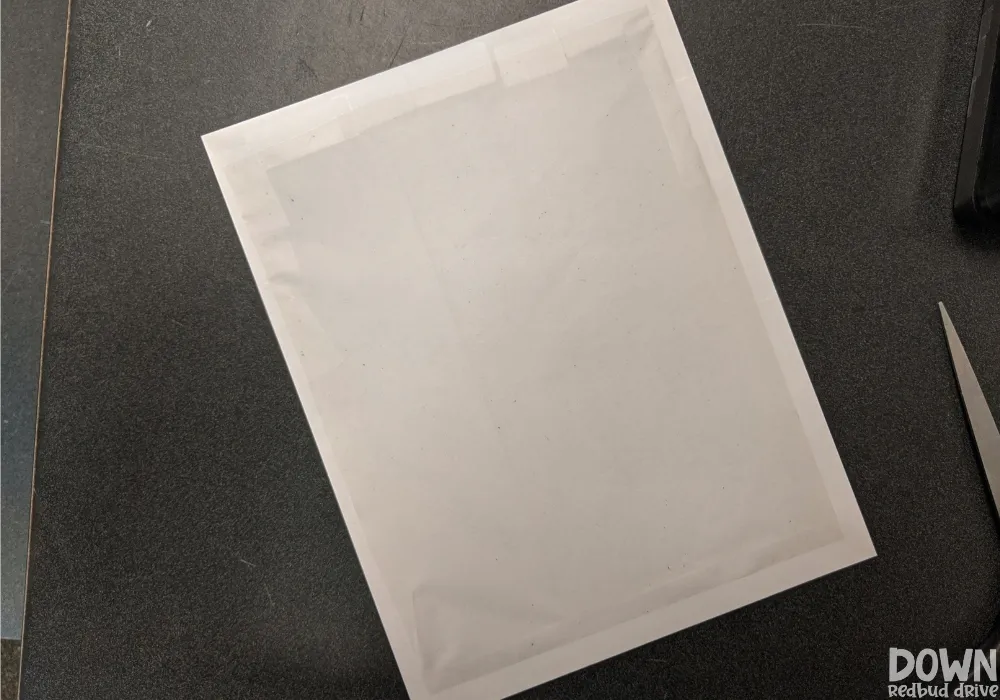 Tissue paper taped wo cardstock paper.
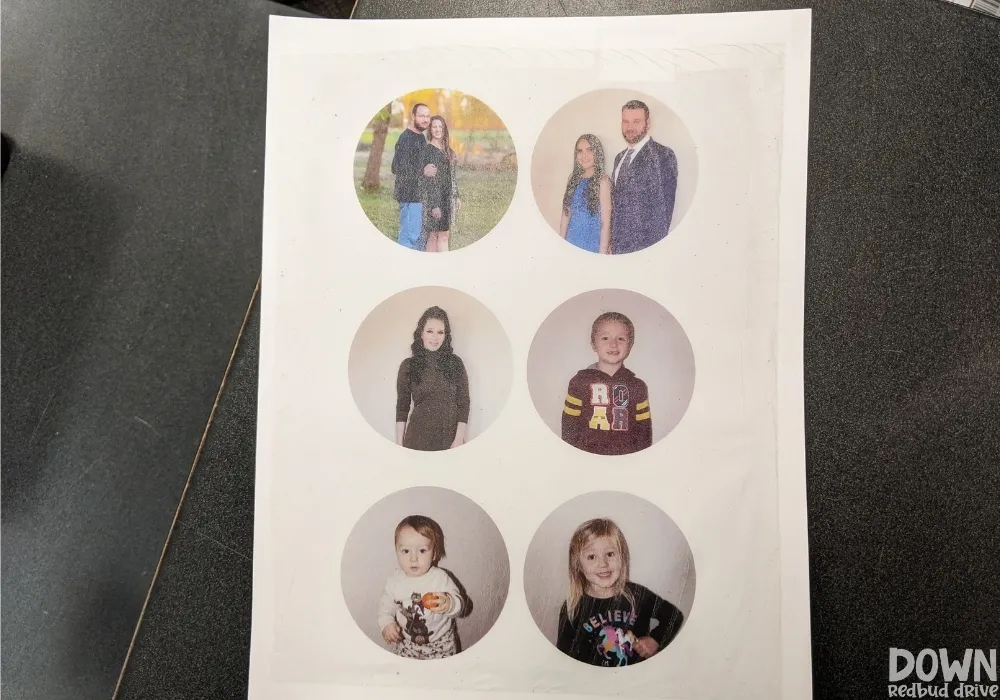 Photos printed onto tissue paper for making ornaments.
Step 3: Bringing Your Photos to Life
- Careful Cutting: Keep your photos taped to the cardstock for easier handling. With sharp scissors, carefully cut out each circular photo.
Step 4: Mod Podge Magic
- Even Application: Using your foam brush, apply a smooth and even layer of Mod Podge to the surface of your wood slice ornament.
Step 5: Picture-Perfect Placement
-
Mind the Hole: Gently position your tissue paper photo onto the Mod Podge-coated wood slice, ensuring the ornament’s hole is at the top center. This ensures your ornament hangs beautifully on the tree.
-
Wrinkle-Free Zone: Use your fingers to carefully press the photo onto the Mod Podge, smoothing out any air bubbles or wrinkles.
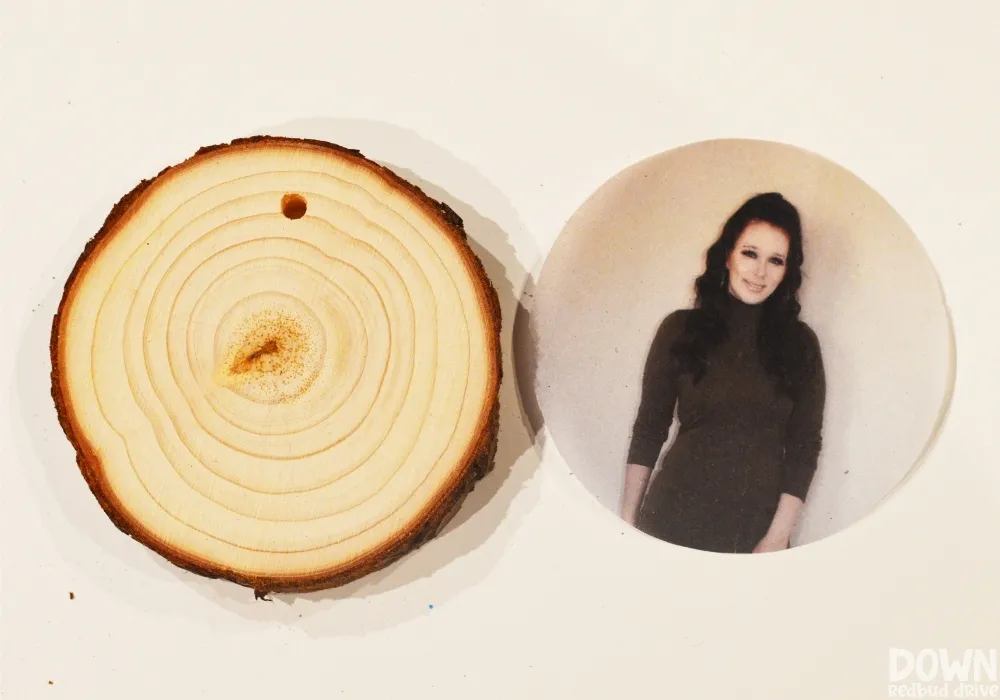 A blank wood slice ornament with a picture cut into a circle for the photo transfer.
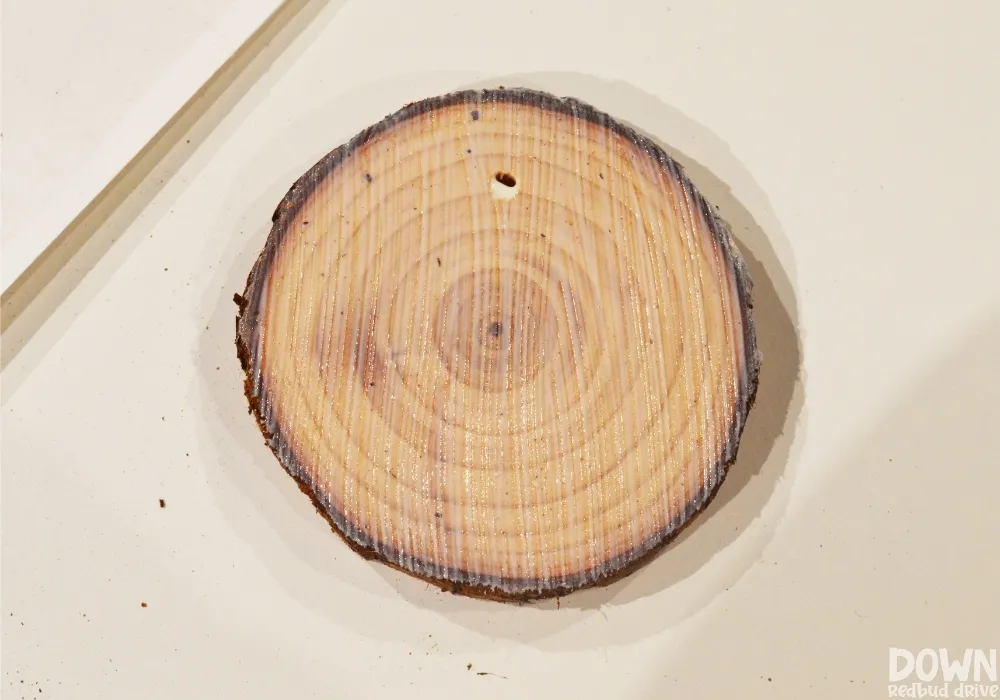 Modge Podge spread on a blank wood slice ornament.
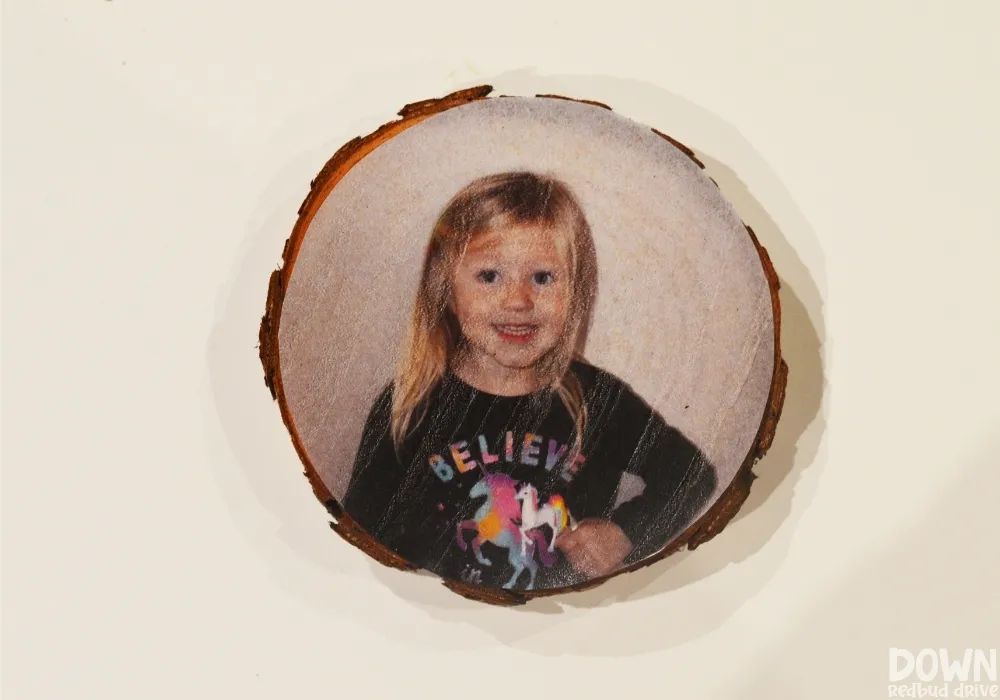 A tissue paper picture applied to a wood slice ornament using Modge Podge.
Step 6: Sealing the Deal
-
Another Layer of Love: Apply another even coat of Mod Podge over the photo, ensuring complete coverage.
-
The Toothpick Trick: Use a toothpick to gently press into the ornament hole at the top, clearing away any excess Mod Podge.
-
Seamless Edges: Press your thumb around the edges of the wood slice to remove any overlapping photo. This technique creates a natural, blended look.
-
Drying Time: Allow your ornaments to dry completely, which typically takes about an hour.
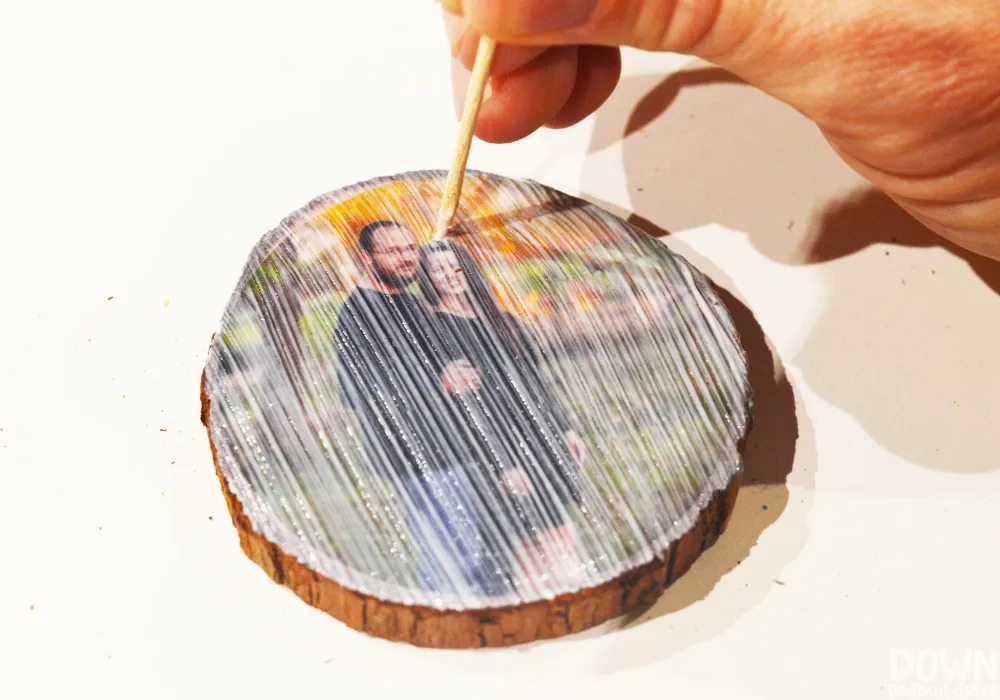 A hand using a toothpick to punch the whole in the picture in order to hang the ornament.
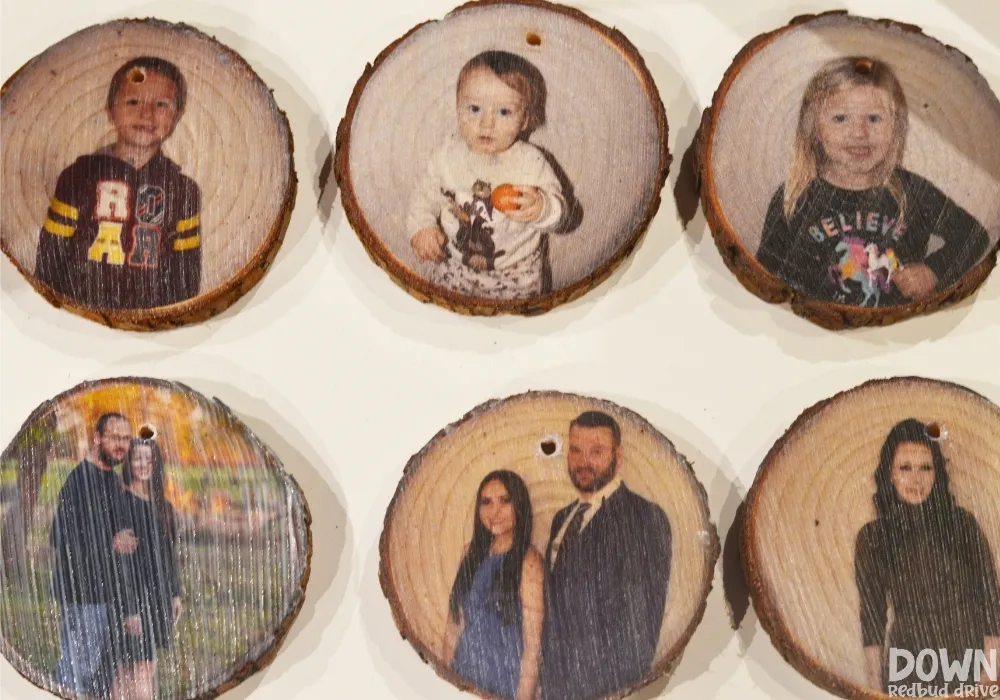 The DIY Wood Photo Ornaments drying after having the pictures applied to them.
Step 7: Ready to Hang
- Twine Time: Thread your chosen twine or ribbon through the ornament hole, creating a loop for hanging.
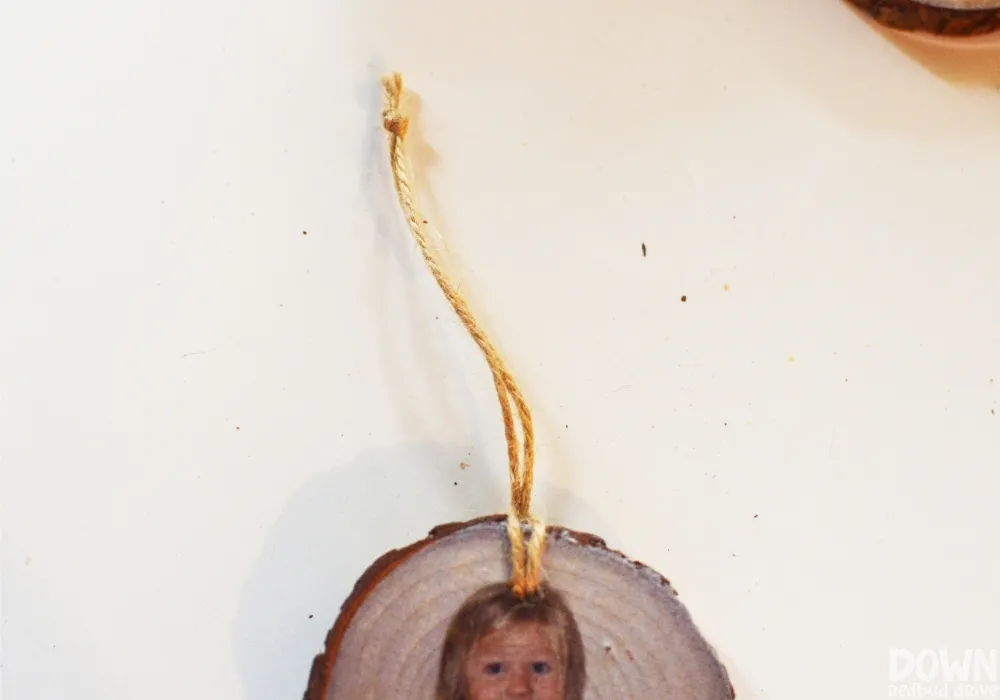 A piece of twine tied through the hole of the DIY Wood Photo Ornament in order to hang it.
Step 8: Adding Festive Flourishes (Optional)
- Holiday Cheer: For an extra touch of holiday spirit, use a hot glue gun to add embellishments like greenery, ribbons, or miniature bells to the top of your ornaments. Let your creativity shine!
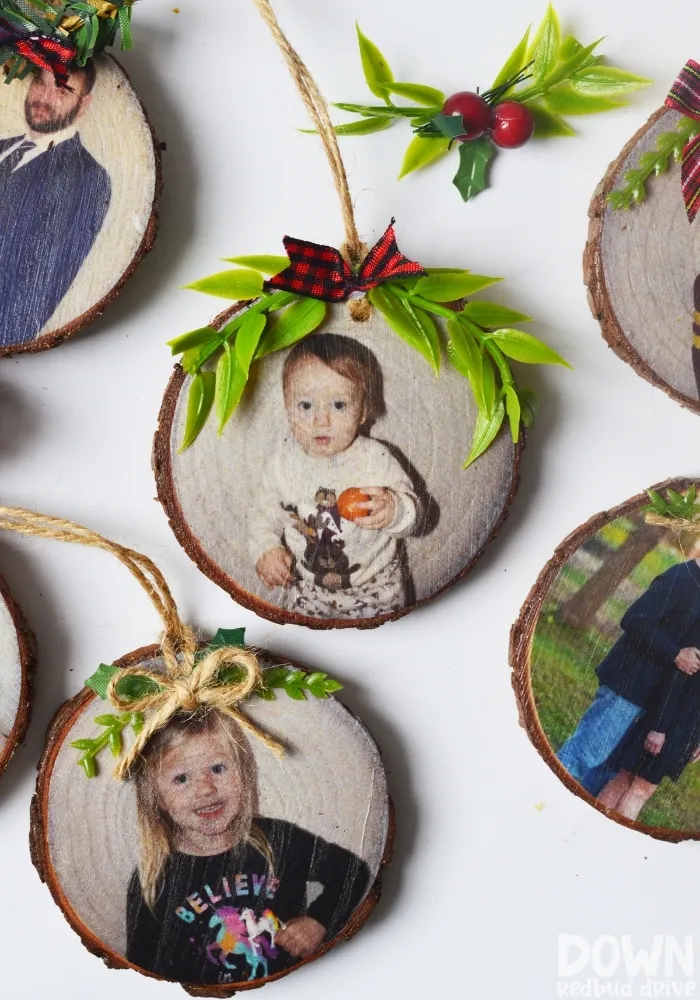 Tall overhead shot of the finished DIY Wood Photo Ornaments.
Crafting Beyond Photos: Exploring More Ornament Ideas
Looking for more DIY ornament inspiration? At Robert Kline Art, we love sparking creativity! Check out these other delightful ornament crafts:
- Feather Ornament DIY: These elegant ornaments are surprisingly simple to create, and the end result looks incredibly sophisticated.
- Napkin Ornament DIY: Don’t underestimate the charm of napkins! These ornaments are incredibly easy and turn out irresistibly cute.
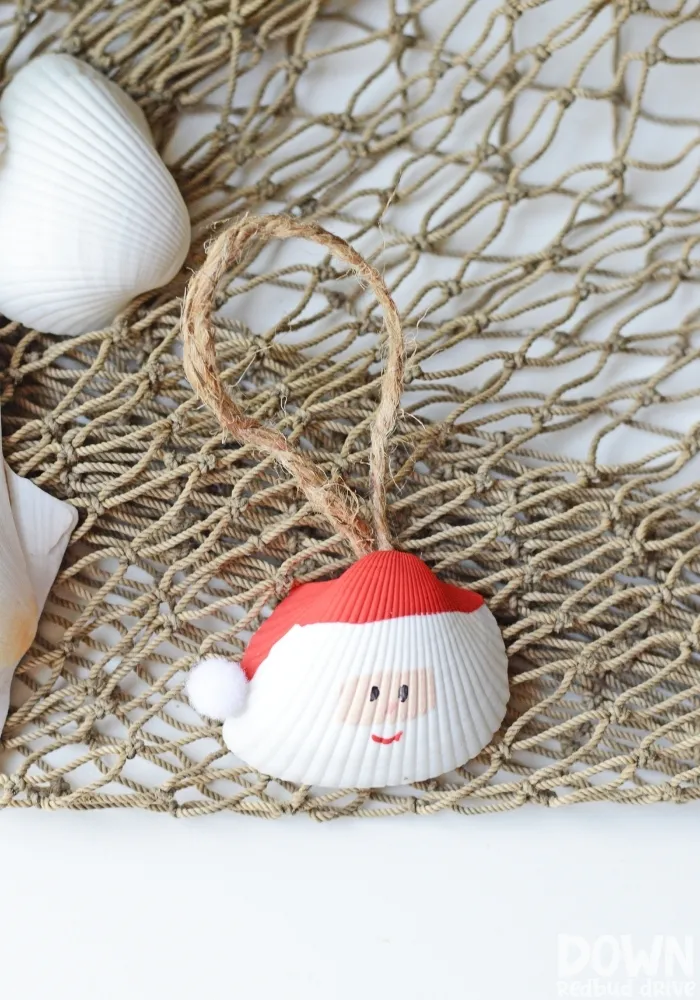
- Santa Seashell Ornament DIY: Bring a touch of the beach to your Christmas tree with these unique and whimsical ornaments.
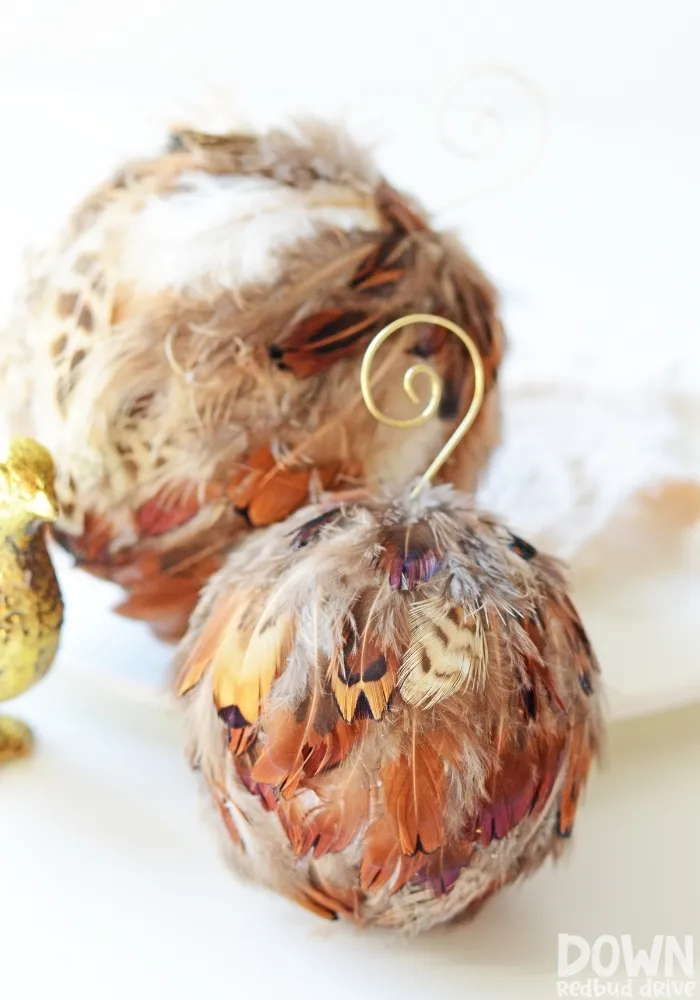 Feather Ornament DIY tall image.
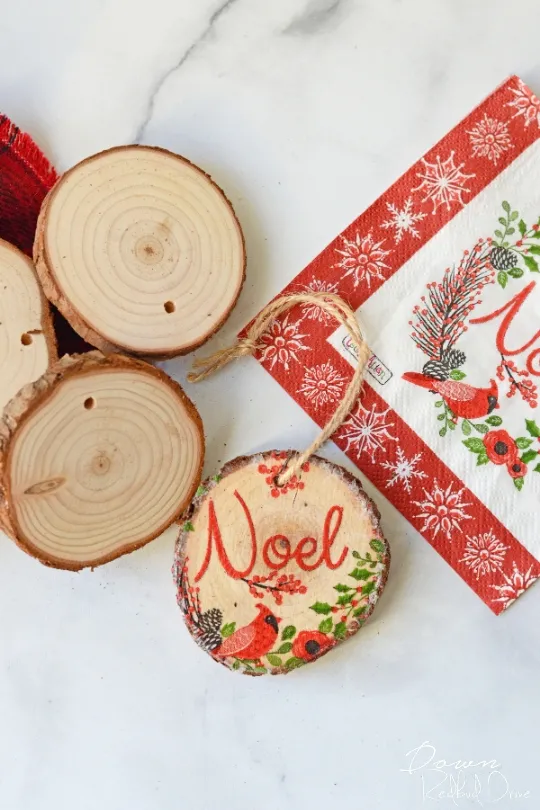 napkin ornament
 " class=
Share Your Creations with Robert Kline Art!
This holiday season, create lasting memories with handmade gifts. These DIY Wood Photo Ornaments are not just decorations; they’re heartfelt expressions of love and creativity. We encourage you to gather your materials, unleash your inner artist, and create personalized treasures for your tree or to gift to someone special.
Don’t forget to share your beautiful creations with us! We at Robert Kline Art would love to see your unique takes on these DIY ornaments. Share photos of your masterpieces in the comments below. Happy crafting!
