Blog
Capturing Memories: How to Transfer Photos to Wood
Hey there, fellow craft enthusiasts! Robert Kline here, and I’m excited to share a project that’s close to my heart: transferring photos to wood. This technique elevates simple snapshots into treasured keepsakes. Imagine gifting a loved one a rustic wood slice adorned with their wedding photo or creating a one-of-a-kind family portrait on reclaimed barn wood. The possibilities are as limitless as your creativity!
Gathering Your Supplies:
Before we embark on this artistic journey, let’s gather our tools. You’ll need:
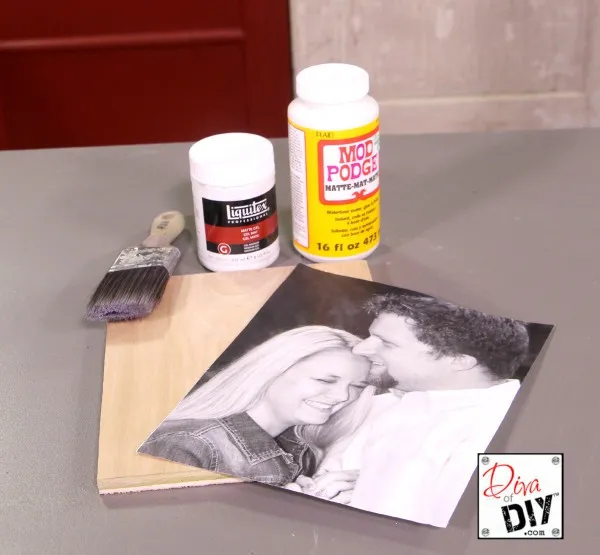
- Laser copy of your chosen photo: Opt for black and white or sepia tones for a timeless look.
- A piece of wood: Unfinished or finished, choose a size that complements your photo. I often use Purebond plywood for its smooth finish and durability.
- Paintbrush or foam brush: For applying the magic ingredient!
- Liquitex Matte Gel Medium: This acts as the adhesive between your photo and the wood.
- Mod Podge or Rust-Oleum Matte Clear Spray: To seal and protect your masterpiece.
- A rag and a bowl of water: For the grand reveal!
Step-by-Step Guide to Photo Transfer Magic:
Step 1: Preparing Your Canvas
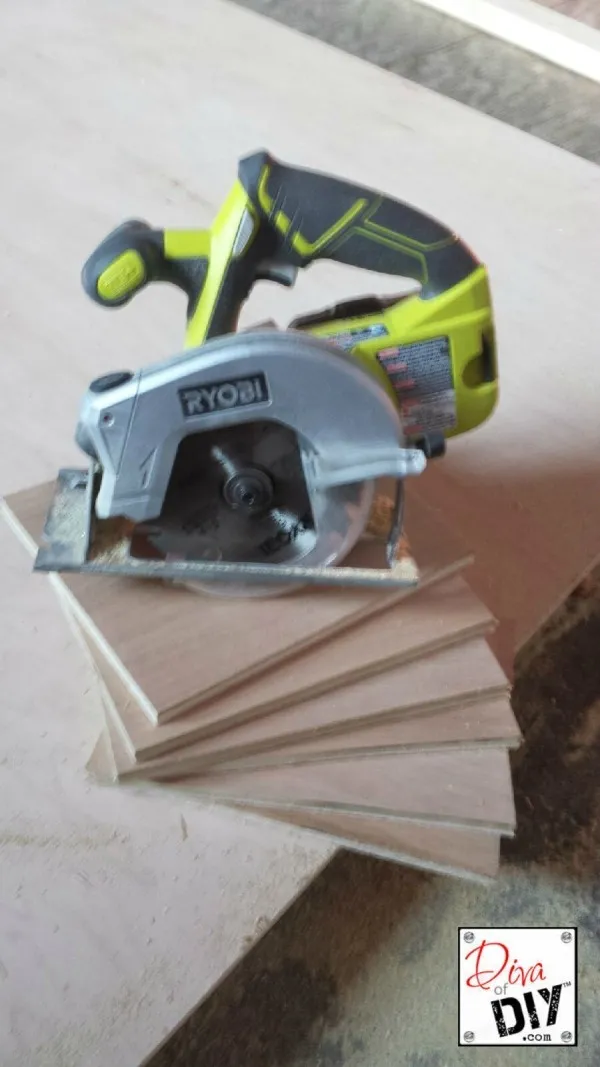
Begin by cutting your chosen wood to the same size as your photo. If you don’t have a saw at home, most hardware stores will gladly cut it for you.
Step 2: Applying the Magic Medium
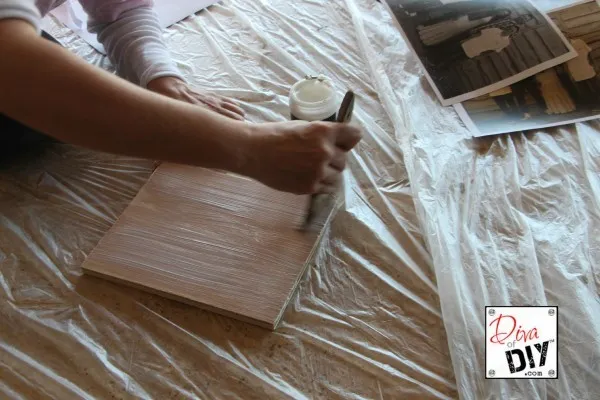
Apply an even coat of Liquitex Matte Gel Medium to your wood surface. Remember, it’s better to have a bit extra than not enough. Even coverage is key to a smooth and successful transfer.
 Preparing the wood surface with gel medium for photo transfer.
Step 3: Layering for Success
Carefully place your laser-printed photo face down onto the wet gel medium. Gently smooth out any air bubbles using your hands, ensuring the photo is in full contact with the gel.
 Placing the printed photo face down onto the gel medium
Step 4: Patience is a Virtue
Allow the magic to happen overnight as the gel medium dries completely. This step is crucial for a successful transfer.
Step 5: Unveiling Your Masterpiece
Now, for the exciting part! Dampen your rag and wet the back of the paper thoroughly. You’ll begin to see the image peek through the paper. Gently rub the paper with your fingers, keeping it wet, to slowly reveal the photo transferred onto the wood.
 Gently rubbing the wet paper to reveal the photo transfer.
Step 6: The Final Flourish
Once you’re happy with the revealed image, let it dry completely. If you notice a slight film, gently rub it away with a damp rag.
Step 7: Sealing the Deal
Protect your creation with a coat of Mod Podge or Rust-Oleum Clear Spray. This will safeguard it from dust, moisture, and the test of time.
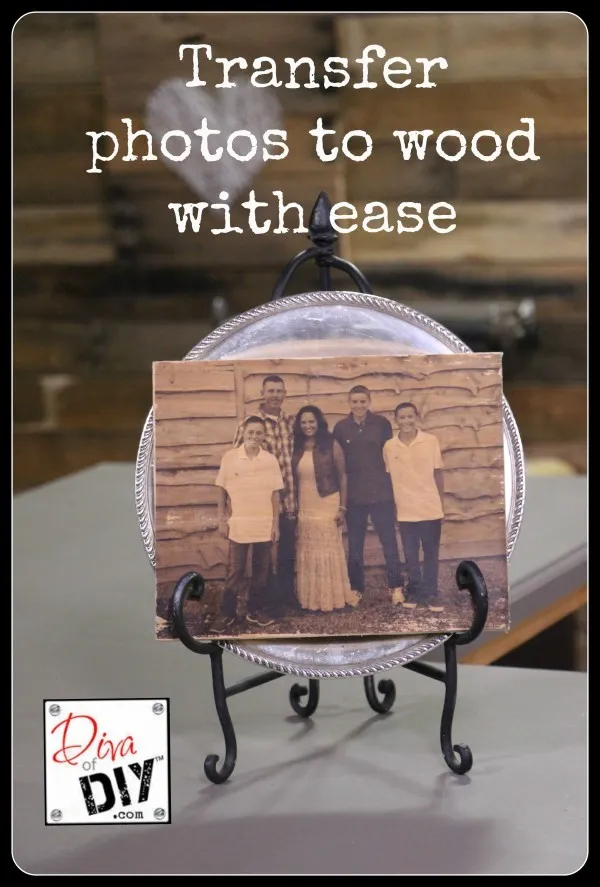 A beautiful finished photo transfer on wood.
From Rustic Charm to Heartfelt Gifts:
This photo transfer technique opens a world of creative possibilities. I’ve used it to create rustic wedding signs, personalized coasters, and even heartwarming family portraits on reclaimed wood planks.
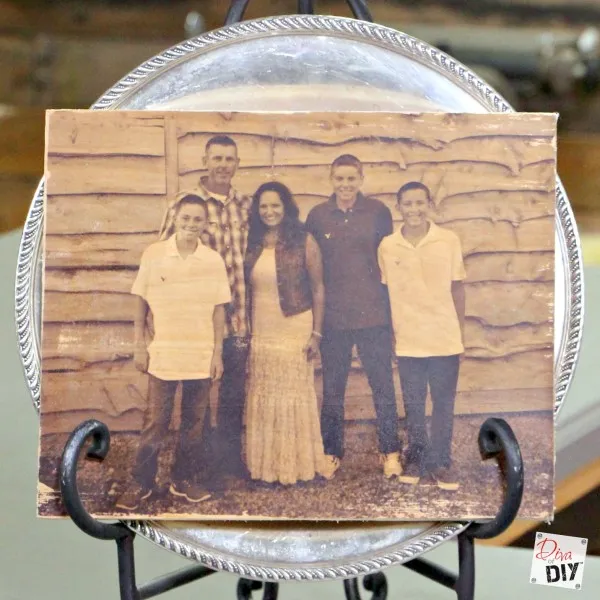 A finished photo transfer project featuring a family photo on wood
As an avid crafter, I believe that the beauty of handmade gifts lies in their uniqueness and the emotions they evoke. Remember, imperfections add character and tell a story. Don’t be afraid to experiment and personalize your creations!
I can’t wait to see what you create! Share your photo transfer masterpieces with me on Instagram, Twitter, or Facebook. For more inspiring DIY projects and craft ideas, visit Robert Kline Art. Let’s inspire each other to craft a world filled with beauty and heartfelt creations.
