Blog
DIY Family Photo Luminaries: Illuminate Your Cherished Memories
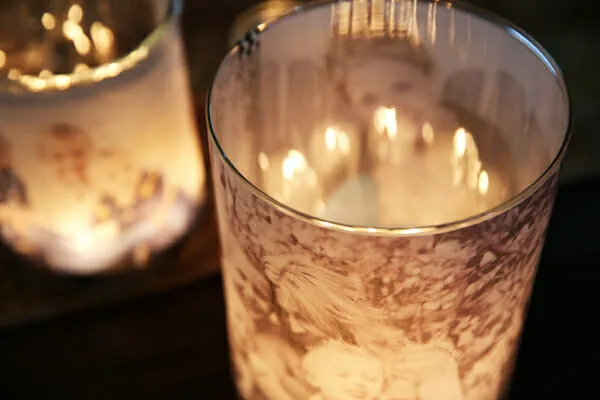
As an artist who thrives on crafting tangible memories, I’ve always been drawn to the magic of light. There’s something enchanting about how it dances off surfaces, creating an ethereal glow that transforms the ordinary into the extraordinary. This fascination led me to create these personalized family photo luminaries – a testament to the power of light and a celebration of cherished moments.
Bringing Back the Magic of Candlelight
Growing up, our formal dining room was a sanctuary reserved for special occasions. Bathed in the warm glow of candlelight, every Thanksgiving, Christmas, and Easter felt like stepping into a fairytale. It’s those flickering flames and shared stories that I carry with me today.
While my family now enjoys more casual gatherings, the allure of candlelight remains. These DIY photo luminaries, born from a happy accident involving vellum and childhood memories, have become my way of recreating that magic, adding a touch of warmth and personalization to any space.
Crafting Your Own Glowing Memories
This project is a testament to the beauty of simplicity, requiring just a handful of materials and a dash of creativity. Let me guide you through the process:
Materials You’ll Need:
- Vellum Sheets: The translucent canvas for your photos.
- Photo Printer: Most inkjet printers, like my trusty Canon PIXMA, work perfectly.
- Double-Sided Tape: Our adhesive hero for securing the photos.
- Glass Containers: Mason jars, vases, hurricanes – let your creativity guide you!
- Tea Lights or Battery-Operated Candles: The heart of the luminary’s glow.
 Glowing luminaries from Our Best Bites
Step-by-Step Guide:
-
Print Your Memories: Select your favorite family photos, ensuring they’re horizontal for optimal wrapping, and print them onto the vellum.
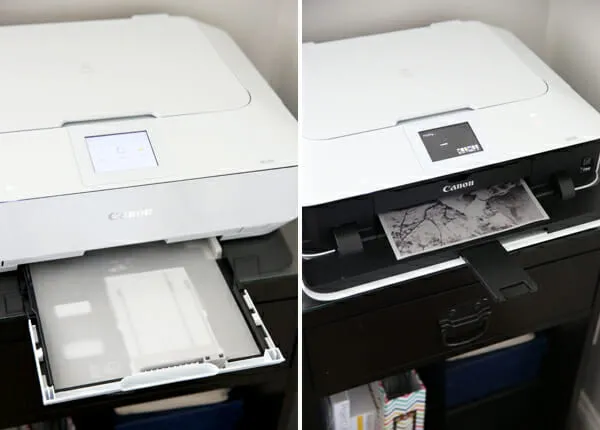 Canon Photo Printer
 Vellum Photos
 -
Prepare Your Canvas: Gather your glass containers, ensuring they’re clean and dry. Simple cylindrical shapes work best, but don’t be afraid to experiment!
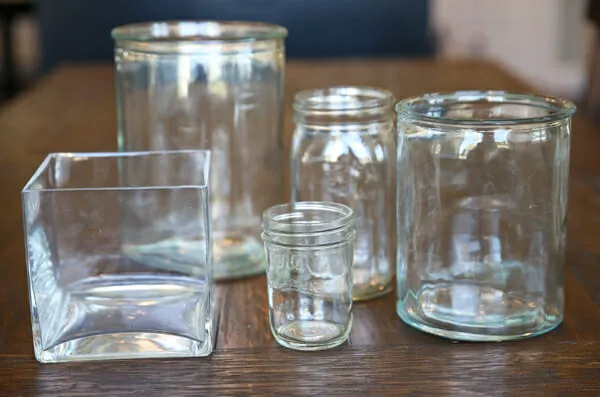 Glass Containers
 -
Measure and Trim: Measure the height of your container and trim your printed photos accordingly.
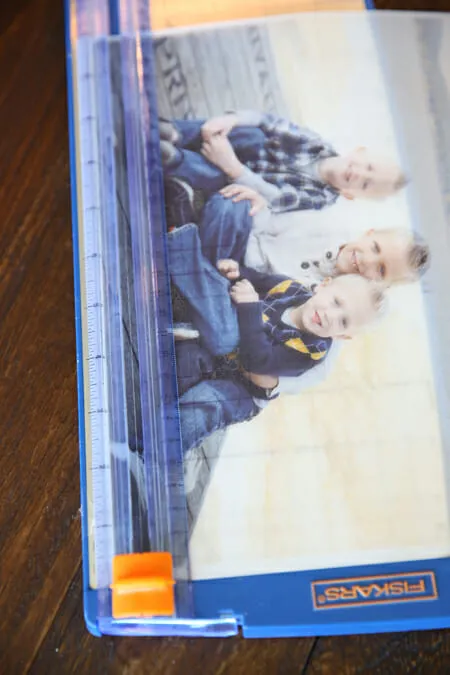 Trimming Photos
 -
Secure with Love (and Tape): Apply double-sided tape to the back of your photos and carefully adhere them to the inside of the glass container. For larger containers, you might need multiple photos, ensuring they meet seamlessly.
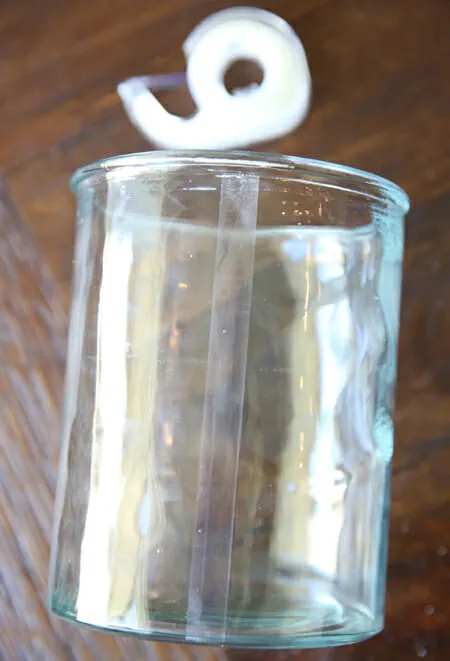 double stick on glass
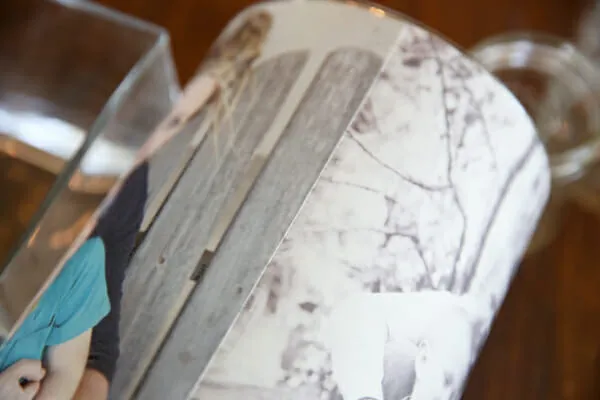 Photos on Luminaries
 -
Add a Touch of Whimsy: For an extra pop, consider adding a strip of decorative washi tape.
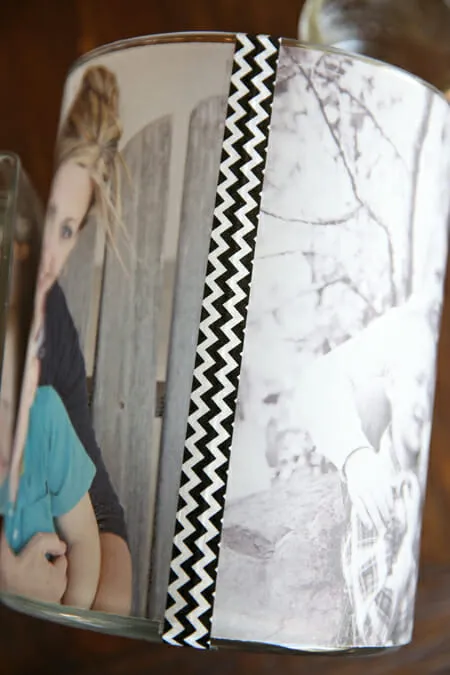 Washi Tape on Luminary
 -
Light Up Your World: Place a tea light or battery-operated candle inside each container and watch as your memories come to life!
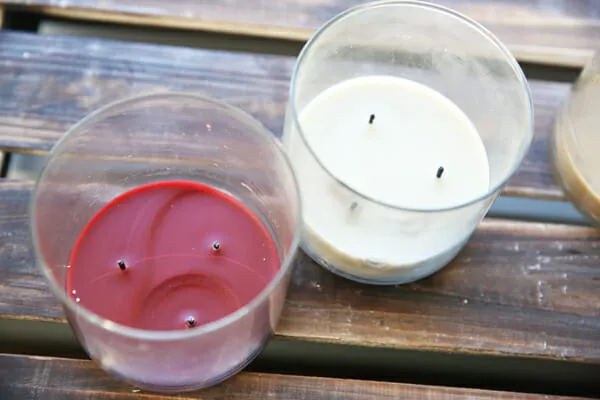 Candles
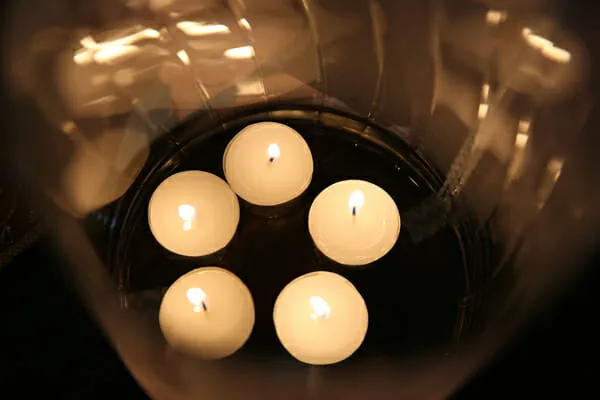 Lit Tea Lights
More Than Just Decor
These luminaries are more than just beautiful decorations; they’re conversation starters, memory keepers, and vessels of warmth. Imagine them gracing your dining table, casting a gentle glow on faces as stories are shared. Picture them illuminating a wedding reception, each flicker a tribute to the couple’s journey.
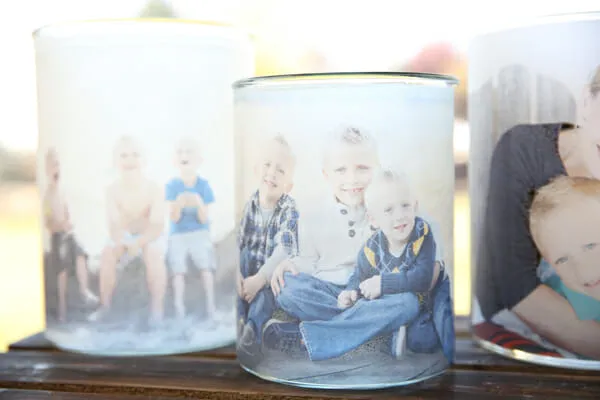 Luminaries on Windowsill from Our best Bites
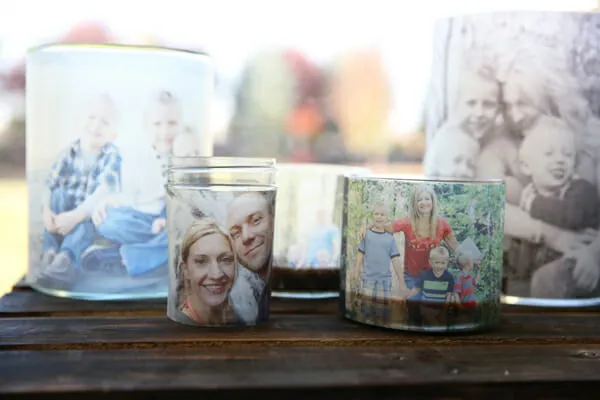 Lumanaries on Windowsill
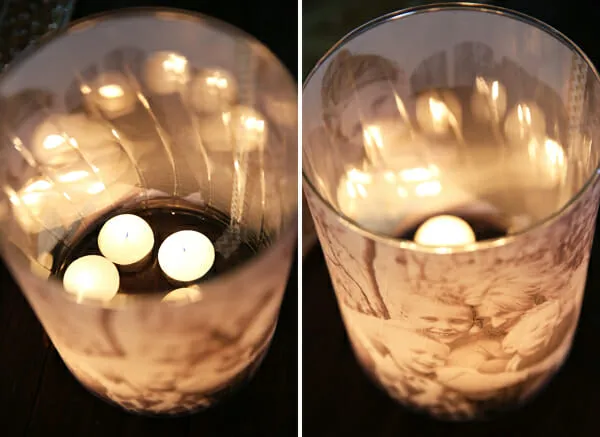 Glowing Luminaries with Candles
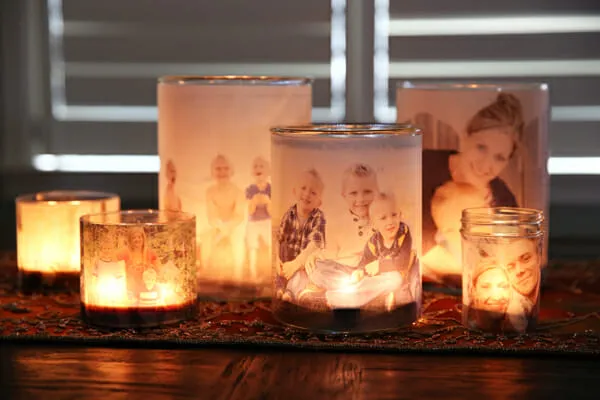 Glowing Family Luminaries from Our Best Bites
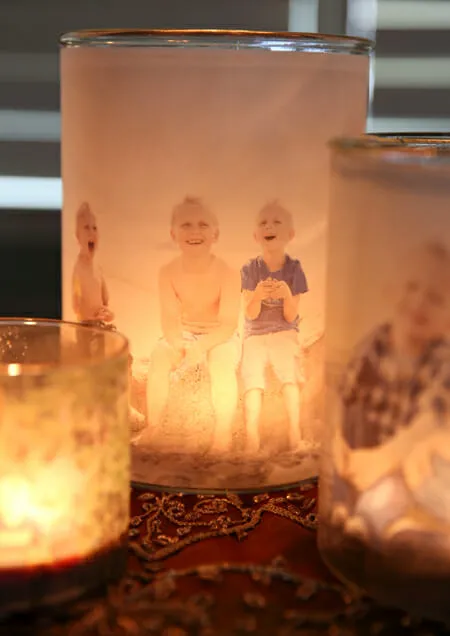 Glowing Family Picture Luminaries from Our Best Bites
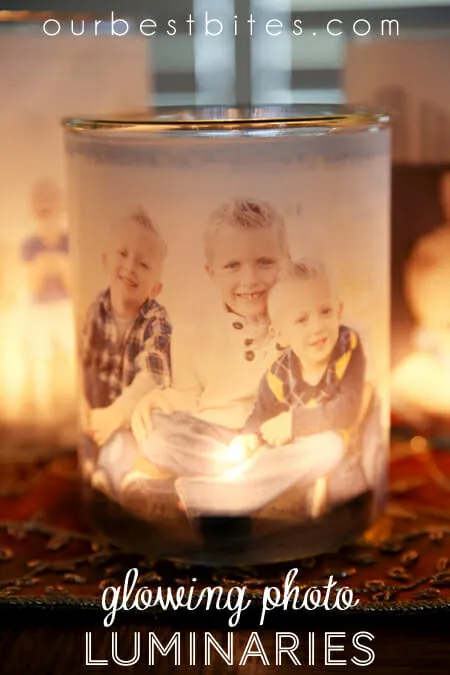 Easy and Affordable Glowing Family Photo Luminaries from Our Best Bites
Embrace the Glow
At Robert Kline Art, we believe in crafting not just objects, but experiences. So gather your materials, ignite your creativity, and let these personalized luminaries illuminate your most cherished moments.
Don’t forget to share your creations and tag us on social media! We’d love to see how you’ve brought your memories to life.
