Blog
Crafting Style: Your Guide to a Custom Wooden Tie Clip

At Robert Kline Art, we believe in the power of the handcrafted touch. It’s about infusing everyday objects with unique character and personal style. And what better way to elevate your look than with a custom wooden tie clip? This simple accessory is a subtle statement piece and a perfect way to showcase your own creativity.
This guide will take you through the process of crafting your own wooden tie clip, from selecting the perfect piece of wood to adding those final touches.
Gathering Your Materials
Before you begin, let’s gather your tools and materials. Here’s what you’ll need:
- A piece of hardwood: Choose a wood type that appeals to you – walnut, cherry, and maple are all great options. Aim for a piece that is about 1/4 inch thick, 3/4 inch wide, and 2-3 inches long.
- Tie clip hardware: You can find tie clip blanks online or at craft stores. Choose a metal finish that complements your wood choice.
- Sandpaper: Various grits (80, 120, 220) for smoothing and finishing.
- Wood glue: A strong adhesive for securing the hardware.
- Clamps: To hold the tie clip together while the glue dries.
- Optional finishing supplies: Wood stain (if desired), wood oil or wax for protection.
- Safety equipment: Safety glasses and a dust mask are essential when working with wood and adhesives.
Shaping Your Tie Clip
- Cut the wood: If your piece of wood isn’t already the desired size, use a saw to cut it down. Remember, it’s easier to remove wood than to add it back on, so start conservatively.
- Shape and sand: Now comes the fun part – shaping your tie clip! Use a file or sandpaper to round the edges and create the desired shape. Get creative! Experiment with different contours and designs. Once you’re happy with the shape, progressively sand the wood with finer grits of sandpaper until it’s smooth to the touch.
Adding the Finishing Touches
- Attach the hardware: Apply a small amount of wood glue to the back of the tie clip blank. Align it carefully with the center of your wooden piece, pressing firmly to ensure good adhesion. Use clamps to hold the tie clip together while the glue dries completely.
- Stain (optional): If you’d like to enhance the natural beauty of the wood, consider applying a wood stain. Follow the manufacturer’s instructions carefully.
- Protect and shine: Apply a coat of wood oil or wax to protect your tie clip and give it a subtle sheen. This step also helps to enhance the natural grain of the wood.
A Custom Creation
Congratulations! You’ve just created a unique, handcrafted wooden tie clip. This personalized accessory is perfect for adding a touch of individual style to your wardrobe or for giving as a thoughtful, handmade gift.
“I love seeing the creativity that people bring to their handmade projects,” says renowned craftsman, David Anderson. “A simple item like a tie clip can become a true expression of personality when crafted with care and attention to detail.”
Share your creations with us at Robert Kline Art! We’d love to see your custom tie clips. And don’t forget to explore our collection of other unique, handmade gifts for every occasion.
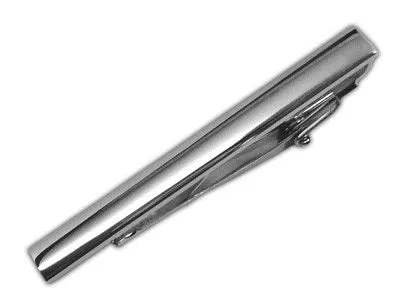
 Silver Shot Tie Bar A sleek silver tie bar with a unique shot design.
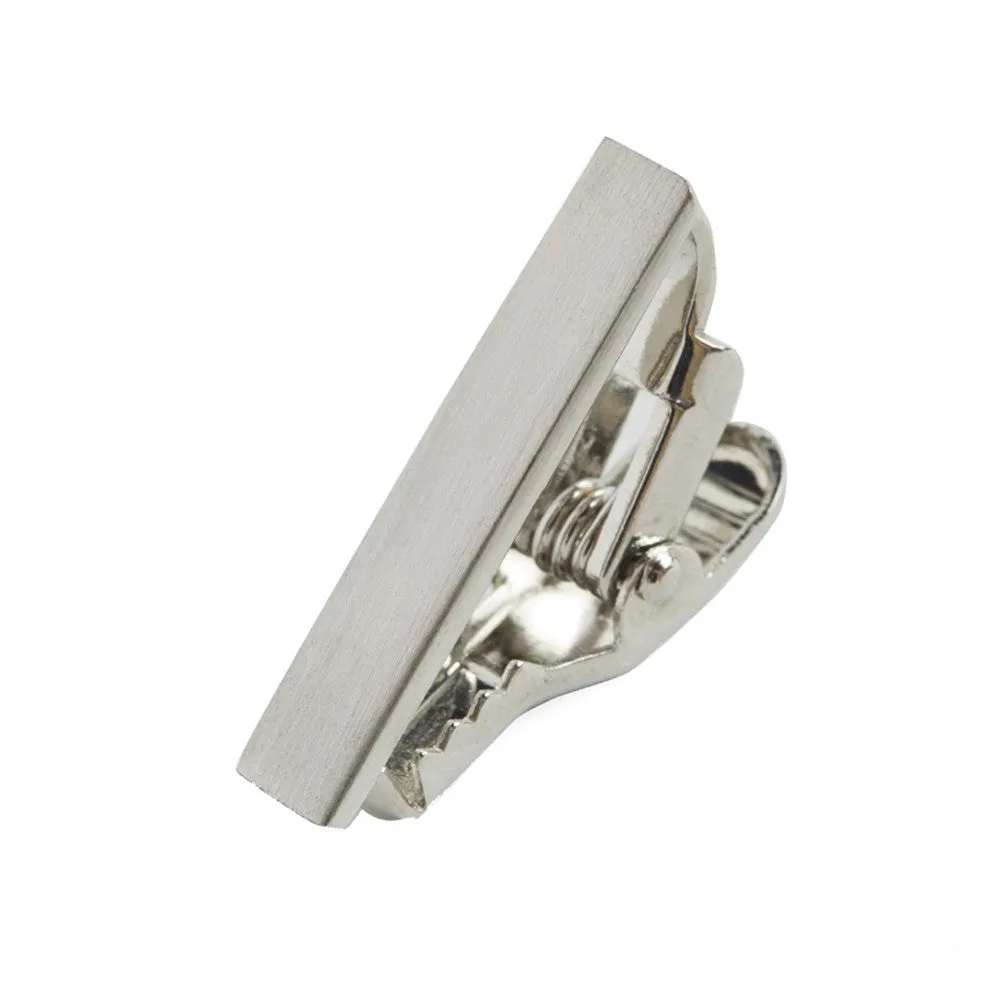
 Brushed Straight Silver Tie Bar A classic brushed silver tie bar, perfect for any occasion.
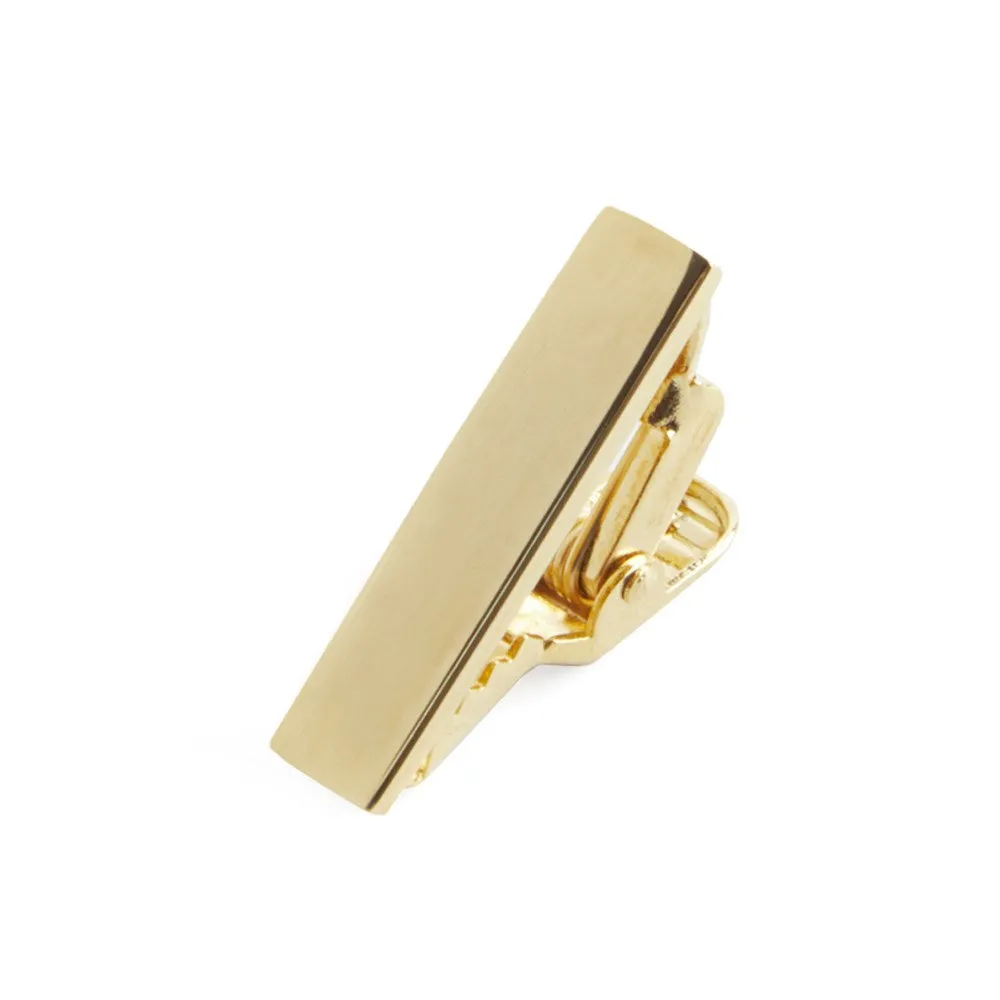
 Gold Align Tie Bar A sophisticated gold tie bar with a modern aligned design.
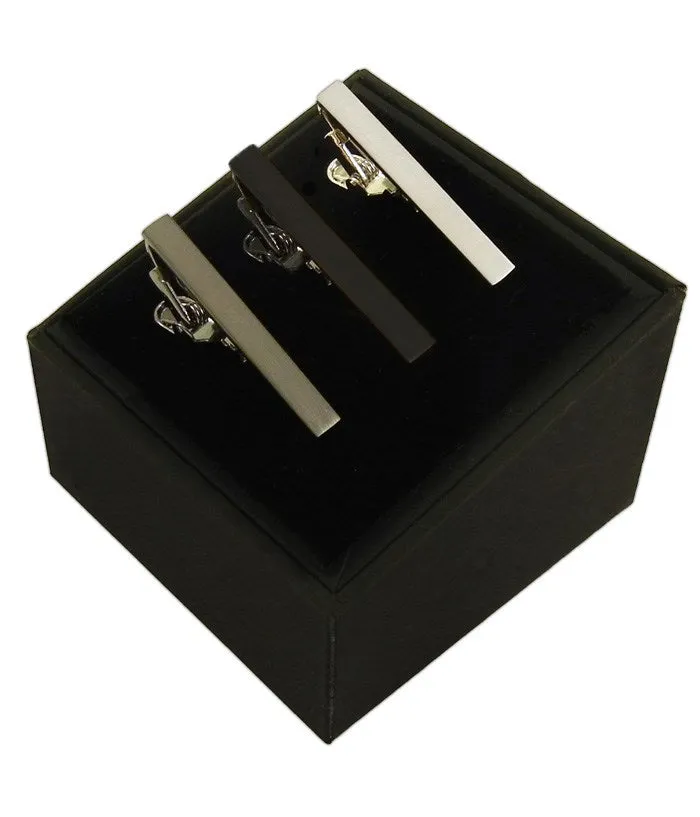
 3 Pack Set Black Tie Bar A versatile 3-pack of black tie bars in various styles.
