Blog
Rustic DIY Wooden Pencil Holder: A Touch of Nature for Your Desk
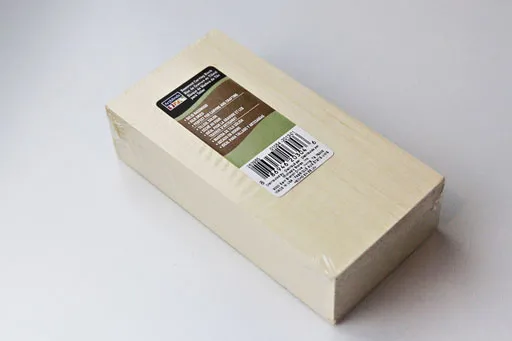
Have you ever admired the natural beauty of wood and wished to bring some of that warmth into your daily life? As an artist who finds inspiration in the simplest things, I’m always drawn to the raw, organic appeal of natural materials. Today, I’m excited to share a project that combines my love for art and nature – a rustic DIY wooden pencil holder! This charming piece adds a touch of the outdoors to your workspace while keeping your creative tools organized.
Gathering Your Supplies
This project is incredibly easy and requires just a few basic tools and materials. Don’t worry if you’re not a seasoned DIYer; the steps are beginner-friendly, and the results are sure to impress. Here’s what you’ll need:
- Hand saw: This will be used to cut the wood to your desired height.
- Small slice of wood: Look for a piece from a large branch or tree base with a diameter of about 6 inches. You can also use a pre-cut wood slice from a craft store for convenience.
- Drill: Equip your drill with a drill bit size of about 7/16” for creating the pencil holes.
- Sandpaper: This is essential for smoothing out the edges of your wood slice and giving it a polished finish.
 wood carving diy via lilblueboo.com
Image: A collection of materials for the DIY pencil holder, including a wood slice, a drill, and sandpaper.
Creating Your Rustic Masterpiece
Now that you have your materials prepped, let’s dive into the crafting process:
Step 1: Preparing the Wood
Using your hand saw, carefully cut your chosen wood piece to your preferred height for the pencil holder. Remember, safety first! Always wear protective gloves and eyewear when operating tools.
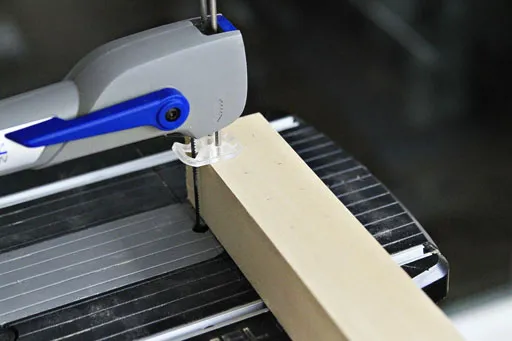 cutting wood at home with dremel motosaw via lilblueboo.com
Image: Cutting a wood slice with a hand saw.
Step 2: Drilling the Pencil Holes
This step allows for creative freedom! You can drill the holes in a neat pattern for a more organized look or opt for a random arrangement for a touch of whimsy.
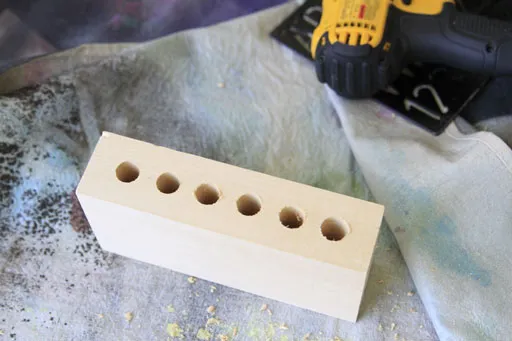 How to drill wide holes in wood via lilblueboo.com
Image: Using a drill to create holes in the wood slice for pencils.
Step 3: Sanding and Finishing
Once you’ve drilled all the holes, it’s time to smooth out any rough edges using sandpaper. This will not only enhance the look of your pencil holder but also prevent any accidental splinters.
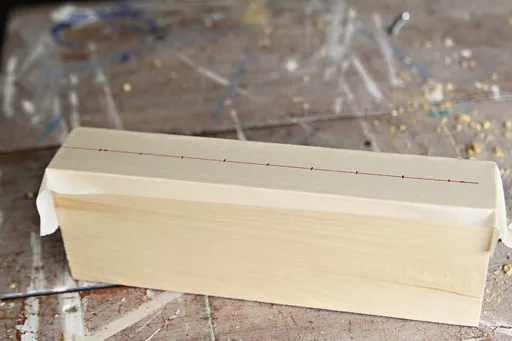 how to keep wood from splintering when drilling via lilblueboo.com
Image: Sanding the edges of the wood slice for a smooth finish.
Step 4: Personalize Your Creation
Now comes the fun part! Unleash your creativity and personalize your pencil holder. You can add a touch of color with paint, embellish it with twine, or even use wood-burning techniques to create unique designs.
 DIY rustic wood crayon holder via lilblueboo.com
Image: A completed rustic pencil holder with a variety of pencils.
Conclusion
Congratulations on crafting your very own rustic DIY wooden pencil holder! Not only is it a practical addition to your workspace, but it also serves as a reminder of the beauty that can be found in natural materials. Share your creations with us; we’d love to see your unique takes on this project! And don’t forget to explore Robert Kline Art for more inspiring craft ideas and unique handmade gifts for your loved ones.
