Blog
Craft a Custom Wooden Jewelry Box: A Step-by-Step Guide
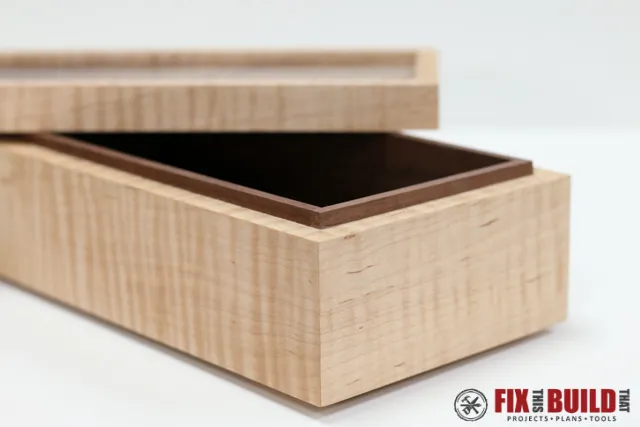
Have you ever admired a beautiful, handcrafted wooden jewelry box and wished you could create one yourself? Well, my fellow craft enthusiasts, today is your lucky day! I’m Robert Kline, an artist with years of experience in crafting, and I’m here to guide you through the process of creating your own unique wooden jewelry box.
This project is perfect for both beginners and those looking to refine their woodworking skills. It requires minimal materials and tools, making it a budget-friendly and rewarding experience. Plus, there’s nothing quite like the satisfaction of holding a finished piece you’ve poured your heart and soul into. So, let’s gather our tools and dive into the world of woodworking together!
Gathering Your Supplies
Before we embark on this creative journey, let’s ensure we have all the necessary supplies. Don’t worry; you won’t need an elaborate workshop for this project. Here’s what you’ll need:
Tools:
- Drum Sander
- Table saw
- Miter saw
- Random Orbital Sander
- Web clamp (F-clamps work well too)
- Spring clamps
Materials:
- 3″ x 3-1/2″ x 3/8″ Maple (or your preferred wood for the sides)
- 28″ x 2″ x 3/16″ Walnut (or your preferred wood for the top, bottom, and lining)
- 20″ x 4-1/2″ x 1/4″ Walnut
- Wood glue
- Sandpaper (various grits)
- Finish of your choice (shellac, oil, etc.)
Expert Tip: “Choosing the right wood for your project can make a big difference,” says renowned woodworker, Sarah Thompson. “Consider the wood’s grain pattern, hardness, and color to create a visually appealing and durable piece.”
Creating the Base: Top and Bottom Panels
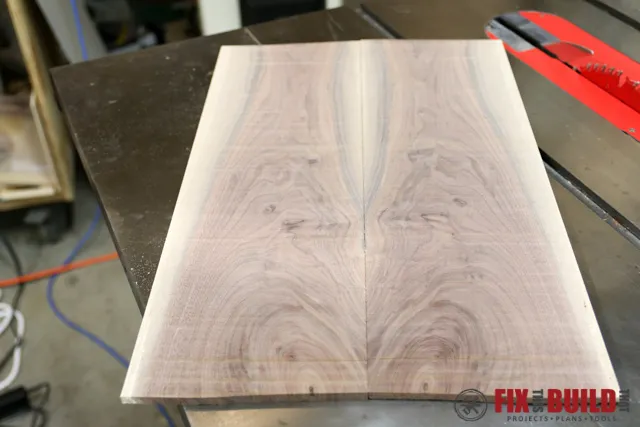
- Prepare the Panels: Begin by creating the top and bottom panels of your jewelry box. You can use a single piece of wood or glue up smaller pieces to achieve the desired size and look. I opted for a stunning piece of walnut with a beautiful grain pattern.
 DIY Wooden Keepsake Box
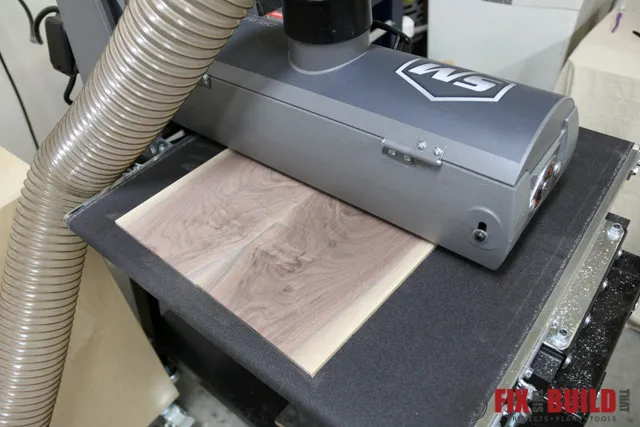
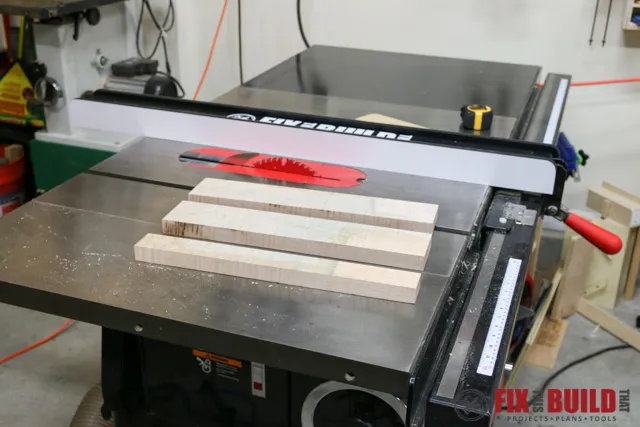
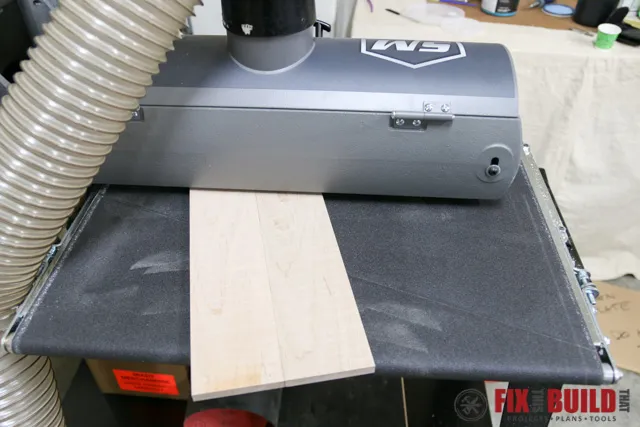
 - Cut and Sand: Using your table saw, cut the panels to your desired dimensions. For this project, I’m aiming for a 10″ x 5″ box, so my panels will be 9-1/2″ x 4-1/2″. Once cut, smooth out the surfaces using a drum sander. This will ensure a flat and even base for your box.
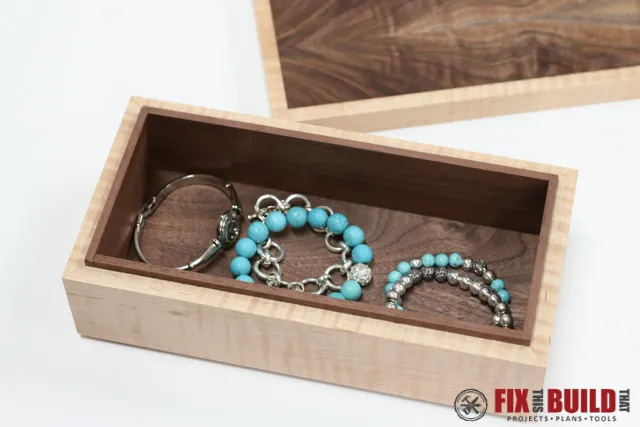 How to Make a Jewelry Box
Building the Walls: Side Panels
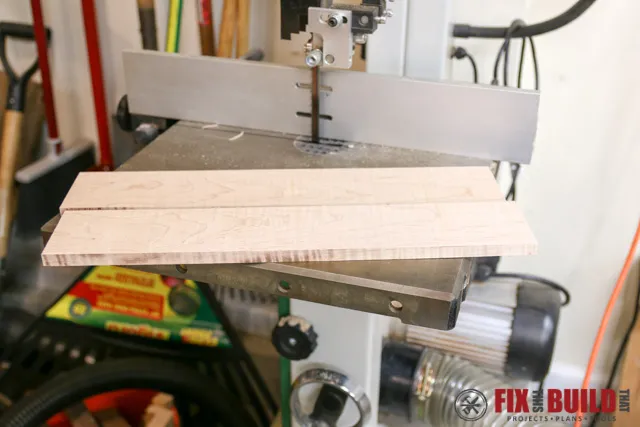
- Cut and Resaw: Cut your chosen wood for the sides into 3-1/8″ wide strips. You’ll need two 10″ pieces and two 5″ pieces. To achieve a continuous grain flow, resaw the strips to a thickness of 3/8”.
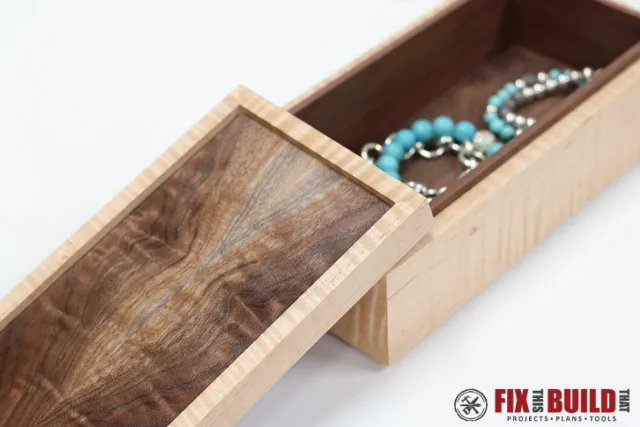 DIY Wooden Jewelry Box
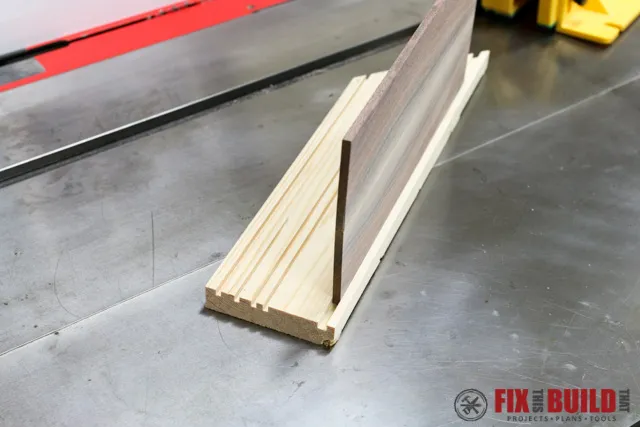
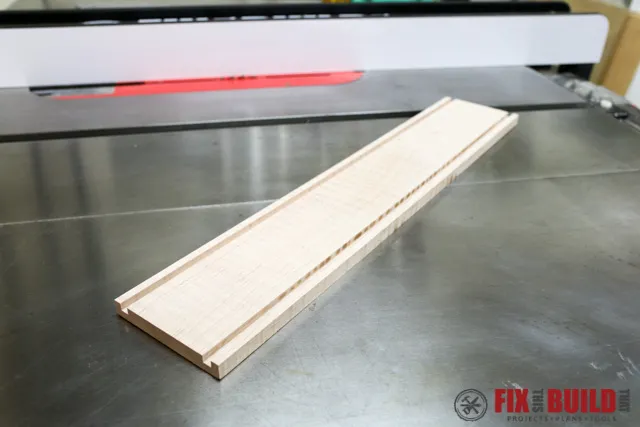
 - Create the Grooves: Now, let’s create the grooves that will house the top and bottom panels. Using your table saw, cut 1/4″ wide and 3/16″ deep grooves into the sides, positioning them 3/16″ from the top and bottom edges.
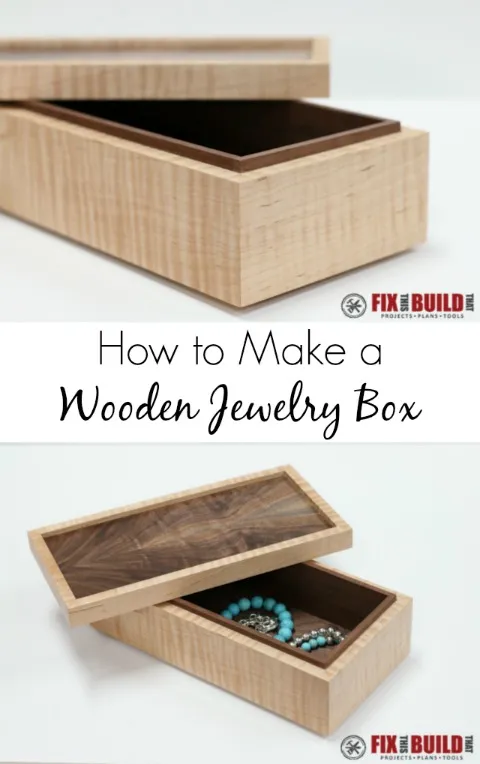 How to Make a Simple Wooden Jewerly Box
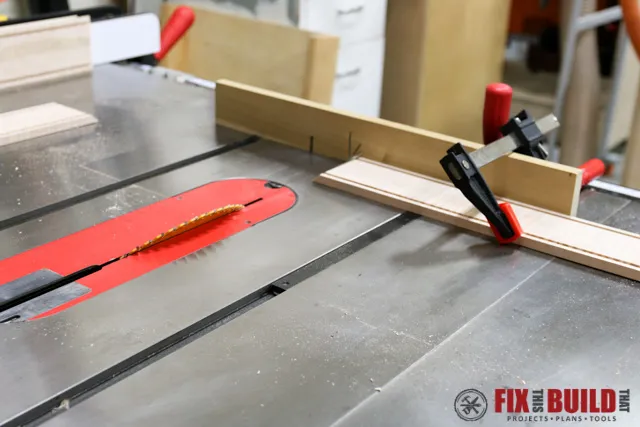
 - Miter the Edges: For a professional look, cut miters on the ends of each side piece. Remember, precision is key here to ensure your box fits together perfectly.
Assembling Your Masterpiece
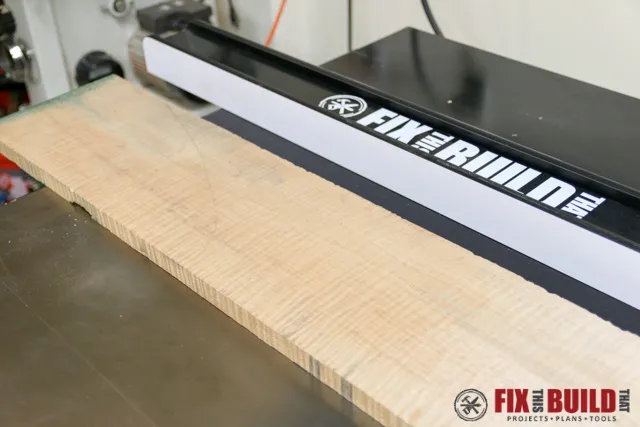
- Glue and Clamp: It’s time to bring your creation to life! Apply wood glue to the mitered edges of the side pieces. Carefully align the sides, forming the shape of your box. Securely clamp the pieces together using a web clamp or F-clamps.
 Simple Wooden Jewelry Box-1
 - Insert Panels: Once the glue has dried, insert the top and bottom panels into the grooves we created earlier. Ensure they fit snugly and adjust if necessary.
- Sand and Smooth: With the box assembled, give it a good sanding, starting with a coarser grit and gradually moving to a finer grit. This will ensure a smooth and seamless finish.
 Simple Wooden Jewelry Box-9
Crafting the Lid: The Finishing Touch
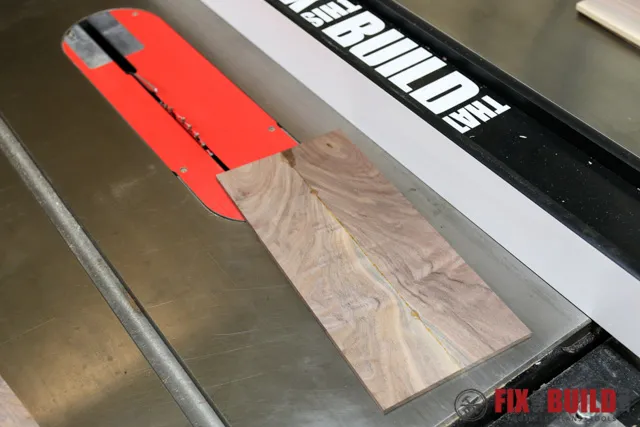
- Cut the Lid: Carefully cut through the assembled box approximately 3/4″ from the top, separating the lid. A table saw works best for this step, but a band saw can also be used.
 Simple Wooden Jewelry Box-11
 - Smooth and Level: After cutting the lid, ensure both the lid and the box are smooth and level. Use a drum sander or sandpaper to achieve a perfect fit.
 Simple Wooden Jewelry Box-13
Adding a Touch of Elegance: The Lining
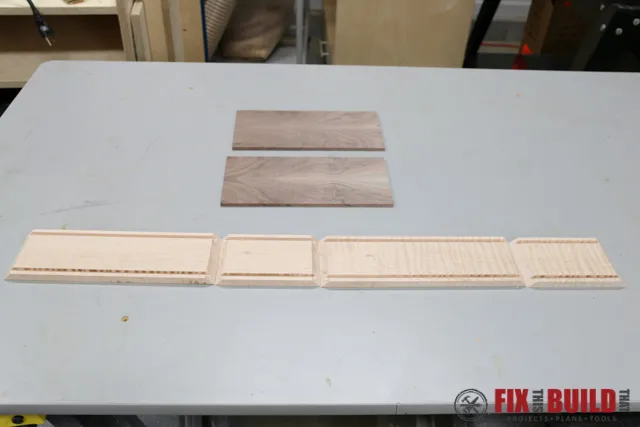
- Prepare the Lining: To add a touch of sophistication, let’s line the interior of our jewelry box. I chose walnut for a touch of contrast, but you can use any wood that complements your design.
- Cut and Fit: Rip the lining pieces to 2″ wide and cut them to fit the inside dimensions of your box. Miter the corners for a polished look.
 Simple Wooden Jewelry Box-3
 - Glue and Clamp: Apply glue to the back of the lining pieces and carefully press them into place. Secure them with spring clamps until the glue dries.
 Simple Wooden Jewelry Box-5
 Simple Wooden Jewelry Box-7
 Simple Wooden Jewelry Box-14
The Final Flourish: Finishing Your Creation
- Sand and Prepare: Once the glue has completely dried, give the entire box a final sanding. This is your chance to smooth out any rough edges and ensure a flawless surface for finishing.
- Apply Your Finish: Now, for the moment we’ve all been waiting for! Apply your chosen finish, whether it’s a classic shellac, a natural oil, or something else entirely. This will protect your wood and enhance its natural beauty.
 Simple Wooden Jewelry Box-15
 Simple Wooden Jewelry Box-16
 Simple Wooden Jewelry Box-17
Congratulations, You Did It!
You’ve now created a stunning, handcrafted wooden jewelry box! This one-of-a-kind piece is not only a beautiful way to store your treasures but also a testament to your creativity and craftsmanship.
Don’t be afraid to experiment with different wood types, finishes, and even embellishments to truly personalize your creation. The beauty of woodworking lies in its versatility and the endless possibilities it offers.
So, what are you waiting for? Let your imagination soar and create a piece that reflects your unique style and passion. And remember, the most important ingredient in any craft is the joy of creation.
Looking for more inspiring DIY projects and unique handmade gifts? Explore the world of Robert Kline Art and discover a treasure trove of creative inspiration.
