Blog
Personalized Wood Burning Gift Ideas: Craft Custom Cutting Boards
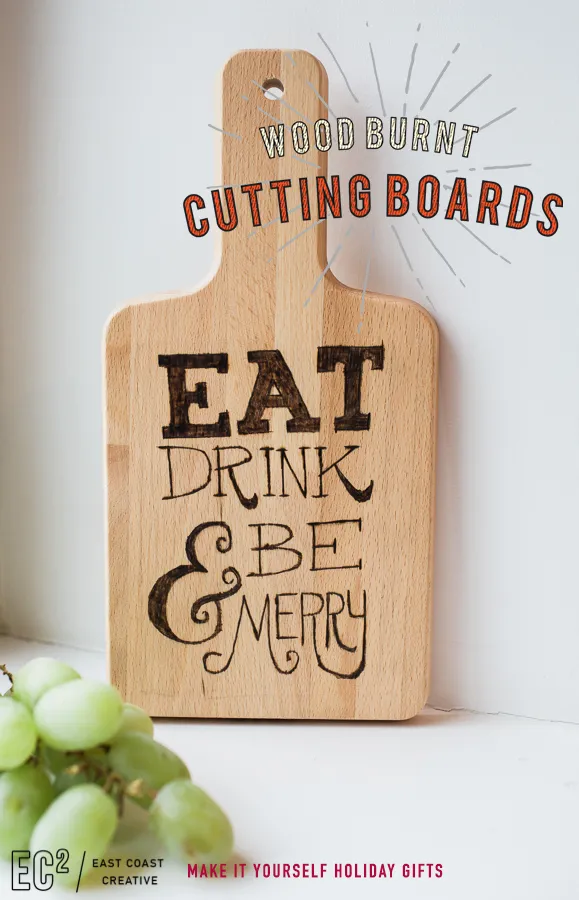
Hey there, art enthusiasts and DIY lovers! Robert Kline here, and I’m excited to share a craft project that’s as practical as it is personal: wood-burned cutting boards. These make fantastic handmade gifts for any occasion and are a great way to add a touch of your own creativity to everyday kitchen essentials.
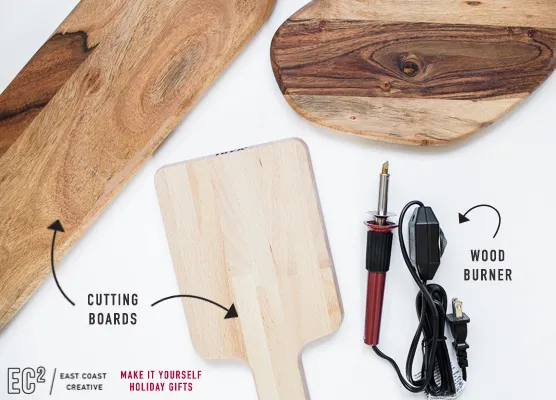
Gathering Your Wood Burning Supplies
Before we get started, let’s gather everything we need. I’ve found that having all your tools and materials laid out makes the crafting process so much smoother. Here’s what we’ll be using:
- Wooden Cutting Boards: Choose a variety of shapes and sizes. I love heading to IKEA for their selection of affordable and stylish cutting boards.
- Wood Burner: You can find a wood-burning tool kit at most craft stores.
- Hot Stamp Letters: These are optional, but they make personalizing your cutting boards incredibly easy! JoAnn Fabrics has a great selection.
- Pencil: For sketching out your design.
- Pliers: For safely changing out the hot stamp letters.
- Pot Holder Mitts: Trust me, you’ll want these nearby to avoid any accidental burns from the hot metal stamps.
 woodburning2
Alt text: Wood burning tools and materials arranged on a table
Creating Your Wood Burned Masterpiece
Now for the fun part – transforming plain cutting boards into personalized works of art!
Step 1: Designing Your Cutting Board
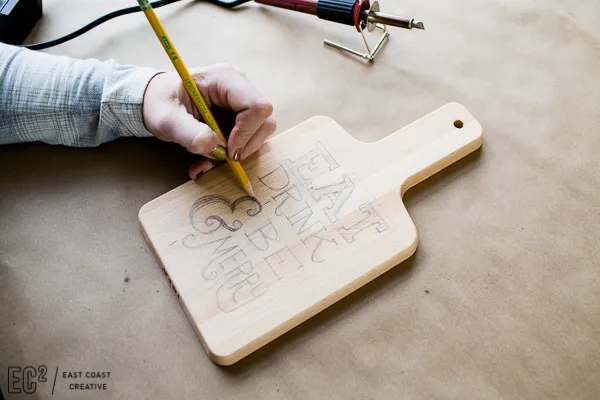
Start by lightly sketching your desired design onto the cutting board using a pencil. Don’t worry about perfection; this is just a guide.
- Tip: If you prefer a more structured approach, you can print out designs or phrases and use transfer paper to trace them onto the wood.
 width=
Alt text: Wood cutting boards prepped for wood burning.
Step 2: Bringing Your Design to Life with the Wood Burner
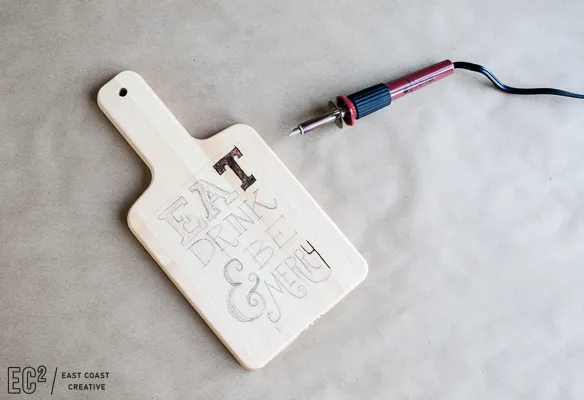
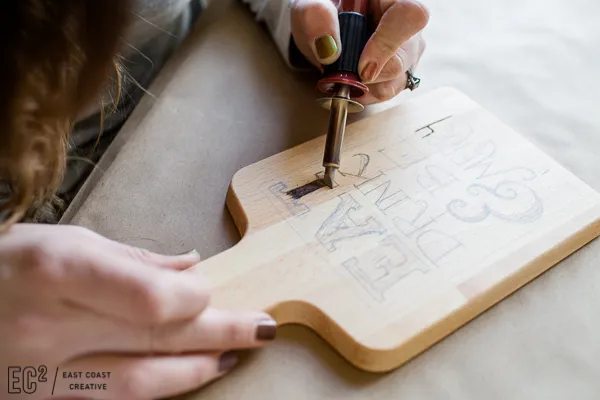
Once your wood burner is plugged in and heated up, carefully trace over your pencil lines. Most wood-burning kits come with various tips; experiment to find the ones that best suit your design and create different effects.
- For fine lines and details: Use a pointed tip.
- For thicker lines and shading: Opt for a rounded tip.
 woodburning-1
Alt text: Using a wood burning tool on a cutting board
Step 3: Personalizing with Hot Stamp Letters (Optional)
Hot stamp letters add a professional touch and make it incredibly easy to personalize your cutting boards with names, initials, or short phrases.
- Heating the Stamp: Attach your desired letter to the wood burner and allow it to heat for about 30 seconds.
- Applying the Stamp: Press the stamp down firmly and evenly onto the wood. Use a gentle rocking motion to ensure all edges are burned.
- Safety First: Use pliers to safely remove the hot stamp letter and replace it with the next one. Keep those pot holders handy!
 woodburning-8
Alt text: Using hot stamp letters to brand a cutting board.
Showcasing Your Wood Burned Creations
Congratulations! You’ve created beautiful, one-of-a-kind cutting boards. These make truly special and practical gifts for friends and family, or you can keep them for yourself and add a personal touch to your own kitchen.
 woodburning-4
Alt text: Finished wood burned cutting board.
“Handcrafted gifts show that you put thought and care into your creations,” says expert crafter Jenna Roberts. “Wood burning is a fantastic way to create personalized gifts that are both beautiful and functional.”
I encourage you to give this project a try. Share your creations with me – I can’t wait to see what you come up with! And for more unique, handmade gift ideas, be sure to explore the Robert Kline Art website. Happy crafting!
