Blog
Transforming Broken Tiles into Stunning Mosaic Art

Have you ever looked at a pile of broken tiles and seen something more than just debris? As an artist who loves repurposing and exploring the beauty in unexpected places, I often find myself drawn to the vibrant colors and intricate patterns hidden within discarded ceramics. It’s these fragments that hold the potential to be reborn as beautiful mosaic art, adding a touch of handcrafted charm and personal history to any space.
In this article, we’ll embark on a creative journey, transforming a collection of broken dishes and plates into a stunning flower mosaic. Get ready to unleash your inner artist, as we explore the process step-by-step, sharing tips, tricks, and inspiration along the way.
Gathering Your Mosaic Materials
Before we dive into the creative process, let’s gather the tools and materials that will bring our mosaic to life.
Reclaiming Beauty from Broken Crockery
The heart of our mosaic lies in the unique character of reclaimed dishes. Scour thrift stores, flea markets, or even your own cupboards for plates and dishes in a variety of colors and patterns. Don’t be afraid to mix and match – the beauty of mosaics lies in their eclectic nature!
“When selecting dishes, I always flip them over to check the underside,” advises mosaic artist, Elena Martinez. “You might uncover hidden patterns or a beautiful solid color that adds depth to your design.”
Essential Tools and Supplies
- Safety First: Safety glasses, KN95 mask
- Cutting and Shaping: Glass cutter, heavy-duty running pliers, wheeled nippers, tile nippers, tweezers, 80-grit sandpaper
- Design and Layout: Sharpie marker, pencils, ruler, straight edge, carbon transfer paper, tracing paper, graph paper
- Adhesives and Grout: Weldbond adhesive, spritz bottle with water, thin-set powder, thin-set colorant (black), mini whisk, mixing cups
- Finishing Touches: Brush, Dremel with Diamond Wheel (optional), hobby turntable (optional), non-slip rug pad (optional), picture hanging hardware.
Designing Your Mosaic Masterpiece
With our materials assembled, it’s time to unleash our creativity and design a mosaic that reflects our personal style.
Finding Inspiration in Broken Pieces
Lay out your collected dishes and let the colors, shapes, and patterns guide your imagination. Consider the overall aesthetic you want to achieve. Are you drawn to a floral motif, a geometric design, or an abstract composition?
Tip: Free coloring pages and online platforms like Pinterest can be treasure troves of inspiration for mosaic designs.
 sharonwarren
Sketching Your Vision
Once you have a theme in mind, translate your ideas onto paper. Sketch your design, experimenting with different layouts and color combinations.
Tip: Drawing your design to scale can make transferring the pattern to your dishes a breeze.
Preparing the Foundation
Before we begin piecing together our mosaic, we need a sturdy and properly prepared foundation.
Choosing and Sealing the Plywood
A plywood board serves as an excellent backing for indoor mosaics. To prevent the wood from absorbing moisture from the adhesive, sealing it is crucial.
- Elevate the plywood to allow for airflow during the sealing process.
- Mix a solution of Weldbond adhesive and water, applying an even coat to the plywood’s top and sides.
- Allow the sealed plywood to dry thoroughly in a warm environment for 24-48 hours.
Cutting and Shaping the Tiles
With our design finalized and our plywood prepped, it’s time to transform those broken dishes into mosaic tiles.
Safety First!
Before you begin cutting, always put on your safety glasses and a mask to protect your eyes and lungs from dust.
Creating the Tiles
- Removing the Foot: For plates, consider removing the foot (the raised ring at the base) using a Dremel with a diamond wheel for easier cutting.
- Cutting Strips and Shapes: Score the dishes along your desired lines using a glass cutter, applying firm and even pressure. Break the pieces apart with running pliers, ensuring the score line is centered within the pliers’ jaws.
- Shaping and Refining: Use wheeled nippers and tile nippers to further shape the pieces, smoothing any rough edges with 80-grit sandpaper.
Tip: Work slowly and carefully, making small cuts to avoid breaking the pieces in unwanted ways.
Assembling the Mosaic
With our tiles prepped, the real magic begins – assembling the mosaic!
Dry Fitting for a Seamless Look
Begin by arranging the cut tile pieces onto your design, ensuring they fit together snugly.
“I like to think of this stage as a puzzle,” says mosaic artist, James O’Connell. “Experiment with different placements and color combinations until you achieve a visually pleasing arrangement.”
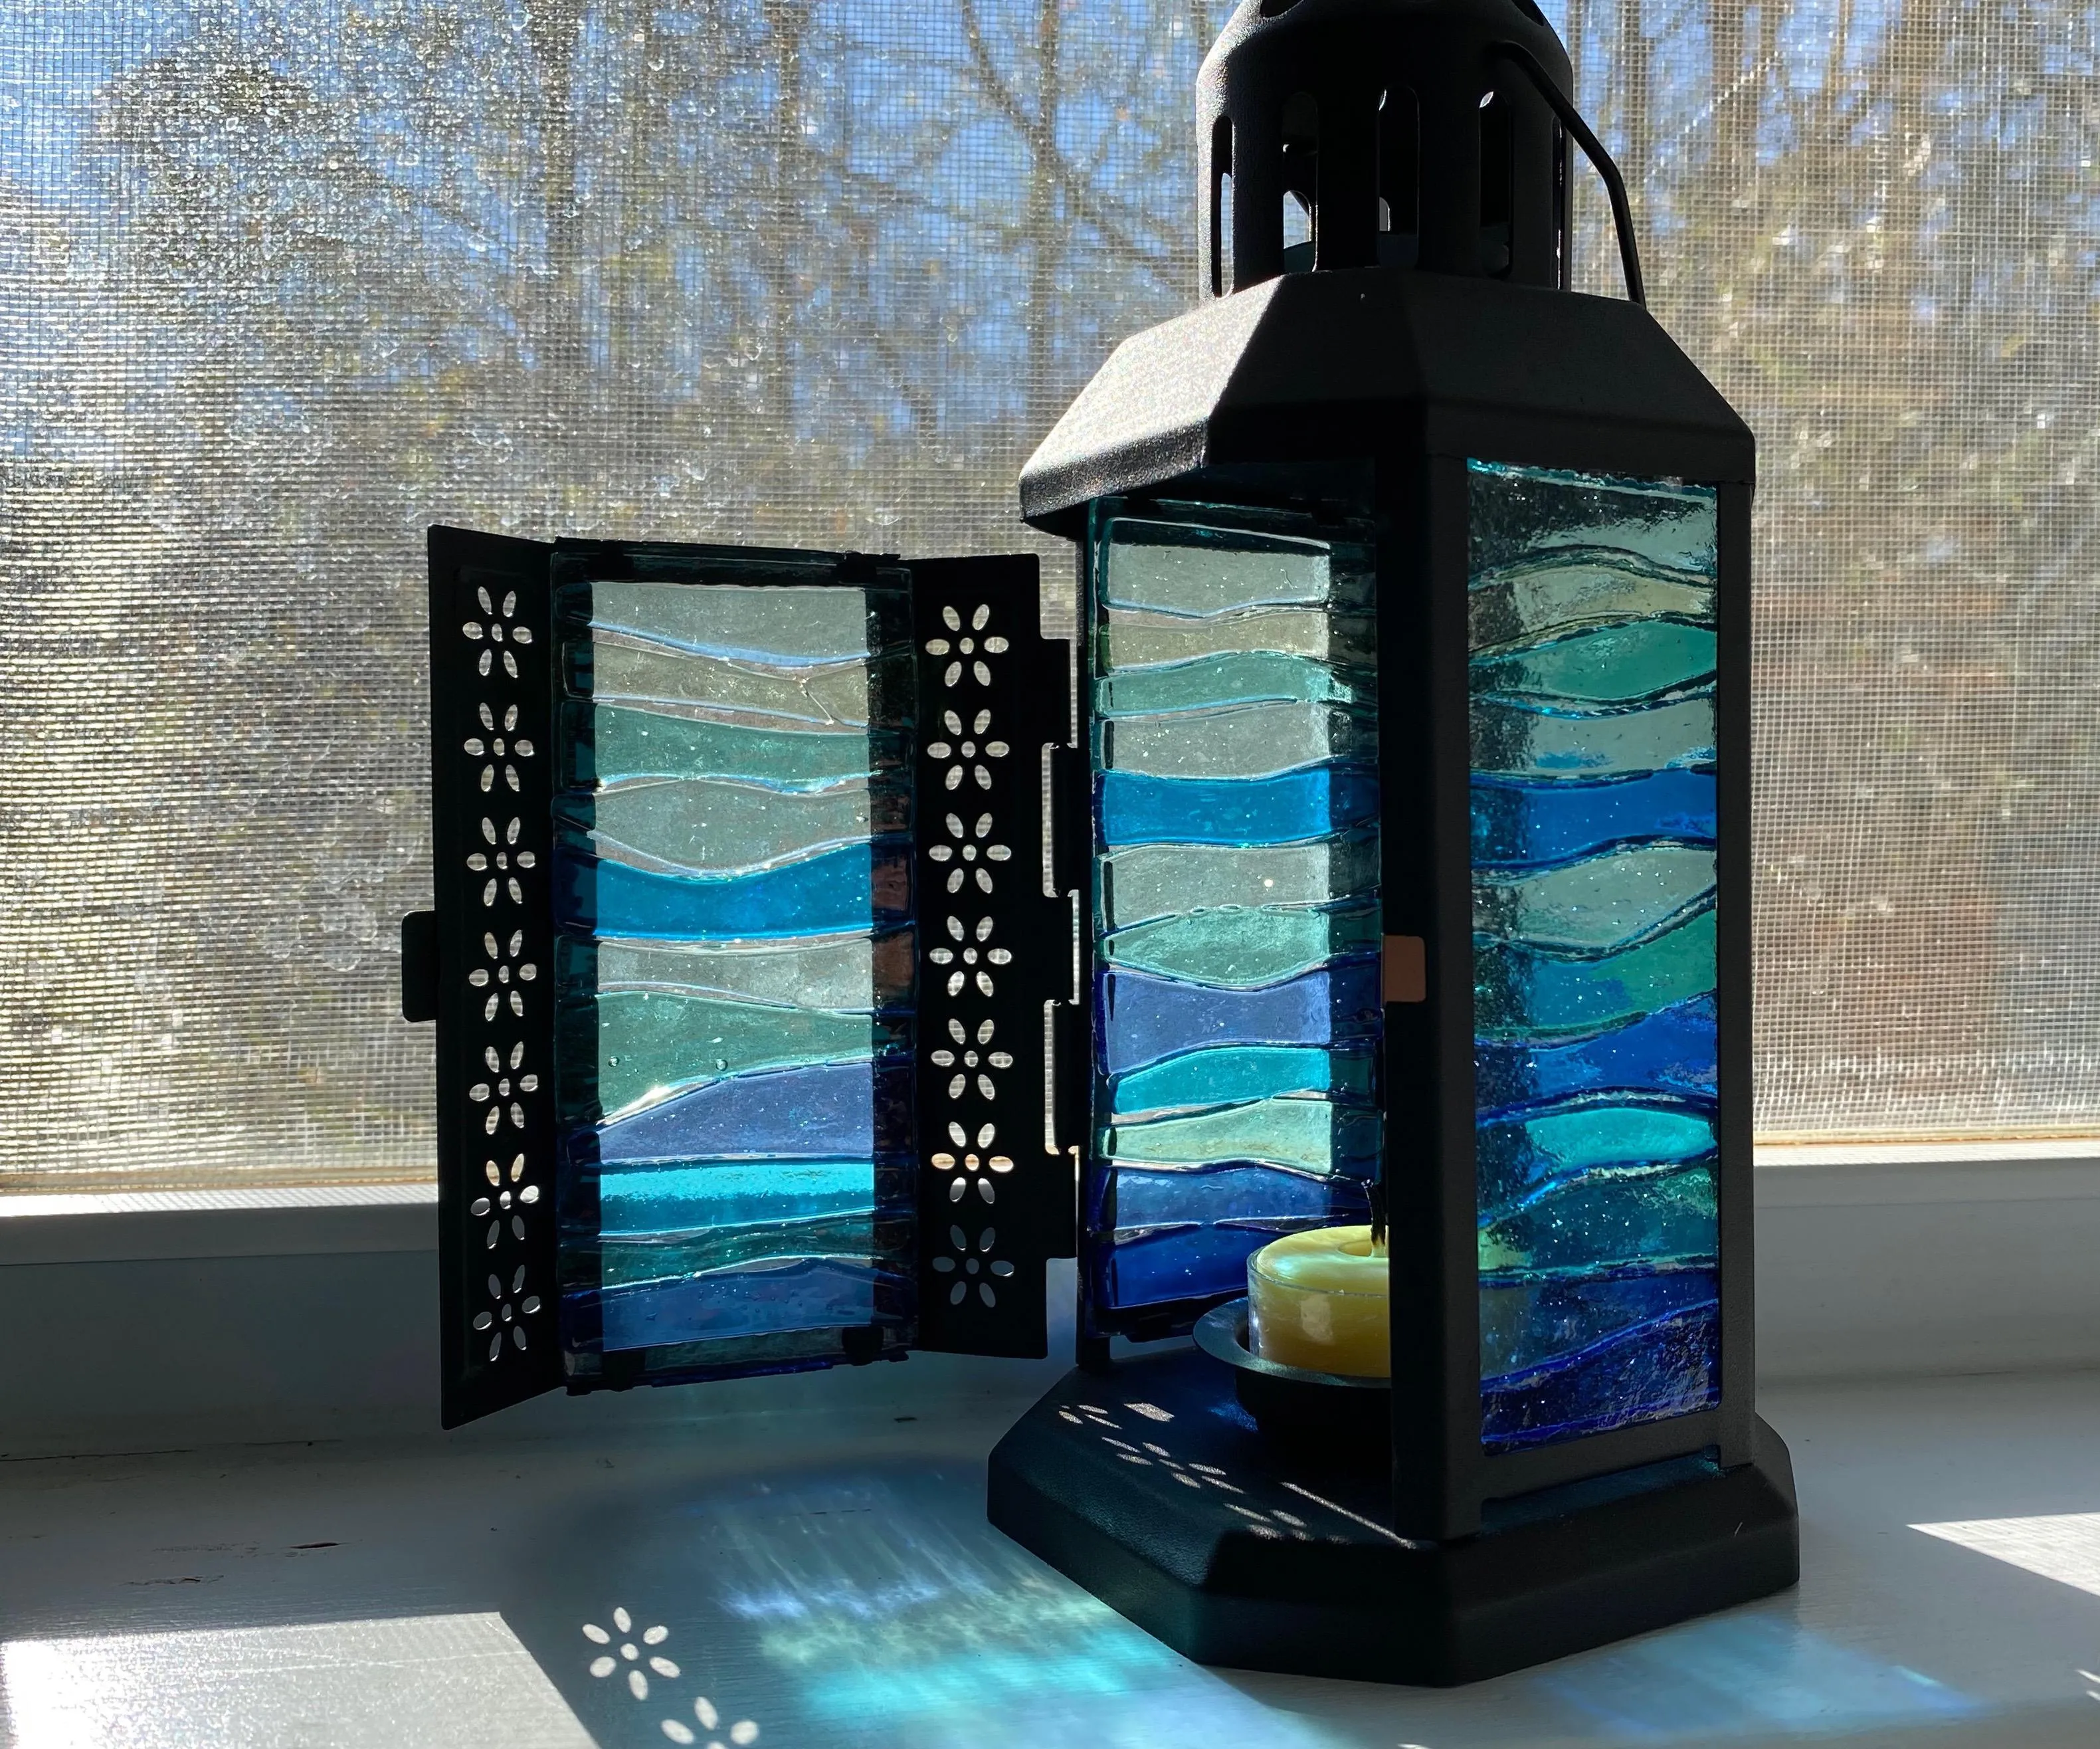
 Fused Glass IKEA Lantern Hack
Adhering the Tiles
- Transfer your design onto the sealed plywood using carbon transfer paper.
- Prepare your thin-set mortar according to the manufacturer’s instructions, adding colorant for a cohesive look.
- Working in sections, spread a thin layer of mortar onto the plywood.
- Press each tile firmly into the mortar, ensuring good contact.
- Continue adding tiles, leaving a consistent gap between each piece for grout.
Tip: Clean up any excess mortar promptly with a damp sponge to prevent it from drying and becoming difficult to remove.
Grouting for a Polished Finish
Once the mortar has cured, apply grout to the spaces between the tiles, pressing it firmly to fill the gaps. Wipe away any excess grout with a damp sponge, revealing the beautiful mosaic beneath.
Showcasing Your Masterpiece
After allowing the grout to dry completely, your mosaic is ready to be displayed for the world to admire!
Adding Finishing Touches
Attach picture hanging hardware to the back of the plywood and consider adding a layer of sealant to the mosaic’s surface for extra protection.
A Testament to Creativity and Resourcefulness
Creating mosaic art from broken tiles is a rewarding process that transforms discarded materials into stunning works of art. It’s a testament to the beauty of resourcefulness, allowing us to express our creativity while giving new life to forgotten objects.
I encourage you to embark on your own mosaic-making adventure. Visit Robert Kline Art to discover a curated collection of handmade gifts and explore more inspiring craft ideas. Share your creations and connect with fellow art enthusiasts in the comments below – let’s inspire each other!
