Blog
How to Transform Your Fence with a DIY Rain Gutter Garden

Are you tired of staring at a dull and lifeless fence? Do you long for a splash of color and greenery to brighten your outdoor space? As a fellow craft enthusiast, I’m always looking for creative ways to transform everyday objects into something beautiful. This time, I decided to tackle a plain fence using an unexpected item: a rain gutter!
This DIY rain gutter garden is surprisingly easy to make and adds instant charm and personality to any fence. Plus, it’s a great way to flex your creative muscles and incorporate some greenery into your surroundings. Intrigued? Read on to discover how you can create your very own vertical oasis!
A Room with a View (and a Vertical Garden!)
Let me tell you, after months of looking at a bare fence from my home office window, I was desperate for a change. I craved the vibrancy of a garden but lacked the ground space for a traditional one. That’s when the idea of a vertical garden popped into my head, specifically, a rain gutter garden!
I love how this project transformed my fence into a living work of art. Plus, it was incredibly rewarding to see my vision come to life over a single weekend.
 View of a dull, empty fence through dirty windows.
Before: My inspiration? Let’s just say it involved a serious lack of greenery.
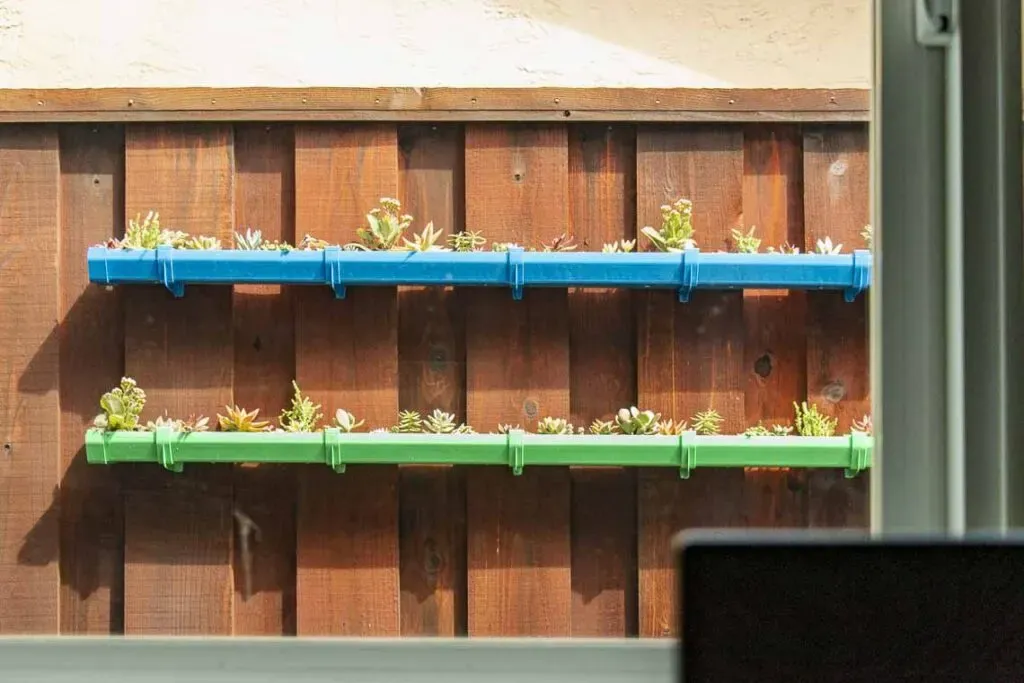 View out a window showing the rain gutter garden. Two gutter pieces painted blue and green and filled with succulents are installed on a fence.
After: A vibrant and eye-catching vertical garden, bursting with life!
Getting Started with Your Rain Gutter Garden
The beauty of this DIY project lies in its simplicity. You can repurpose old rain gutters or purchase new ones from your local hardware store – I found mine at Home Depot! The basic idea is to cut the gutter into sections, paint them, add drainage holes, mount them to the fence, and finally, introduce your chosen plants.
Materials You’ll Need:
- Gutter: Choose a size that suits your space; I used a 4 in. x 10 ft. white vinyl gutter.
- End Caps: Essential for a neat finish, ensure they match your gutter size and style.
- Hanging Brackets: These will secure your gutter to the fence.
- Glue (optional): For extra security when attaching the end caps.
- Screws: For mounting the brackets to the fence.
- Painter’s Tape: Useful for marking drill points and protecting surfaces.
- Soil: Select a potting mix that suits your chosen plants.
- Plants: Shallow-rooted plants like succulents or herbs are ideal for gutter gardens.
Tools for the Trade:
- Measuring tape
- Saw (a fine-tooth hacksaw works best)
- Fine-grit sandpaper (if needed)
- Garden hose
- Respirator and safety glasses
- Tarp
- Drill with various sized bits
- Level
Step-by-Step Guide to Creating Your Rain Gutter Garden
Ready to get your hands dirty? Let’s transform that fence!
1. Gather Your Supplies: Head to your local hardware store and pick up all the necessary materials and tools.
2. Cut the Gutter to Size: Measure and mark your desired gutter lengths, ensuring they fit comfortably on your fence. Using a saw, carefully cut the gutter into sections.
 Using a hand saw to cut the 10 foot piece of gutter in half at the moulding cutting station in Home Depot.
Tip: Having the gutter cut at the store saved me some time and effort!
3. Clean and Prep: Give your gutter sections a good clean with a hose if needed, and allow them to dry completely. Spread a tarp to protect your work area from paint overspray.
4. Time to Paint: This is where your creativity shines! Choose vibrant colors that complement your outdoor space.
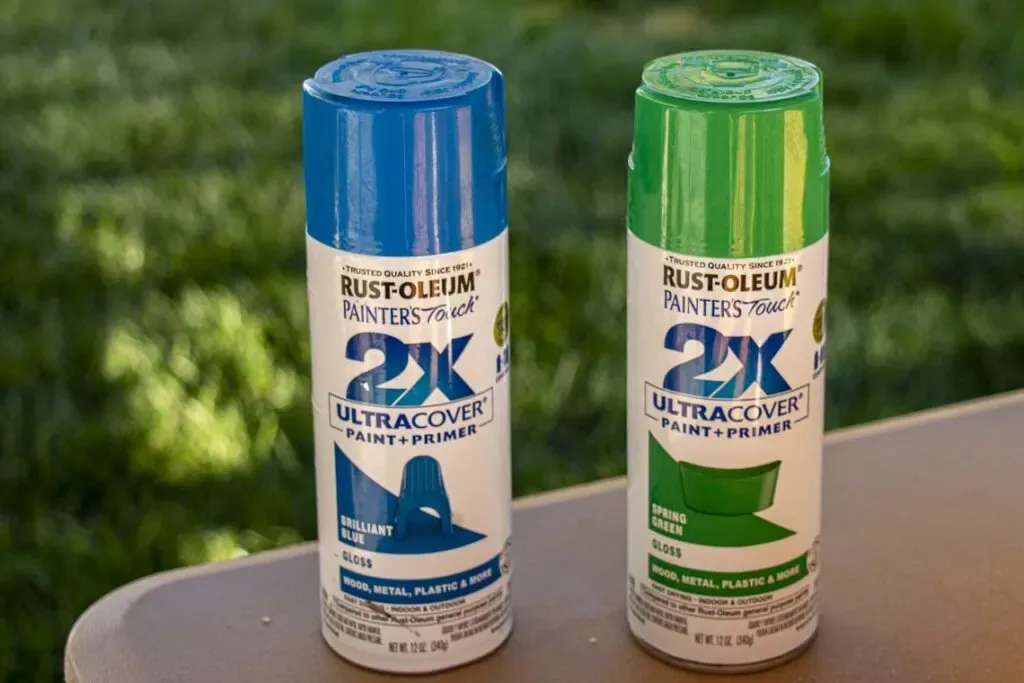 Two cans of Rust-Oleum Painter's Touch 2X UltraCover Paint + Primer in Brilliant Blue (Gloss) and Spring Green (Gloss). These colors were used for the gutter garden.
Remember to wear a respirator and safety glasses, and apply several thin coats of paint for a professional finish.
 Gutter end caps and hanging brackets spray painted blue.
Don’t forget to paint the end caps and hanging brackets for a cohesive look.
5. Secure the End Caps: Once the paint is dry, attach the end caps to each gutter section, using glue for added stability if desired.
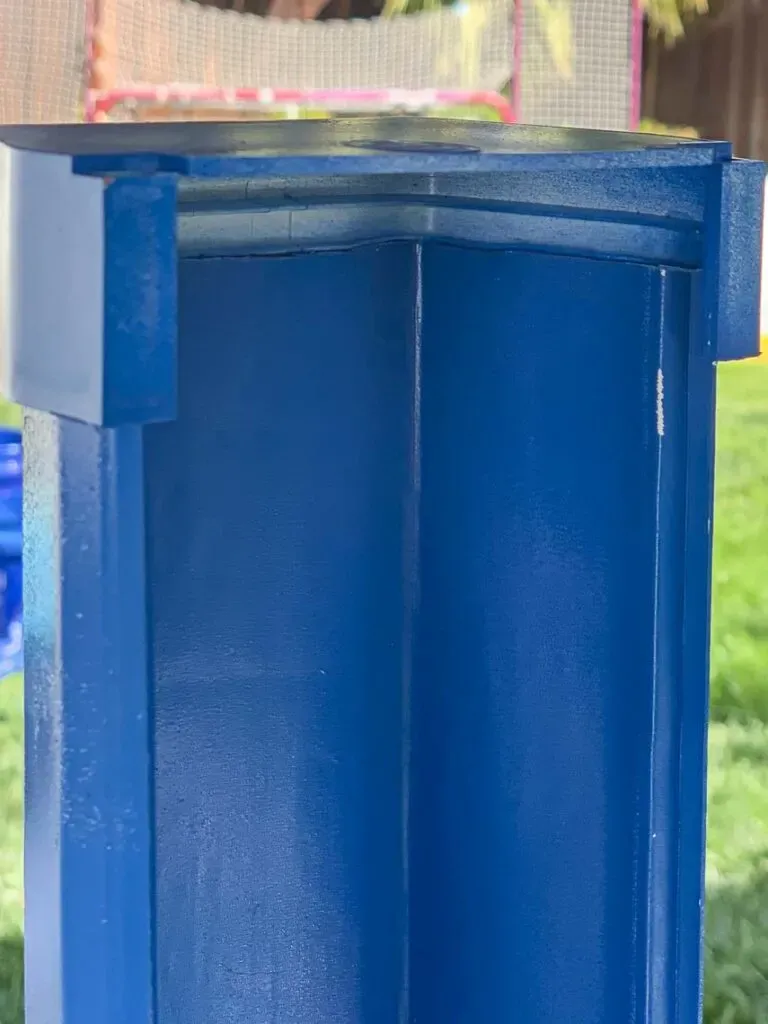 Painted end cap on the end of the painted vinyl gutter.
6. Drainage is Key: Drill evenly spaced drainage holes along the bottom of each gutter section, allowing excess water to escape and prevent root rot.
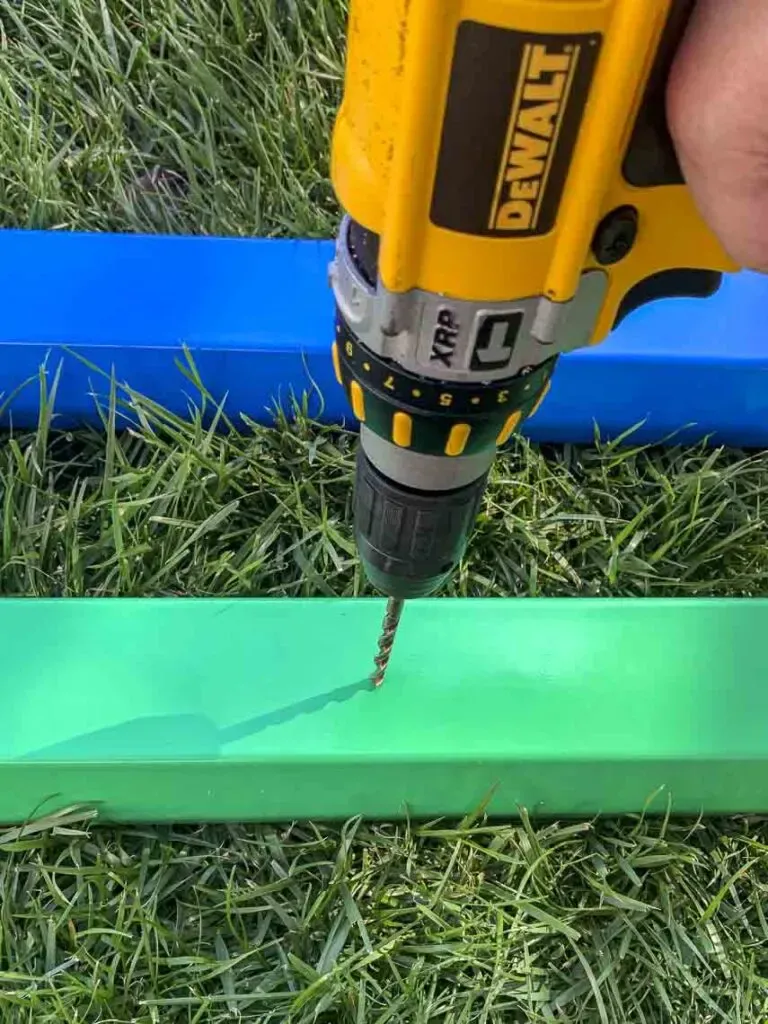 Drilling holes into the bottom of the vinyl gutter with a larger bit to provide drainage for the plants.
7. Mount the Planters: Determine the placement of your planters on the fence and mark the bracket positions using a level and measuring tape. Pre-drill pilot holes for the screws, then securely attach the brackets to the fence.
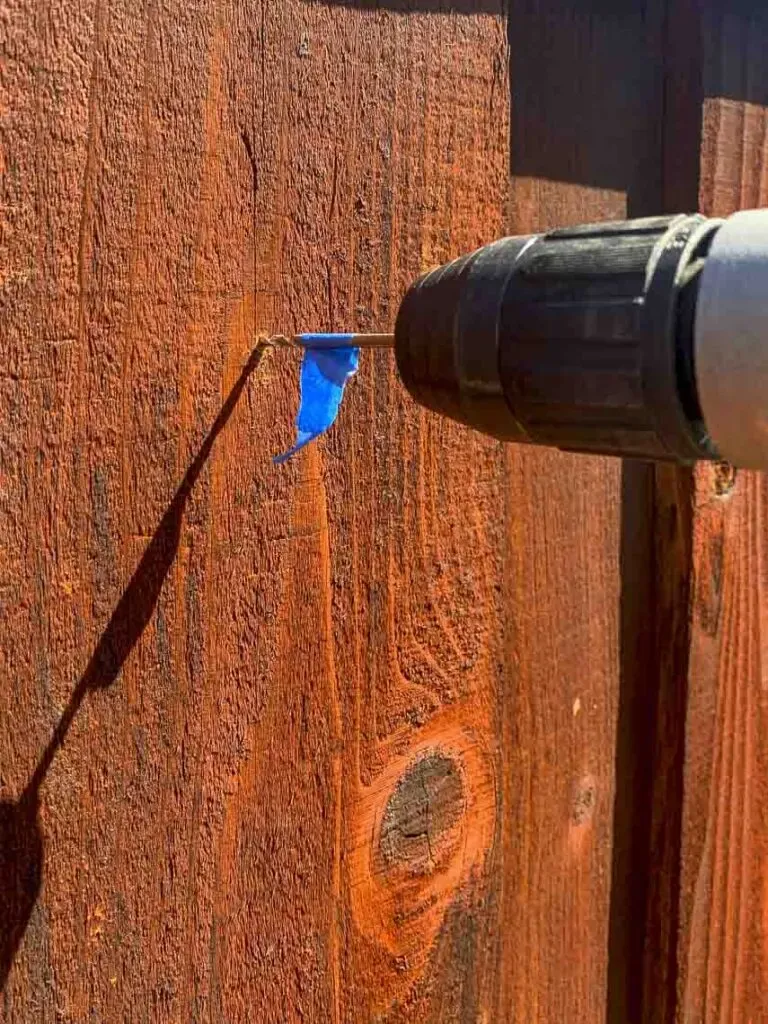 Drilling a hole in the fence for the gutter garden installation. Drill bit has a piece of painters tape to indicate when to stop drilling.
Tip: Using painter’s tape on your drill bit will help prevent drilling through the fence.
8. Hang the Gutters: Carefully snap or hook each painted gutter section onto its designated brackets, ensuring a snug fit.
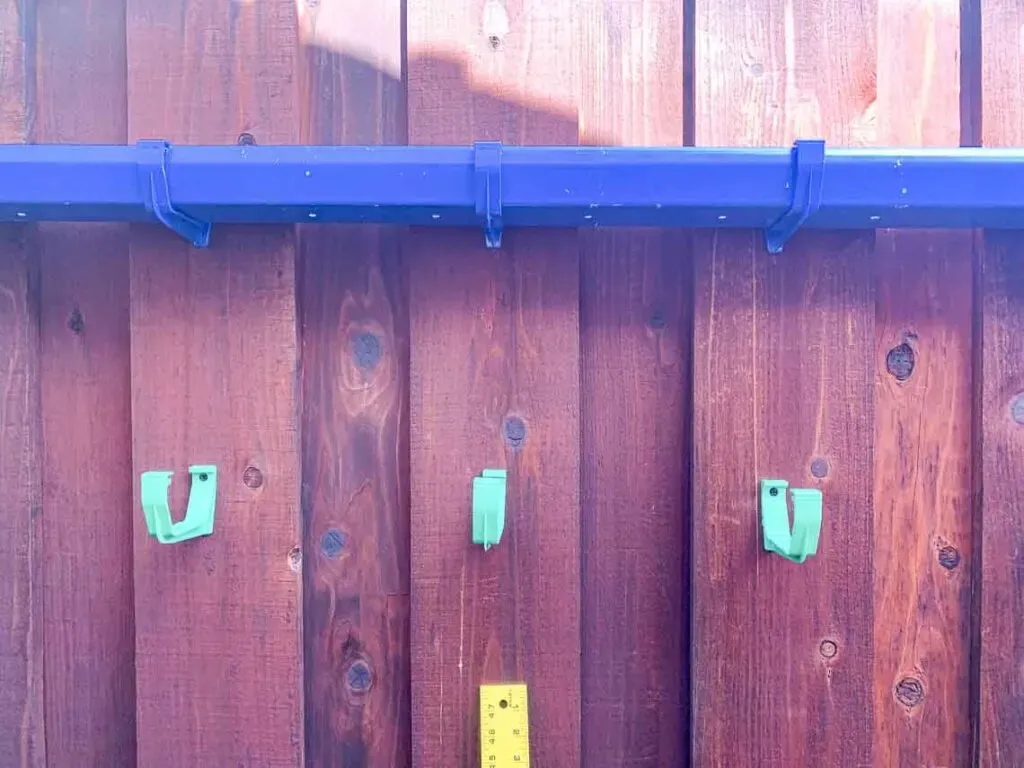 One gutter garden mounted on a fence and a series of hanging brackets screwed into the fence awaiting addition of the second planter.
9. The Fun Part – Planting! Fill your gutters with potting mix and start arranging your chosen plants.
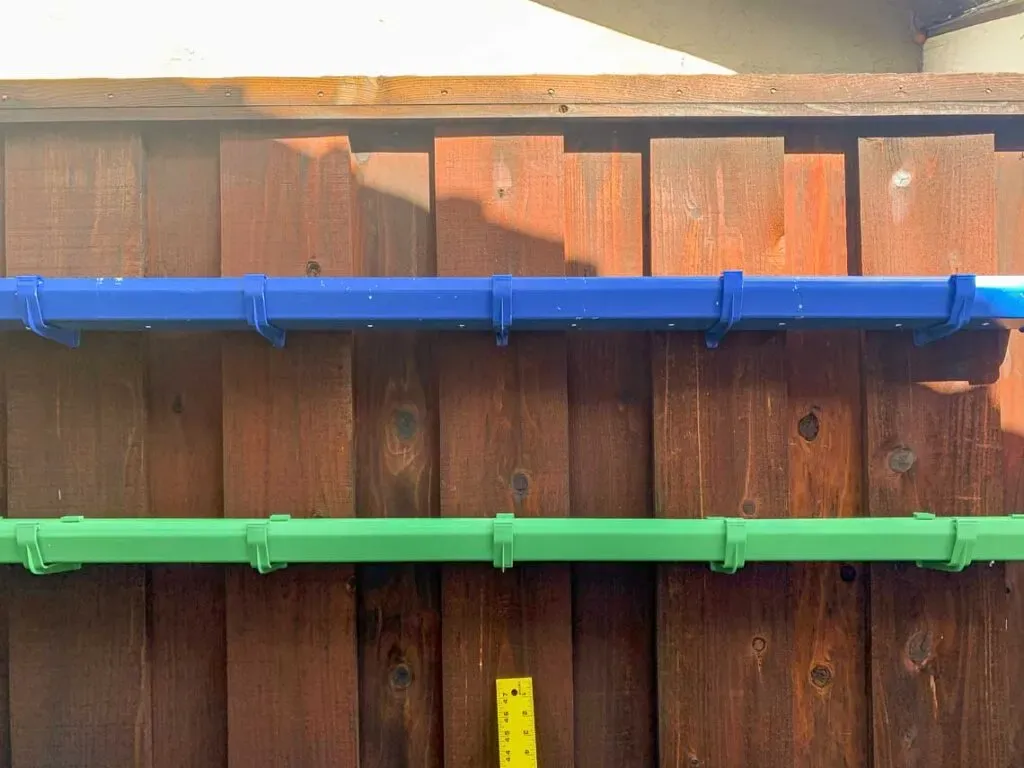 Two empty gutter planters mounted on the fence prior to adding the plants. Image also shows the scratches in the paint from applying the mounting hooks.
*Tip: Succulents are a fantastic low-maintenance option for gutter gardens.*
Admire Your Handiwork!
Congratulations, you’ve successfully created a stunning DIY rain gutter garden! Now sit back, relax, and enjoy the vibrant transformation of your outdoor space.
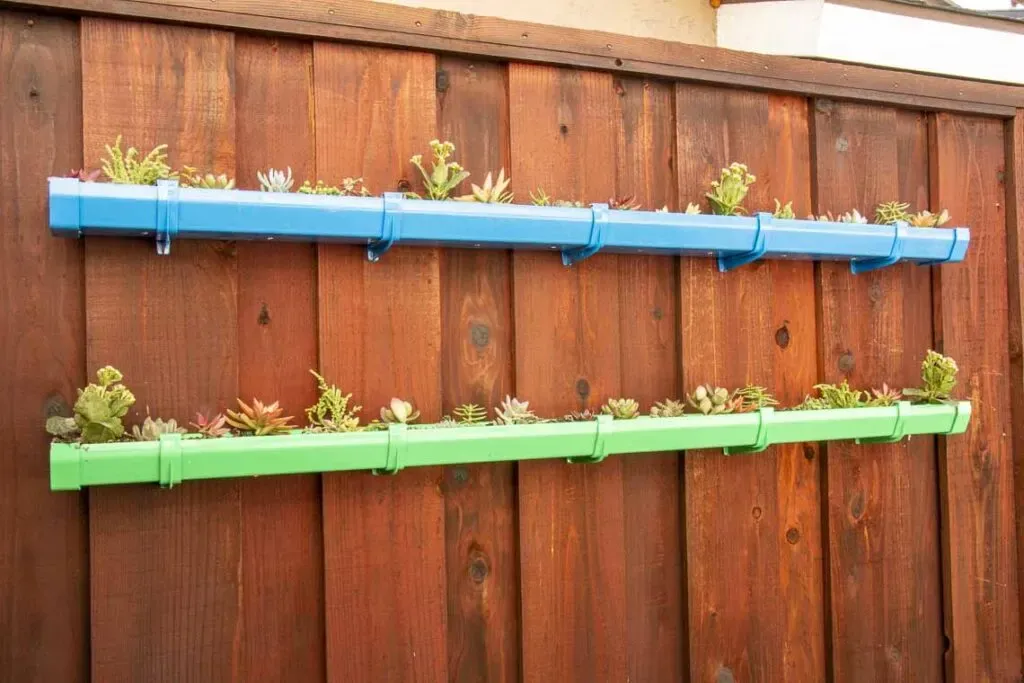 Two level rain gutter garden, painted green and blue, filled with a variety of small succulents mounted on a fence.
This project is incredibly versatile, so feel free to experiment with different sizes, colors, and plant varieties. You can even create a tiered effect for added visual interest.
Beyond the Fence: Exploring Other Gutter Garden Possibilities
Who says gutters are limited to fences? Get creative and explore other possibilities:
- Deck Railing Garden: Brighten up your deck with a cascading gutter garden along the railing.
- Hanging Gutter Garden: Suspend your gutter planters from sturdy hooks for a whimsical touch.
- Privacy Screen: Create a lush and private sanctuary by attaching a series of gutters between wooden posts.
Ready to Unleash Your Inner Gardener?
I hope this project has inspired you to see the potential in everyday objects and transform them into something beautiful. If you decide to create your own rain gutter garden, I’d love to hear about your experience! Share your creations and any tips you have in the comments below.
For more inspiring DIY crafts and unique handmade gift ideas, be sure to explore the rest of the Robert Kline Art website. Happy crafting!
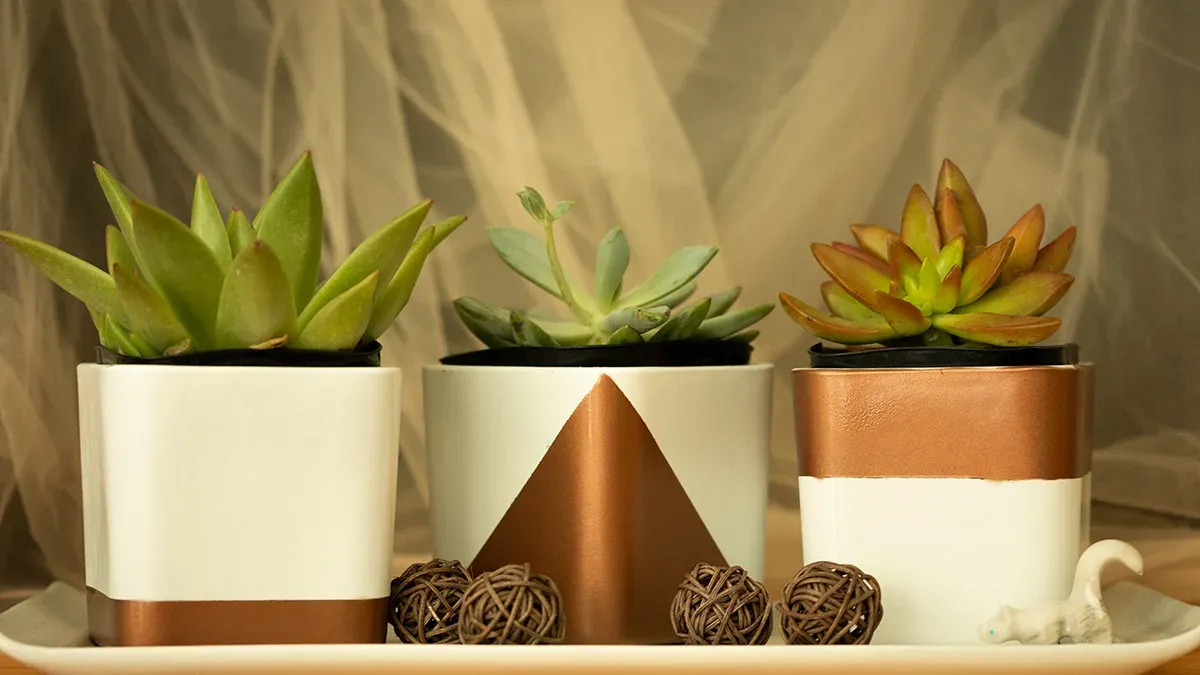 To show DIY succulent containers
