Blog
DIY Terrarium Coffee Table: Bring the Outdoors In

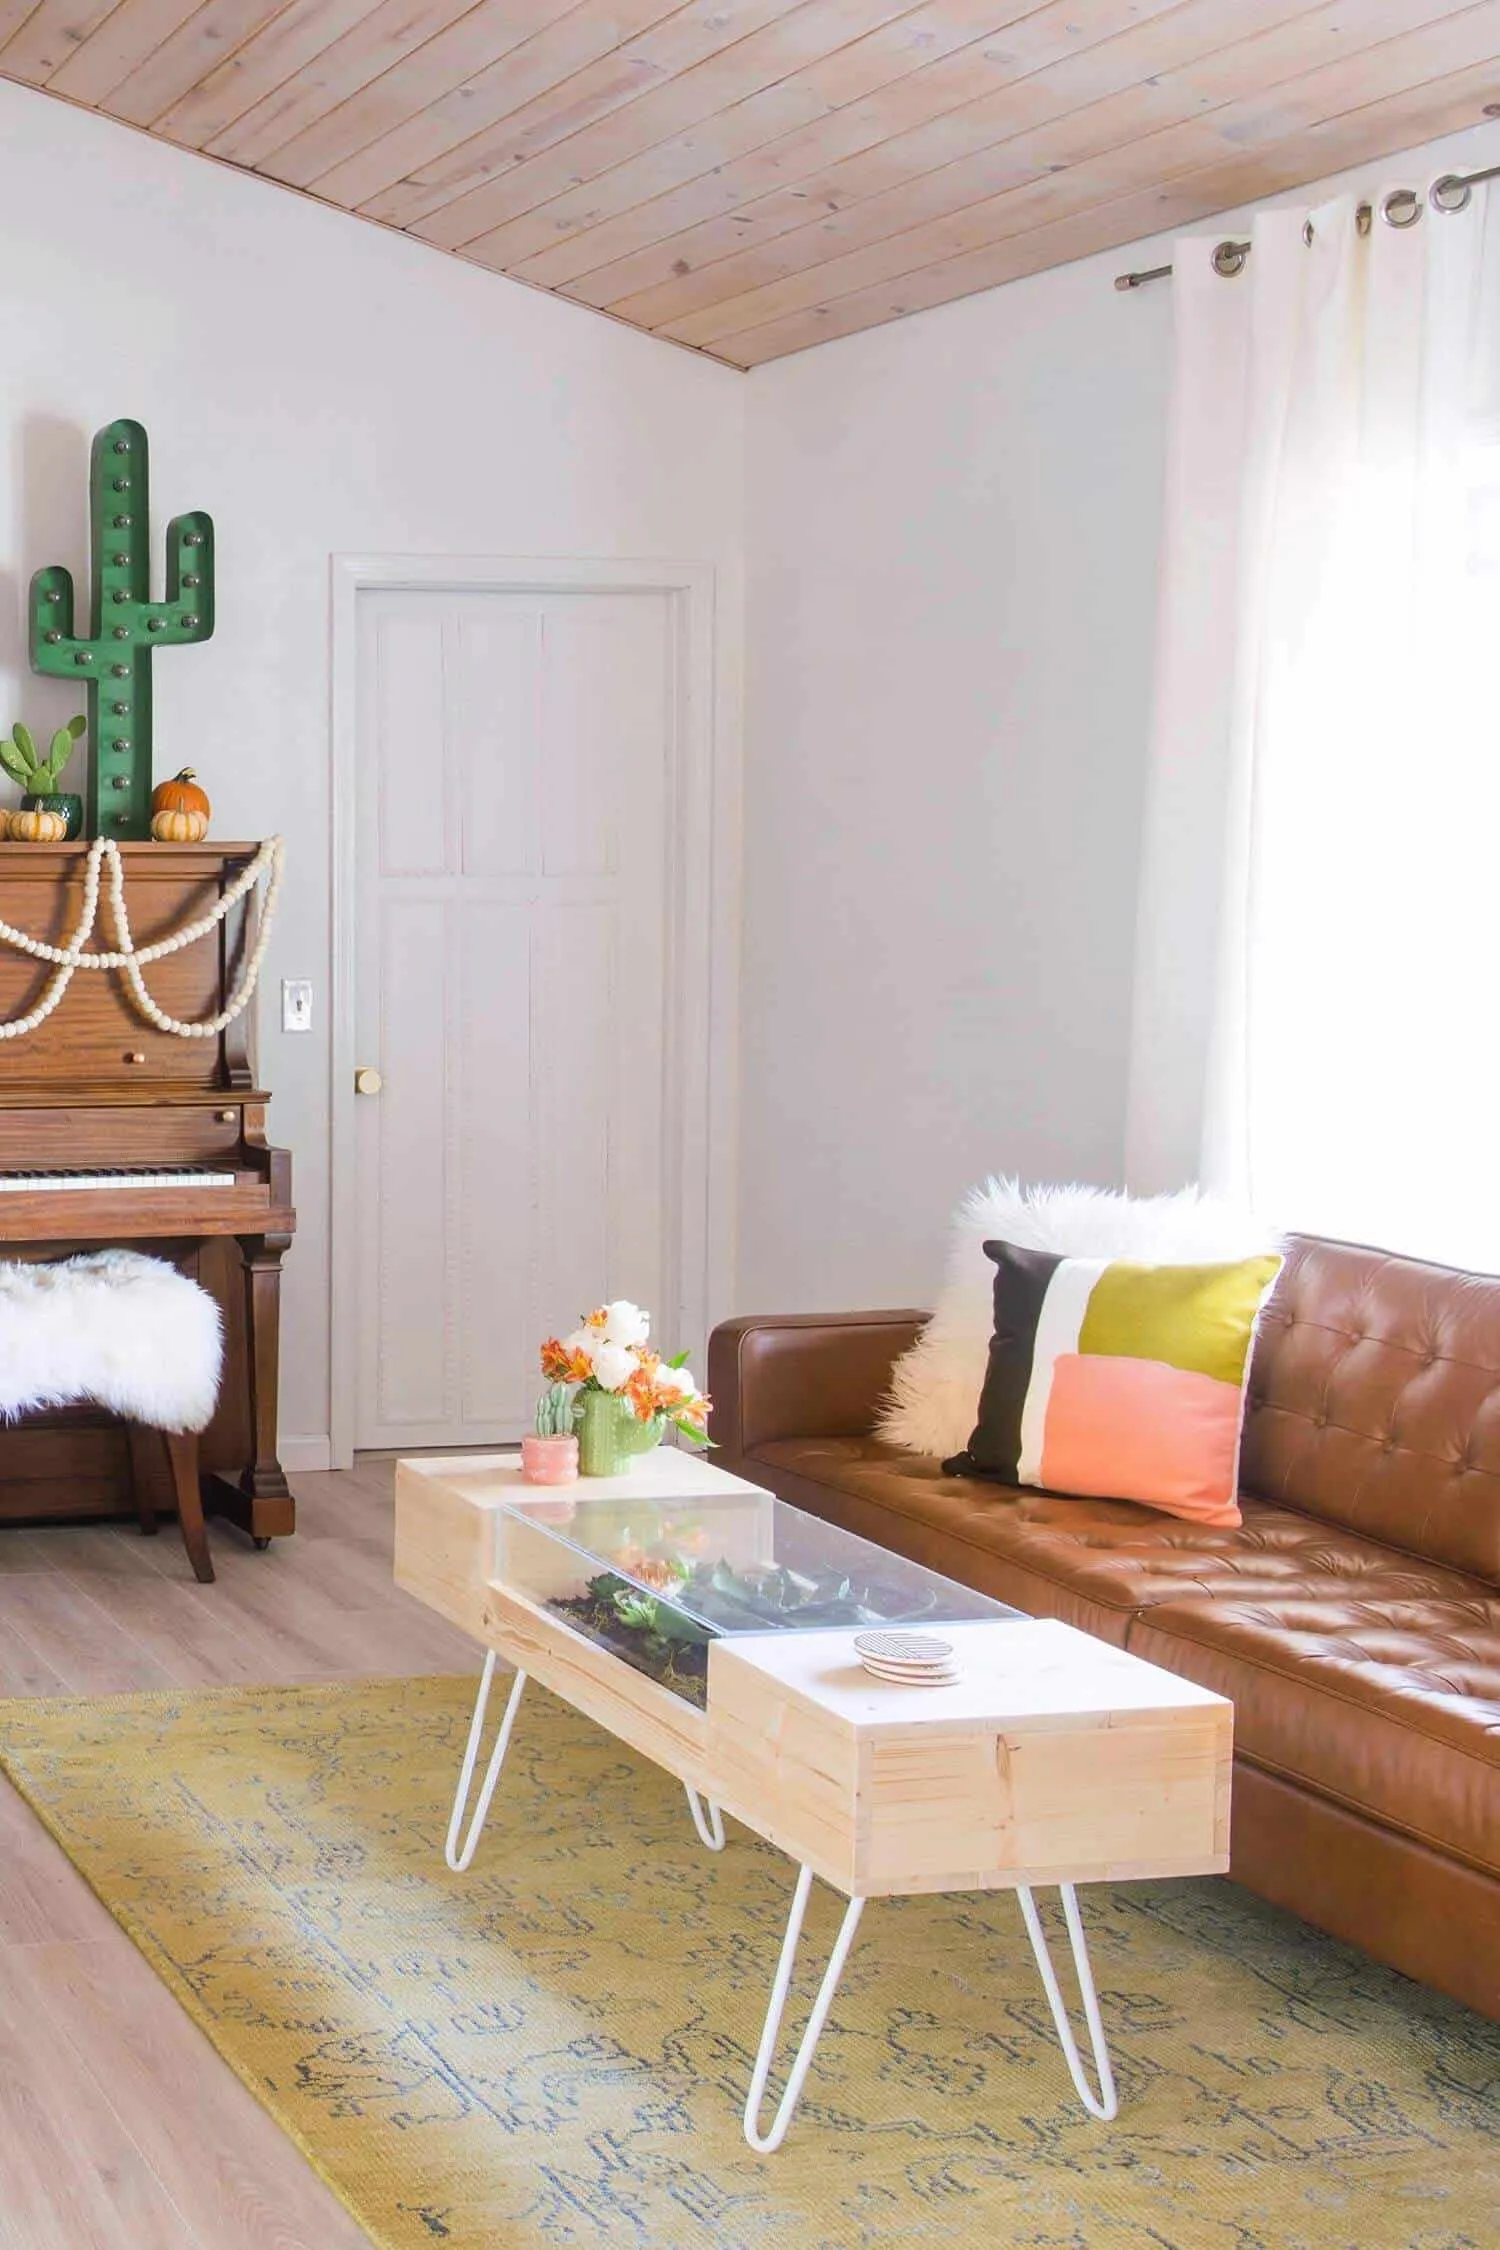
Hey there, fellow craft enthusiasts! Robert Kline, your resident art aficionado, here. Today, we’re diving into the fascinating world of woodworking and botany with a project that’ll breathe life into your living room: a stunning DIY terrarium coffee table!
This isn’t just any coffee table; it’s a conversation starter, a testament to your crafting prowess, and a miniature oasis all in one. Imagine your favorite plants nestled amidst a sleek, modern design, all crafted by your own hands. Intrigued? Let’s get started!
Gathering Your Supplies and Tools
Every masterpiece begins with the right tools and materials. Here’s what you’ll need to embark on this rewarding crafting journey:
Materials:
- 6 pieces of 10-inch x 8-ft pine boards
- 1 piece of 3-inch x 5-ft pine board
- 1 sheet of 14.5 x 2-ft acrylic sheet
- 2 sheets of 7.5 x 2-ft acrylic sheets
- 1 box of 1 3/4-inch wood screws
- 1 box of 1-inch screws
- 4 white hairpin legs (or your preferred style)
- Wood glue
- Weld-on #4 acrylic cement with applicator
Tools:
- Circular saw
- Clamps
- Medium and fine grit sandpaper
Don’t feel daunted by the list! Most of these items are readily available at your local hardware store.
Building Your Terrarium Table: A Step-by-Step Guide
Now for the exciting part – bringing your vision to life! Follow these steps carefully, and remember, patience and precision are key to achieving a polished outcome.
Step One: Crafting the Tabletop
- Begin by cutting three of the 10-inch x 8-ft pine boards in half using your circular saw. This will give you six pieces of 4-ft boards for the tabletop.
- Smooth out the cut ends of the boards using medium grit sandpaper. This ensures a seamless fit when you glue them together.
- Apply wood glue generously to the long sides of the 4-ft boards.
- Use clamps to secure the boards together, ensuring the ends are perfectly aligned. Place clamps on both ends and across the middle to prevent warping.
- Pro Tip: Place scraps of cardboard or wood between the clamps and the wood to avoid unsightly dents.
- Tighten the clamps until you see beads of glue seeping out from the joints. Leave the glue to dry overnight for maximum strength.
- Once the glue is dry, sand away any excess glue for a smooth and professional finish.
Step Two: Constructing the End Boxes and Table Frame
- To create the end boxes that will flank the terrarium, cut four 1-ft boards and four 28-inch boards from the remaining pine boards.
- Pre-drill holes from the underside of the 1-ft boards (the base of the boxes) into the 28-inch boards (the sides).
- Attach the 1-ft boards to the 28-inch boards using screws, then apply wood glue to the joints for added strength. Secure the corners with clamps and allow them to dry overnight.
- Optional: For extra sturdy end boxes, consider adding a cross brace inside each box. This can be made from scrap wood. Cut two pieces of wood to fit inside the box, with one piece slightly shorter than the other. Create a half-lap joint by tracing the edge of the shorter piece onto the taller piece and cutting along the traced line. Pre-drill, glue, and screw the cross brace in place.
- To create the tabletop surface, cut six 1-ft boards.
- Glue the sides of these 1-ft boards to the top edges of the assembled end boxes, creating a frame around the boxes. Clamp these pieces securely and allow the glue to dry overnight.
- Cut the 3-inch pine board to fit snugly between the two end boxes. This will create a lip that holds the acrylic terrarium box in place. Attach this board using the same pre-drilling, gluing, and screwing method, allowing for overnight drying.
Step Three: Building the Acrylic Terrarium Box
- Measure the inside dimensions of the space between the two end boxes on your tabletop. This will determine the size of your acrylic terrarium box.
- Carefully cut the acrylic sheets to match the height and width measurements using your circular saw. Take your time and plan your cuts strategically to utilize as many factory-smooth edges as possible, as achieving smooth cuts on acrylic can be tricky.
- Apply acrylic cement to the edges of the cut acrylic pieces and clamp them together to form the box. Avoid over-tightening the clamps, as this could bow or even crack the acrylic. Let the cement cure overnight.
Step Four: Final Assembly and Finishing Touches
- With the terrarium box dry, carefully place it within the frame you’ve created on the tabletop.
- Attach the hairpin legs (or your chosen style) to the underside of the tabletop in your desired position.
- And there you have it – your very own terrarium coffee table!
Bringing Your Terrarium to Life
Now comes the fun part! Choosing the perfect plants to inhabit your creation. Consider low-maintenance options like succulents, air plants, or certain types of ferns that thrive in a humid environment. You can get creative with decorative stones, moss, and other elements to personalize your miniature ecosystem.
Conclusion: Enjoy Your Crafted Masterpiece!
Congratulations on crafting a unique and beautiful piece of furniture for your home! This terrarium coffee table is a testament to your creativity and craftsmanship, a conversation piece that will impress guests, and a daily reminder of the beauty you brought into the world with your own two hands.
I’d love to hear your thoughts on this project. Feel free to share your experiences, questions, or even pictures of your finished terrarium coffee tables in the comments section below.
And don’t forget to explore the “Robert Kline Art” website for more inspiring DIY projects, crafting tips, and unique handmade gifts for your loved ones!
 " width=
