Blog
DIY Mosaic Tabletop: Give Your Old Furniture a Stunning Makeover

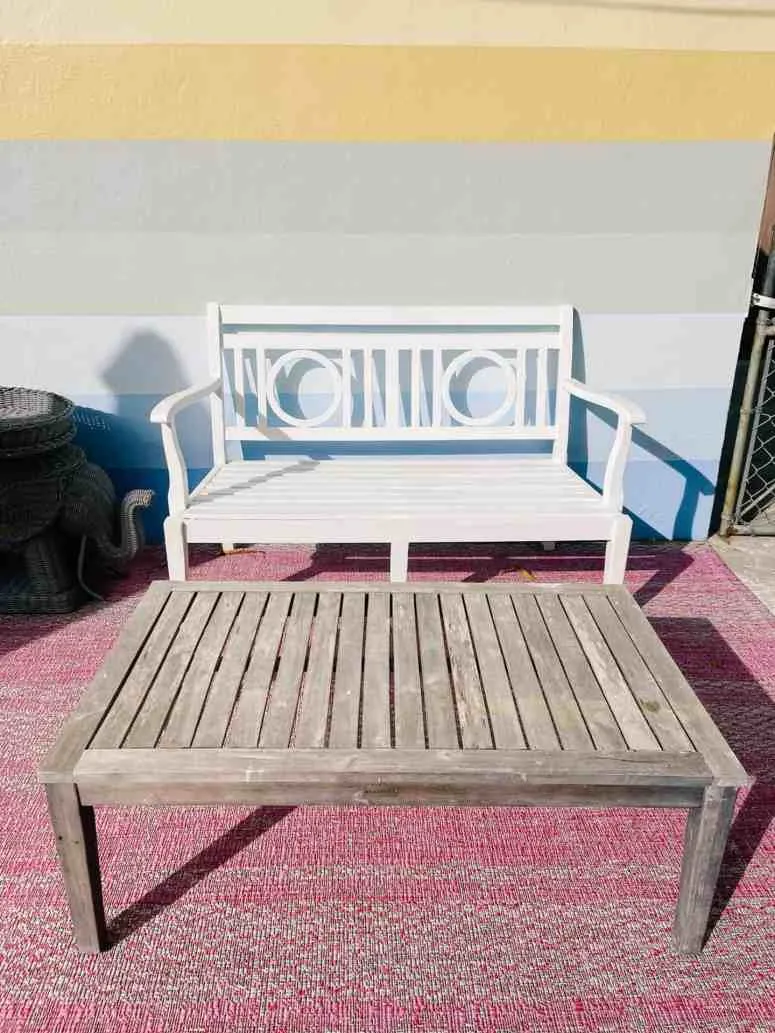
Hey there, fellow art enthusiasts! Remember that old, weathered coffee table in your backyard? The one begging for a touch of magic? Well, get ready to transform it into a vibrant masterpiece with this step-by-step guide on creating a stunning DIY mosaic tabletop using broken dishes!
As a seasoned craftsman, I’ve always been mesmerized by the intricate beauty of mosaics. This project is close to my heart, reminding me of the enchanting mosaic-filled garden I saw at my grandma’s neighbor’s house years ago. The experience sparked a passion for transforming ordinary objects into unique works of art, and I can’t wait to share that passion with you.
Gather Your Supplies
Before we embark on this creative journey, let’s assemble the tools of our trade:
- Coffee Table: The star of our show! Ensure it’s sturdy enough to handle the mosaic’s weight.
- TSP: For a squeaky-clean surface.
- White Chalk Paint: To prime our canvas.
- Furniture Sealer (Gator Hide): Protection against the elements is key.
- 1/4″ Concrete Backer Board: A stable foundation for our mosaic.
- Tile Adhesive: To hold our artistic puzzle together.
- Thrifted Dishes: Unleash your inner bargain hunter and find floral patterns that speak to your soul!
- Mosaic Glass Cutter or Tile Nippers: For precise dish-breaking action (and maybe some stress relief).
- Sanded Grout in Delorean Gray (or any color you fancy!): To fill the gaps and add a polished look.
- Rubber Float Trowel: For smooth grout application.
- Square Notch Trowel: To create those adhesive ridges.
- Tile and Grout Sealer: The finishing touch for a long-lasting masterpiece.
Step 1: Prepping the Table
Start by giving your coffee table a good cleaning with TSP. Once dry, apply a coat of white chalk paint and seal it with a waterproof sealer. This step is crucial, especially for outdoor furniture, as it prevents moisture damage to your mosaic.
Next, measure and cut the concrete backer board to match the tabletop’s dimensions. Remember, never use wood for outdoor mosaics, as it can warp and damage your artwork. Secure the backer board to the table with screws, and voila! You have the perfect base for your mosaic.
Step 2: Unleash Your Inner Artist (and Dish Breaker)
Now for the fun part – breaking dishes! Don’t worry; it’s more therapeutic than it sounds. Wrap each dish in a towel (one you don’t mind sacrificing) and carefully break it with a hammer. Sort the pieces into different containers based on their patterns and sizes.
Pro Tip: If you prefer more control over the breaking process, use mosaic glass cutters or tile nippers.
Step 3: Plan Your Masterpiece
Before you start gluing, lay out your design on a flat surface. I decided to arrange five intact plates as my focal point, surrounding them with patterned pieces and filling the gaps with white pieces. Space the pieces about 1/8″ to 1/4″ apart.
Step 4: Bringing Your Vision to Life
Spread a thin layer of tile adhesive on the tabletop using a trowel, creating ridges with the notched edge. Working in small sections, carefully place your dish pieces onto the adhesive, pressing firmly to ensure they adhere properly.
Pro Tip: It’s easier to break the plates down further during the design phase to ensure a flatter surface.
Step 5: Grouting – The Finishing Touch
After the adhesive dries (usually 24 hours), it’s time to grout! Use sanded grout for outdoor mosaics, as it’s designed for wider gaps. Apply it with a rubber trowel, pushing it into the cracks. After 15 minutes, wipe away the excess with a damp sponge, repeating until the tiles are clean.
Safety First! Sand down any sharp edges to prevent accidental cuts.
Finally, seal your masterpiece with a tile and grout sealer, followed by sealing the base of the table for ultimate weather protection.
Conclusion
Congratulations, my friend! You’ve transformed an old coffee table into a stunning testament to your creativity. Share your masterpiece with the world and inspire others to embrace the beauty of handmade art.
Remember, at Robert Kline Art, we celebrate the joy of crafting unique and meaningful pieces. For more inspiring ideas and one-of-a-kind handmade gifts, browse through our website.
And don’t forget to share your mosaic table creations with us in the comments below. Happy crafting!
 DIY Mosaic Table Top with Broken Dishes. Design ideas for an outdoor project. Includes a step by step tutorial with video. This is a fun garden craft for vintage China that's been thrifted
 Completed mosaic table
