Blog
Transform Broken China into a Stunning Mosaic Table Top
Hey there, fellow art enthusiasts! Have you ever experienced the sinking feeling of watching a beloved china plate shatter into a million pieces? It’s heartbreaking, I know. But what if I told you those broken shards could be reborn into a stunning work of art?
In this step-by-step guide, we’ll embark on a creative journey, transforming those seemingly useless fragments into a breathtaking mosaic tabletop. Trust me, it’s easier than you might think, and the end result? Absolutely dazzling! As a seasoned crafter and the creative mind behind Robert Kline Art, I’m here to guide you every step of the way.
Gathering Your Mosaic Supplies
Before we dive in, let’s assemble our toolbox. Luckily, the beauty of mosaic art lies in its simplicity. Here’s what we’ll need:
Materials:
- Broken China Plates: The stars of our show! Don’t fret if you don’t have any casualties on hand – thrift stores are treasure troves for unique china.
- Ceramic Tile Adhesive: The glue that binds our masterpiece.
- Tile Grout: Fills in the gaps, adding polish and permanence.
- Work Gloves: Protect those creative hands from sharp edges.
- Damp Sponge: Our grout-smoothing sidekick.
- Tile and Grout Sealer (Optional): Provides extra protection, especially for outdoor use.
Tools:
- Tile Nippers: Our trusty tool for trimming and shaping those china shards.
- Spreader: Ensures smooth and even application of adhesive and grout.
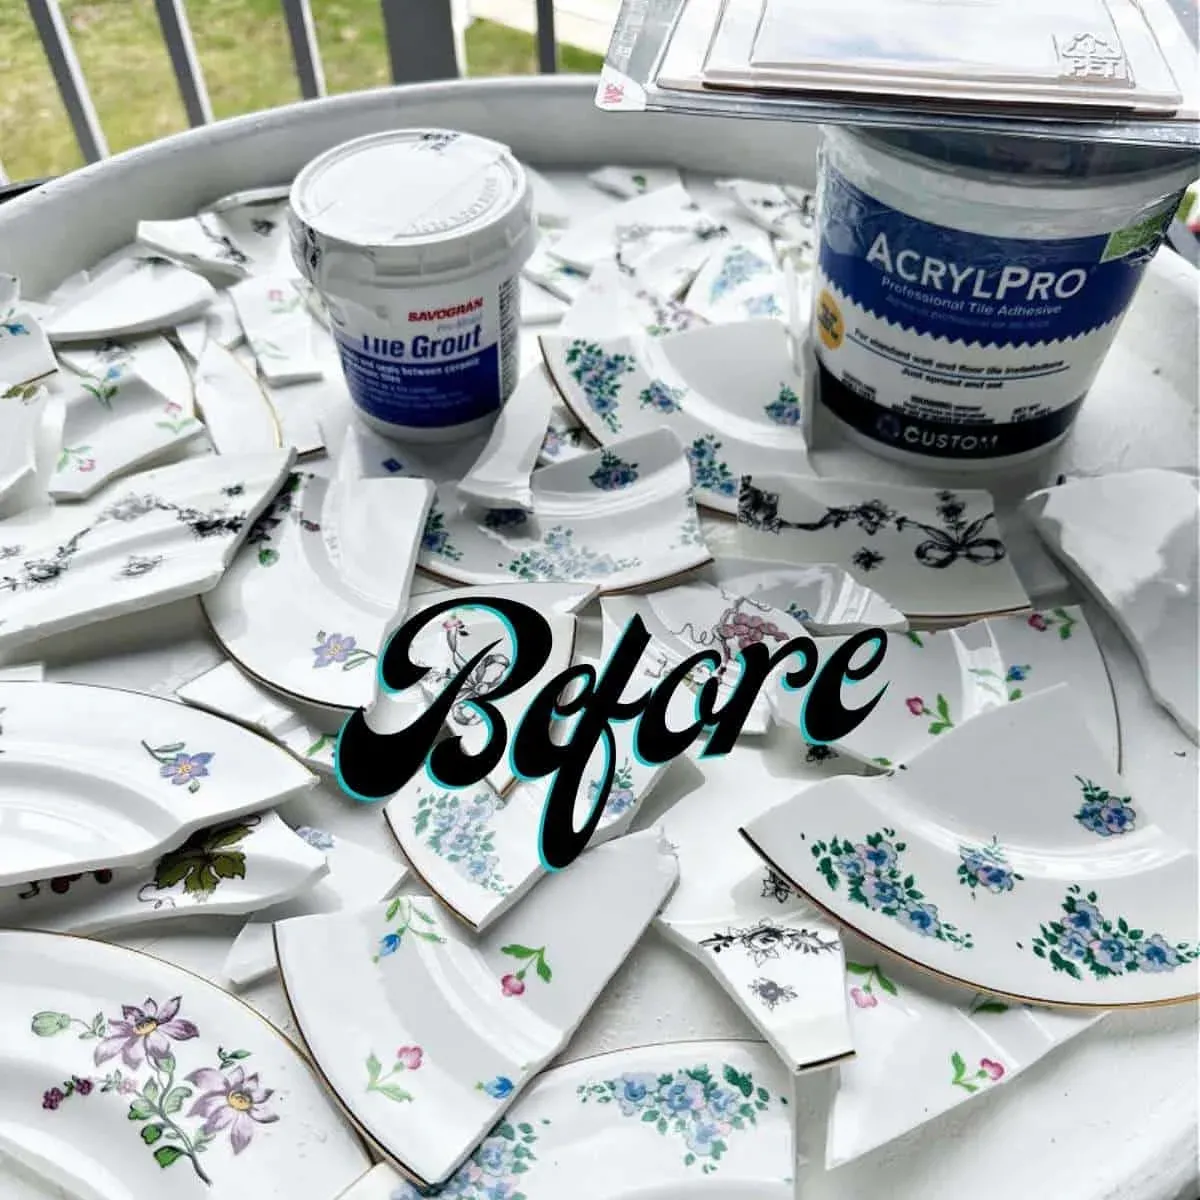
 broken plates on tabletop before picture
Broken plates waiting to be transformed into a masterpiece
Step-by-Step Guide to Crafting Your Mosaic Masterpiece
Ready to unleash your inner artist? Let’s get started:
Phase 1: Preparing Your Canvas
- Choose Your Tabletop: Look for a tabletop with a raised edge for easier mosaic application. A round wooden tray, like the one I found at Goodwill, works like a charm!
- Clean and Prep: Give your tabletop a good scrub with warm soapy water. Fill any holes with wood filler and sand smooth.
- Paint (Optional): A coat or two of paint can add a nice base for your mosaic. I went with classic white chalk paint.
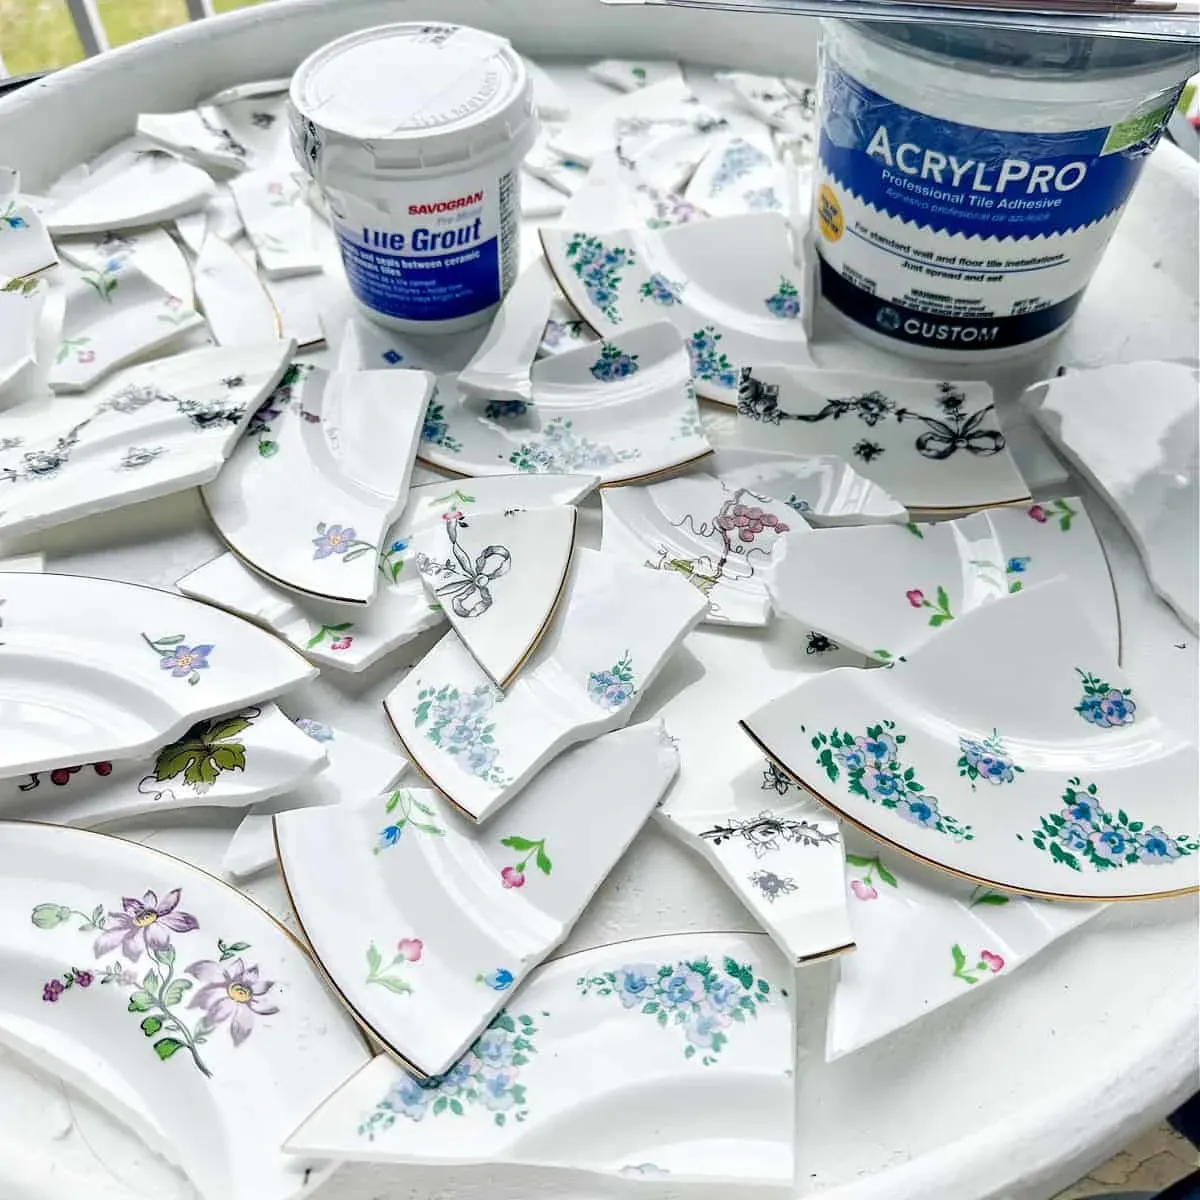 broken plates on table with grout and adhesive
Prepped tabletop ready for mosaic magic.
Phase 2: Creating the Mosaic Magic
- Apply Adhesive: Working in small sections, spread a thin layer of tile adhesive on the tabletop. Remember, it dries fairly quickly!
- Place Your China: Now for the fun part! Arrange your broken china pieces, starting from the center and working outward. Press each piece firmly into the adhesive.
“A tip from a seasoned mosaic artist: Play around with different arrangements before committing. Let your creativity guide you!” – Sarah M., Mosaic Design Expert
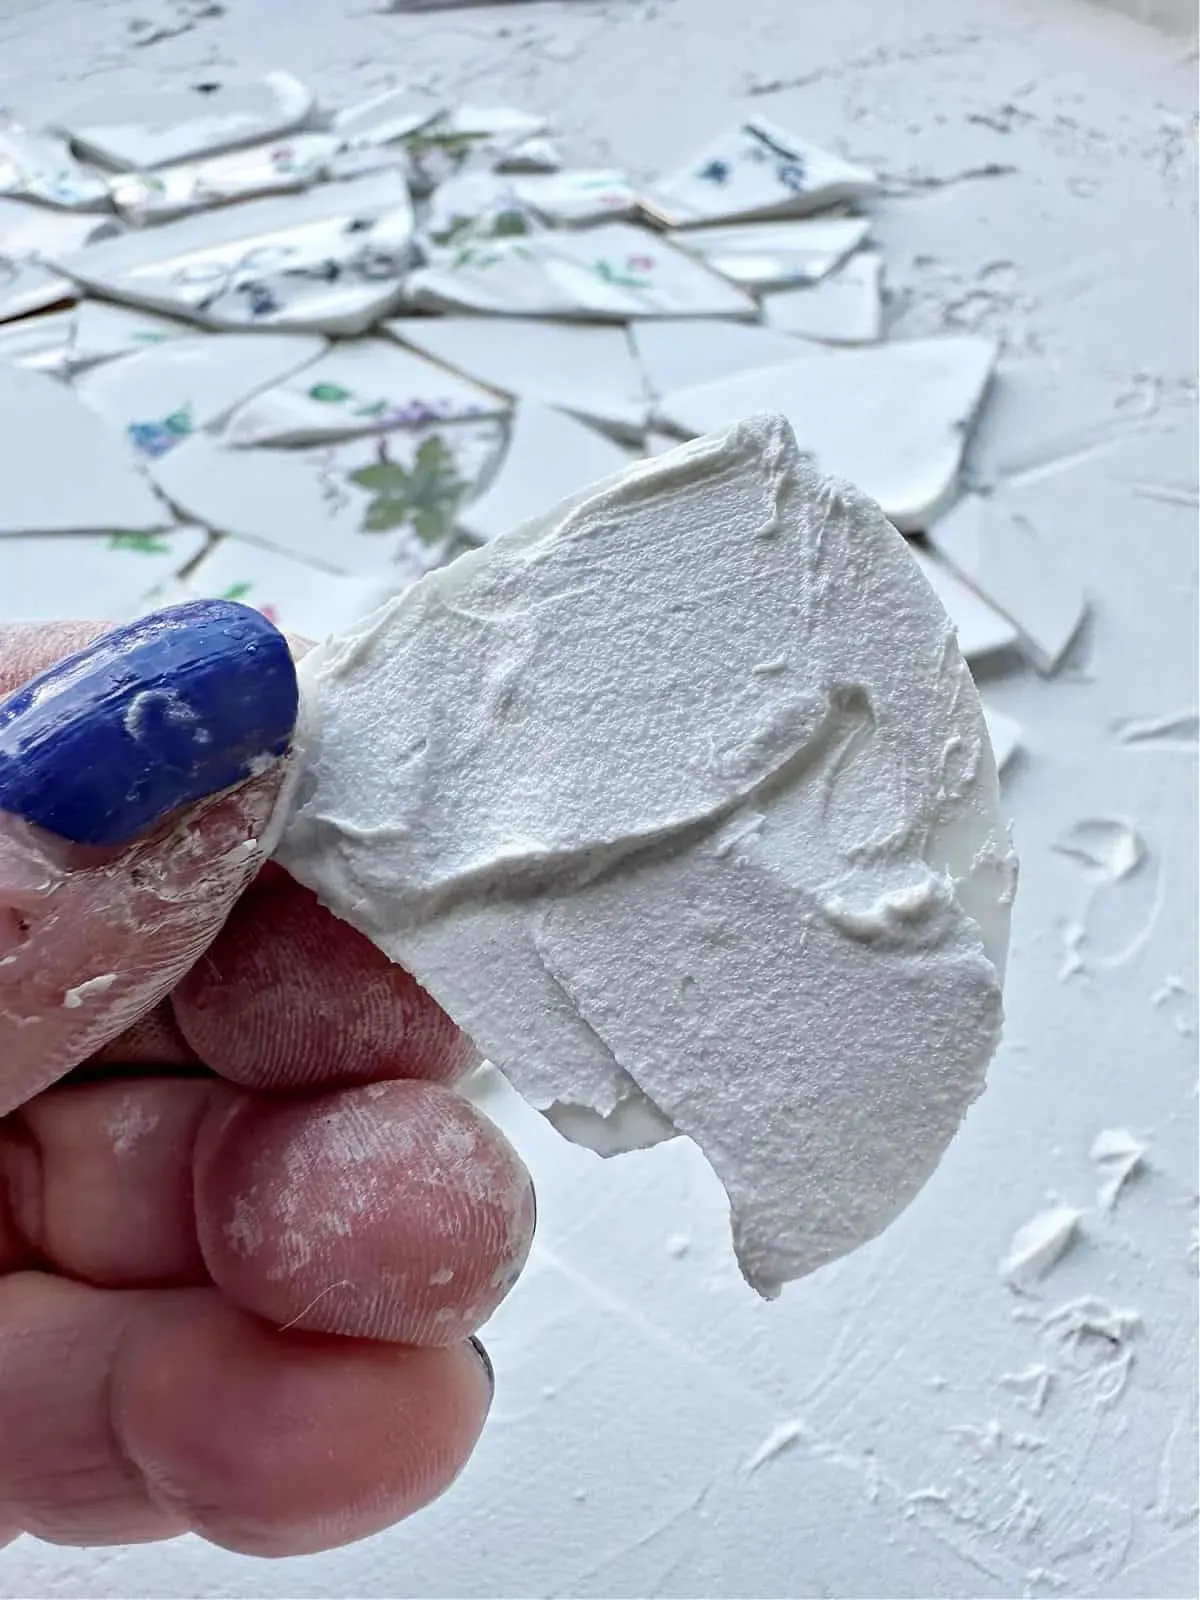 close up of broken plate with adhesive
Applying adhesive to each piece for a secure hold.
- Trim and Shape: Use your tile nippers to trim pieces for a perfect fit. Don’t be afraid to get creative with shapes and sizes!
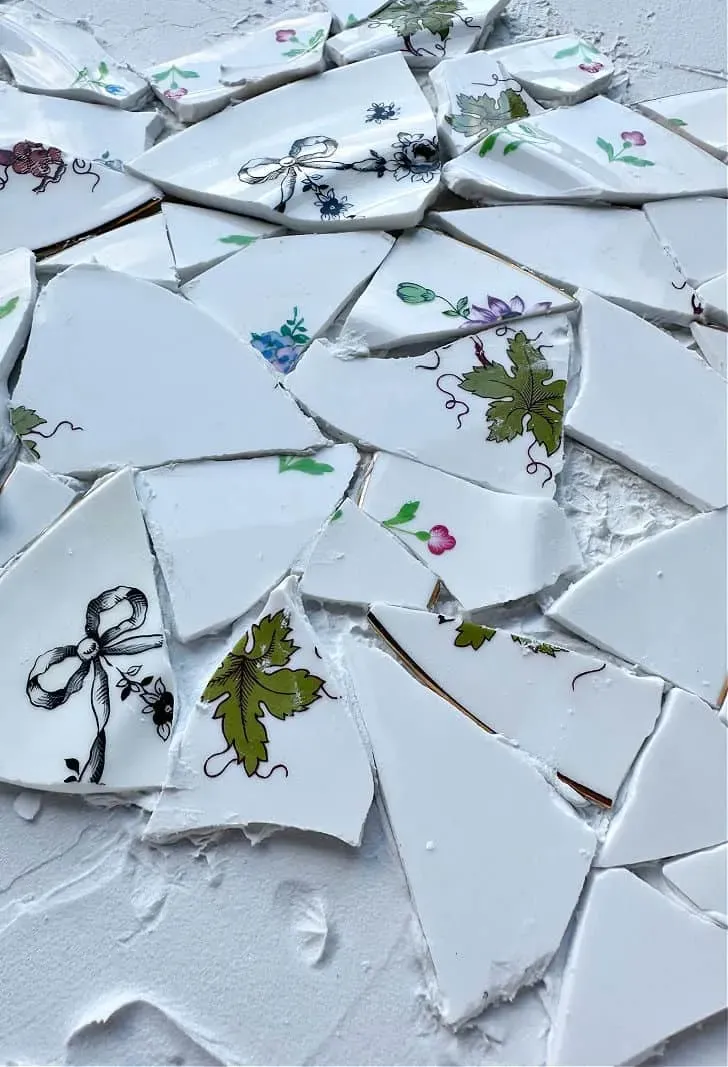 adding broken plates to table with adhesive
Adding broken plates to the adhesive, shaping them as needed.
- Let it Dry: Patience is key! Allow the adhesive to dry completely for at least 24 hours.
Phase 3: Grouting – Adding the Finishing Touches
- Apply Grout: Wearing gloves, use your spreader to press grout into all the gaps between your china pieces.
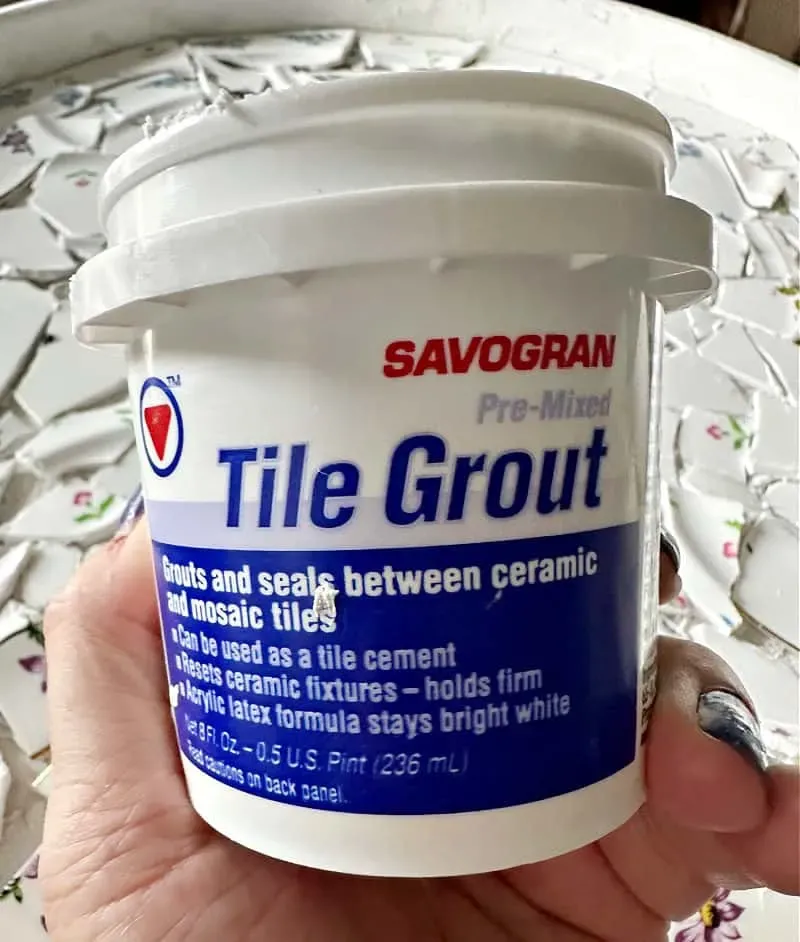 grout for mosaic
Grout ready to fill the gaps and create a polished look.
- Smooth and Clean: Once the grout is slightly dry, use a damp sponge to remove excess and smooth the surface.
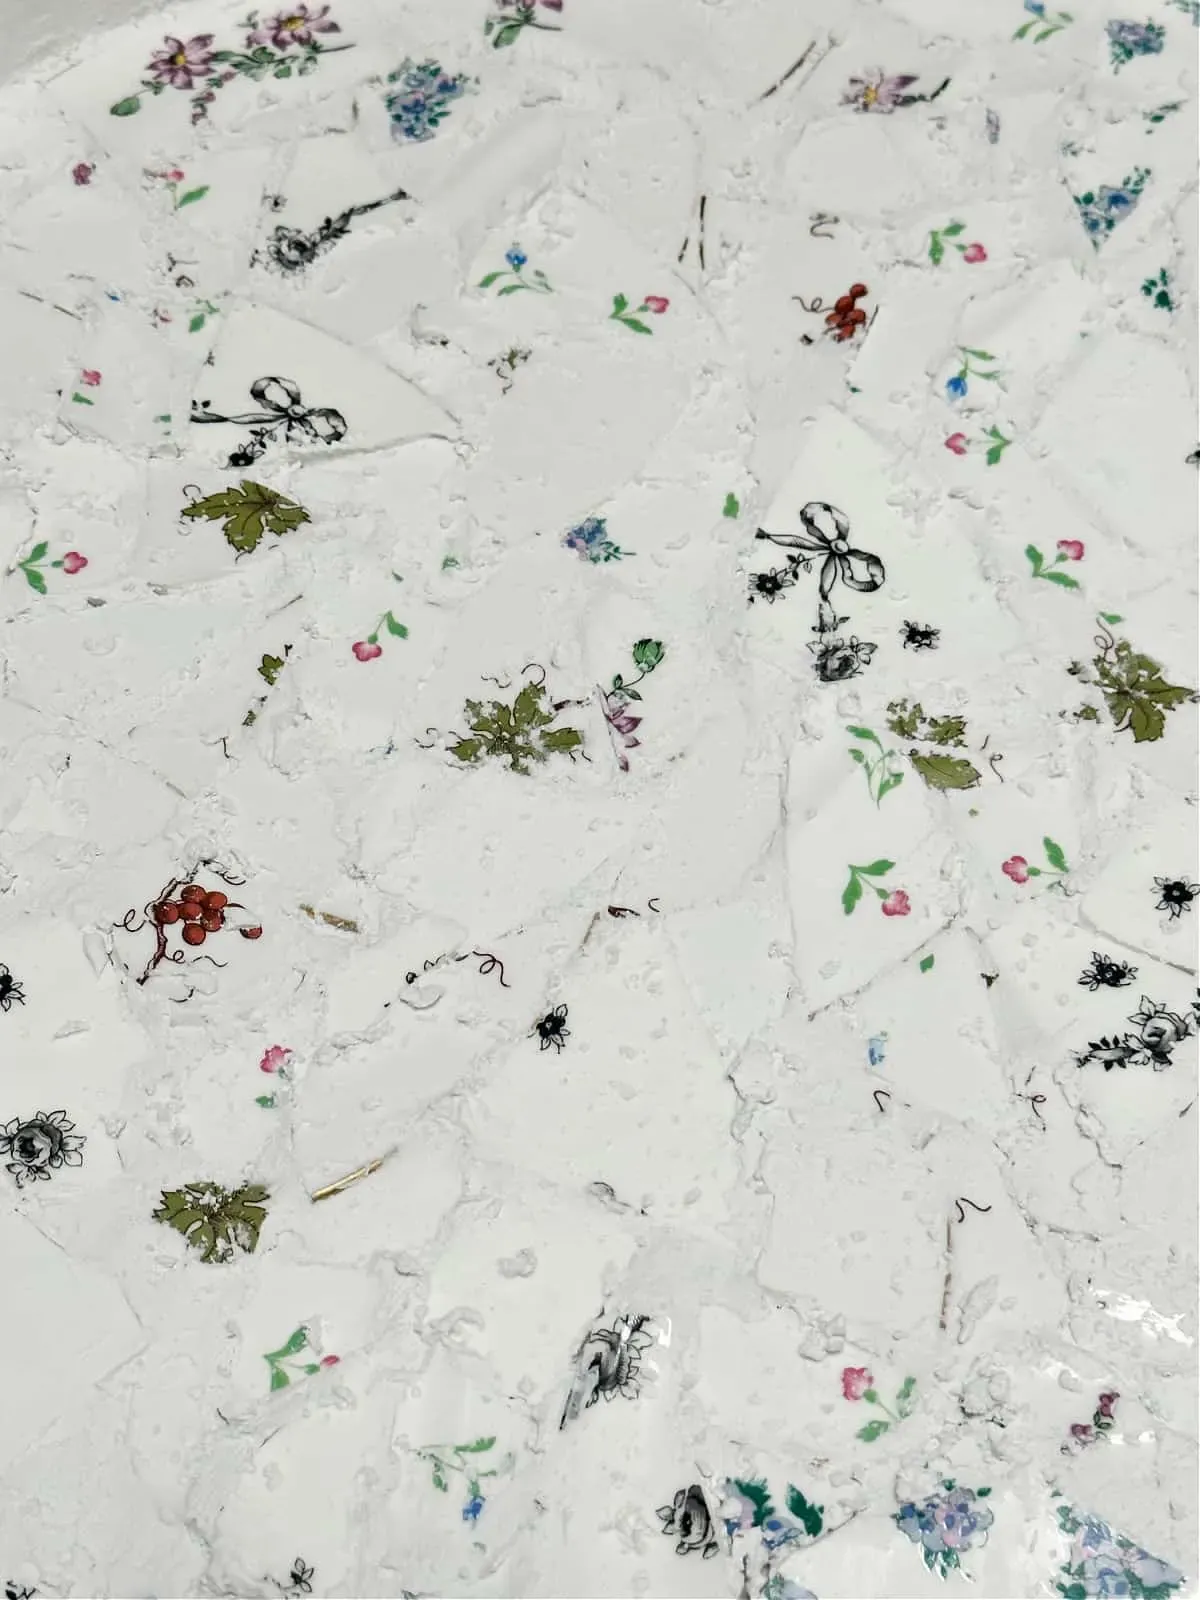 close up of grout on tile
Smoothing out the grout for a clean and professional finish.
- Let it Cure: Let the grout cure completely for at least 24 hours, preferably longer.
Phase 4: Adding the Final Flourishes
- Touch Up: If needed, touch up any paint around the edges of your tabletop.
- Seal (Optional): Apply a tile and grout sealer, especially if your table will be exposed to the elements.
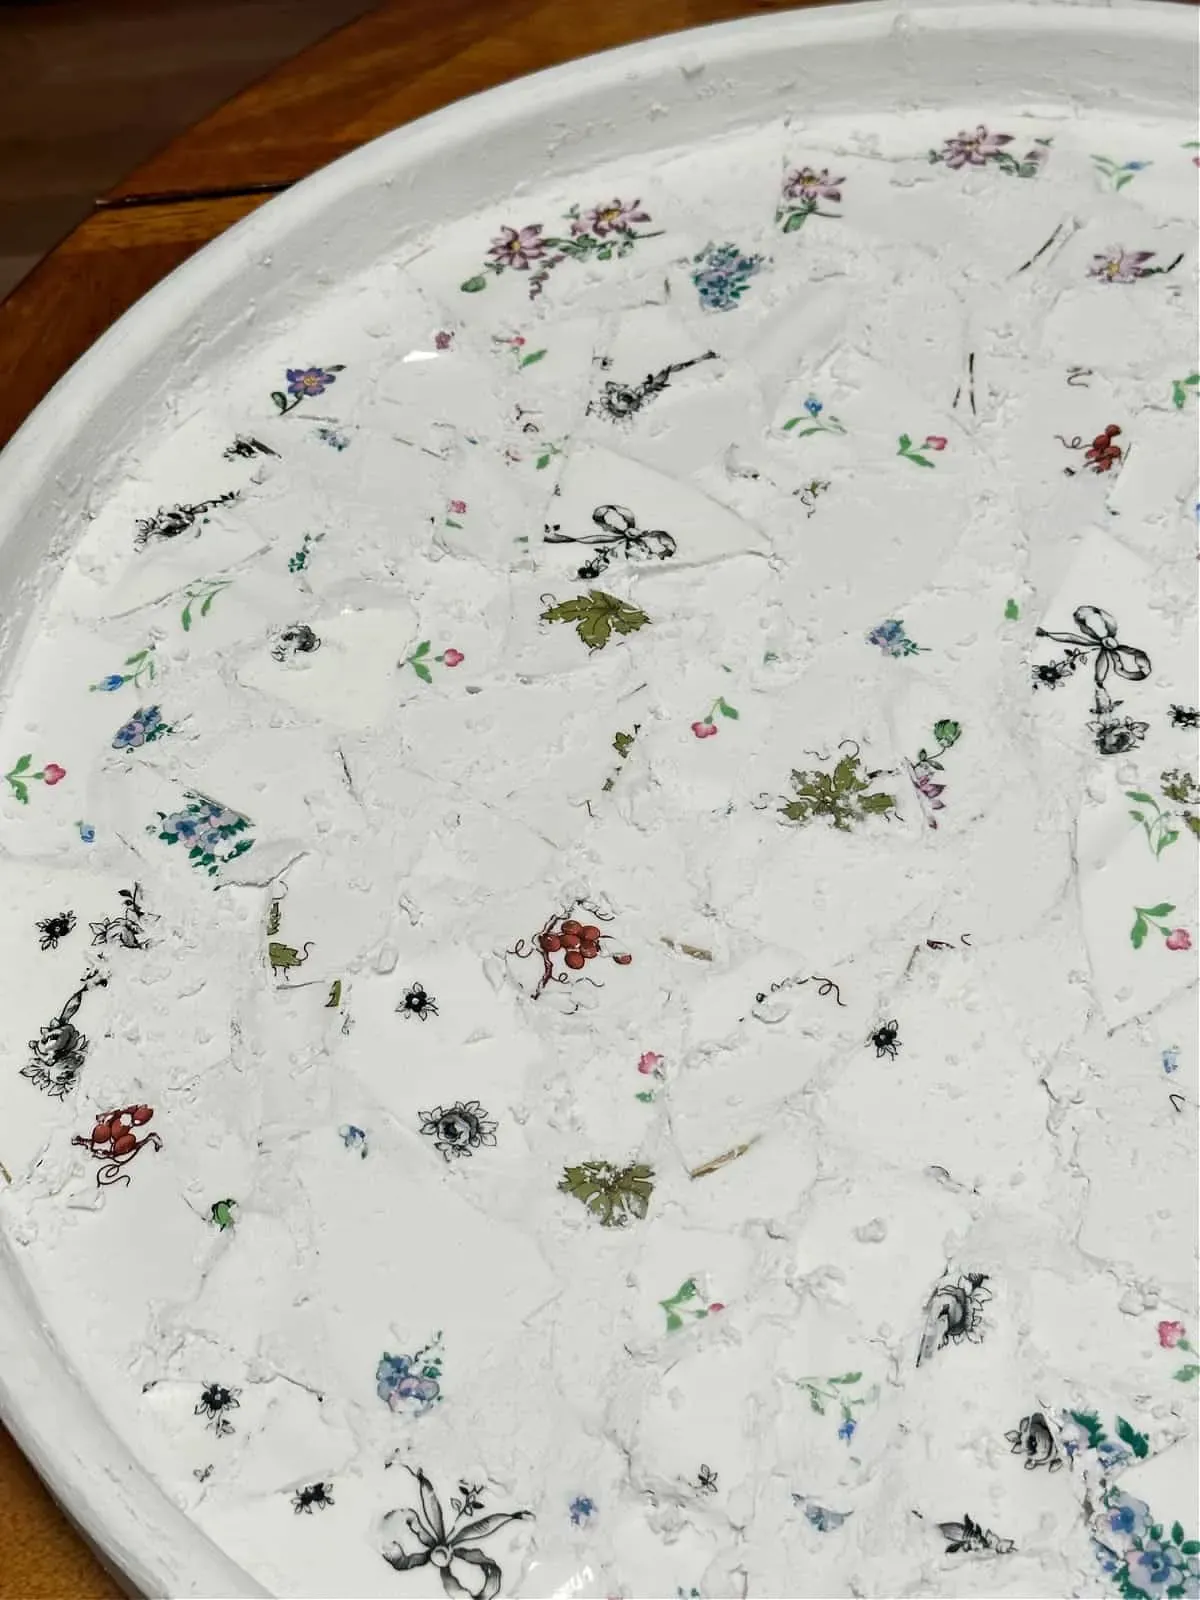 close up of broken plate mosaic table
A close-up of the beautiful broken plate mosaic table.
Conclusion: Embrace the Beauty of Imperfection
Congratulations, you’ve transformed brokenness into beauty! Your one-of-a-kind mosaic table is ready to be admired. Not only is it a stunning addition to your home, but it’s a testament to your creativity and resourcefulness. Remember, the beauty of handmade art lies in its imperfections. Each crack and crevice tells a story, making your creation truly unique.
Feeling inspired? I encourage you to give this project a try and share your masterpiece with us in the comments below!
