Blog
How to Craft a Unique Succulent Wall Clock
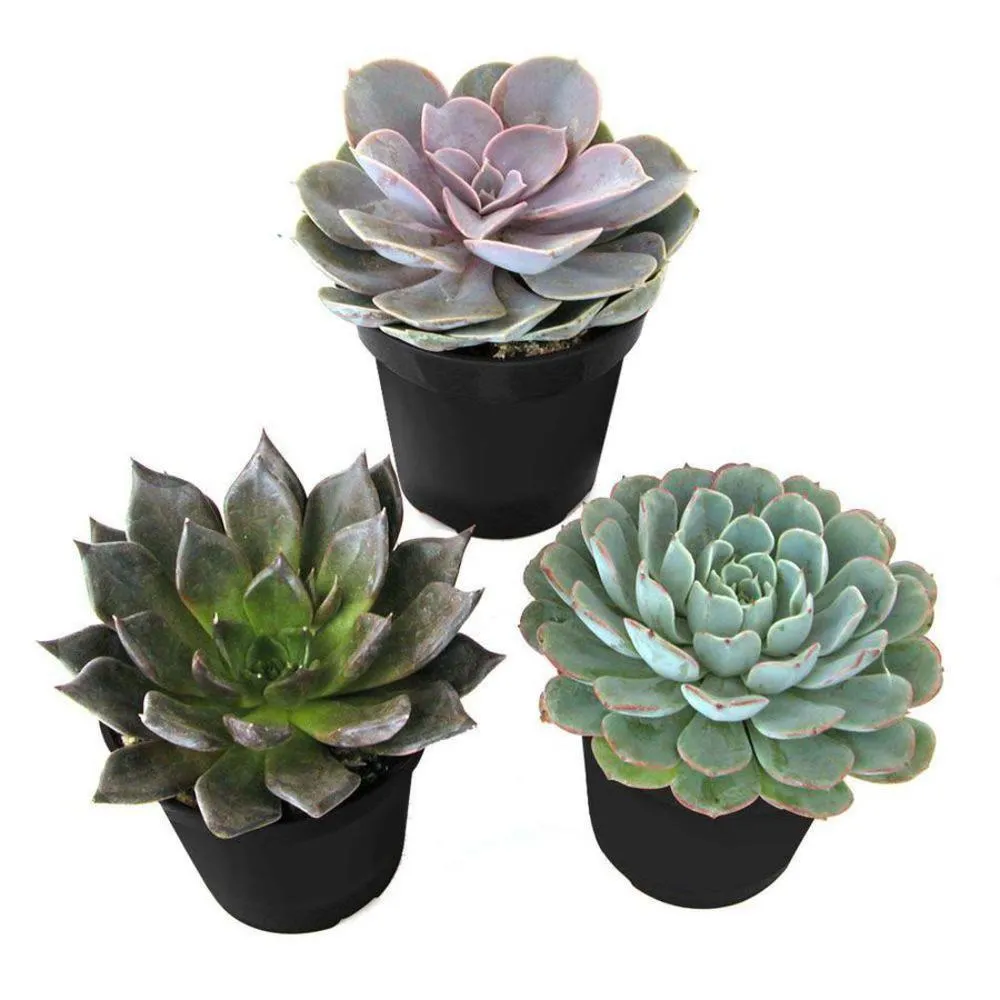
Hey there, fellow craft enthusiasts! Robert Kline here, and I’m thrilled to share a project that beautifully blends nature’s artistry with the practicality of timekeeping: crafting a unique succulent wall clock. If you, like me, find beauty in organic forms and enjoy the process of creating with your hands, this project is right up your alley!
Drawing Inspiration from Nature’s Simplicity
The beauty of succulents lies in their simple elegance and resilience. This project captures that essence by transforming those organic shapes into a functional work of art. Imagine a clock, not just telling time, but also adding a touch of nature’s serenity to your living space!
Gathering Your Tools and Materials
Before we embark on this creative journey, let’s gather our tools and materials:
- Design inspiration: Pictures of succulents for reference (thankfully, the internet is bursting with them!).
- Sketchbook and pencil: To capture your design ideas.
- 3D CAD software: Fusion 360 or a similar program for digital design.
- Vector graphics editor: Adobe Illustrator or Inkscape for refining your design.
- Laser cutter: For precise cutting of the clock’s components.
- Clock mechanism kit: Easily sourced online or from craft stores.
- Sheet of wood: Choose a type and thickness you prefer.
- Wood finish (optional): Varnish or paint to add color and protect the wood.
Designing Your Succulent Timepiece
-
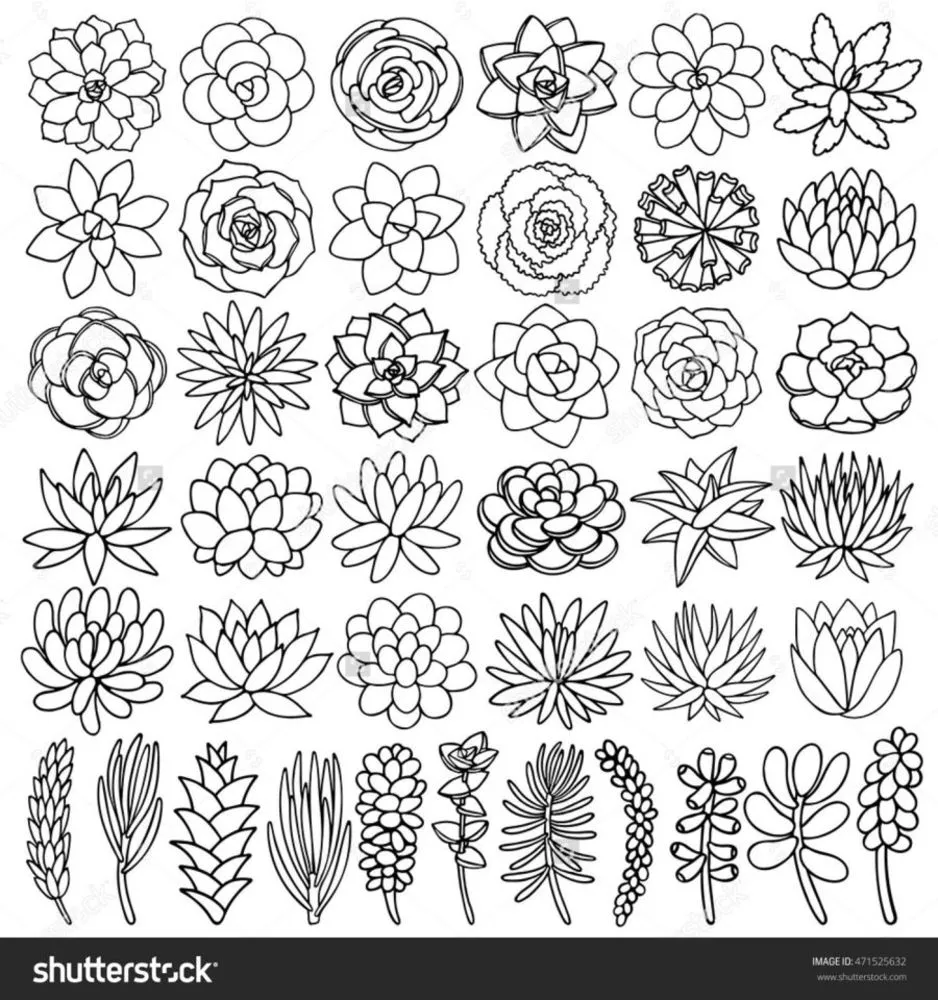
Sketching Your Vision: Begin by sketching different succulent shapes, experimenting with leaf arrangements and overall composition. Don’t be afraid to explore asymmetry—it adds to the organic appeal. Think about the layering of leaves, from smaller ones in the center to larger ones at the edges, framing the clock hands.
 Succulent drawings2.thumb
Exploring various succulent shapes -
Digitizing the Design: Transfer your chosen sketch into your 3D CAD software. Create outlines, incorporate depth, and finalize the dimensions, keeping in mind the clock mechanism’s size.
 Clock sketches small.thumb
Digitizing the sketch in CAD software -
Refining in Vector Graphics: Export your design to a vector graphics editor to fine-tune lines, add details, and ensure everything is ready for laser cutting. This step is crucial for achieving clean, precise cuts.
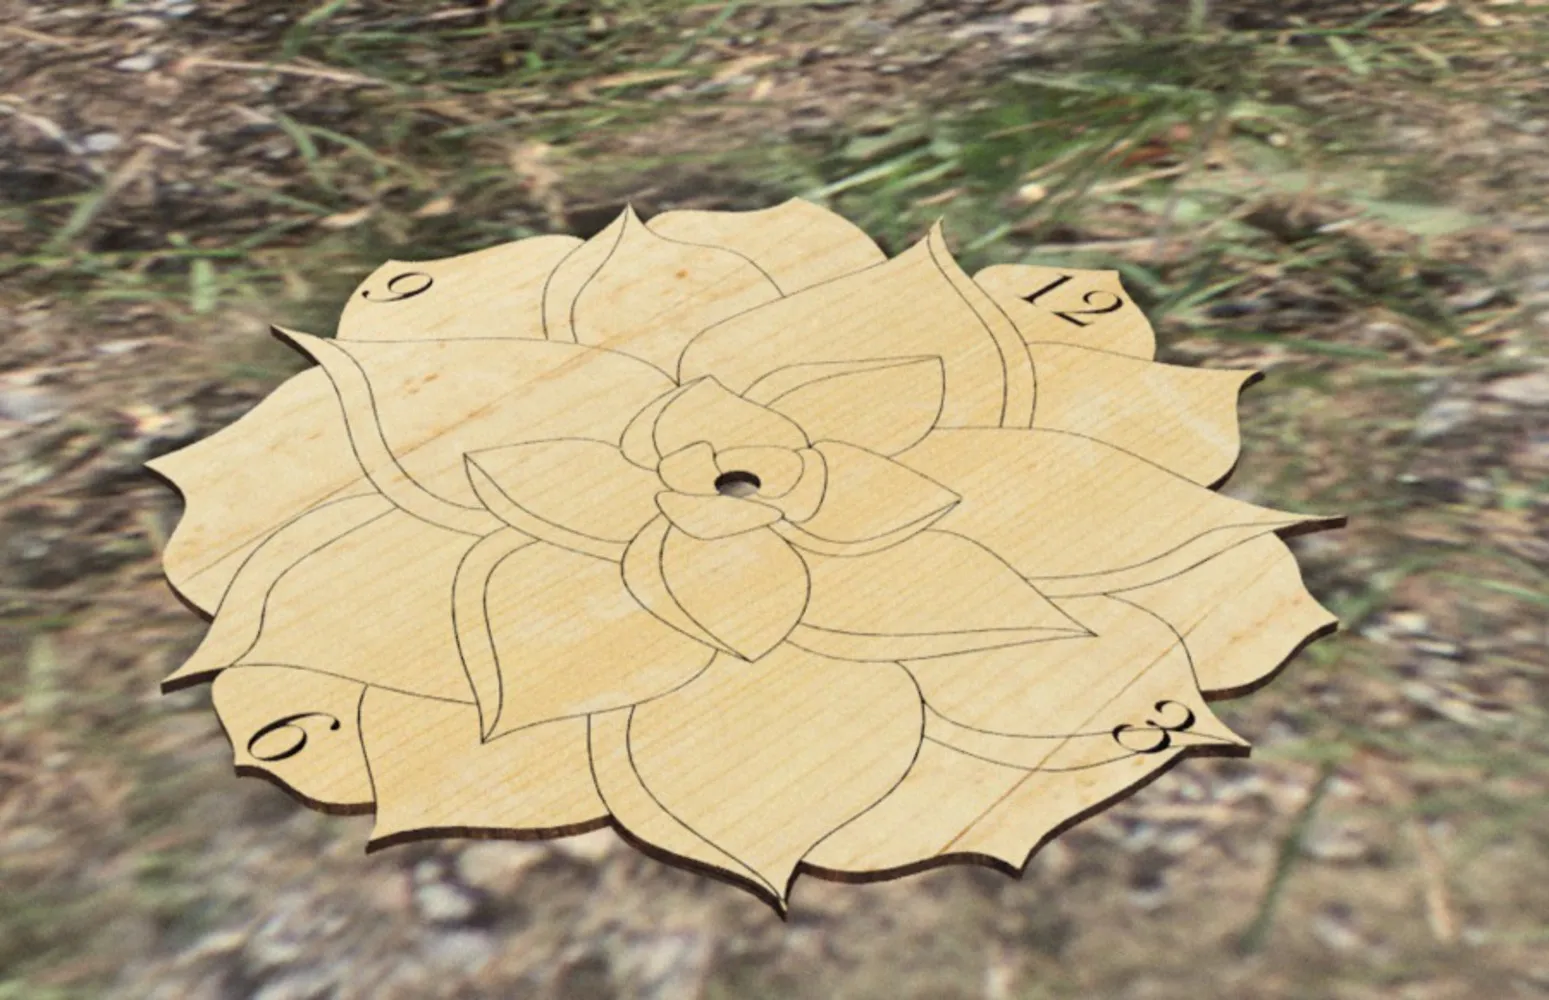 Bsoques clock cobble bg.thumb
Rendering of the clock design in a natural setting
Bringing Your Design to Life: The Making Process
-
Laser Cutting: With your design finalized, it’s time to let the laser cutter work its magic. Carefully follow the safety procedures and settings specific to your chosen wood. Cut the outer shape, score the leaf outlines for a subtle textural detail, and engrave the numbers if desired.
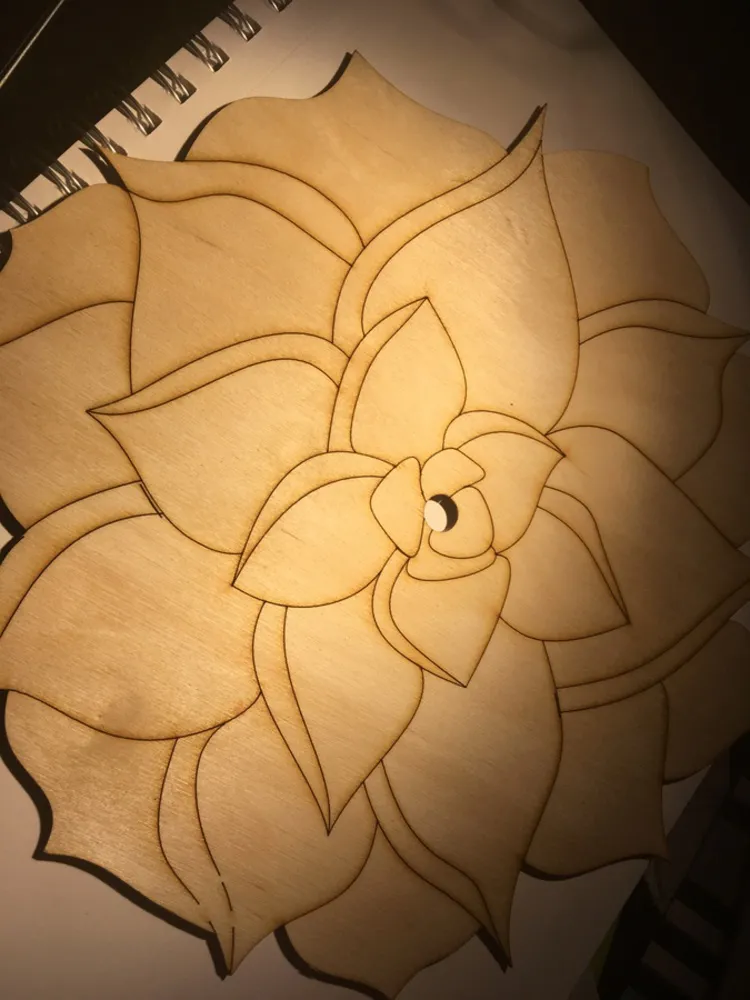 Clock angled.jpg.thumb
The laser cutter bringing the design to life -
Assembling Your Timepiece: Once your wooden components are ready, carefully insert the clock mechanism according to its instructions. If you choose to, apply your chosen wood finish before assembly.
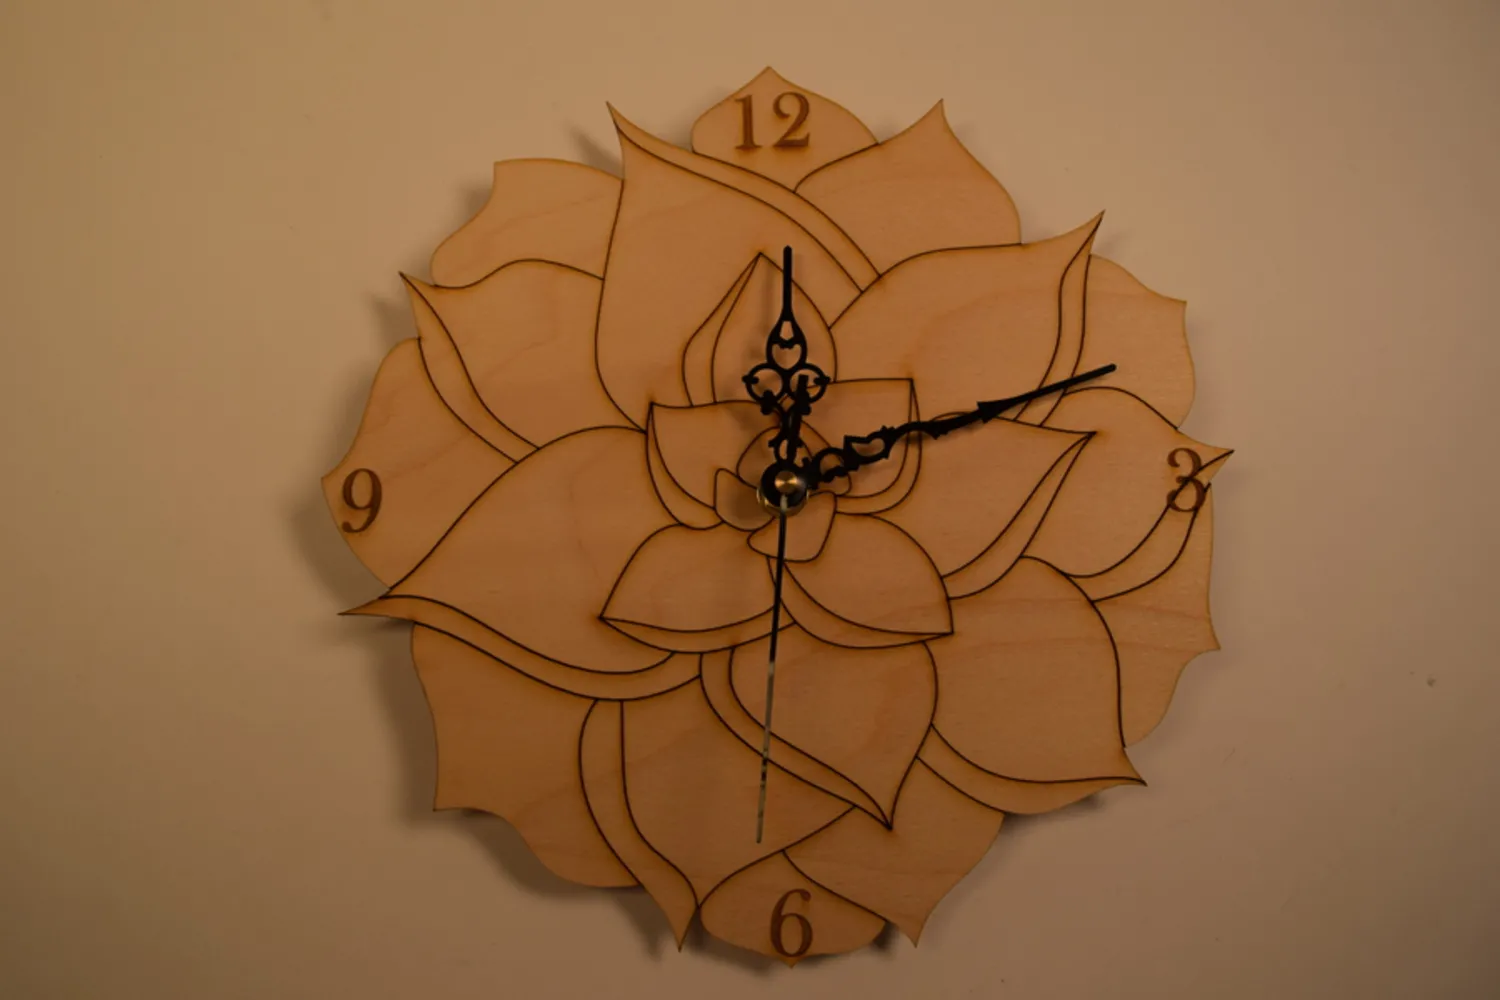 Clock closeup1.jpg.thumb
Close-up of the assembled succulent clock -
Finishing Touches: Consider adding a hanger to the back of your clock. This could be as simple as a sawtooth hanger or a more decorative option, depending on your preference.
Showcasing Your Creation
Congratulations! You’ve crafted a unique succulent wall clock. Find the perfect spot to hang it, where it can add a touch of natural elegance and remind you of the joy of creating something beautiful and functional with your own hands.
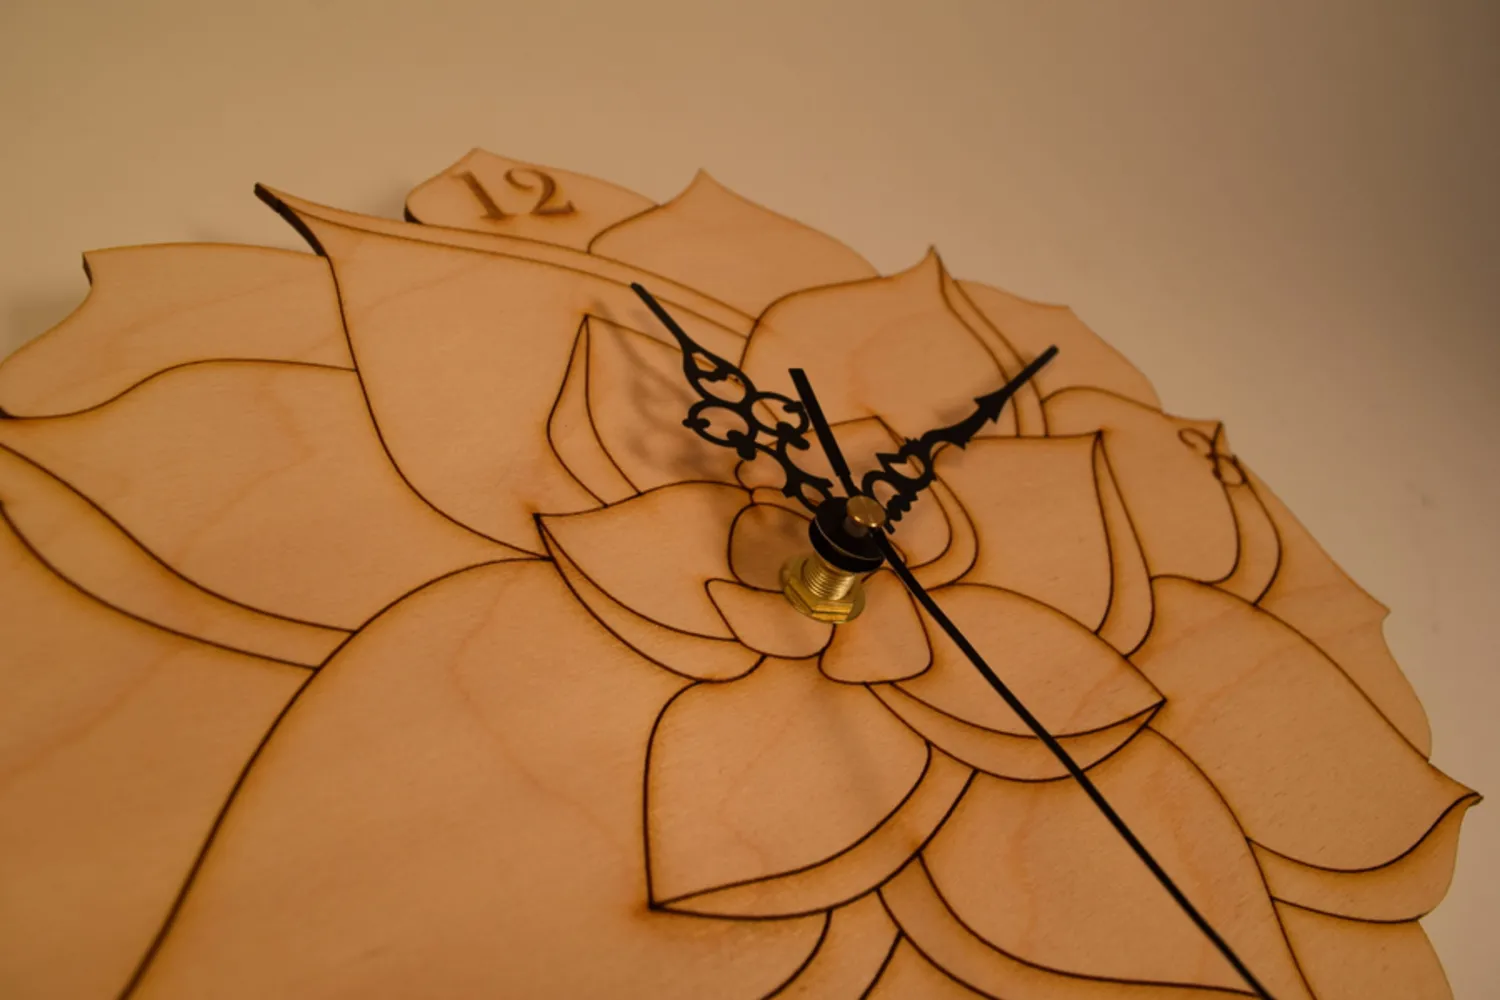 Clock low.jpg.thumb
The finished succulent clock, a unique addition to any space
Don’t forget to share your creations and experiences in the comments below! For more inspiration and unique handmade gifts, browse the incredible selection on Robert Kline Art. Happy crafting!
