Blog
DIY Hanging Plant Shelf: A Step-by-Step Guide to Creating Your Own Green Oasis
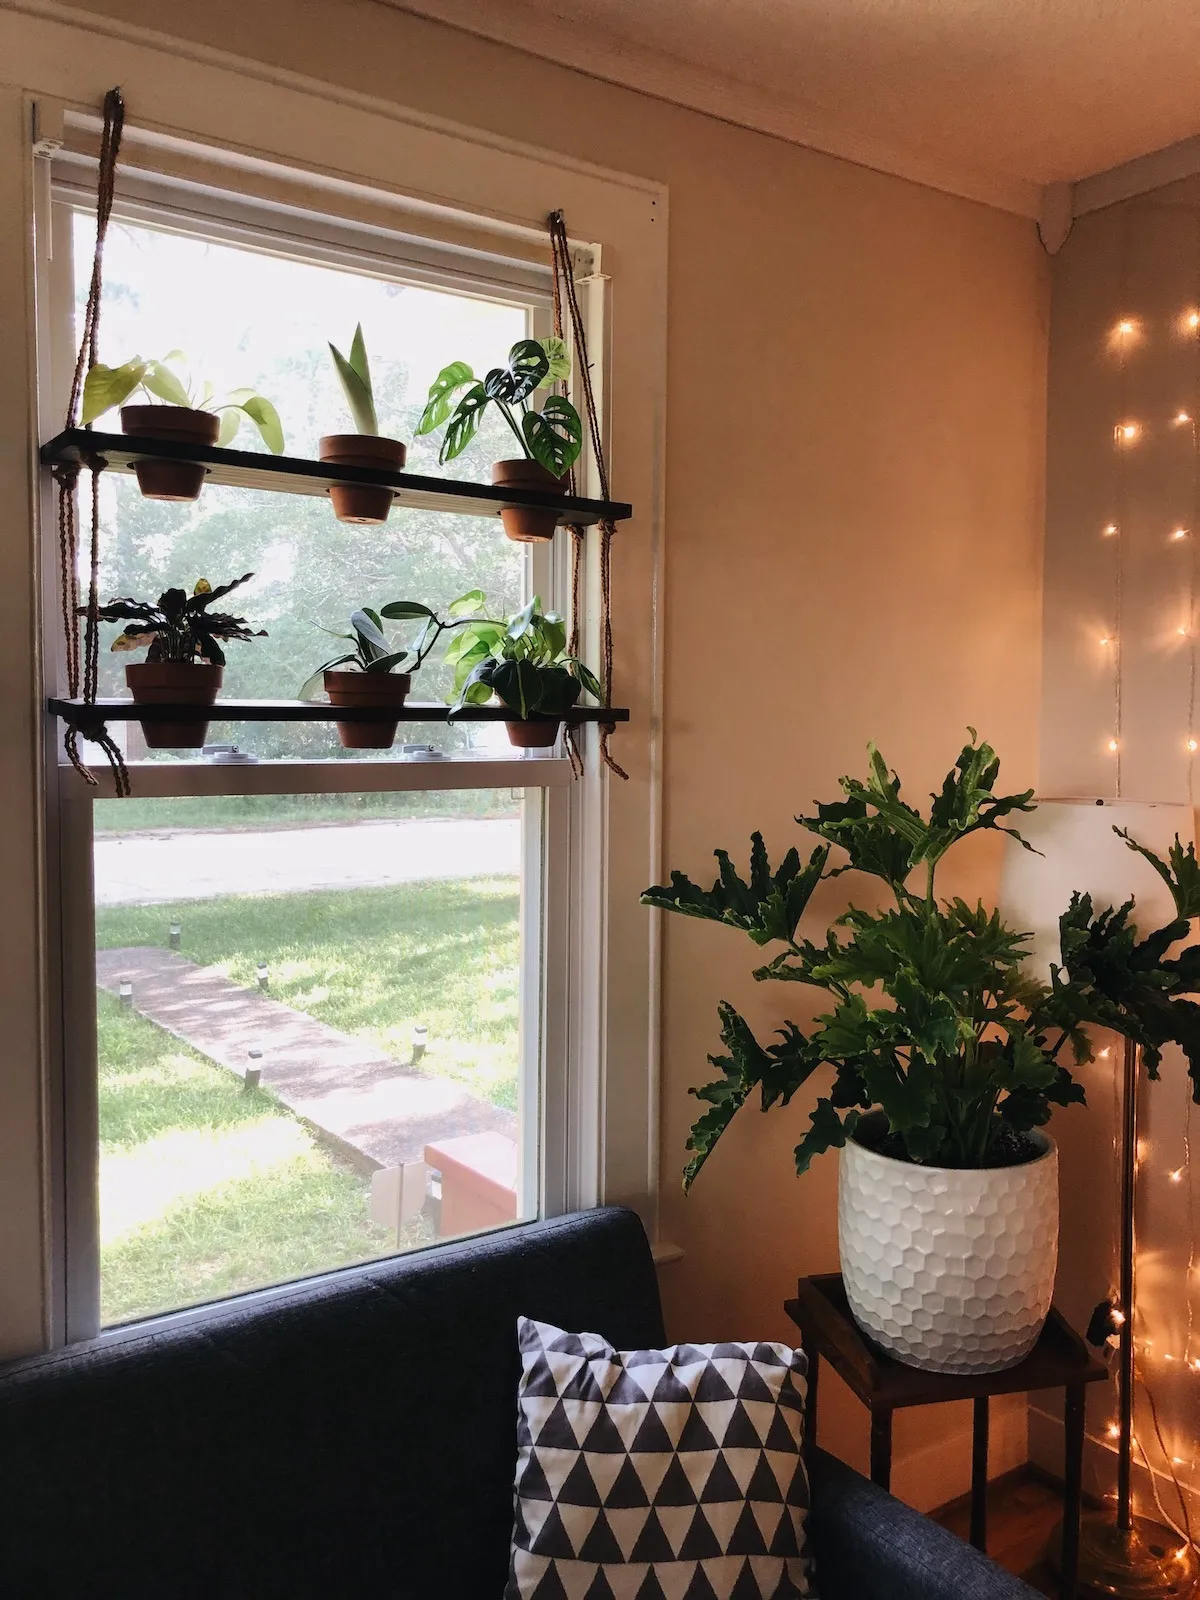
Hey there, fellow craft enthusiasts! Robert Kline here, your guide to all things handmade. Today, we’re diving into the world of DIY home decor with a project that’ll bring the outdoors in – a stunning hanging plant shelf.
Imagine this: vibrant greenery cascading from a handcrafted shelf, transforming your window into a living work of art. That’s the magic we’re about to create! This project is perfect for plant lovers of all skill levels, offering a blend of functionality and aesthetic appeal.
Gathering Your Tools and Materials
Before we embark on this crafty adventure, let’s gather our supplies. For this project, you’ll need:
Wood:
- 2 pieces of 1x6x6 wood (This will give you four 30-inch shelves)
Rope:
- 50-100 ft of your chosen rope (I recommend a natural fiber like coconut husk) – the amount varies depending on shelf spacing and rope thickness.
Drilling Power:
- 3 3/8 inch hole saw bit (for the pots)
- 1/2 inch drill bit (for the rope)
Sanding Essentials:
- Coarse grit sandpaper
- Smooth grit sandpaper
Finishing Touches:
- Wood stain (choose your favorite shade!)
- 12 (or more!) 4-inch terra-cotta pots
- 4 eye hooks
 DIY Hanging Plant Shelf Supplies
Crafting Your Hanging Plant Shelf: A Step-by-Step Guide
Now that we have our tools and materials ready, let’s get down to the satisfying process of building our very own hanging plant shelf.
Step 1: Measure and Cut
First things first, measure the inside of your window frame to determine the ideal width for your shelves. Using a saw, cut your wood to the desired length.
Step 2: Drill the Rope Holes
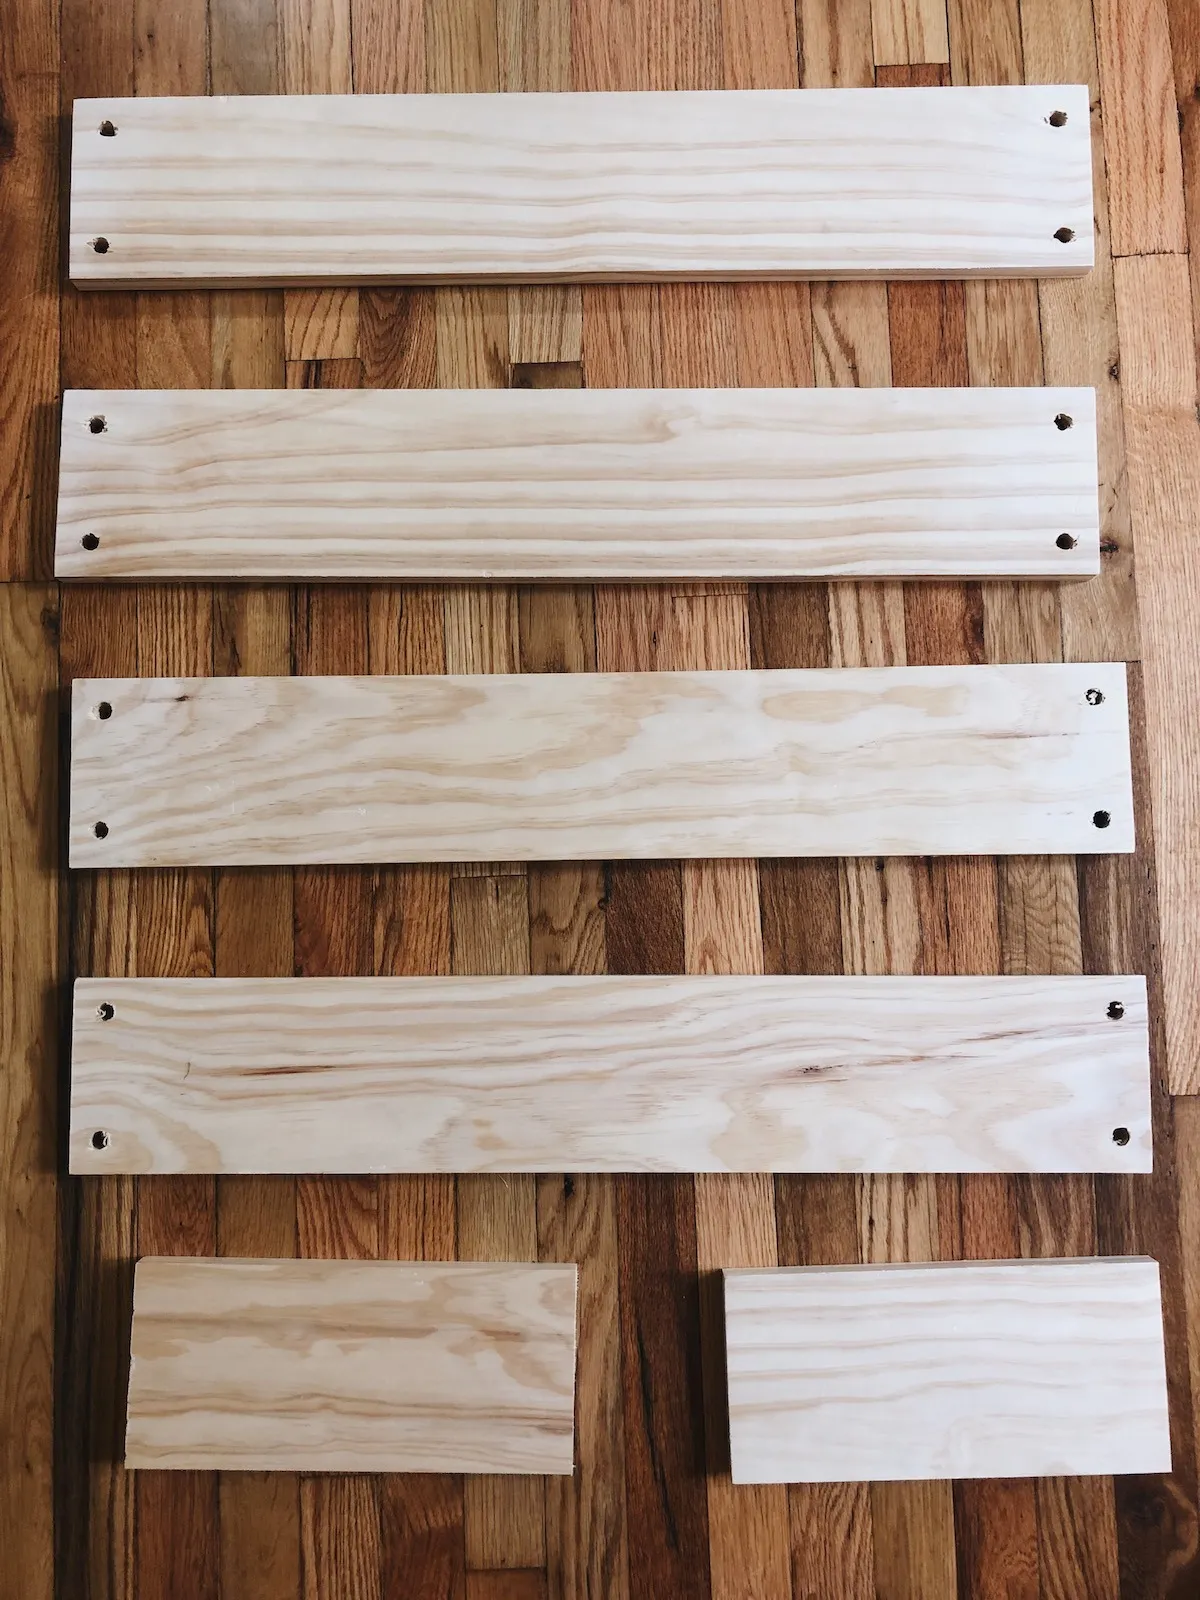
Next, decide on the placement of your rope holes. I prefer drilling mine about an inch from each edge on the corners. Use a 1/2 inch drill bit for this step. Remember, the drill bit size should snugly fit your rope.
Step 3: Creating the Perfect Homes for Your Plants
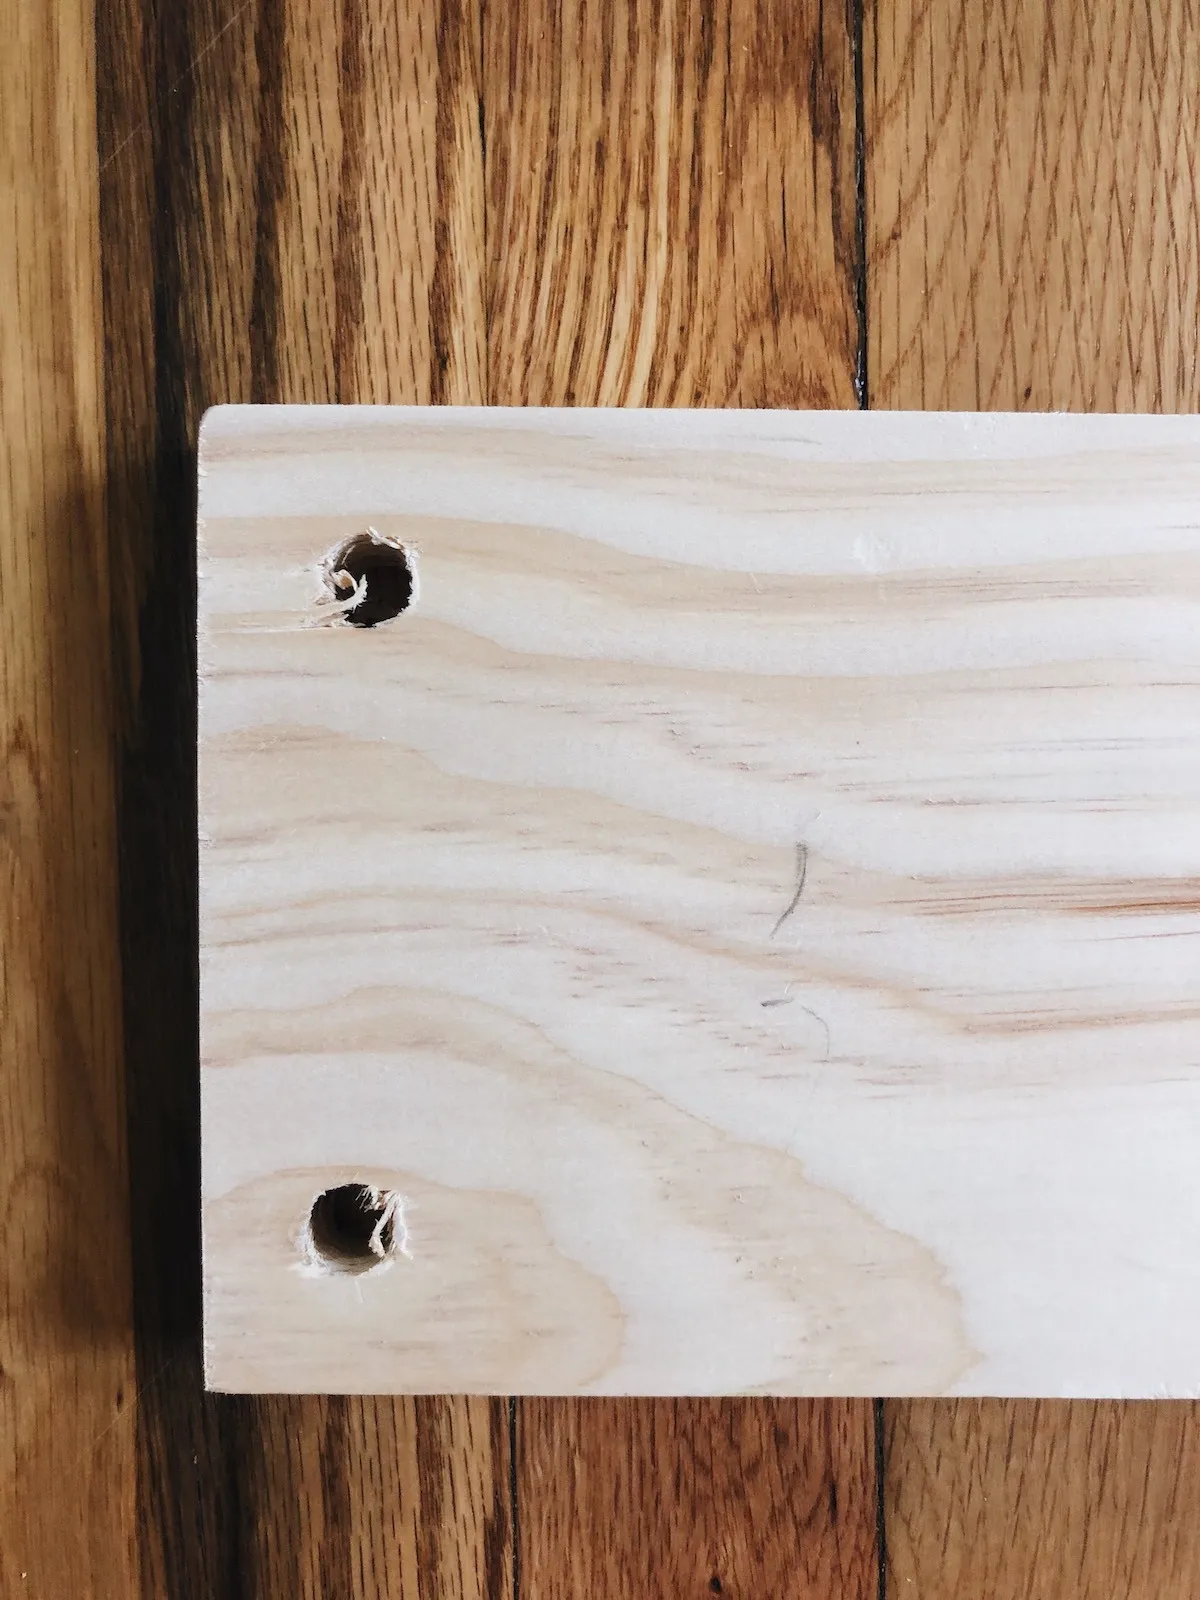
Now comes the part where we create spaces for your plants to thrive! Determine how many pots you want per shelf and mark their positions evenly between the rope holes. Ensure the marks are centered on the board. Using a 3 3/8 inch hole saw bit, carefully drill the holes.
Pro Tip: If you don’t have a hole saw bit, you can use a jigsaw to cut out the circles for your pots.
 Diy Hanging Plant Shelf 3
Step 4: Sanding for a Smooth Finish
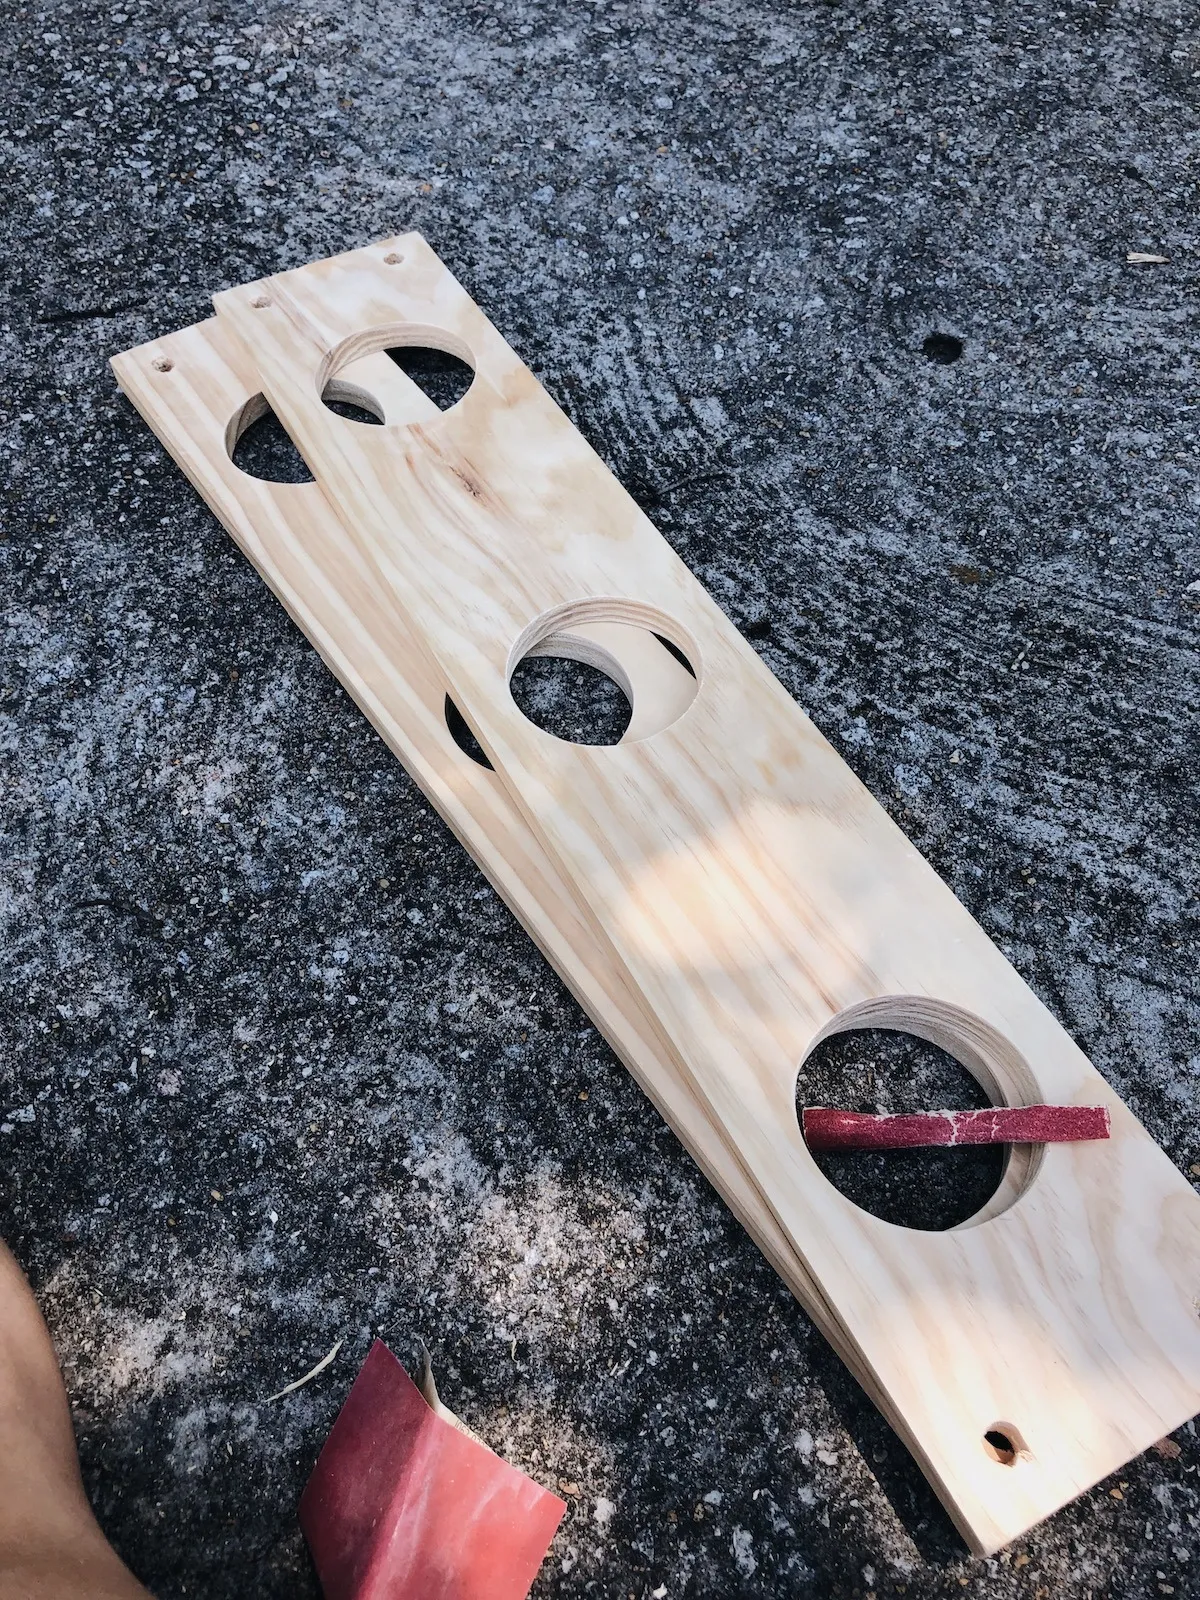
Grab your coarse grit sandpaper and smooth out the inside of the pot holes and the rope holes. For the rope holes, try rolling the sandpaper – it makes the process much easier! Remember to always sand with the grain of the wood when smoothing the board surfaces. Finish by lightly sanding everything with smooth grit sandpaper for a polished look.
Step 5: Adding a Touch of Color
Before staining, wipe down the boards with a damp cloth to remove any sanding dust. Once dry, apply your chosen wood stain according to the manufacturer’s instructions. This is where your creativity can shine!
 Diy Hanging Plant Shelf 2
Step 6: Tying it All Together
This is where things get a little knotty, but don’t worry – you’ve got this! Starting with the top board, tie knots under each board, ensuring consistent spacing between them. Remember to leave long ends at the bottom of each shelf for adjustments later.
 Diy Hanging Plant Shelf 4
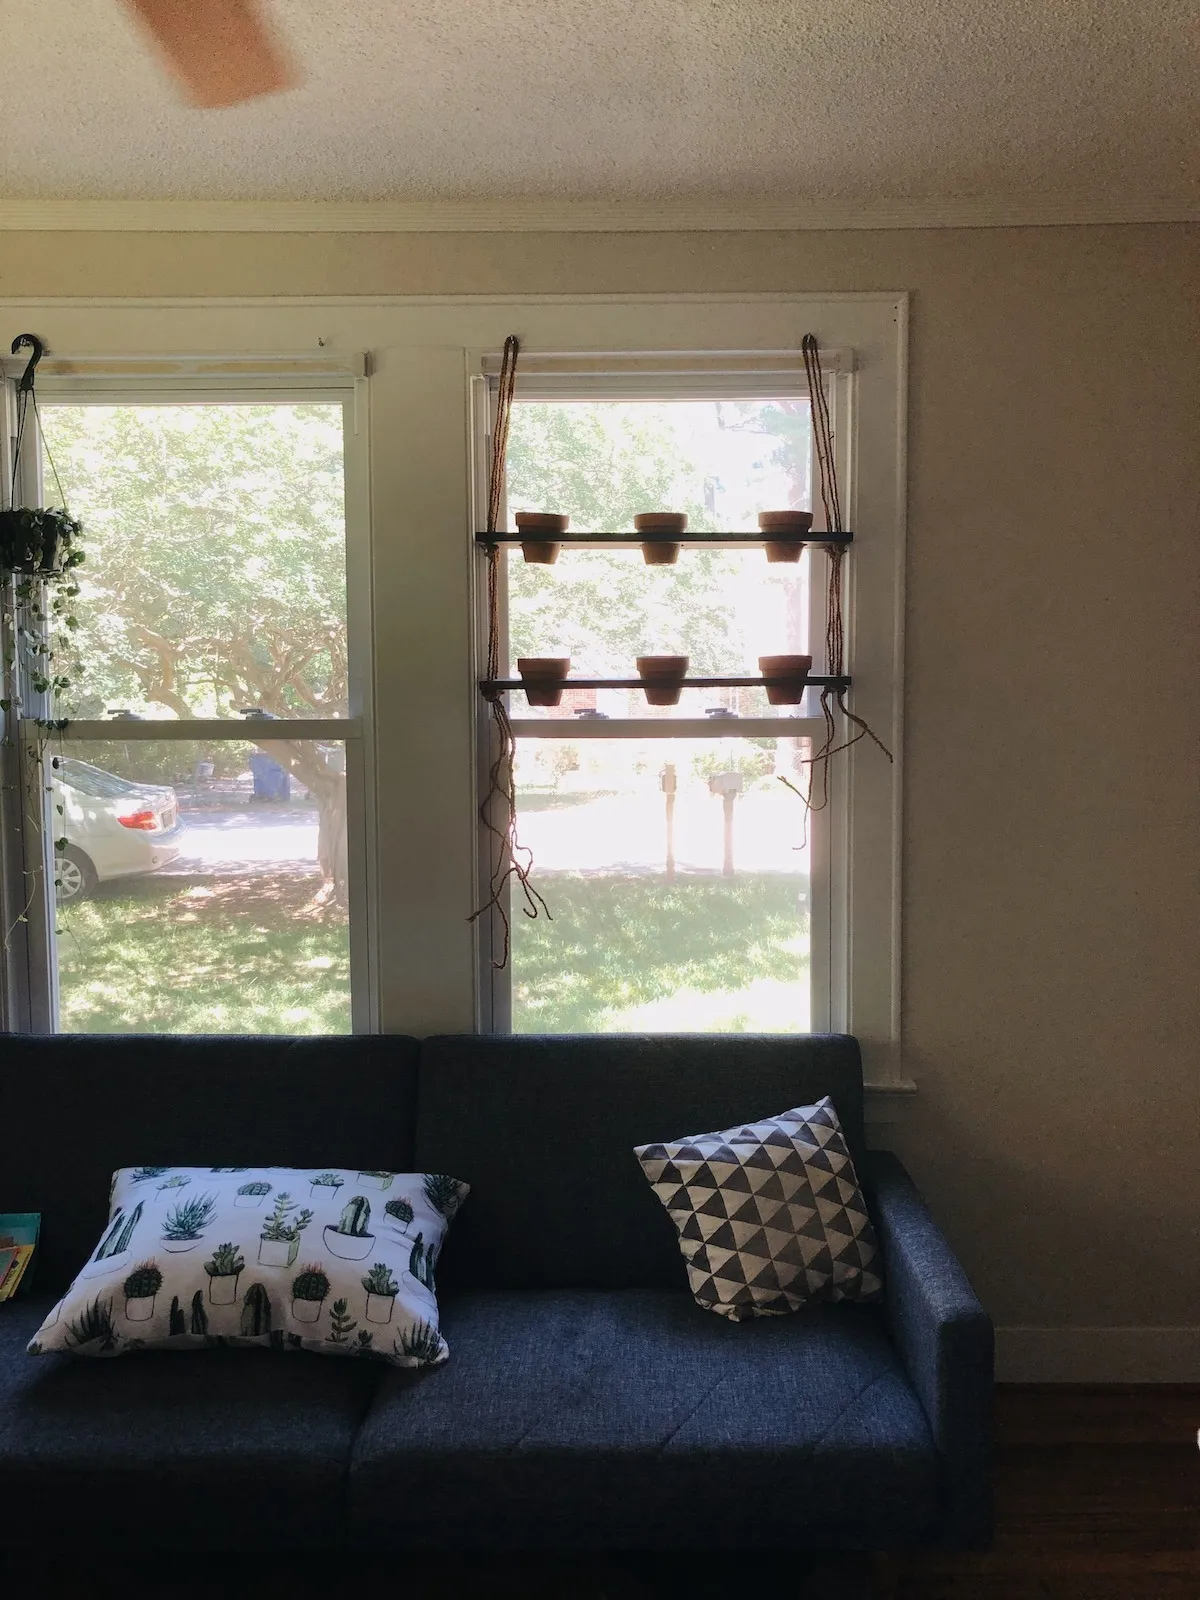
Step 7: Hanging Your Masterpiece
You’re almost there! Before hanging, you might need to remove your blinds. Screw your eye hooks securely into the window frame or the stud above the window. Pre-drilling pilot holes slightly smaller than the eye hooks will make installation a breeze. If you aren’t hanging from a stud, use an anchor bolt to support the weight.
Safety Tip: Always ensure your eye hooks are securely in place to prevent accidents.
 Diy Hanging Plant Shelf 5
Step 8: Time to Pot Your Plants
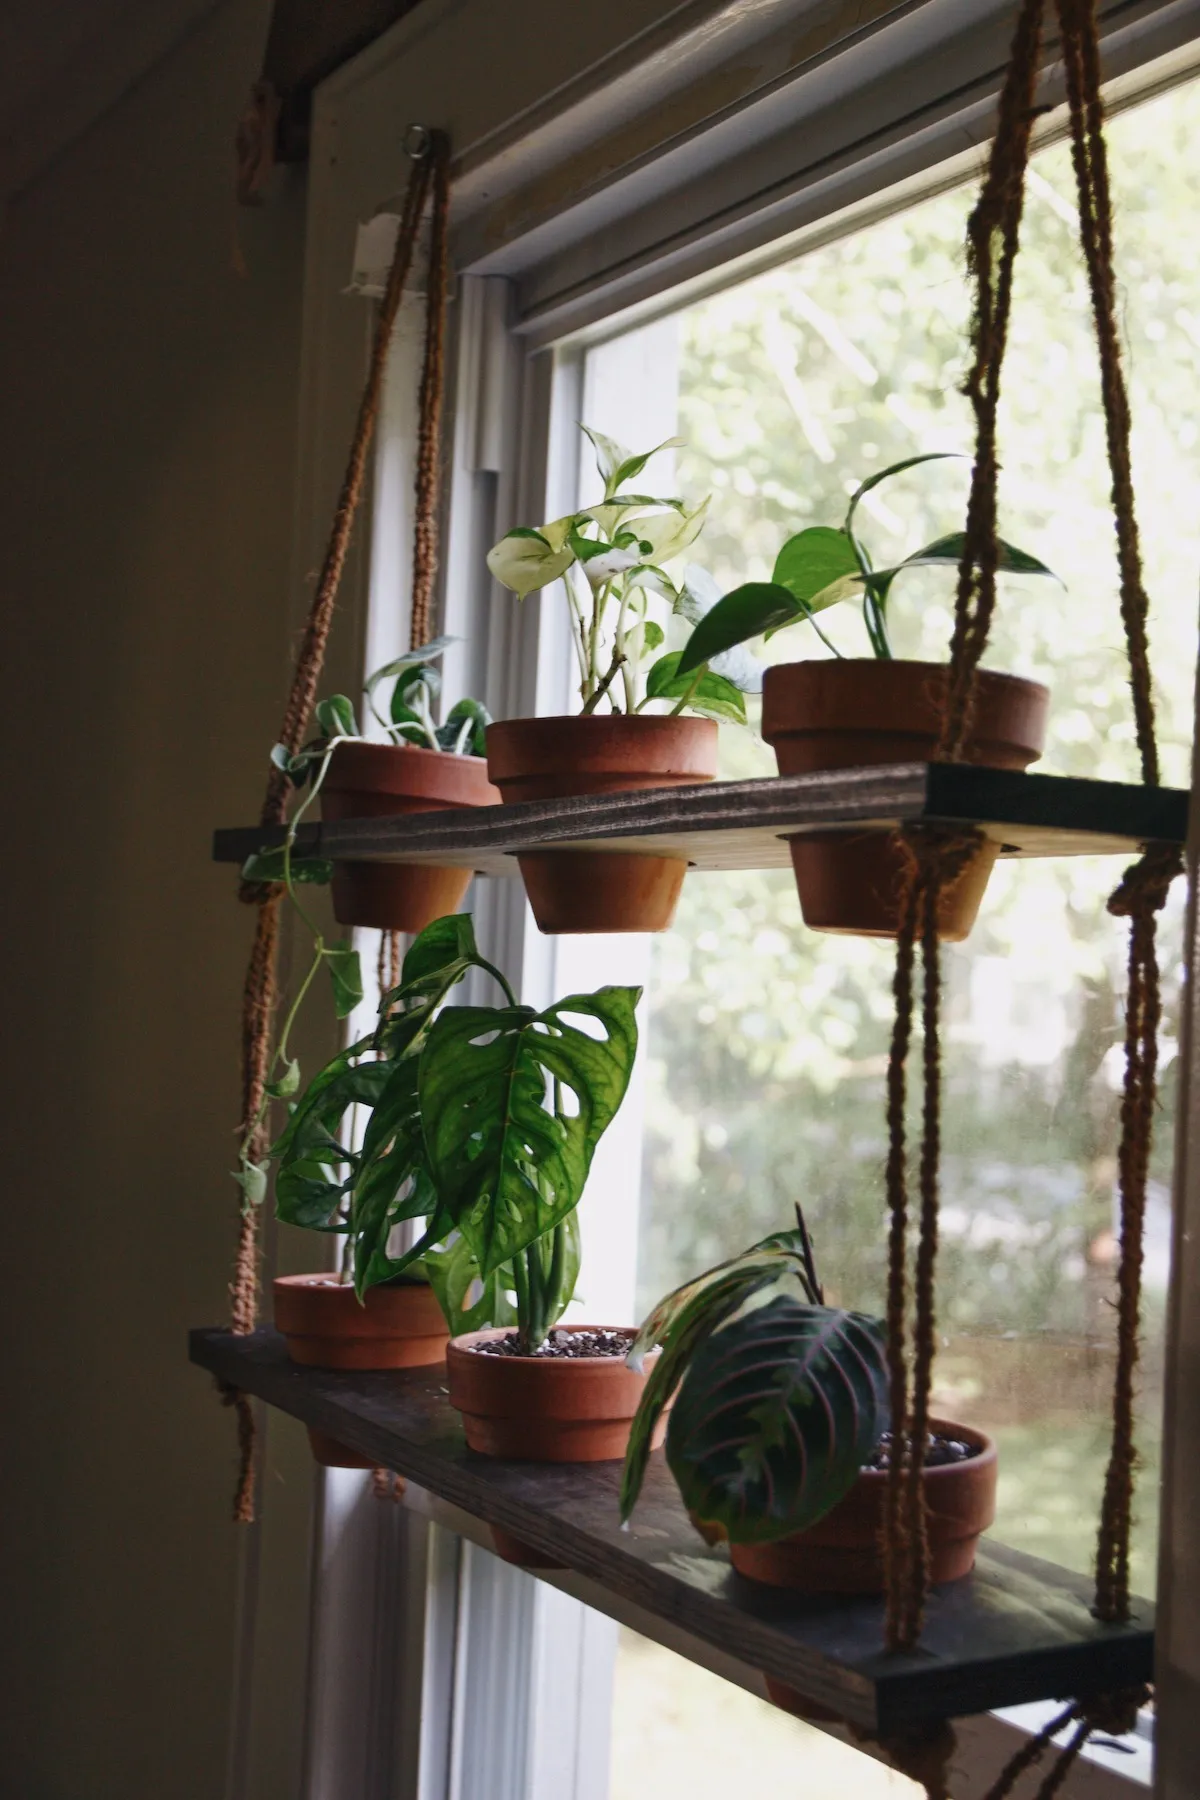
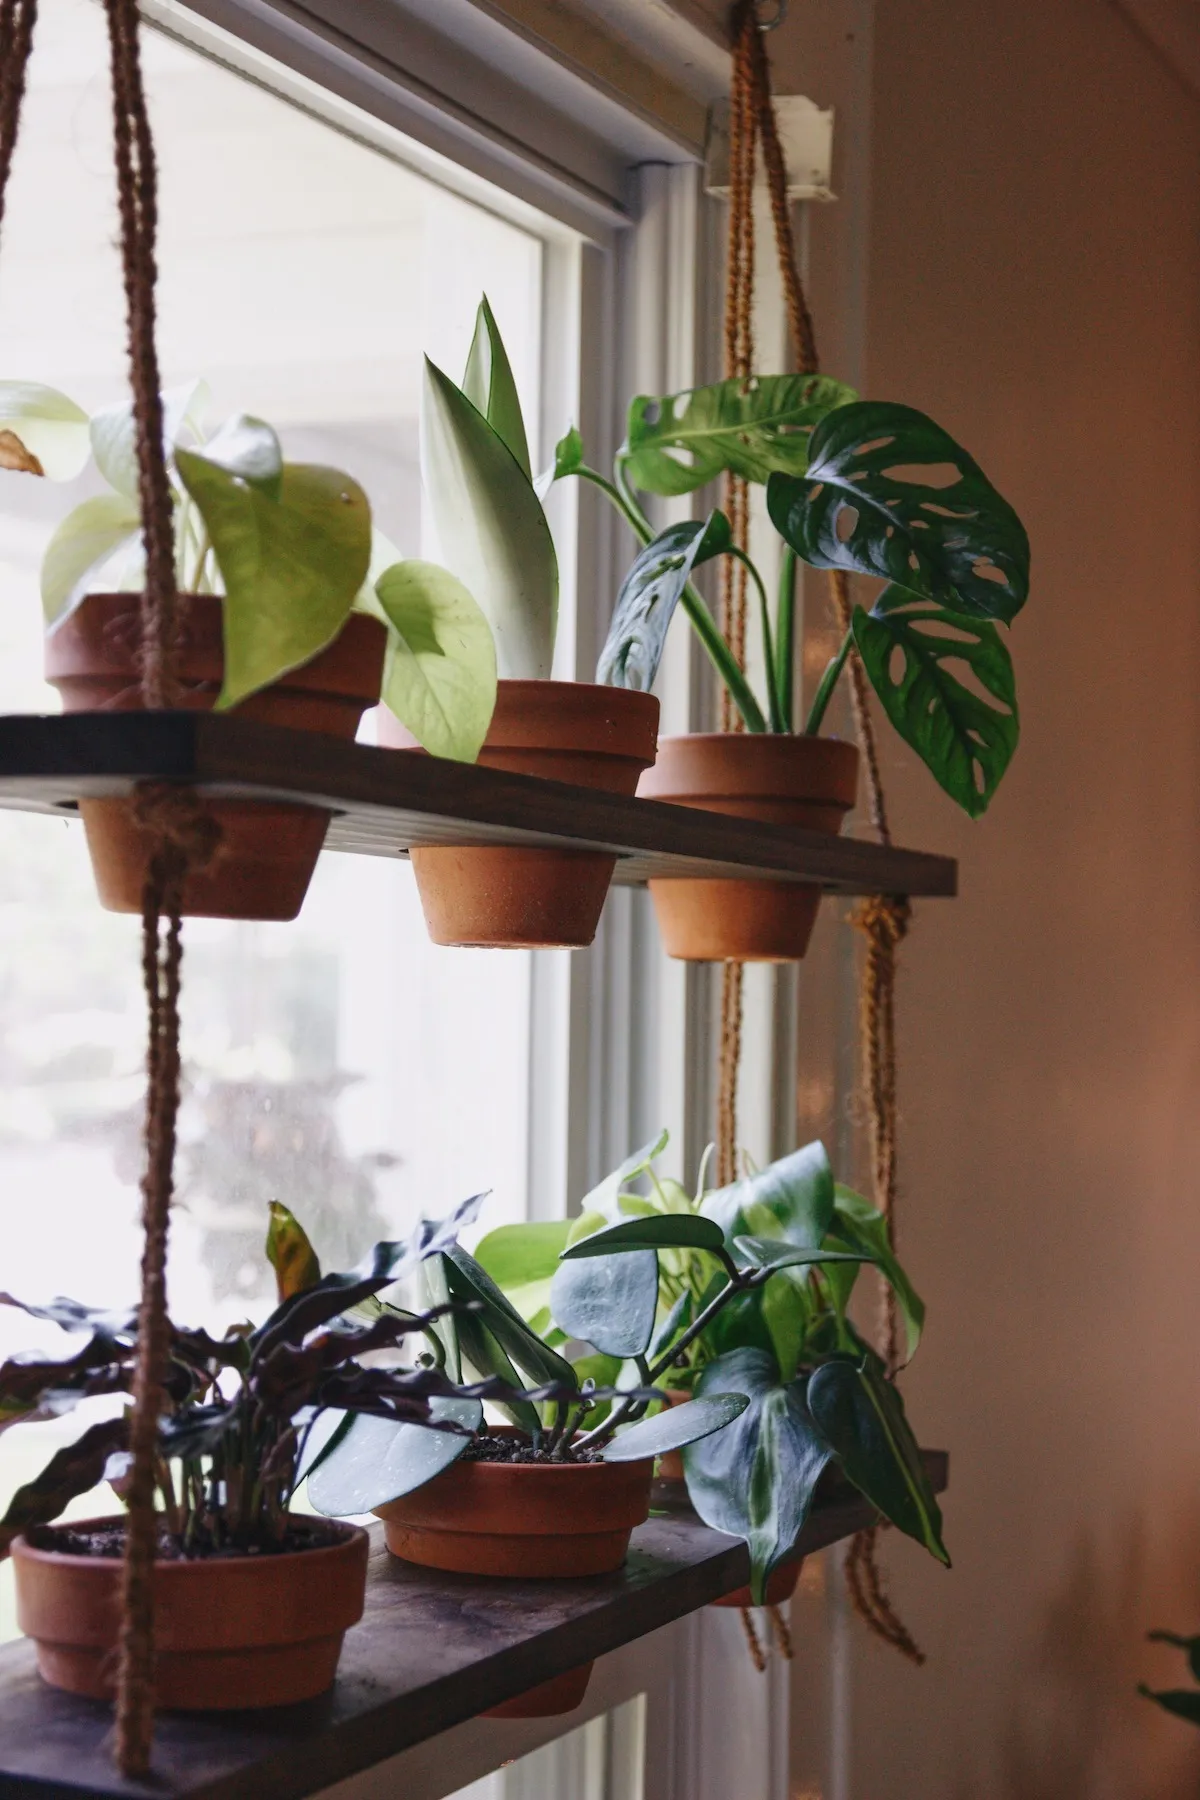
The moment we’ve all been waiting for – adding the greenery! Carefully place your plants in the pots. This is a great opportunity to experiment with different plant varieties and create a visually appealing arrangement.
 Diy Hanging Plant Shelf 7
Expert Tip from Sarah Greenthumb, Horticulturist: When choosing plants for your hanging shelf, consider the amount of light your window receives. For low-light windows, opt for shade-tolerant species like pothos, snake plants, or ZZ plants. For brighter windows, you could include succulents, herbs, or even flowering plants.
Enjoying Your Own Green Sanctuary
Congratulations! You’ve now created a stunning, one-of-a-kind hanging plant shelf that will transform any space into a vibrant oasis. Step back, admire your handiwork, and enjoy the beauty you’ve brought indoors.
 Diy Hanging Plnt Shelf 6
What are your favorite ways to bring the outdoors in? Share your thoughts and project pictures in the comments below! And don’t forget to explore Robert Kline Art for more unique handmade gift ideas and craft inspiration. Let’s keep those creative juices flowing!
