Blog
DIY Wall-Mounted Shoe Organizer: Conquer Shoe Clutter with Style
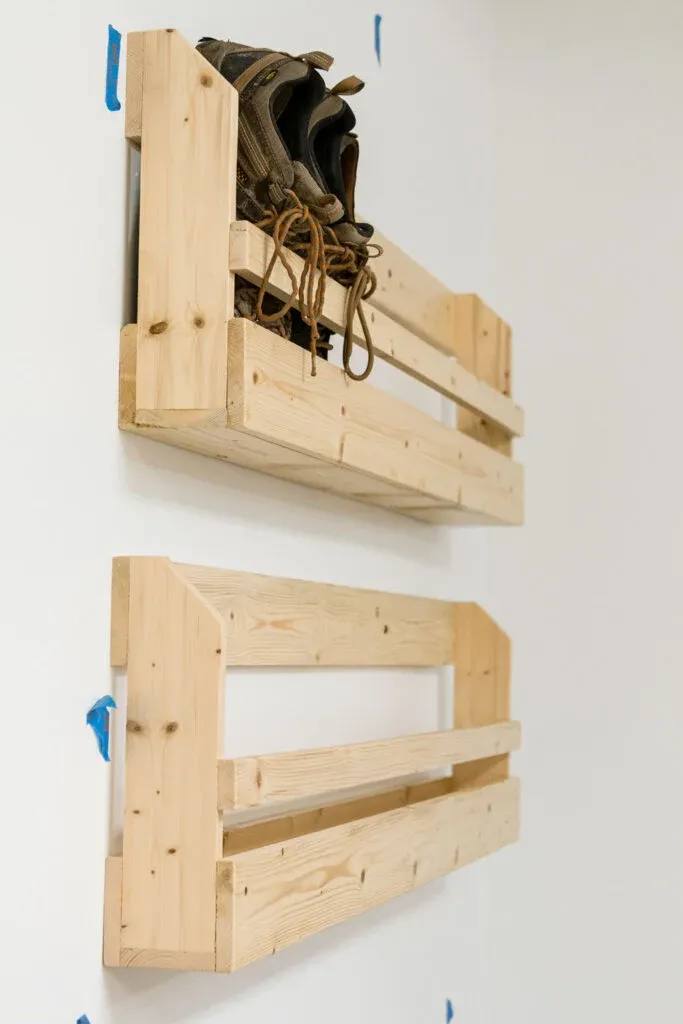
At Robert Kline Art, we believe in beautiful and practical solutions for everyday challenges. That’s why we’re excited to share this DIY wall-mounted shoe organizer project. This isn’t just about tidying up; it’s about transforming your entryway, bedroom, or mudroom with a touch of handcrafted elegance.
As an avid crafter, I’ve always struggled with finding adequate shoe storage. Baskets overflowed, shoe piles multiplied, and don’t even get me started on the tripping hazards. I knew I needed a system, something stylish, space-saving, and customizable. That’s how this wall-mounted shoe organizer was born!
This project is perfect for both beginners and experienced DIY enthusiasts. With a few basic tools and materials, you can create a customized storage solution that fits your space and style.
Gathering Your Supplies
Every masterpiece starts with the right tools. Here’s what you’ll need:
Tools:
- Compound saw
- Crown staple gun
- Cordless drill
- Speed square
- Measuring tape
- Putty knife
- Small paintbrush
- Tack cloth
- Sandpaper (120 grit)
Materials:
- Wood glue
- 1-inch staples or 1.25-inch trim screws or finish nails
- Polycrylic finish
- Wood filler
- 2.5-inch screws (for mounting to the wall)
- Lumber (3 each 1”x4”x8’) – This can be pine, plywood, or any wood you prefer!
Pro Tip: Don’t be afraid to experiment with different types of wood for a unique look. Reclaimed wood can add a rustic charm, while a sleek plywood finish offers a modern vibe.
Planning Your Shoe Rack
Before you make the first cut, let’s talk dimensions. The beauty of this project is its adaptability:
- Shoe Size Matters: If you’re storing primarily sneakers or smaller shoes, you can opt for shorter end pieces (around 10 inches). For larger shoes (size 9 and up), I recommend 12-inch end pieces.
- Space is Key: Measure the width of your wall space to determine the length of your front and back boards. This will dictate how many pairs of shoes your rack can accommodate.
 side view of hanging wood shoe rack
Caption: Visualize your finished product – a sleek and organized wall-mounted shoe rack.
Cutting Your Lumber
Time to break out the saw! Here’s your cut list:
- Front and Back Boards: (3) 1″x4″ boards cut to your desired length (this determines the shoe capacity)
- End Boards: (2) 1″x3″ boards cut to either 10″ or 12″ (depending on shoe size)
- Bottom Board: (1) 1″x3″ board cut to the same length as your front/back boards
- Upper Front Board: (1) 1″x1.5″ board cut to the same length as your front/back boards
Safety First: Remember to always wear safety glasses and follow all safety precautions when operating power tools.
Assembling Your Masterpiece
Now for the fun part – putting it all together!
- Sand, Sand, Sand: Begin by sanding all your cut pieces with 120-grit sandpaper for a smooth finish.
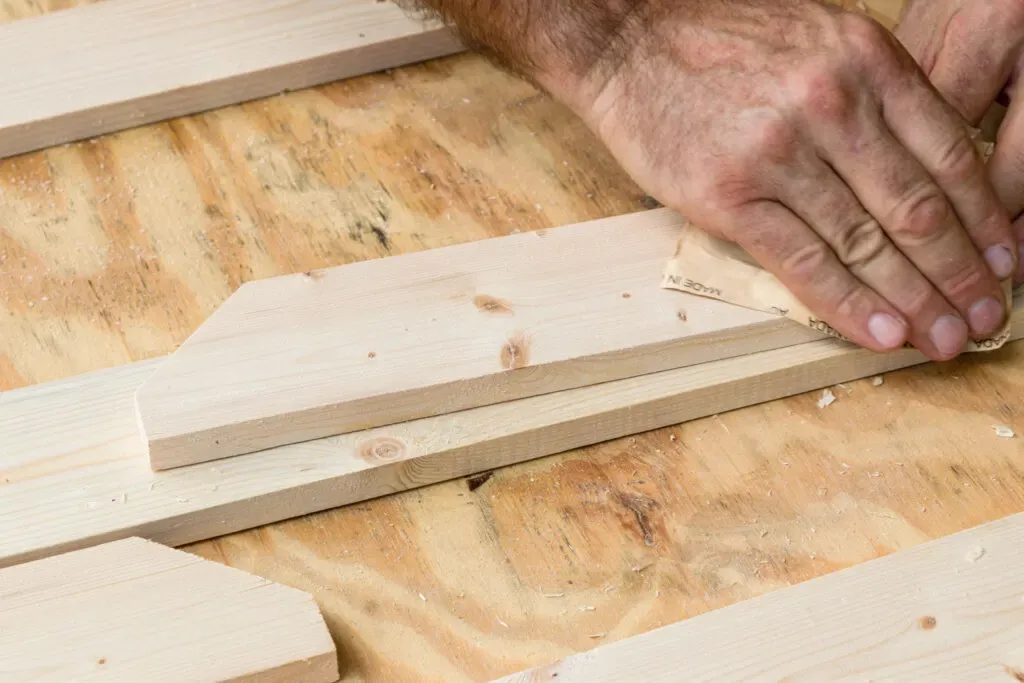 Sanding all the cut wood pieces with 120 sandpaper
Caption: Smooth surfaces are key for a professional-looking finish.
- Building the Base: Attach the bottom board to the end boards using wood glue and your chosen fasteners (staples, screws, or nails). I recommend two fasteners per attachment point for extra sturdiness.
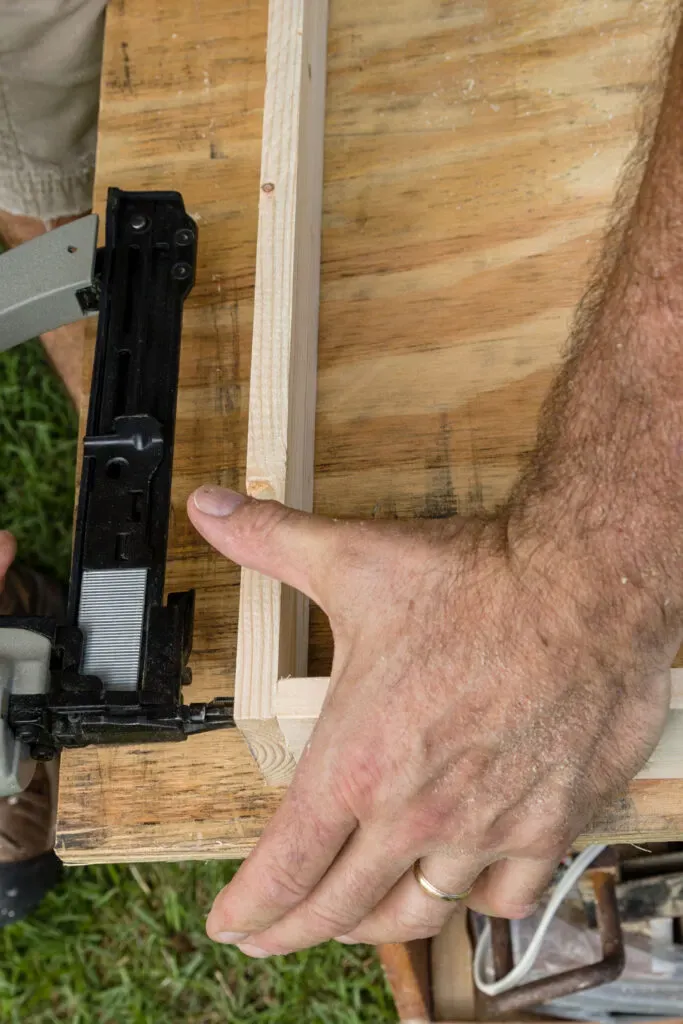 Attaching the bottom to the end pieces with a stapler
Caption: A sturdy base ensures your shoe rack can handle even the heaviest footwear.
- Front and Center: Attach the front board flush with the bottom front edge using glue and fasteners.
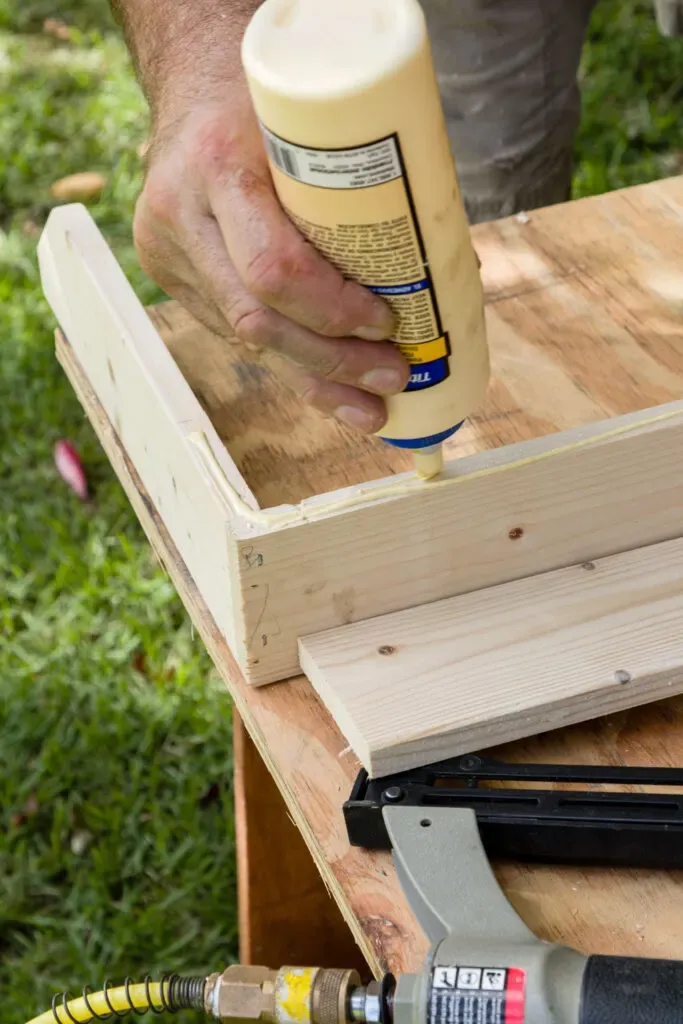 Applying wood glue to the face of the shoe rack
Caption: Wood glue adds an extra layer of strength and durability.
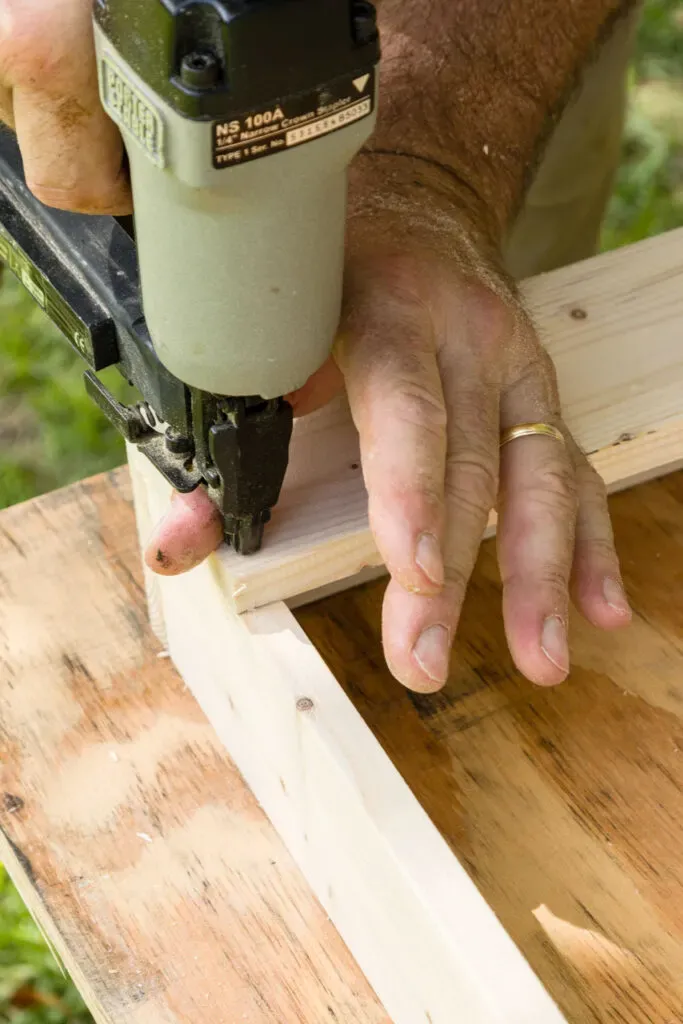 Stapling the front face board with a crown stapler
Caption: Secure the front board firmly for a polished look.
- Sealing the Deal: Attach the back boards to the ends, flush with the top and bottom edges. Again, use glue and two fasteners per attachment point.
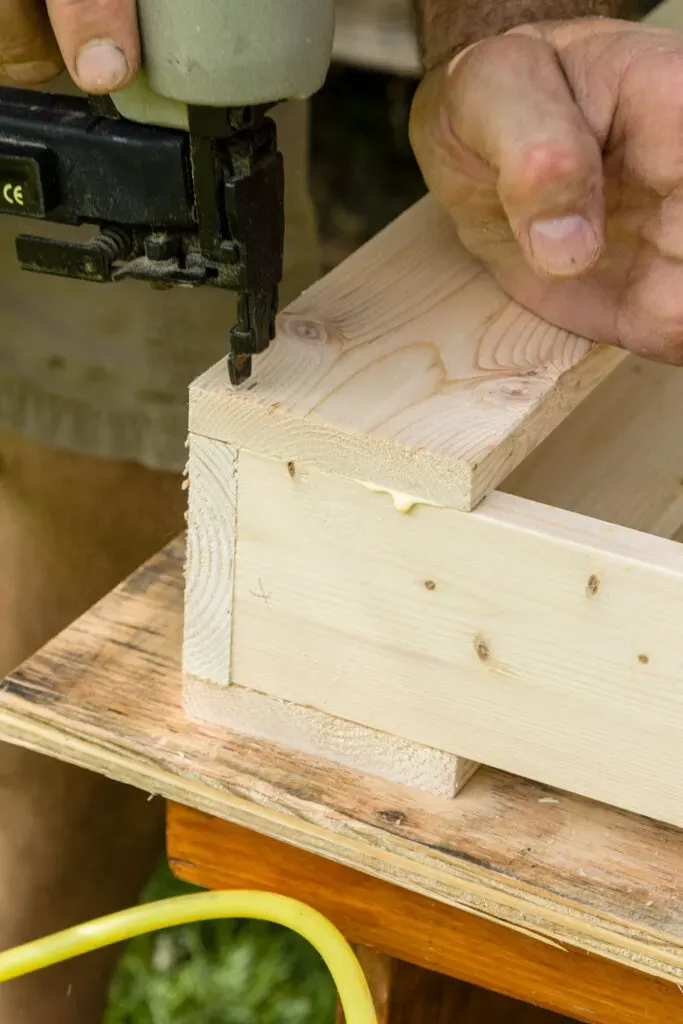 Attaching the back board in the same manner as the front board
Caption: The back boards provide stability and a finished appearance.
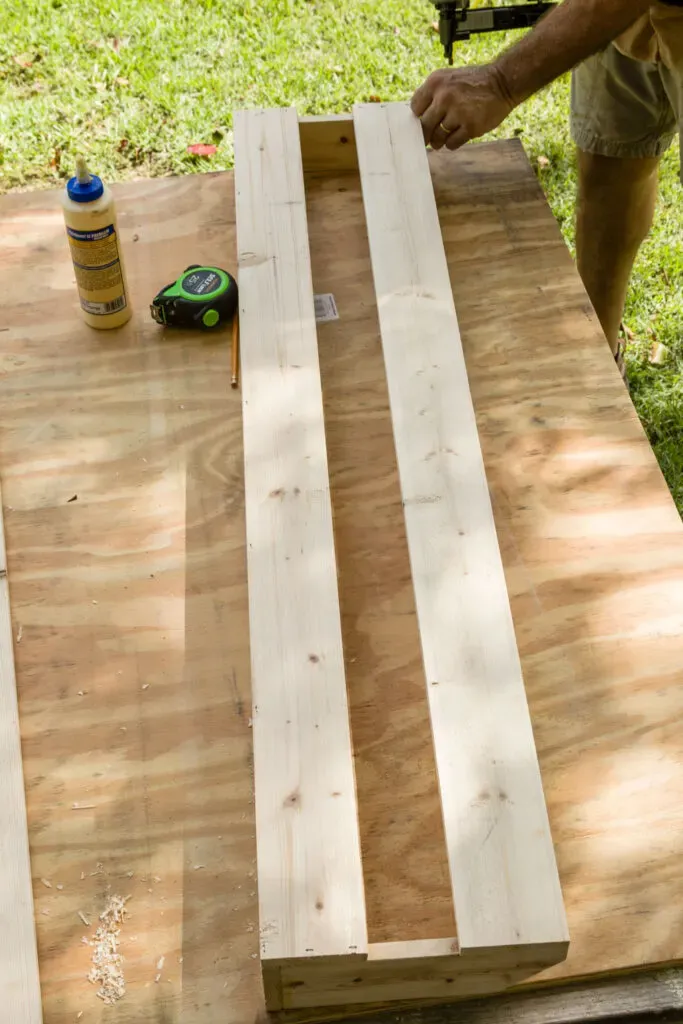 Back view of rack assembly
Caption: Admire your handiwork! Your shoe rack is starting to take shape.
- Top it Off: Align the top backboard with the top of the end boards and secure it with fasteners.
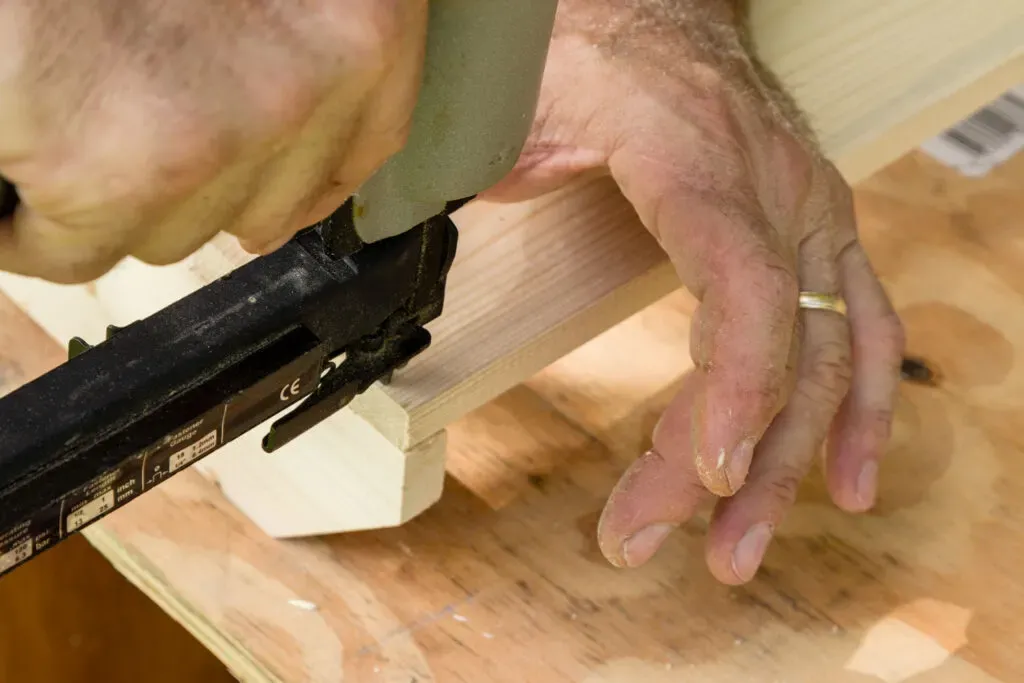 Adding the top back board to the shoe rack using a stapler
Caption: The top backboard adds a final touch of structure.
- Support System: Attach the 1.5-inch front board approximately 6 inches from the bottom (or directly above the front bottom board for shorter racks) using glue and fasteners. This acts as a support for your shoes.
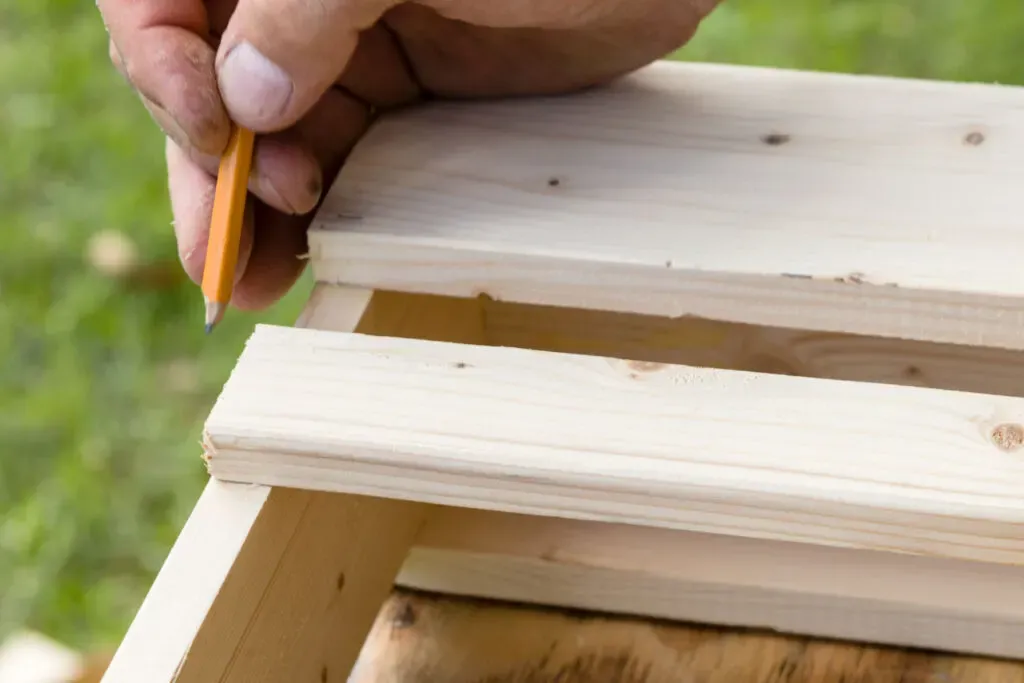 Marking the upper front board location with a pencil on the shoe rack
Caption: Precise measurements ensure your shoes will rest comfortably.
- Finishing Touches: Fill all fastener holes with wood filler using a putty knife. Allow it to dry completely, then sand it smooth for a flawless finish.
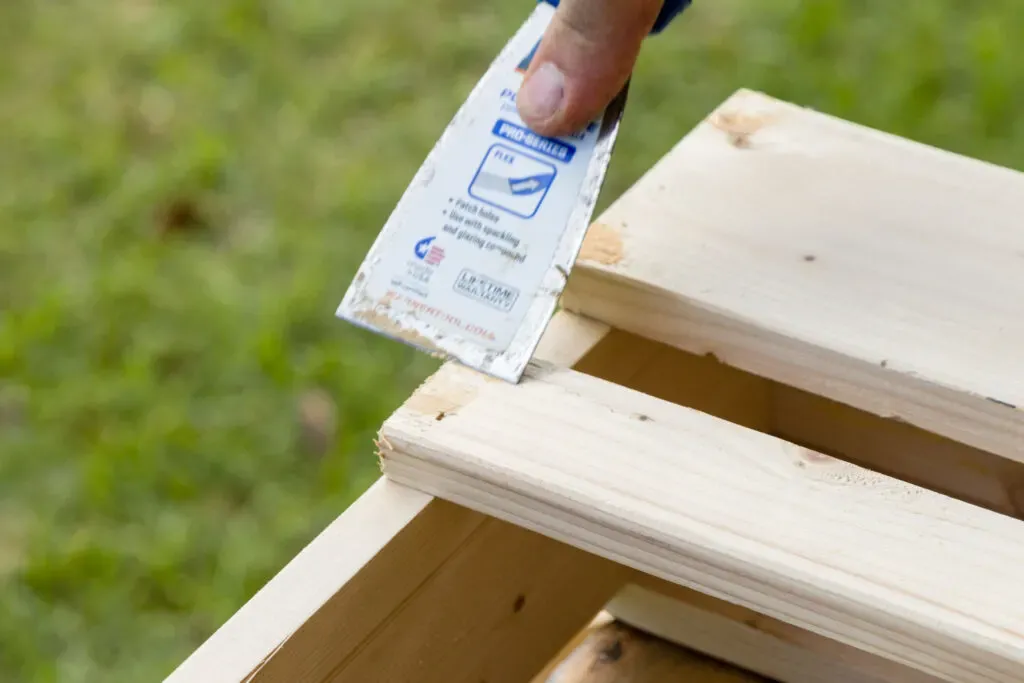 Filling the staple hole with wood filler
Caption: Wood filler creates a seamless look and a professional finish.
- Sealing the Deal: Apply a finish coat of your choice. I prefer a clear polycrylic to let the natural beauty of the wood shine through, but you can stain or paint it to match your décor.
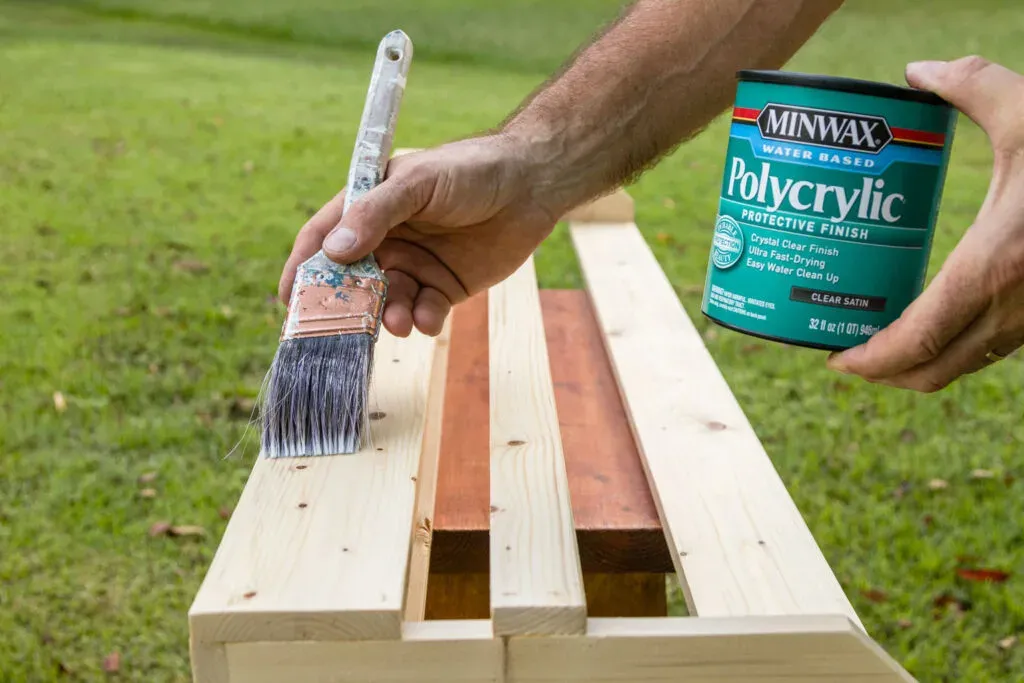 Brushing on polycrylic on the sanded wood racks
Caption: A protective finish enhances the wood’s natural beauty and increases durability.
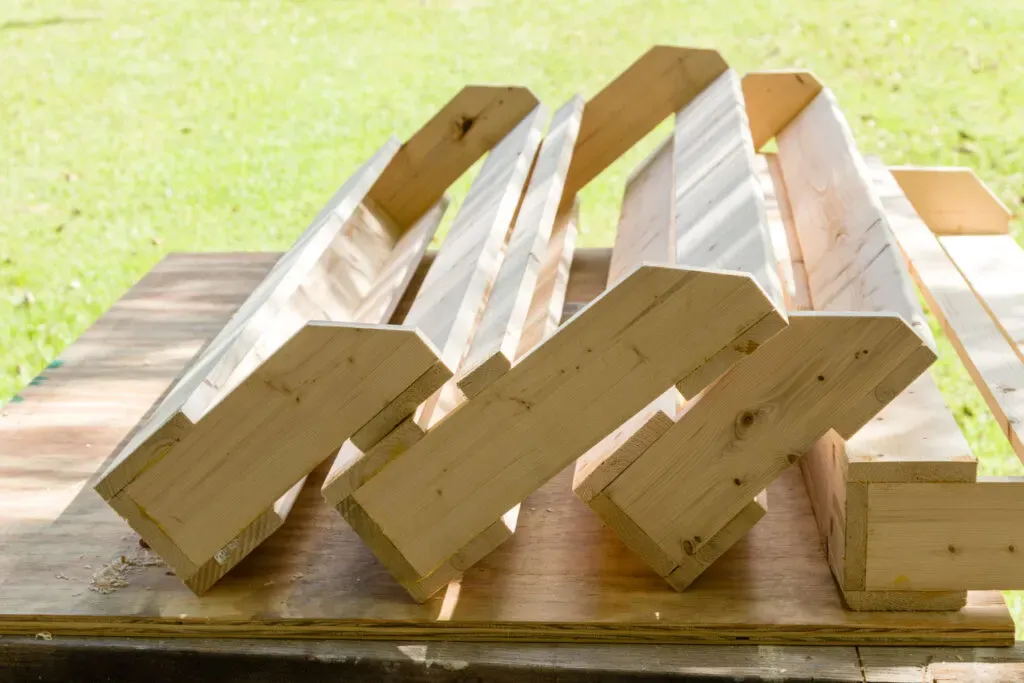 four finished shoe racks sitting on the board table before adding the a finish adding
Caption: Step back and admire your craftsmanship! Your shoe racks are ready for their grand debut.
Mounting Your Shoe Rack
- Find Your Studs: Use a stud finder to locate and mark the studs in your wall. This ensures maximum support for your shoe rack.
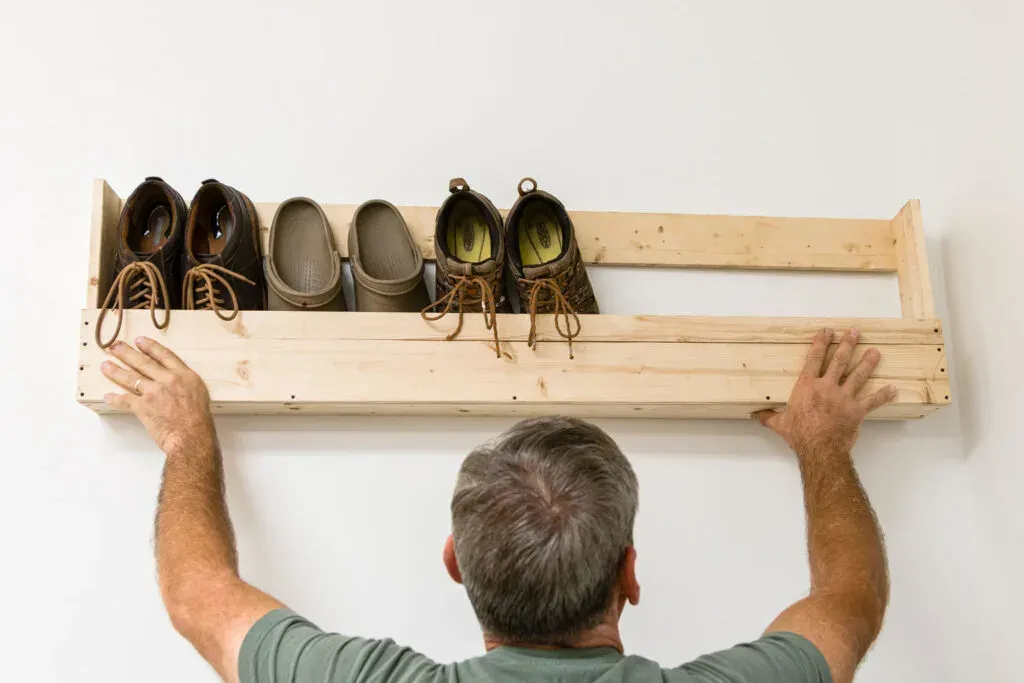 holding up a finished shoe rack to decide placement
Caption: Visualize the placement and spacing before mounting.
- Pre-drill and Mount: Pre-drill holes through the back boards of your shoe rack, aligning them with the stud markings. Attach the shoe rack to the wall using 2.5-inch screws.
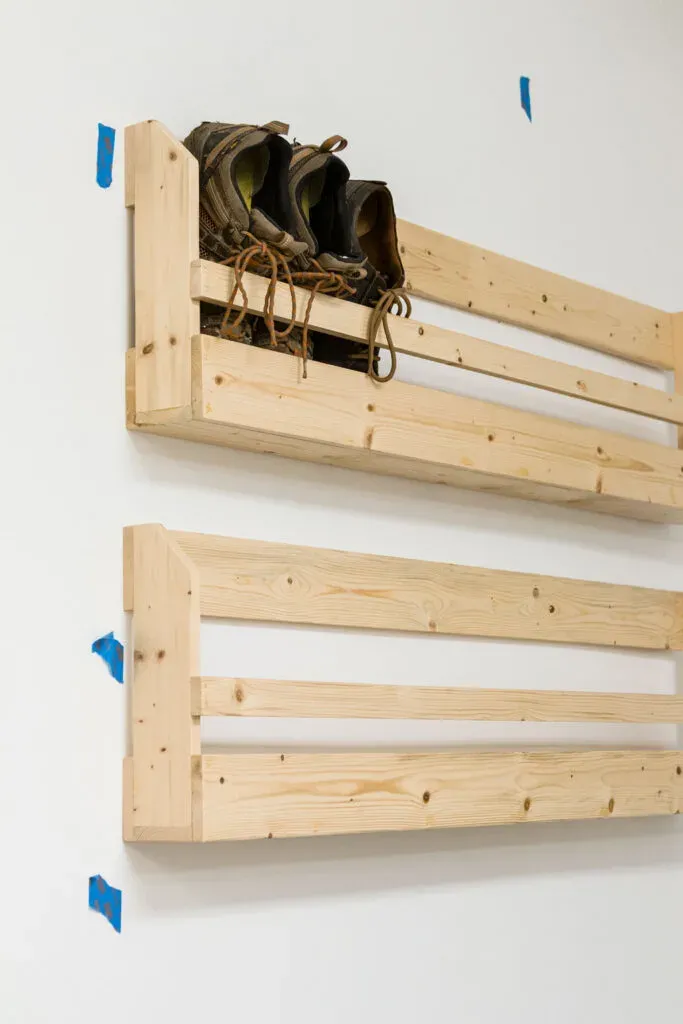 Installing the wall mounted shoe storage racks with screws into the studs
Caption: Secure mounting ensures your shoe rack is safe and stable.
Congratulations!
You’ve successfully conquered shoe clutter with your very own DIY wall-mounted shoe organizer! This project is a testament to the power of handmade functionality and style.
Ready for More DIY Inspiration?
-
Brighten Your Space: Explore our tutorial on crafting charming DIY Wooden Lanterns from scrap wood.
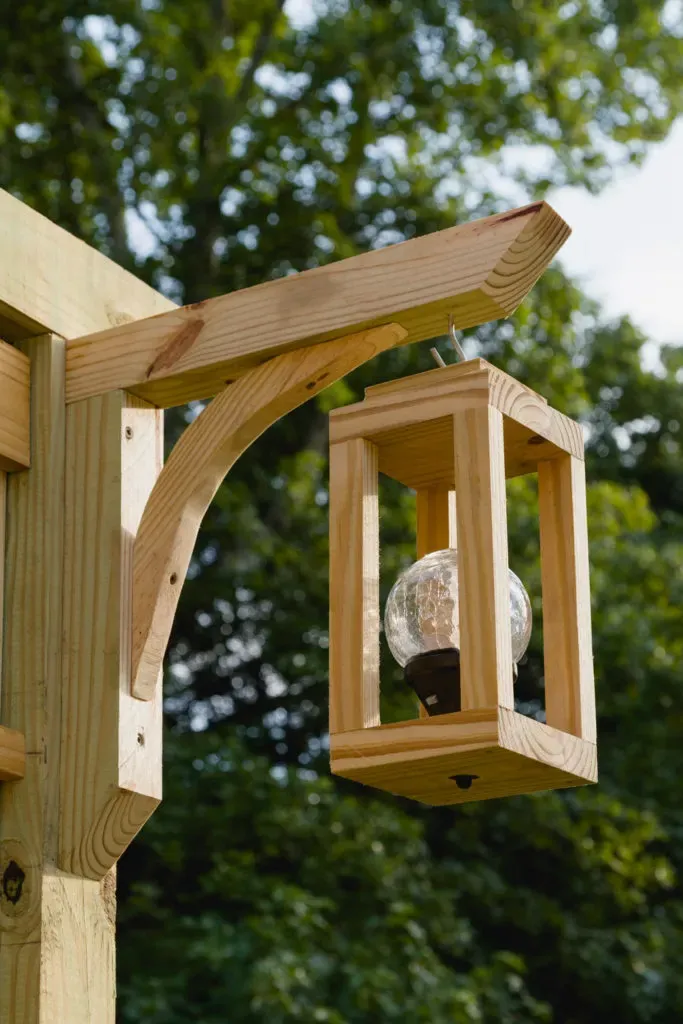 Hanging from a bracket my DIYwood Solar Lantern
Caption: Add a warm glow with these rustic lanterns.
-
Embrace the Fall Spirit: Create adorable DIY Wooden Pumpkins from pallet wood for a touch of rustic charm.
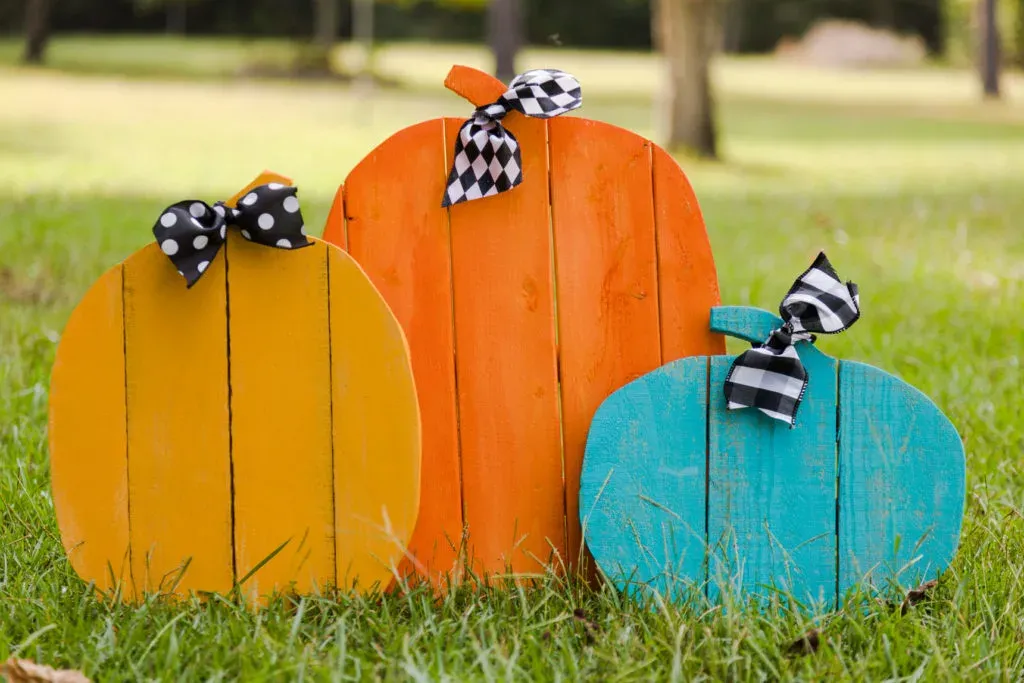 Orange, yellow and teal rustic pallet pumpkins standing in the grass
Caption: These pumpkins add a festive touch to any décor.
We’d love to see your creations! Share your finished shoe organizers and other DIY projects with us on social media. Happy crafting!
