Blog
Build Your Own Rustic Mail Organizer Key Rack: A DIY Project
Do you find yourself scrambling for your keys while simultaneously trying to juggle your mail? I’ve been there! That’s why I love creating practical and stylish solutions through DIY projects, like this rustic wall-mounted key and mail holder.
This project is perfect for adding a touch of rustic charm to your home while keeping your entryway organized. It’s a fun and easy afternoon project, especially if you have some leftover pallet wood. Even if you’re a beginner in DIY, this step-by-step guide will walk you through the process. Let’s get crafting!
Gathering Your Materials
Before we begin, let’s gather all the tools and materials you’ll need:
- Pallet Boards: The star of our project! But you can use any lumber you have on hand.
- Saw: A miter saw or table saw is ideal, but any saw that can cut through your chosen wood will work.
- Screws and Glue: Wood screws to hold everything together, wood glue for added strength.
- Drill and Orbital Sander: For pre-drilling screw holes (a must with pallet wood!) and smoothing out rough edges.
- Finish of Choice: Lacquer offers a durable and clear finish, but feel free to experiment with stains or paints.
- Hanging Hardware: Picture-hanging hardware works great!
- Key Hangers: Find these at most craft stores.
- Safety Gear: Protect yourself with safety glasses and a dust mask, especially when sanding.
 Tools and materials for a DIY mail organizer.
Step 1: Selecting and Preparing the Pallet Boards
Pallet wood gives a fantastic rustic aesthetic and it’s often free – bonus! When choosing your boards, look for those with minimal cracks, warping, and consistent thickness.
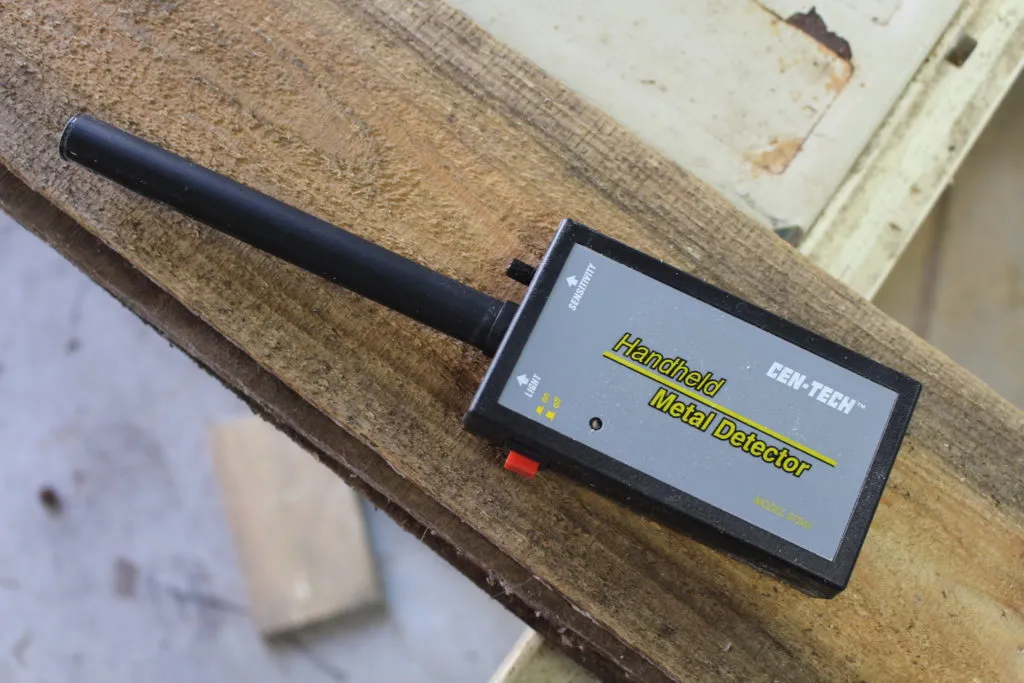
Pro Tip: Use a metal detector to locate any hidden nails in your pallet wood before cutting!
 Selecting pallet boards for a mail organizer project.
Step 2: Measuring and Cutting
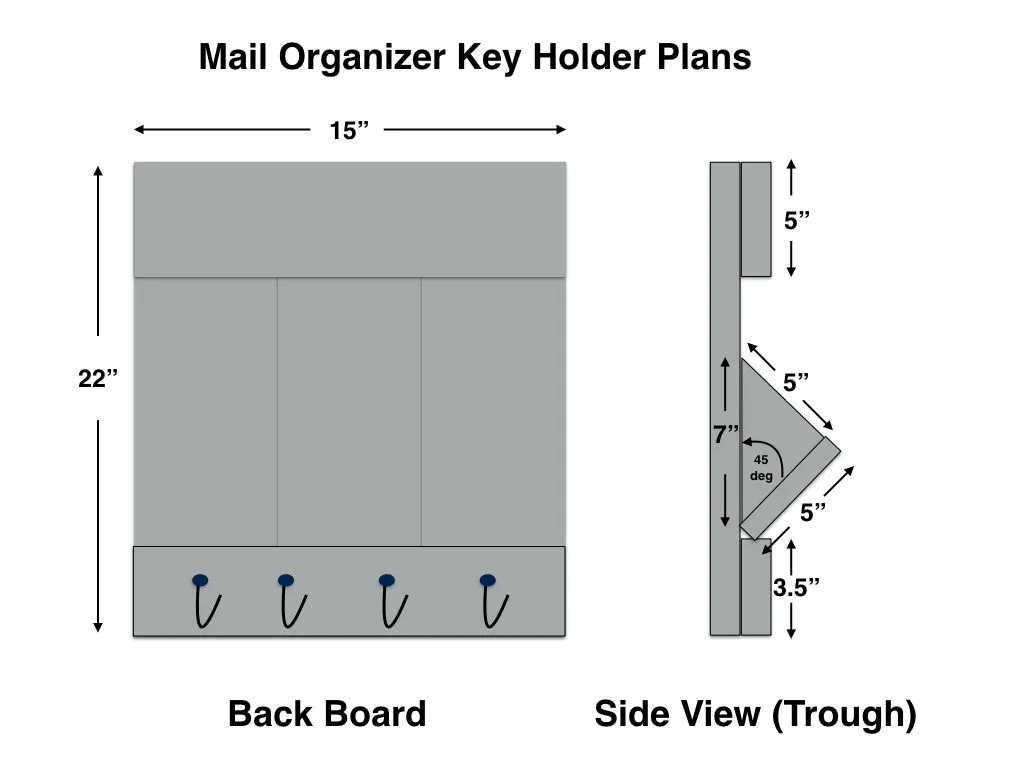
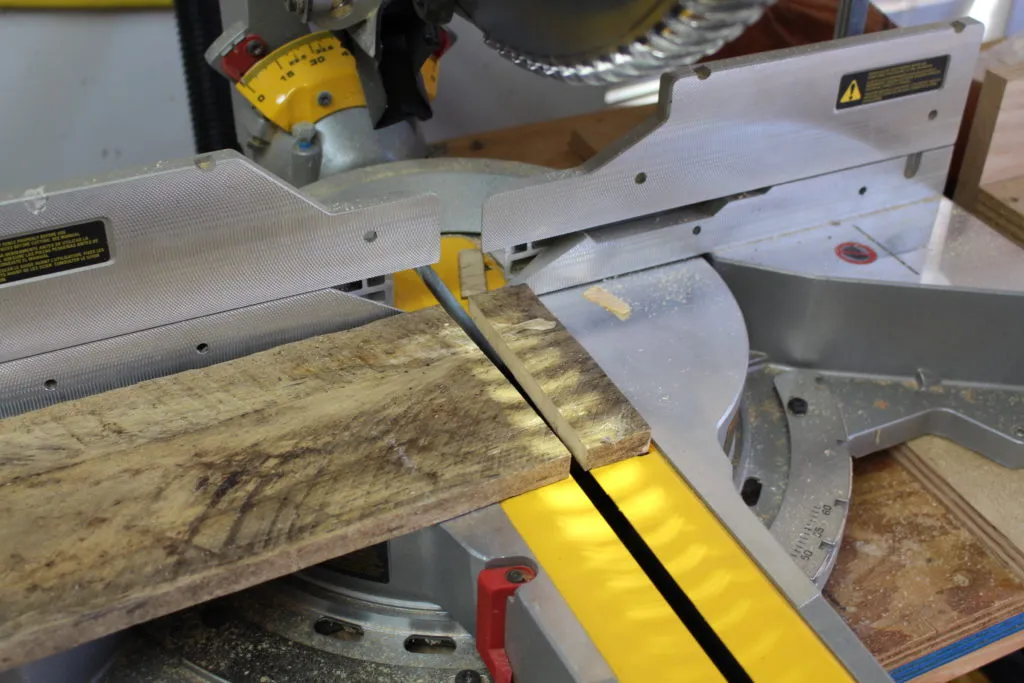
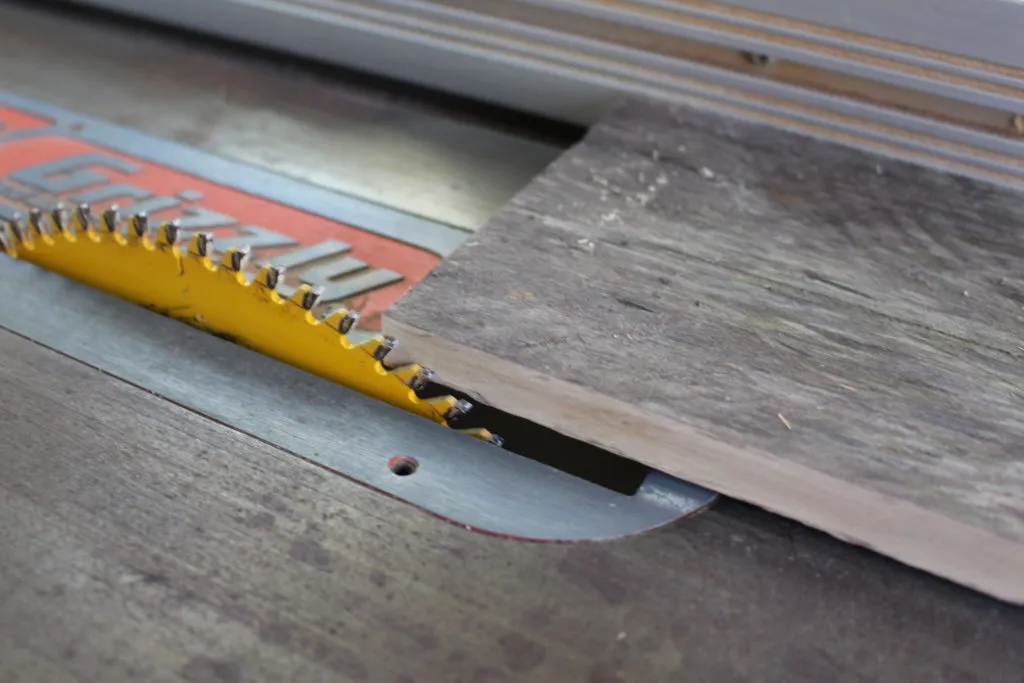
Using the provided plans as a guide, measure and cut your pallet boards to size. Don’t worry if your dimensions differ slightly due to the nature of pallet wood – each piece is unique!
Safety First: Remember to wear your safety glasses when cutting and be cautious of those hidden nails!
Step 3: Sanding for a Rustic Finish
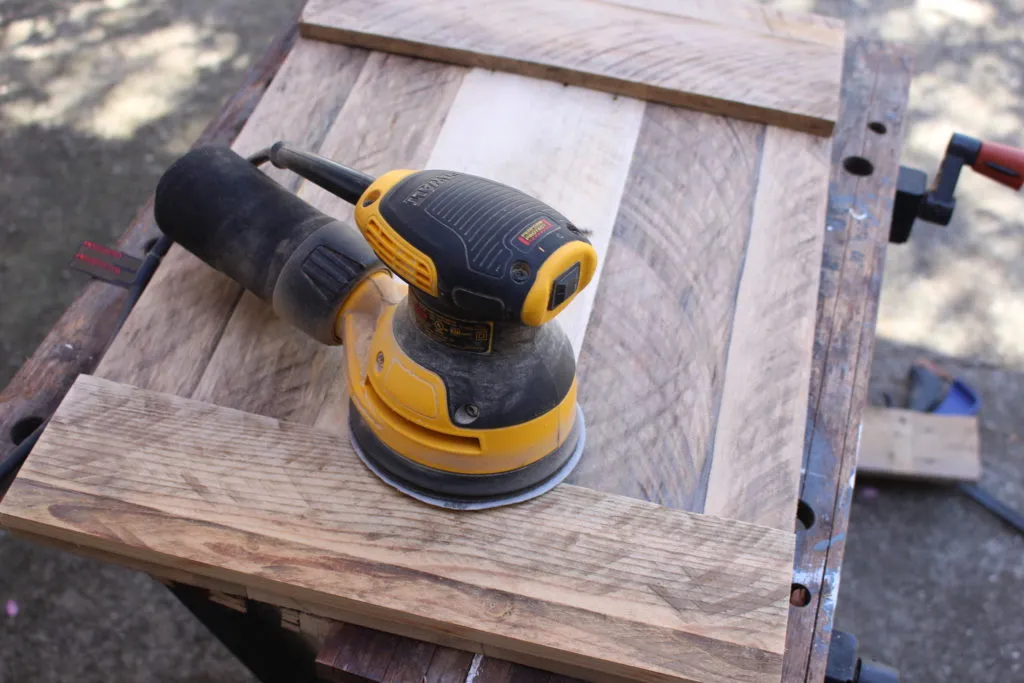
Using an orbital sander with 80-grit sandpaper, lightly sand the boards to remove any dirt or grime. You don’t want to sand too aggressively—preserve those rustic imperfections! Remember to smooth any rough edges, especially around the mail slot.
Safety Tip: Always wear a dust mask when sanding!

Step 4: Assembling Your Mail Organizer Key Rack
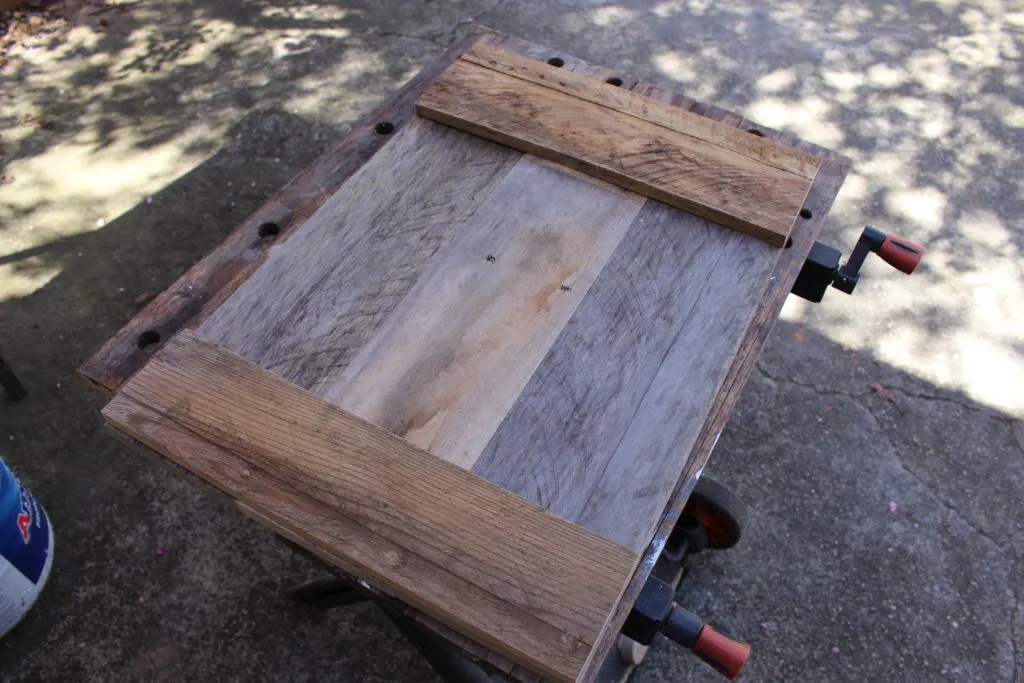
Start by assembling the backboard, attaching two cross members with screws from the back. Pre-drill your screw holes to prevent the wood from splitting. Next, assemble the mail trough and finally, attach your key hangers.
Pro Tip: Using black screws for the key hangers will give it a cohesive and stylish look!
 Assembling the mail organizer key rack with screws.
 Attaching the mail trough to the backboard.
Step 5: Finishing Touches
Apply 3-4 coats of lacquer, allowing adequate drying time between each coat. Once dry, it’s time to hang your creation! I recommend locating wall studs for maximum support.
Expert Advice: “Always use the appropriate anchors and screws for your wall type to ensure your mail organizer is securely mounted,” advises Johnathan Carter, a seasoned contractor.
 Applying a finish to the mail organizer key rack.
 Attaching key hooks to a DIY mail organizer.
 Finished mail organizer with key hooks.
Conclusion
Congratulations, you’ve just built your own rustic mail organizer key rack! Not only is it functional, but it adds a handmade touch to your home. Remember, every DIY project is a learning experience, so embrace the imperfections and enjoy the process.
Want more inspiring DIY projects and crafting ideas? Browse the Robert Kline Art website for unique handmade gifts and décor! And be sure to share your creations with us in the comments below – we love to see your creativity shine!
