Blog
Craft the Perfect DIY Wall-Mounted Jewelry Organizer

Feeling overwhelmed by tangled necklaces and missing earrings? It’s time to bring order to the chaos (and style to your walls!) with a charming and practical DIY wall-mounted jewelry organizer. As a seasoned crafter here at Robert Kline Art, I’m thrilled to guide you through this simple project that’s perfect for both beginners and those wanting to hone their woodworking skills.
Why a DIY Jewelry Organizer?
Before we dive in, let’s talk about why crafting your own organizer is so rewarding. Firstly, it allows for complete customization. Choose the size, shape, and finish that perfectly matches your style and storage needs. Secondly, it’s surprisingly budget-friendly, often utilizing materials you might already have on hand. And most importantly, the sense of accomplishment after creating something beautiful and functional with your own two hands is priceless.
Gathering Your Supplies
This project utilizes readily available materials found at most hardware stores. Here’s what you’ll need:
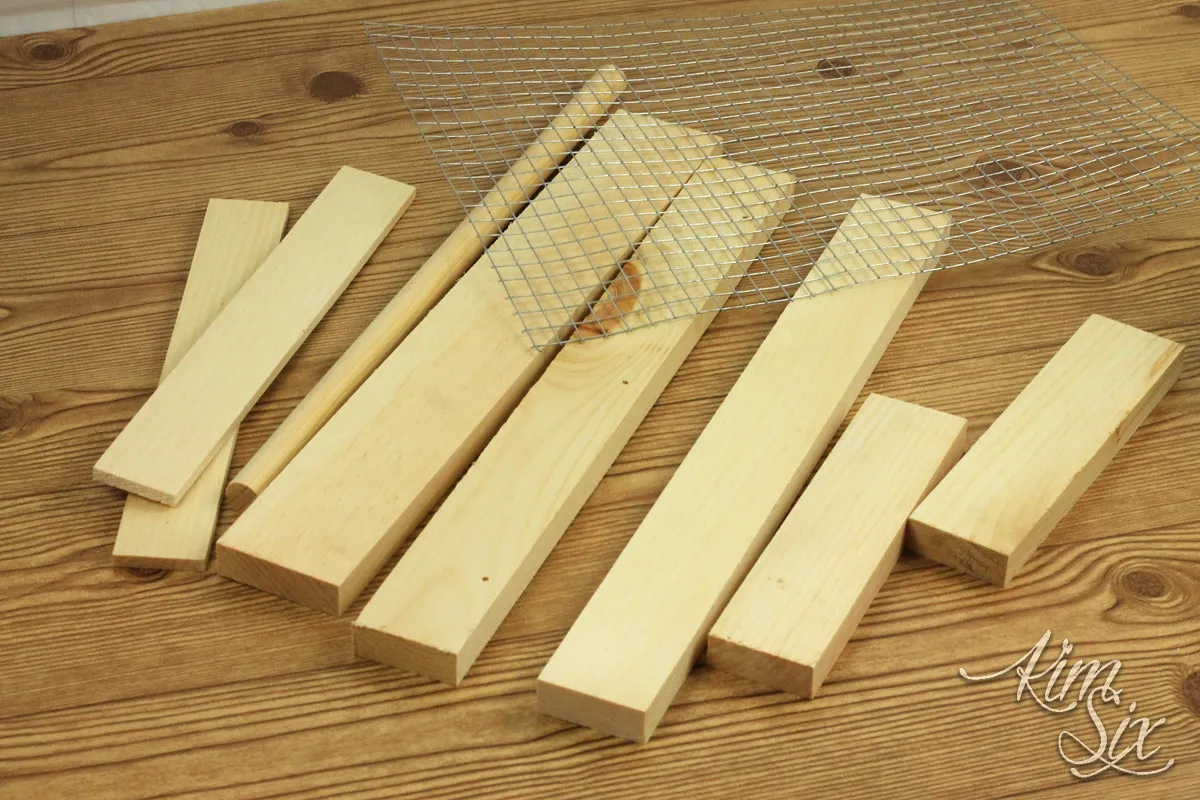
- 12″x17″ Chicken Wire or Wire Fencing (Hardware Cloth)
- (2) 17″ 1×2
- (2) 8″ 1×2
- (2) 12″ 1/4 inch Lattice Molding
- (1) 17″ 1×3
- (1) 17″ 3/4″ dowel
- (2) 1″ Cup Hooks
- (6-10) 1/4″ cup Hooks
- 1″ wood screws
- 1-1/2″ wood screws
Tools of the Trade
- Measuring tape
- Saw (hand saw or circular saw)
- Drill
- Screwdriver (or drill with screwdriver bit)
- Clamps (helpful, but optional)
- Level (optional, but recommended)
- Safety Glasses
Step-by-Step Guide
-
Creating the Frame: Begin by constructing a rectangular frame using the 17″ 1x2s for the sides and the 8″ 1x2s for the top and bottom. Secure the pieces together using the 1″ wood screws.
-
Adding the Chicken Wire: Place the chicken wire on the back of the frame, ensuring it’s taut. Secure it to the frame using the smaller screws (be careful not to over-tighten).
-
Crafting the Shelf: Attach the 17” 1×3 to the bottom front of the frame to create a small shelf. Using a scrap piece of wood or a stack of books to support the shelf while attaching it can be helpful.
-
Installing the Dowel: Secure the dowel to the underside of the shelf using the cup hooks. This will serve as a stylish holder for bracelets.
-
Finishing Touches: Screw the remaining cup hooks to the frame, spacing them as desired to hang your necklaces and earrings.
 Wall Mounted DIY Jewelry Organizer from scrap lumber and chicken wire.. So fast and easy to make, plus you could personalize it however you wanted. A great way to get used to working with power tools.
Tips from Robert Kline Art:
- Clamps are Your Friend: When attaching the chicken wire, clamps can be invaluable for holding it in place while you secure it. If you don’t have clamps, a second pair of hands can be just as helpful!
- Easy Does It: Be mindful not to overtighten the screws, especially when securing the chicken wire, as this can crack the wood.
- Personalization is Key: Let your creativity shine! Consider painting or staining the wood to match your decor. Add decorative elements or embellishments to make it uniquely yours.
Taking Your Skills Further
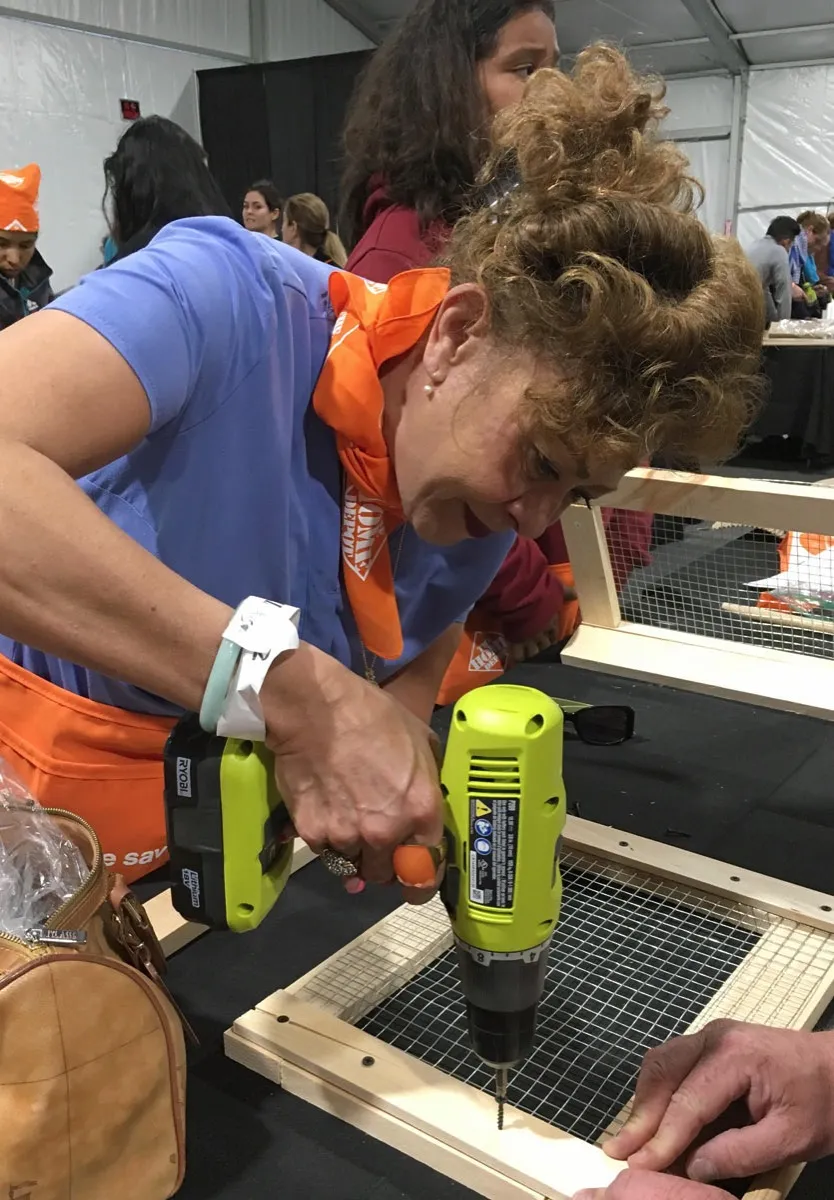
Want to explore the world of DIY and crafting in a supportive environment? The Home Depot’s Do-It-Herself Workshops are a fantastic opportunity to learn new skills and connect with fellow makers.
 Kim Six Home Depot Delilah
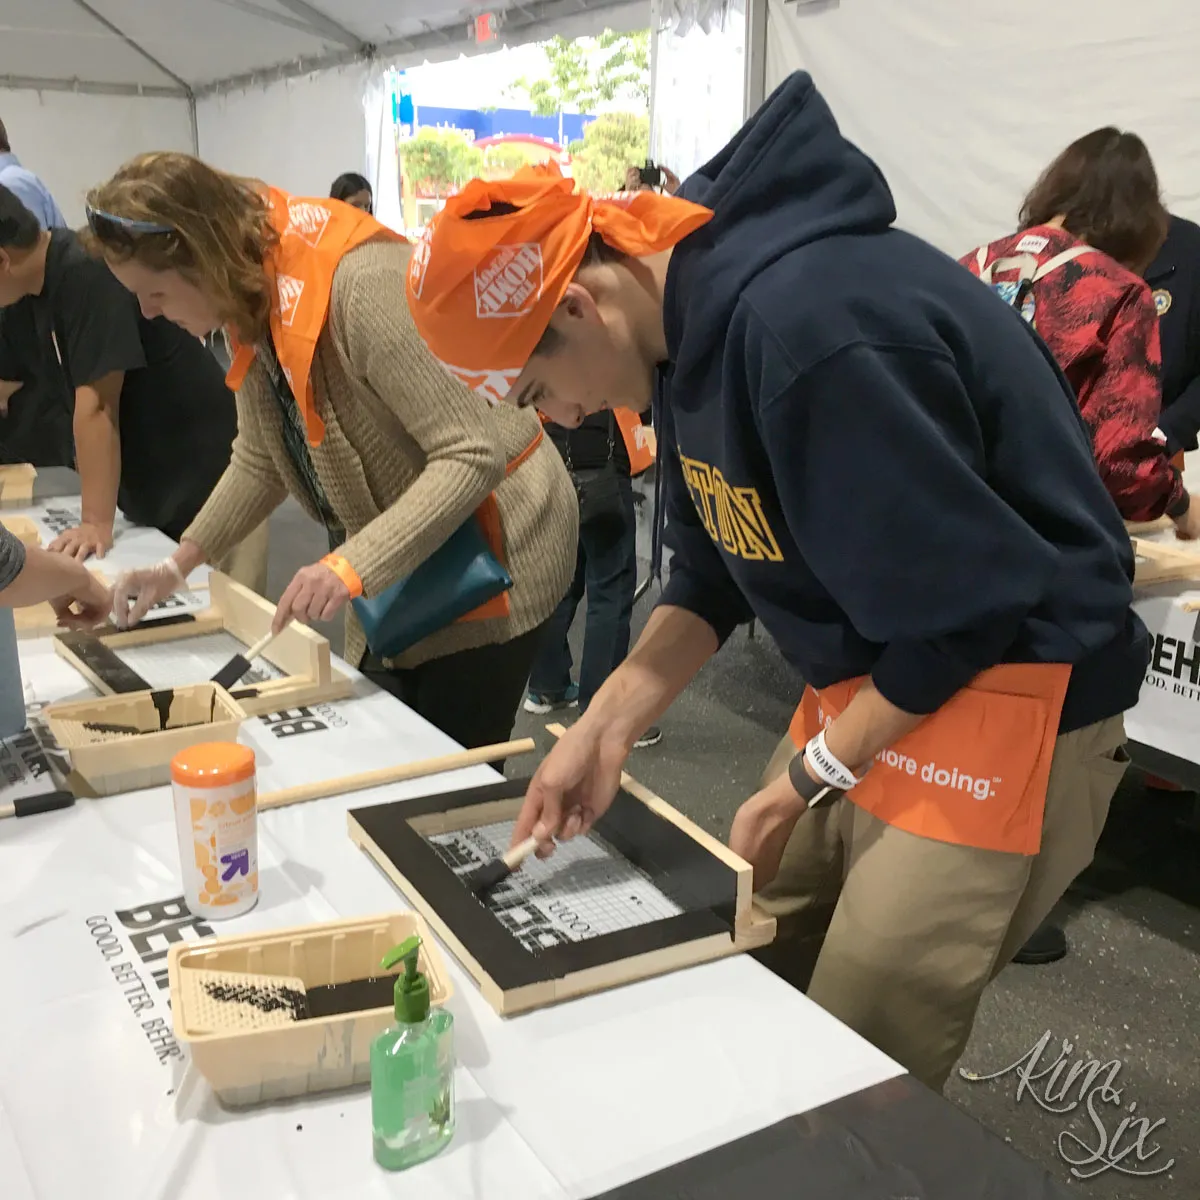
These workshops offer hands-on instruction in a fun and engaging setting. “I learned so much at my first DIY workshop,” shares Sarah, a crafting enthusiast. “It was incredibly empowering to build something with my own two hands, and the instructors were so helpful and encouraging.”
 First time DIHWorkshop Participants
Conclusion
Creating your own DIY wall-mounted jewelry organizer is a rewarding project that combines practicality with personalized style. It’s a chance to unleash your inner maker and add a handcrafted touch to your home. We at Robert Kline Art would love to see your creations – feel free to share your finished projects in the comments below. And be sure to explore our website for more unique handcrafted gifts and DIY inspiration!
