Blog
Creating a Stunning DIY Wall-Mounted Jewelry Organizer

Are you tired of tangled necklaces and misplaced earrings? Do you dream of a stylish and organized way to display your precious jewelry collection? Look no further than this DIY wall-mounted jewelry organizer. It’s a simple, budget-friendly project that’s perfect for beginners and seasoned DIY enthusiasts alike!
Why You’ll Love This Project
This wall-mounted jewelry organizer is:
- Easy to make: You don’t need advanced carpentry skills to create this stunning piece. With a few basic tools and materials, you’ll have a personalized jewelry organizer in no time!
- Customizable: From paint colors to the type of wire mesh, you can tailor this project to perfectly match your style and storage needs.
- Affordable: Repurpose scrap wood and chicken wire for an incredibly budget-friendly organization solution.
Gather Your Materials
Here’s what you’ll need to create your own DIY wall-mounted jewelry organizer:
- Wood:
- (2) 17″ x 1″ x 2″ pieces
- (2) 8″ x 1″ x 2″ pieces
- (1) 17″ x 1″ x 3″ piece
- (1) 17″ x 3/4″ wooden dowel
- Other Materials:
- 12″ x 17″ chicken wire or wire fencing (hardware cloth)
- (2) 12″ x 1/4″ lattice molding pieces
- (2) 1″ cup hooks
- (6-10) 1/4″ cup hooks
- 1″ wood screws
- 1 1/2″ wood screws
Tools:
- Measuring tape
- Saw (hand saw or power saw)
- Drill
- Screwdriver
- Wire cutters (if necessary)
- Clamps (optional, but helpful)
Step-by-Step Guide
Now, let’s dive into the fun part – building your very own jewelry organizer!
Step 1: Building the Frame
- Create the outer frame: Using the two 17″ and two 8″ pieces of 1″ x 2″ wood, assemble the outer rectangular frame. Use the 1 1/2″ wood screws to secure the corners.
- Attach the lattice molding: Position the lattice molding pieces on the front of the frame, about 1″ from the sides and flush with the top and bottom. Secure them in place with the 1″ wood screws. This creates a lip to hold the chicken wire.
Step 2: Adding the Chicken Wire
- Measure and cut the chicken wire: Carefully measure and cut the chicken wire to fit snugly within the frame you created in step 1. If you are using wire cutters, always wear safety glasses and gloves.
- Secure the chicken wire: Place the chicken wire onto the back of the frame, making sure it’s taut. Secure it in place by screwing the frame together from the back. Remember, don’t overtighten the screws, as this could crack the wood. Tip: Using clamps to hold the chicken wire in place while you attach it can be very helpful.
Step 3: Creating the Shelf and Finishing Touches
- Attach the shelf: Position the 17″ x 1″ x 3″ piece of wood onto the bottom portion of the frame, creating a small shelf. Secure it from the back using the 1 1/2″ screws. Tip: Using a scrap piece of wood or a stack of books to support the shelf while you attach it from the back can help ensure it’s level.
- Add the dowel: Drill two pilot holes into the underside of the shelf, approximately 2″ from each end. Attach the 17″ dowel using the 1″ screws. This will serve as a stylish holder for bracelets or necklaces.
- Install the hooks: Screw in the cup hooks to the bottom of the shelf and in any arrangement you like to the frame. These will hold your earrings, necklaces, and bracelets.
Personalize Your Organizer
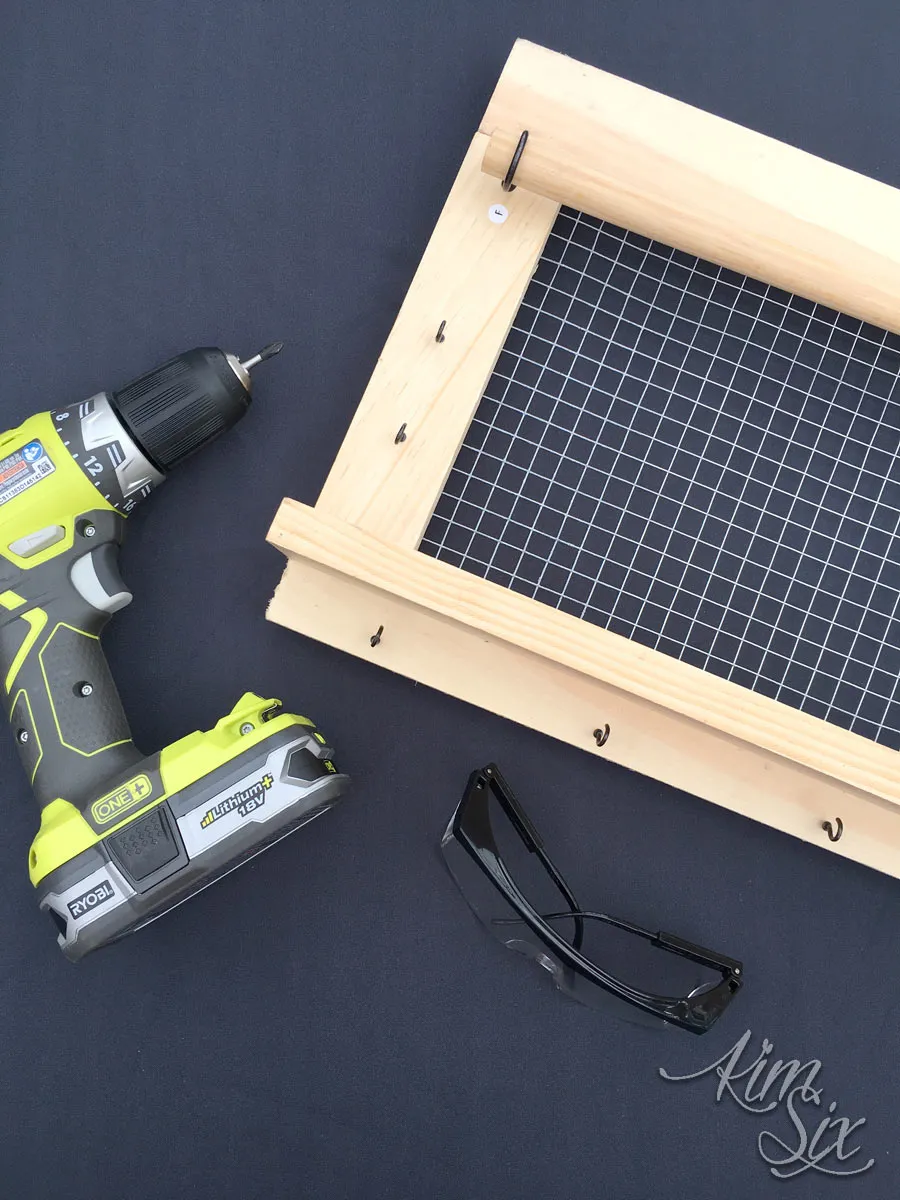
 Wall Mounted DIY Jewelry Organizer from scrap lumber and chicken wire.. So fast and easy to make, plus you could personalize it however you wanted. A great way to get used to working with power tools.
Now comes the fun part! Let your creativity shine by personalizing your new jewelry organizer:
- Paint: Choose a paint color that matches your bedroom décor or opt for a bold, contrasting hue.
- Stain: Enhance the natural beauty of the wood by applying a stain in your preferred shade.
- Decorative touches: Add a personal touch with decorative paper, fabric, or embellishments to the frame or shelf.
Expert Tips
Here are some additional tips from Robert Kline Art to ensure your DIY project is a success:
- Practice makes perfect: If you’re new to using power tools, consider practicing on some scrap wood before working on your actual project.
- Ask for help: Don’t be afraid to ask for assistance from a friend or family member, especially when handling larger pieces of wood or using power tools.
- Safety first: Always prioritize safety by wearing appropriate safety gear, such as safety glasses and gloves, when using power tools.
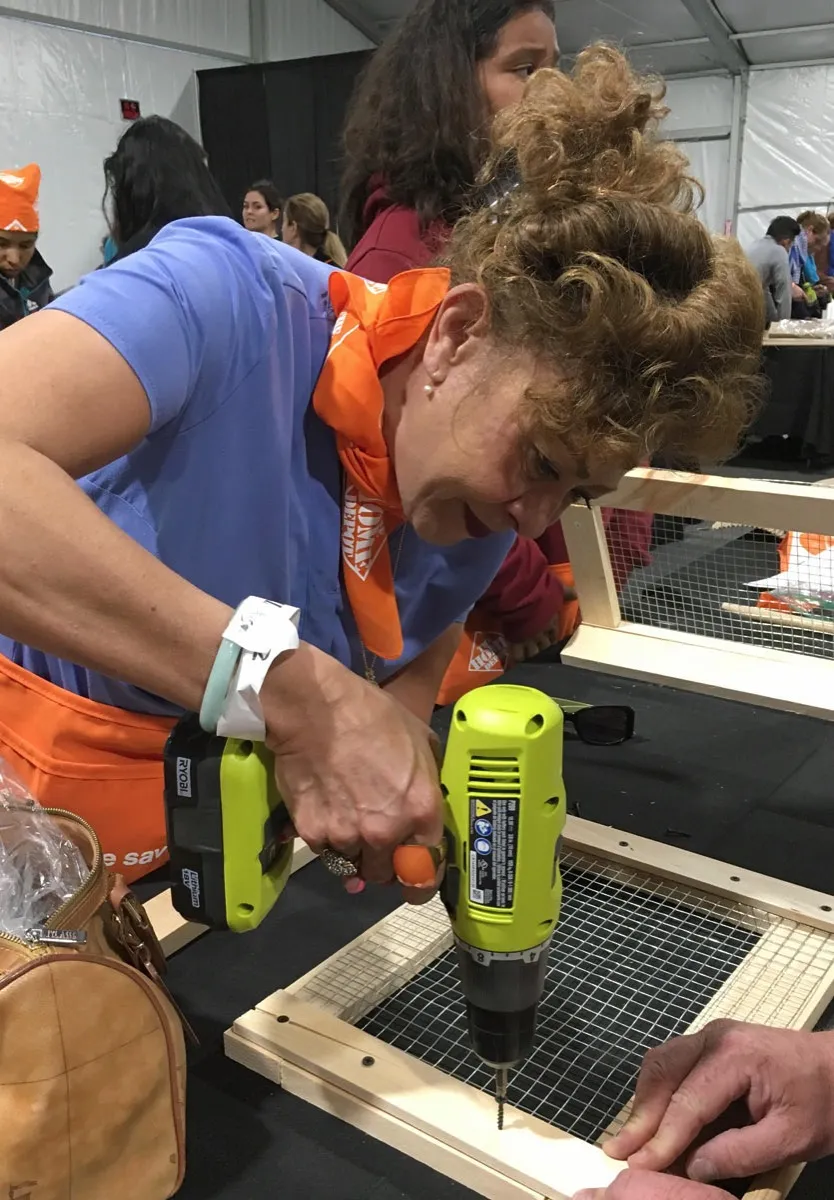
 Kim Six Home Depot Delilah
Get Inspired
Ready to take your DIY skills to the next level? Consider attending a workshop!
“Workshops are a fantastic way to learn new techniques and gain confidence in a supportive environment,” says Sarah Michaels, a seasoned DIY instructor. “The hands-on experience and expert guidance can truly elevate your crafting abilities.”
You can find a variety of DIY workshops offered by local craft stores or online platforms.
Show Off Your Masterpiece
Congratulations on creating a beautiful and functional wall-mounted jewelry organizer! Now, hang it in a prominent spot in your bedroom and proudly display your jewelry collection.
We at Robert Kline Art would love to see your creations! Share photos of your finished jewelry organizer on social media and tag us.
Looking for more handmade gift ideas? Explore the exquisite collection of unique and personalized crafts on our website. We offer a wide range of thoughtful and beautifully made items perfect for any occasion.
