Blog
DIY Wall-Mounted Hat Rack: The Perfect Way to Organize and Display Your Hats

Hey there, fellow art and craft enthusiasts! Robert Kline here, and if you’re anything like me, you’ve got a growing hat collection that needs a stylish and practical storage solution. Today, I’m excited to share a simple yet elegant DIY project that’ll have your hats looking more like art pieces than clutter. Let’s dive into crafting a beautiful wall-mounted hat rack!
Materials You’ll Need
This project is all about simplicity and functionality, and thankfully, the materials list reflects that. Here’s what you’ll need to gather:
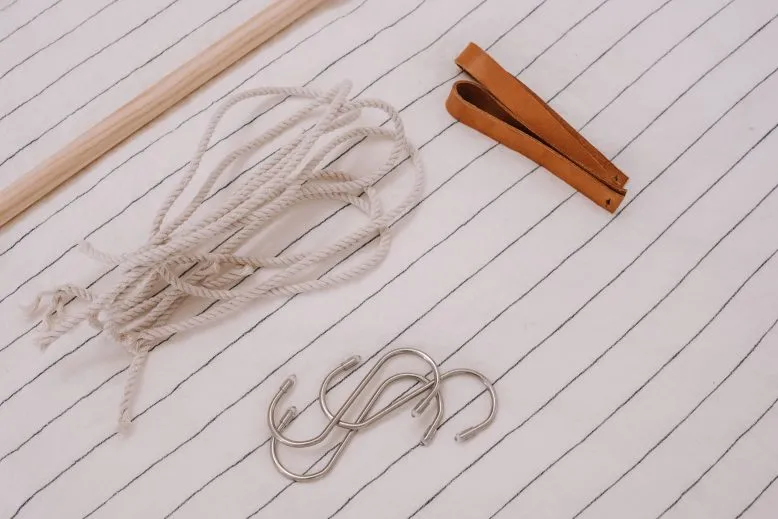
- Wooden Dowel: Choose a sturdy dowel that complements your decor. The length will depend on how many hats you want to hang.
- Leather Strap: A strip of leather adds a touch of rustic charm and strength. You’ll use this to create loops to hold the dowel.
- Hooks: Opt for S-hooks as they’re gentle on hat brims and provide a secure hold.
- Cotton Rope: This is what your hats will hang from. Choose a thickness and texture that you like.
- Wall Hooks: These will secure the leather loops and dowel to the wall.
- Scissors
- Measuring tape
Step-by-Step Guide
Now that you’ve gathered your materials, let’s turn this DIY dream into a reality!
Step 1: Measuring and Cutting the Rope
Lay your hats out on a flat surface to get an idea of the spacing you need. Measure and cut your cotton rope into equal lengths. Remember to factor in the length needed for the loops at each end. A good starting point is about 12-15 inches per rope, but feel free to adjust based on your preference.
 Measuring and cutting the cotton rope
Step 2: Creating the Rope Hangers
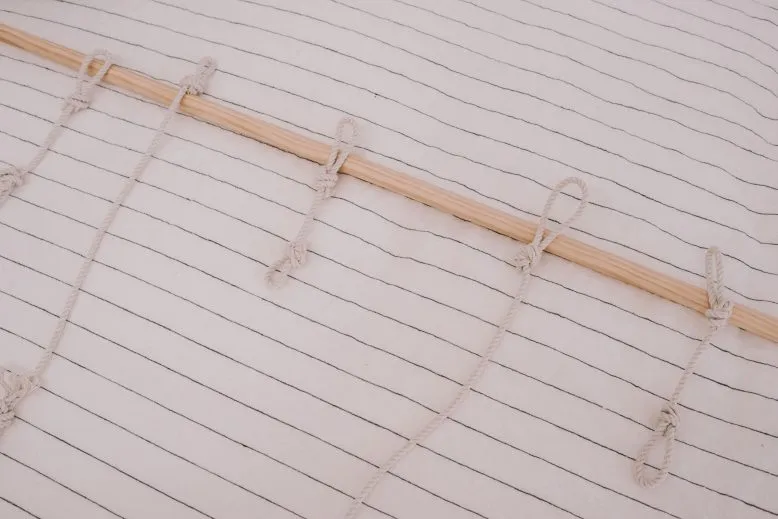
Take each length of rope and tie a secure loop at both ends. One loop will slide onto the dowel, and the other will connect to the S-hook. Ensure the loops are large enough to easily slide onto the dowel and hook.
 Creating the rope hangers
Step 3: Installing the Hat Rack
- Slide the rope hangers onto the wooden dowel, spacing them evenly.
- Determine where you want your hat rack on the wall and mark the position of the leather strap loops.
- Attach your wall hooks or hammer in nails at the marked positions.
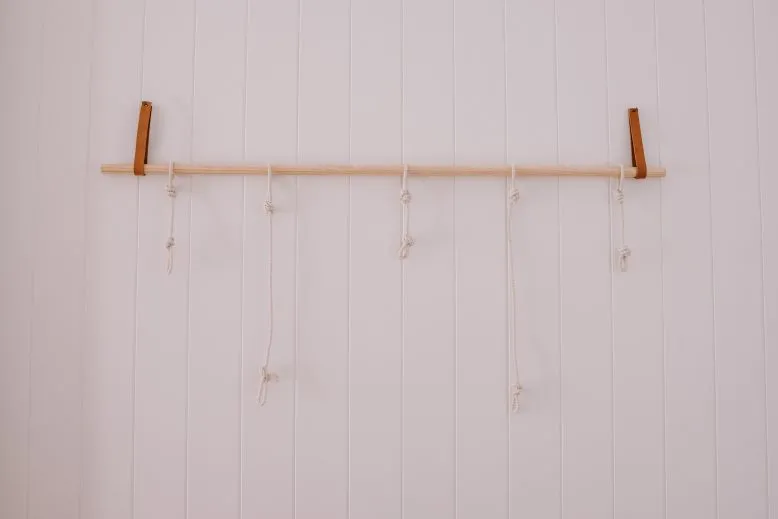
- Loop your leather strap around the wall hooks to create sturdy loops for the dowel to rest in.
- Carefully lift the dowel with the rope hangers and slide it through the leather loops on the wall.
- Adjust the spacing of the rope hangers as needed.
 Installing the hat rack on the wall
Step 4: Hanging Your Hats
Attach the S-hooks to the bottom loops of the rope hangers. Now, the moment of truth – hang your hats by their inner bands on the S-hooks.
 Hang your hats from the S hooks
 Hat rack with hats
Tips and Tricks
- Personalization: Get creative and personalize your hat rack! Consider staining or painting the dowel, adding decorative beads to the rope, or using different types of rope for a unique look.
- Spacing: Adjust the spacing between your rope hangers to accommodate different hat sizes and styles.
- Wall Type: Use appropriate wall anchors if you’re installing the hat rack on drywall to ensure it’s secure.
- Alternative Hanging: Instead of S-hooks, you can also use clothespins, clips, or even decorative shower curtain rings to hang your hats.
Conclusion
And there you have it – a beautifully crafted DIY wall-mounted hat rack! Not only will this project help you organize your hat collection, but it also adds a touch of handmade charm and personality to your space. I always find such satisfaction in creating practical and visually appealing storage solutions, and this hat rack is no exception. It’s a fantastic way to showcase your hats while keeping them in top shape.
Now, I’d love to hear from you! Have you tried this DIY hat rack? Share your experiences, photos, and any creative twists you’ve added in the comments below. And don’t forget to explore Robert Kline Art for more inspiring DIY projects and handmade treasures. Let’s keep those creative sparks flying!
