Blog
Building a Sleek and Sturdy Floating Vanity: A Step-by-Step Guide
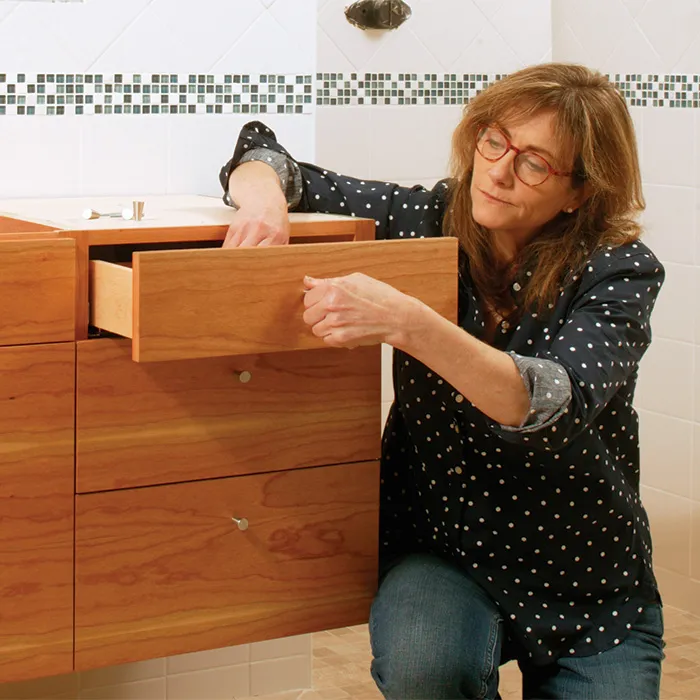
As a craftsman who thrives on conquering unique challenges, I’ve always been fascinated by the art of floating furniture. Defying gravity to create a sense of lightness and elegance is a challenge I readily embrace. Recently, I had the pleasure of designing and building a wall-mounted floating vanity for Fine Homebuilding’s Project House, and the experience was as rewarding as it was demanding.
This project wasn’t just about achieving a visually stunning floating effect; it also required meticulous planning to ensure structural integrity and accessibility. This meant creating a sturdy cabinet capable of supporting a significant amount of weight while adhering to the Americans with Disabilities Act guidelines.
The Anatomy of a Robust Floating Vanity
The key to a successful floating vanity lies in its construction. Here’s a detailed look at the steps involved:
Building a Solid Foundation: The Carcases
- Material Selection: I opted for prefinished 3/4-inch maple plywood for the carcases, providing a balance of strength and stability.
- Joinery for Strength: To ensure the carcases could withstand the test of time and weight, I utilized a combination of biscuits and 2-inch Confirmat screws. Biscuits, small oval-shaped wafers, add strength and rigidity to butt joints, while the screws provide additional pulling power.
- Face Frames for Reinforcement: To enhance the cabinet’s structural integrity and provide a clean, finished look, I added solid-cherry face frames, attaching them securely with glue and clamps.
 The carpenter
Alt text: A carpenter using a biscuit joiner to assemble the cabinet carcase.
Crafting Elegance: Dovetailed Drawers
- Dovetail Joinery: For the drawers, I chose solid maple, known for its durability and attractive grain. To combine strength and aesthetics, I employed dovetail joinery. While traditionally a time-consuming technique, a dovetail jig simplified the process, allowing me to create precise and robust drawer boxes efficiently.
- Drawer Bottoms and Slides: After assembling the drawers, I added 1/4-inch plywood bottoms, securing them with screws. Before installing the drawer slides, I ensured the drawer box dimensions accommodated the chosen hardware, accounting for any specific requirements for bottom clearance.
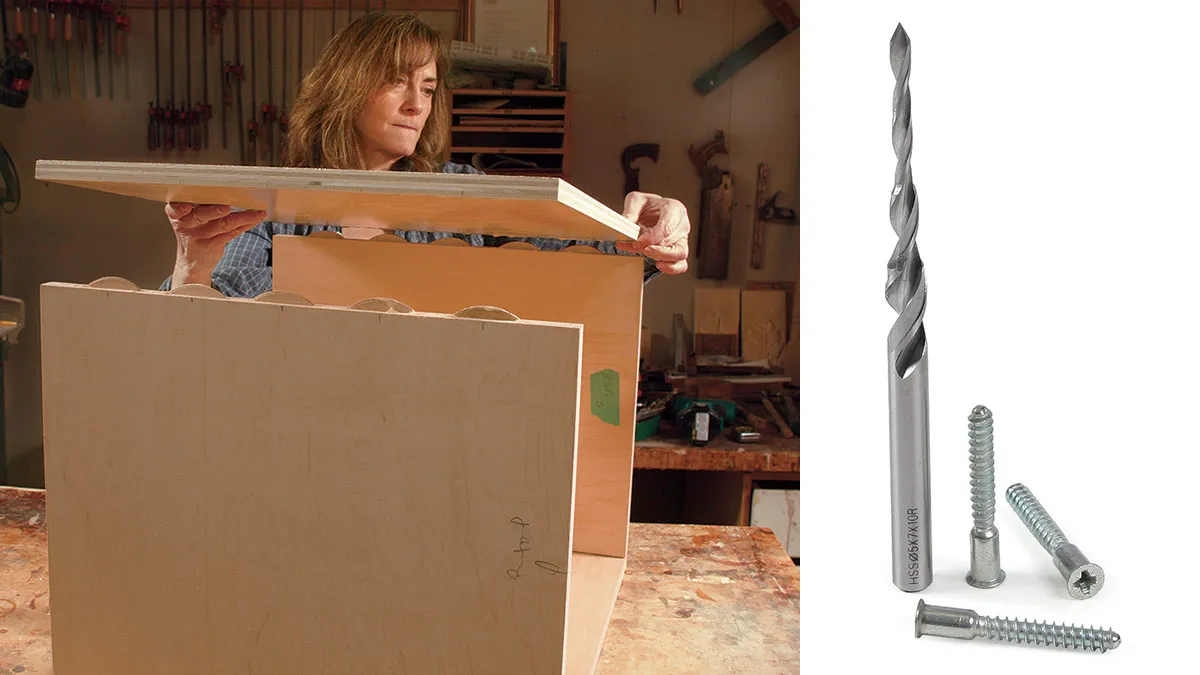 joinery for bathroom vanity
Alt text: Dovetail joinery provides both strength and a touch of elegance to the drawers.
The Beauty of Continuous Grain: Custom Veneer
- Advantages of Custom Veneer: For a seamless and visually striking appearance, I chose custom-veneered moisture-resistant MDF for the cabinet’s exterior. This allowed me to wrap the entire structure in a continuous grain pattern, creating a sense of unity and elegance.
- Expert Collaboration: I was fortunate to have a local custom-veneer shop, Heitink Architectural Veneer and Plywood, assist with this aspect of the project. Their expertise in creating custom veneer sheets with precise grain matching ensured a flawless final product.
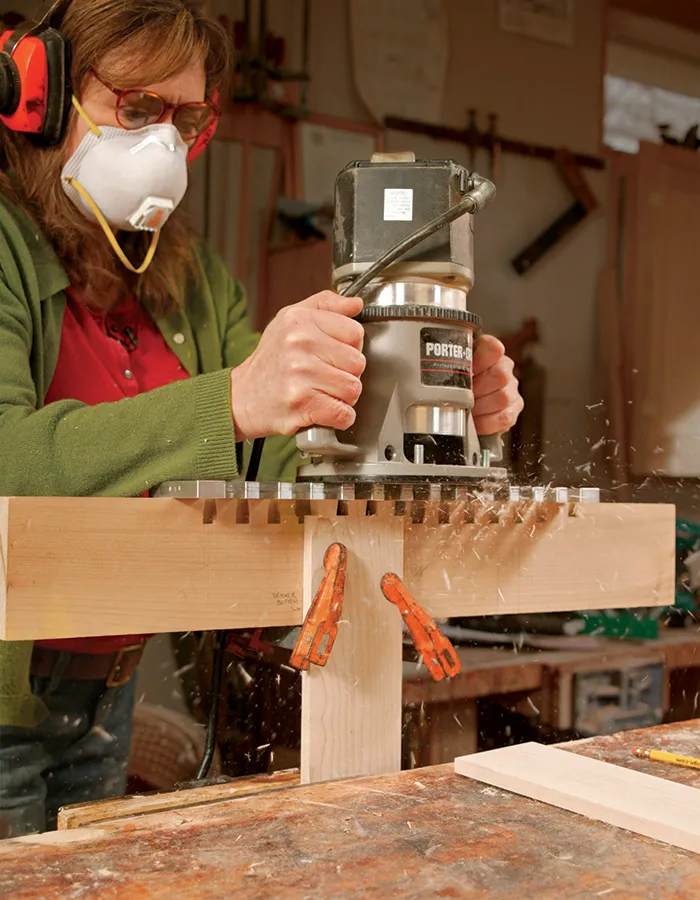 Doors and drawer fronts from custom-veneer material
Alt text: The beauty of custom veneer lies in its ability to create a seamless and visually appealing surface.
Achieving a Flawless Finish: Preparation and Application
- Surface Preparation: Before applying the finish, I meticulously cleaned all surfaces, removing dust and debris with a tack cloth moistened with mineral spirits. This step is crucial for ensuring the finish adheres properly and creates a smooth, even surface.
- Water-Resistant Finish: Considering the bathroom environment, I opted for multiple coats of oil-based polyurethane, a durable and moisture-resistant finish. After each coat, I allowed ample drying time and lightly sanded the surface for optimal adhesion.
The Installation: A Symphony of Precision and Strength
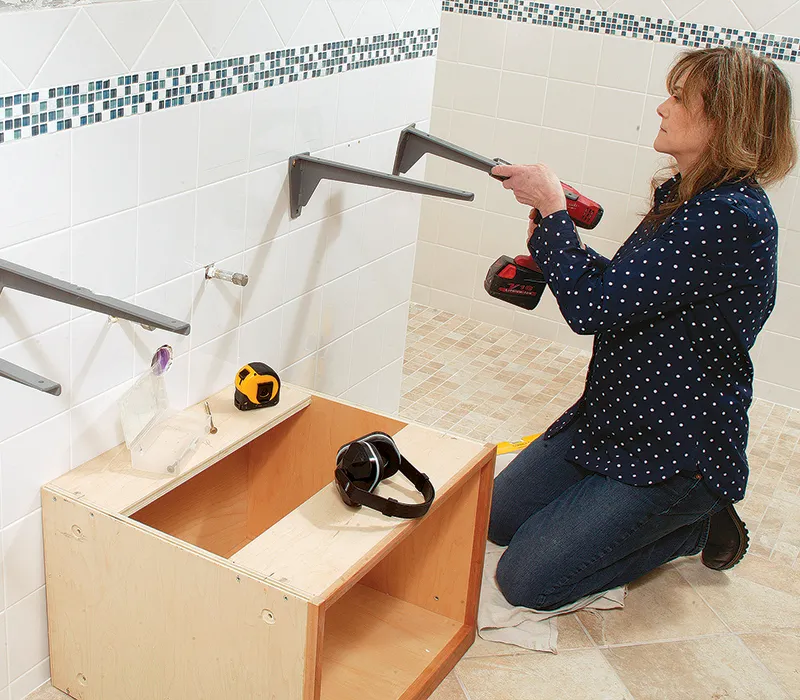
- Wall Preparation and Blocking: To ensure the floating vanity was securely anchored, I installed 2x blocking between the wall studs. This provided a solid base for attaching the heavy-duty brackets that would support the cabinet’s weight.
- Bracket Placement: I used four 16-inch steel brackets, each pair rated for 330 pounds, strategically positioning them as close to the sides of the cabinet as possible to maximize internal storage space.
- Securing the Cabinets: After carefully marking and drilling the bracket locations, I mounted the outer cabinets. The center cabinet, designed for wheelchair accessibility, was then positioned and bolted to the outer cabinets.
- Final Touches: To create a clean and integrated look, I scribed the end panels to the wall’s contours before attaching them with glue and brads.
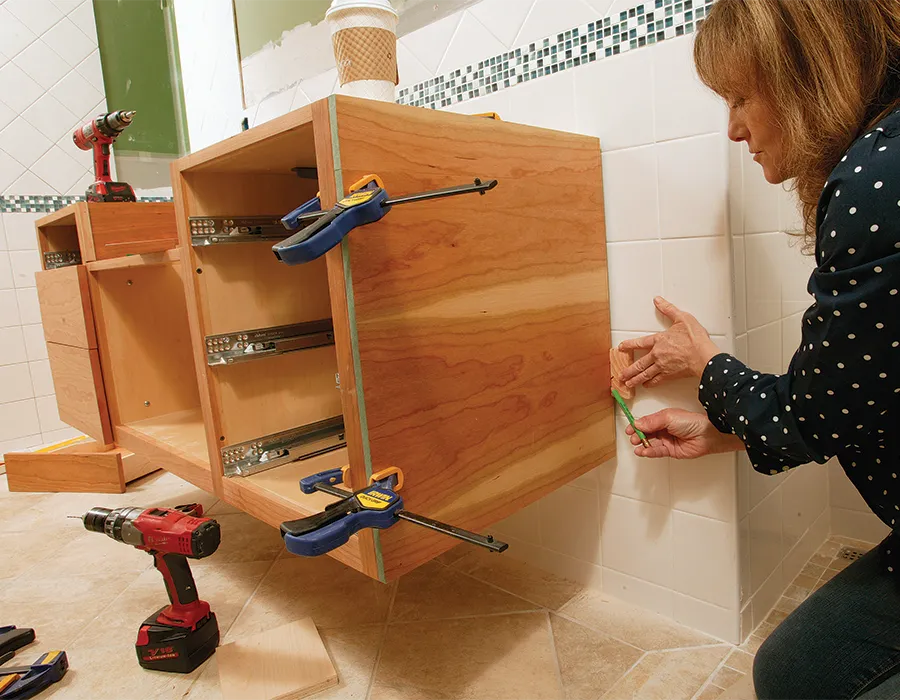 scribe each end panel to the wall
Alt text: Scribing the end panels to the wall ensures a perfect fit and a polished look.
Reinforcing for Success: Addressing Shear Forces
While the brackets provided substantial support, I wanted to go the extra mile to counteract potential shear forces. I added 1-inch by 1-inch steel angle iron along the underside of the cabinet, attaching it to the wall studs. This additional reinforcement provided an extra layer of security and peace of mind.
 In a perfect world, screws would be enough
Alt text: Reinforcing the cabinet with steel angle iron ensures long-term stability and durability.
The Gratification of a Job Well Done
Building this floating vanity was a testament to the power of thoughtful design, meticulous craftsmanship, and the right materials. It stands as a testament to the enduring beauty and functionality that can be achieved when we combine traditional techniques with modern innovations.
Have you ever tackled a floating furniture project? What challenges and triumphs did you encounter? Share your experiences and insights in the comments below! And if you’re looking for unique, handcrafted pieces to elevate your home’s style, be sure to browse the exquisite selection on the Robert Kline Art website.
