Blog
DIY Floating Shelves: A Step-by-Step Guide to Creating Sturdy and Stylish Storage
Hey there, fellow craft enthusiasts! Robert Kline here, and today, we’re diving into the world of DIY with a project that’s both practical and stylish – building sturdy, wall-mounted floating shelves. As an artist who understands the importance of a well-organized workspace, I can tell you firsthand that these shelves are a game-changer. Let’s transform your workshop or any room with these attractive and functional storage solutions.
Planning and Preparation
Before we grab our tools, let’s lay the groundwork for success. Just like a well-planned art piece, a successful DIY project starts with thoughtful preparation:
- Assess Your Storage Needs: Take inventory of what you need to store. Measure the height and width of your larger items to determine the appropriate shelf dimensions.
- Choose Your Location: Select a wall that can handle the weight and size of your shelves. Consider convenience and accessibility.
- Gather Supplies and Tools: I always double-check my list to ensure I have everything on hand.
Materials You’ll Need:
- Plywood Sheets: Opt for high-quality plywood for the top and bottom of your shelves. The quantity will depend on the desired shelf dimensions.
- Support Lumber: I recommend sturdy 2x4s to create the internal support structure.
- Front Facing: Choose wood planks that complement your style – I love the look of aspen.
- Screws: You’ll need both 2.5″ wood screws for the internal structure and 4″ screws for attaching the supports to the wall studs.
- Wood Stain and Finish: Select a stain color that matches your décor and a durable finish for protection.
- Wall Color Touch-Up Paint: Just in case!
- Essential Tools: Miter saw, circular saw, table saw (optional but helpful), drill, right angle drill adapter (optional), nail gun, measuring tape, level, sandpaper, mallet, paintbrushes, rags.
Let’s Get Building:
1. Locate Your Studs
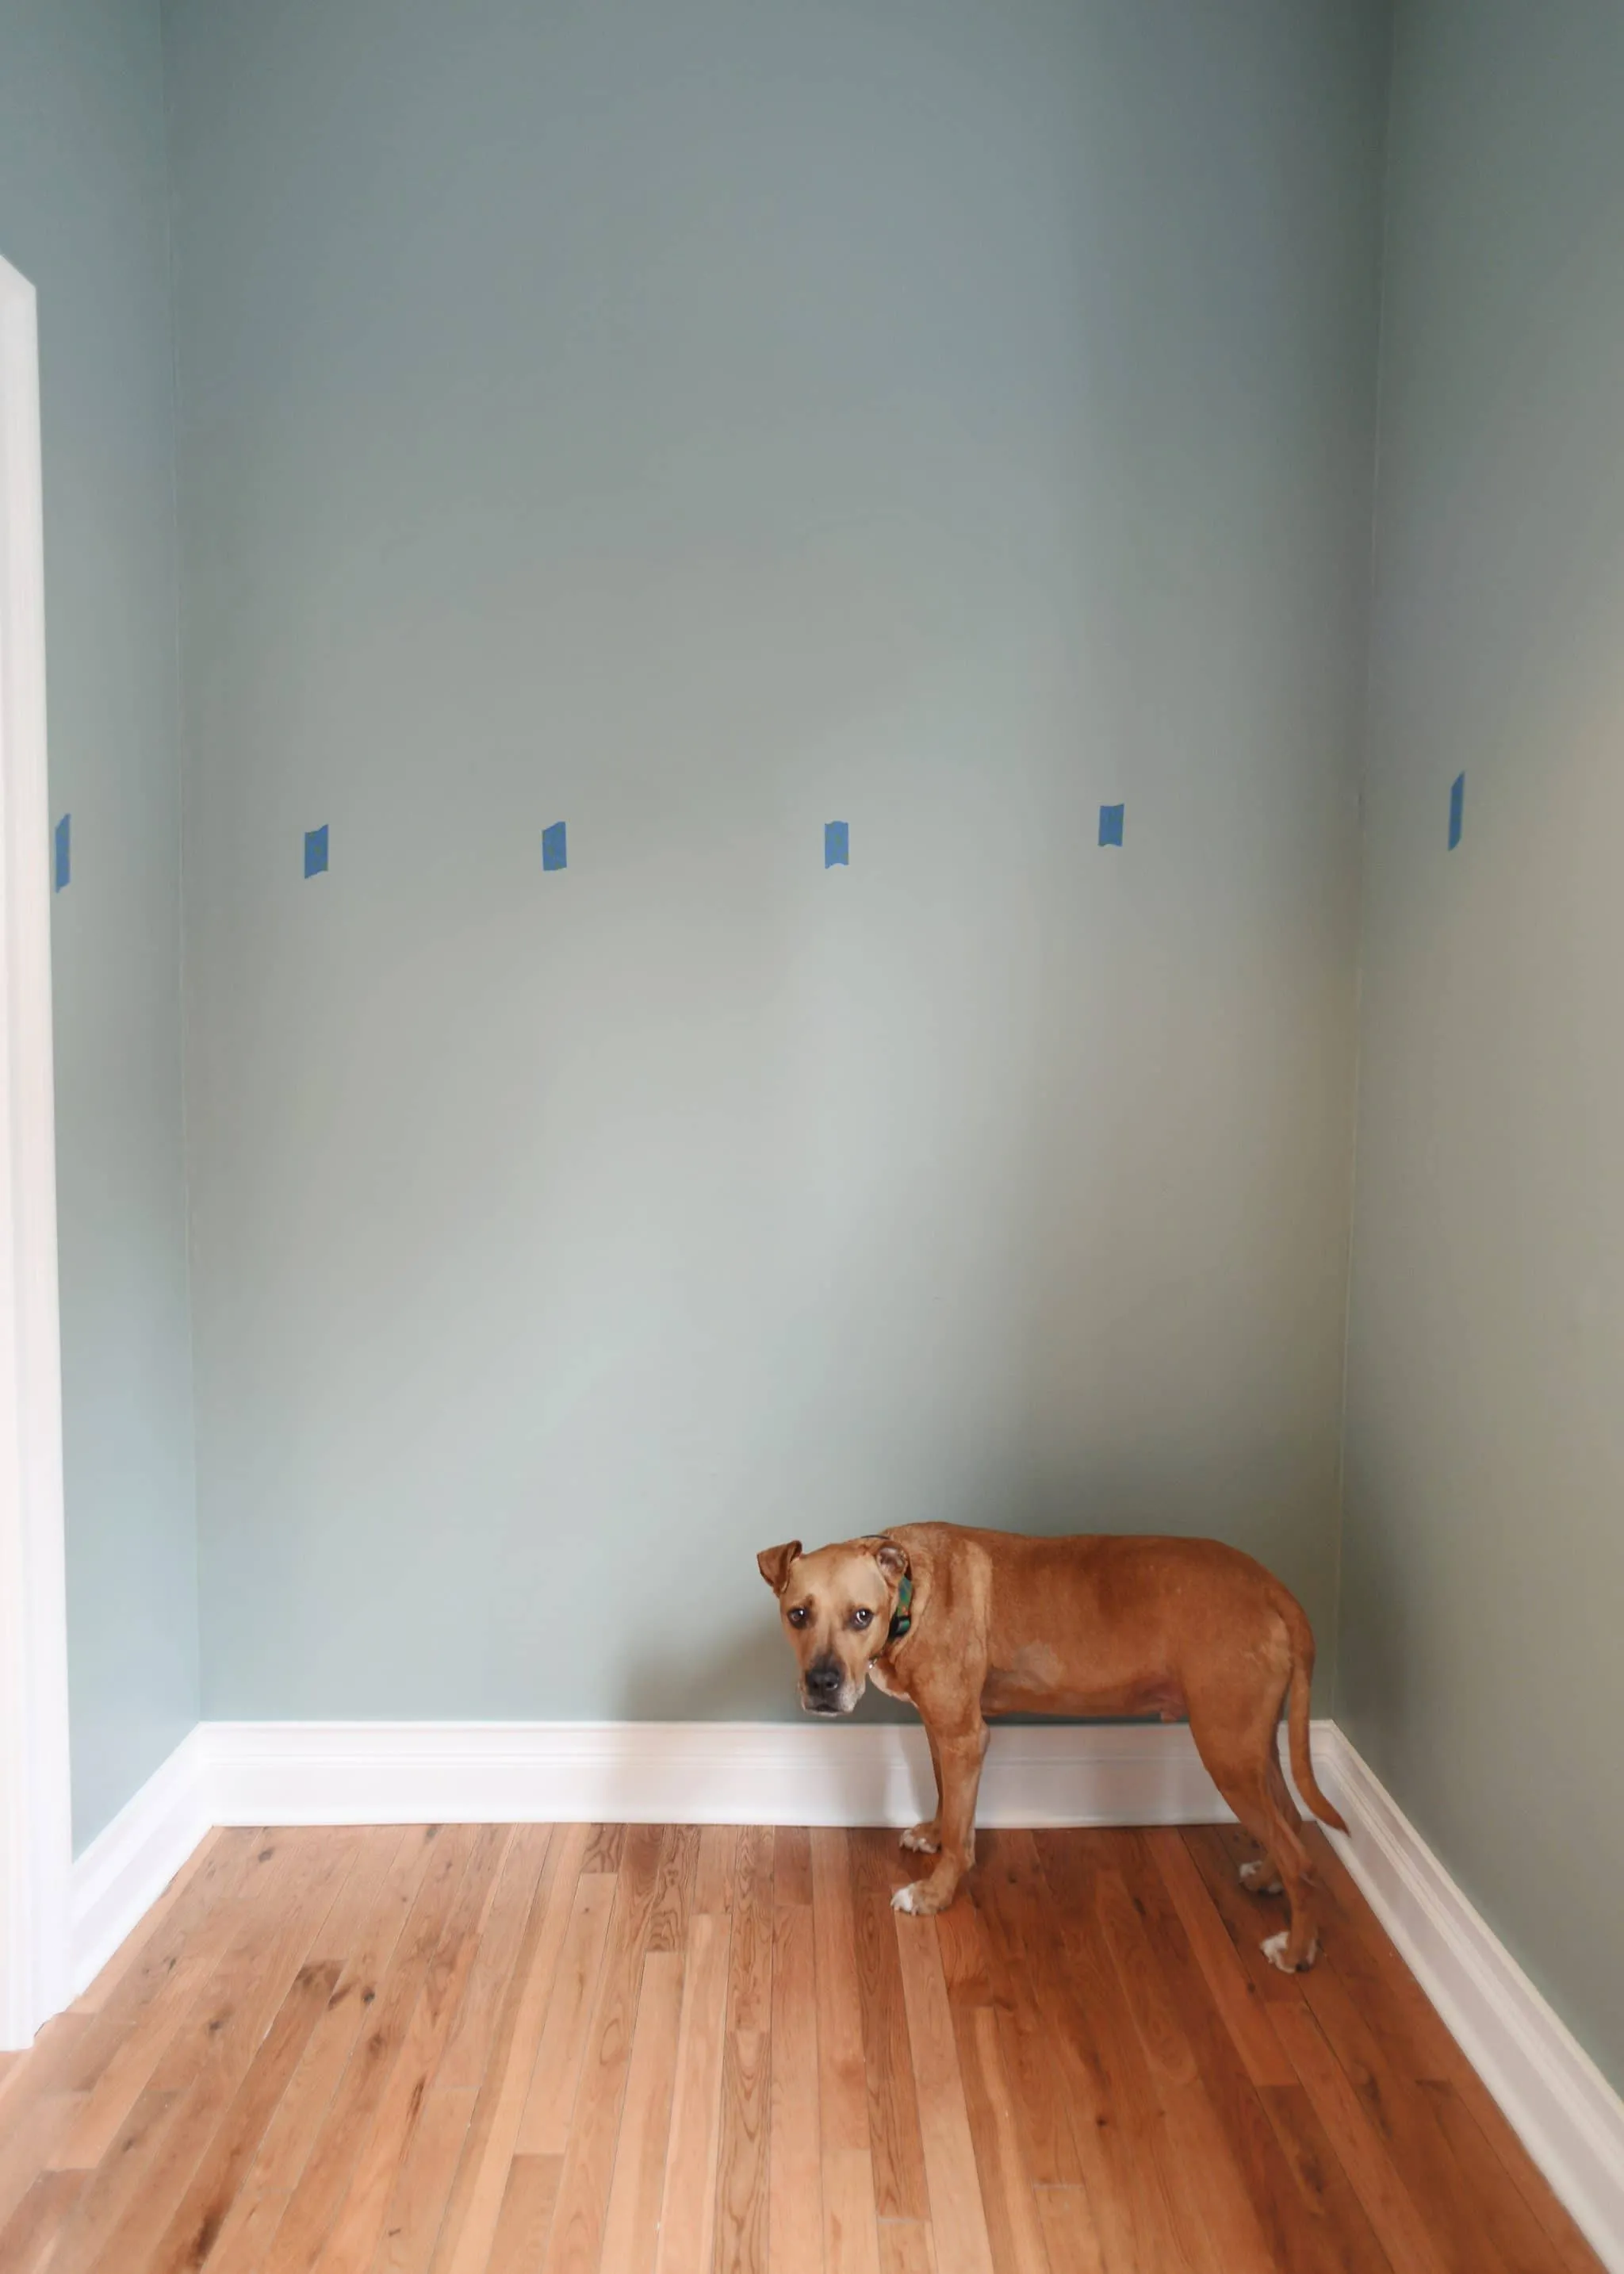
This is crucial for ensuring your shelves are securely anchored. Use a stud finder or lightly tap along the wall to listen for solid sounds instead of hollow ones. Mark the stud locations with a pencil.
 searching for studs for our floating shelves | head to Yellow Brick Home for the step-by-step floating shelf tutorial!
2. Construct the Support System
Cut the 2x4s to the width of your wall, creating two supports per shelf. Then, cut additional 2×4 pieces to create a ladder-like support structure. Use the 2.5″ screws to assemble this structure.
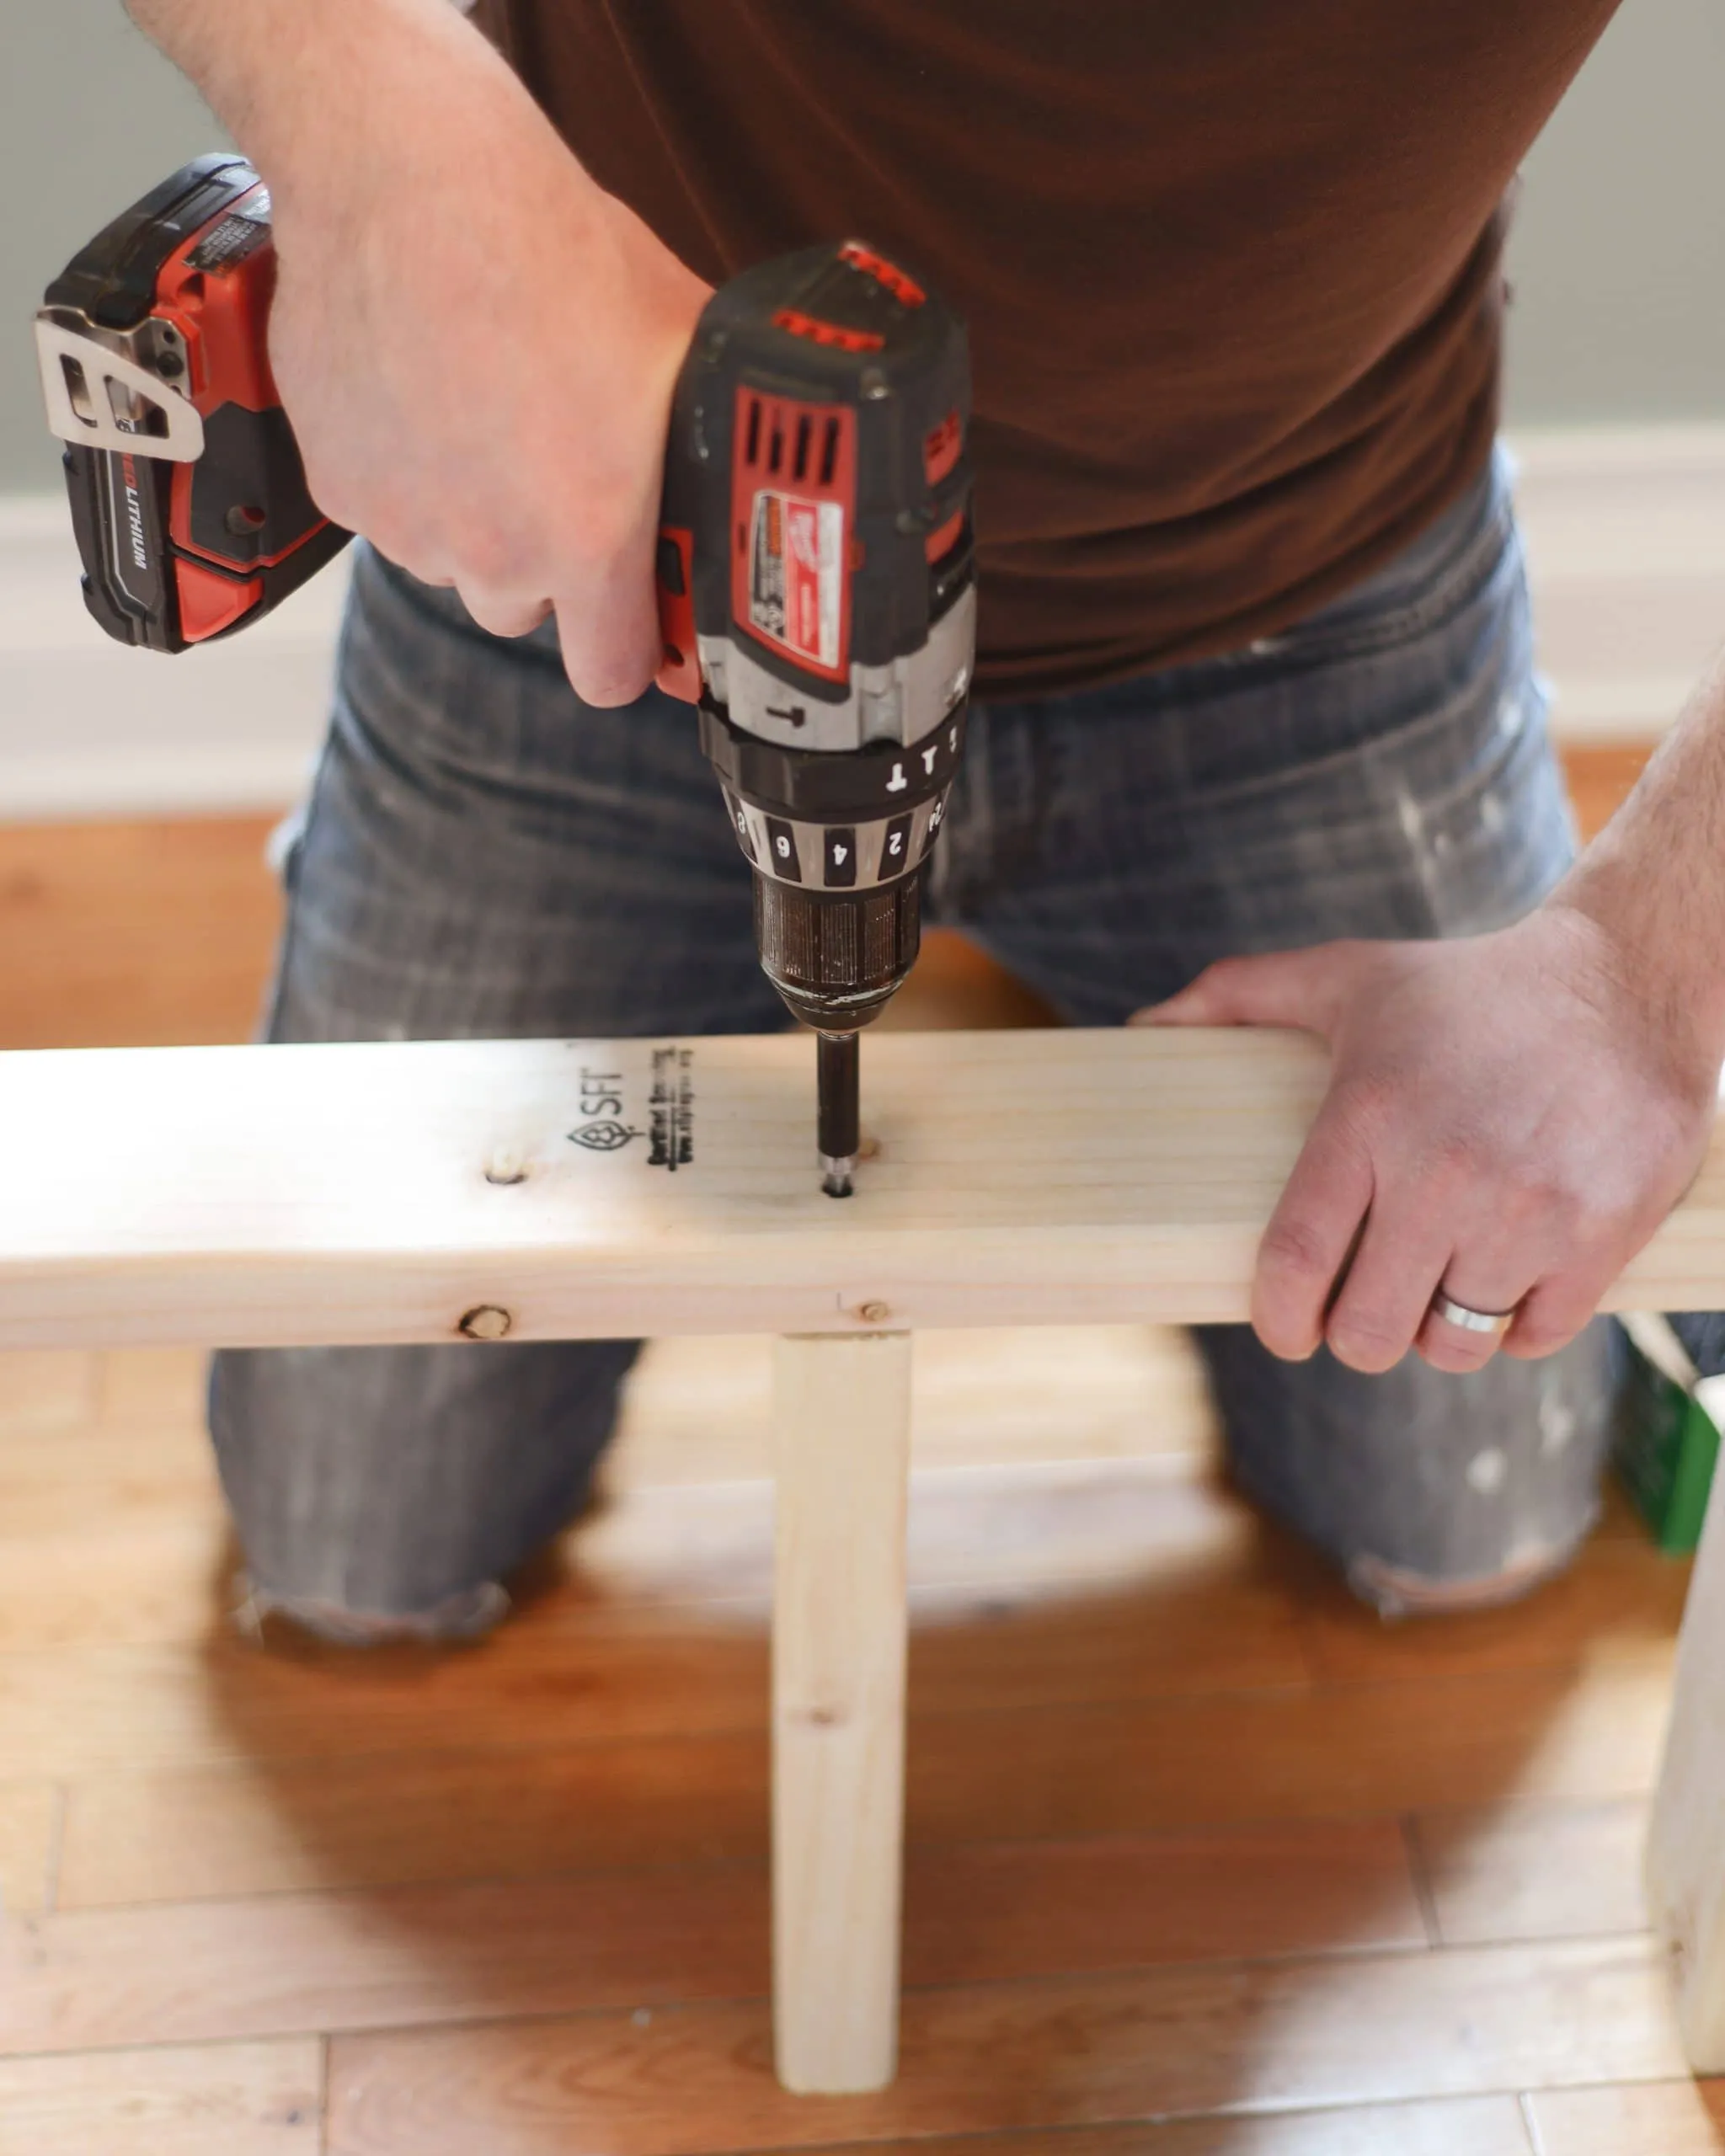 creating the ladder system for our floating shelves | head to Yellow Brick Home for the step-by-step floating shelf tutorial!
3. Mount the Supports
Securely attach the ladder support system to the wall studs using the 4″ screws. Precision is key here – use a level to ensure your supports are perfectly horizontal.
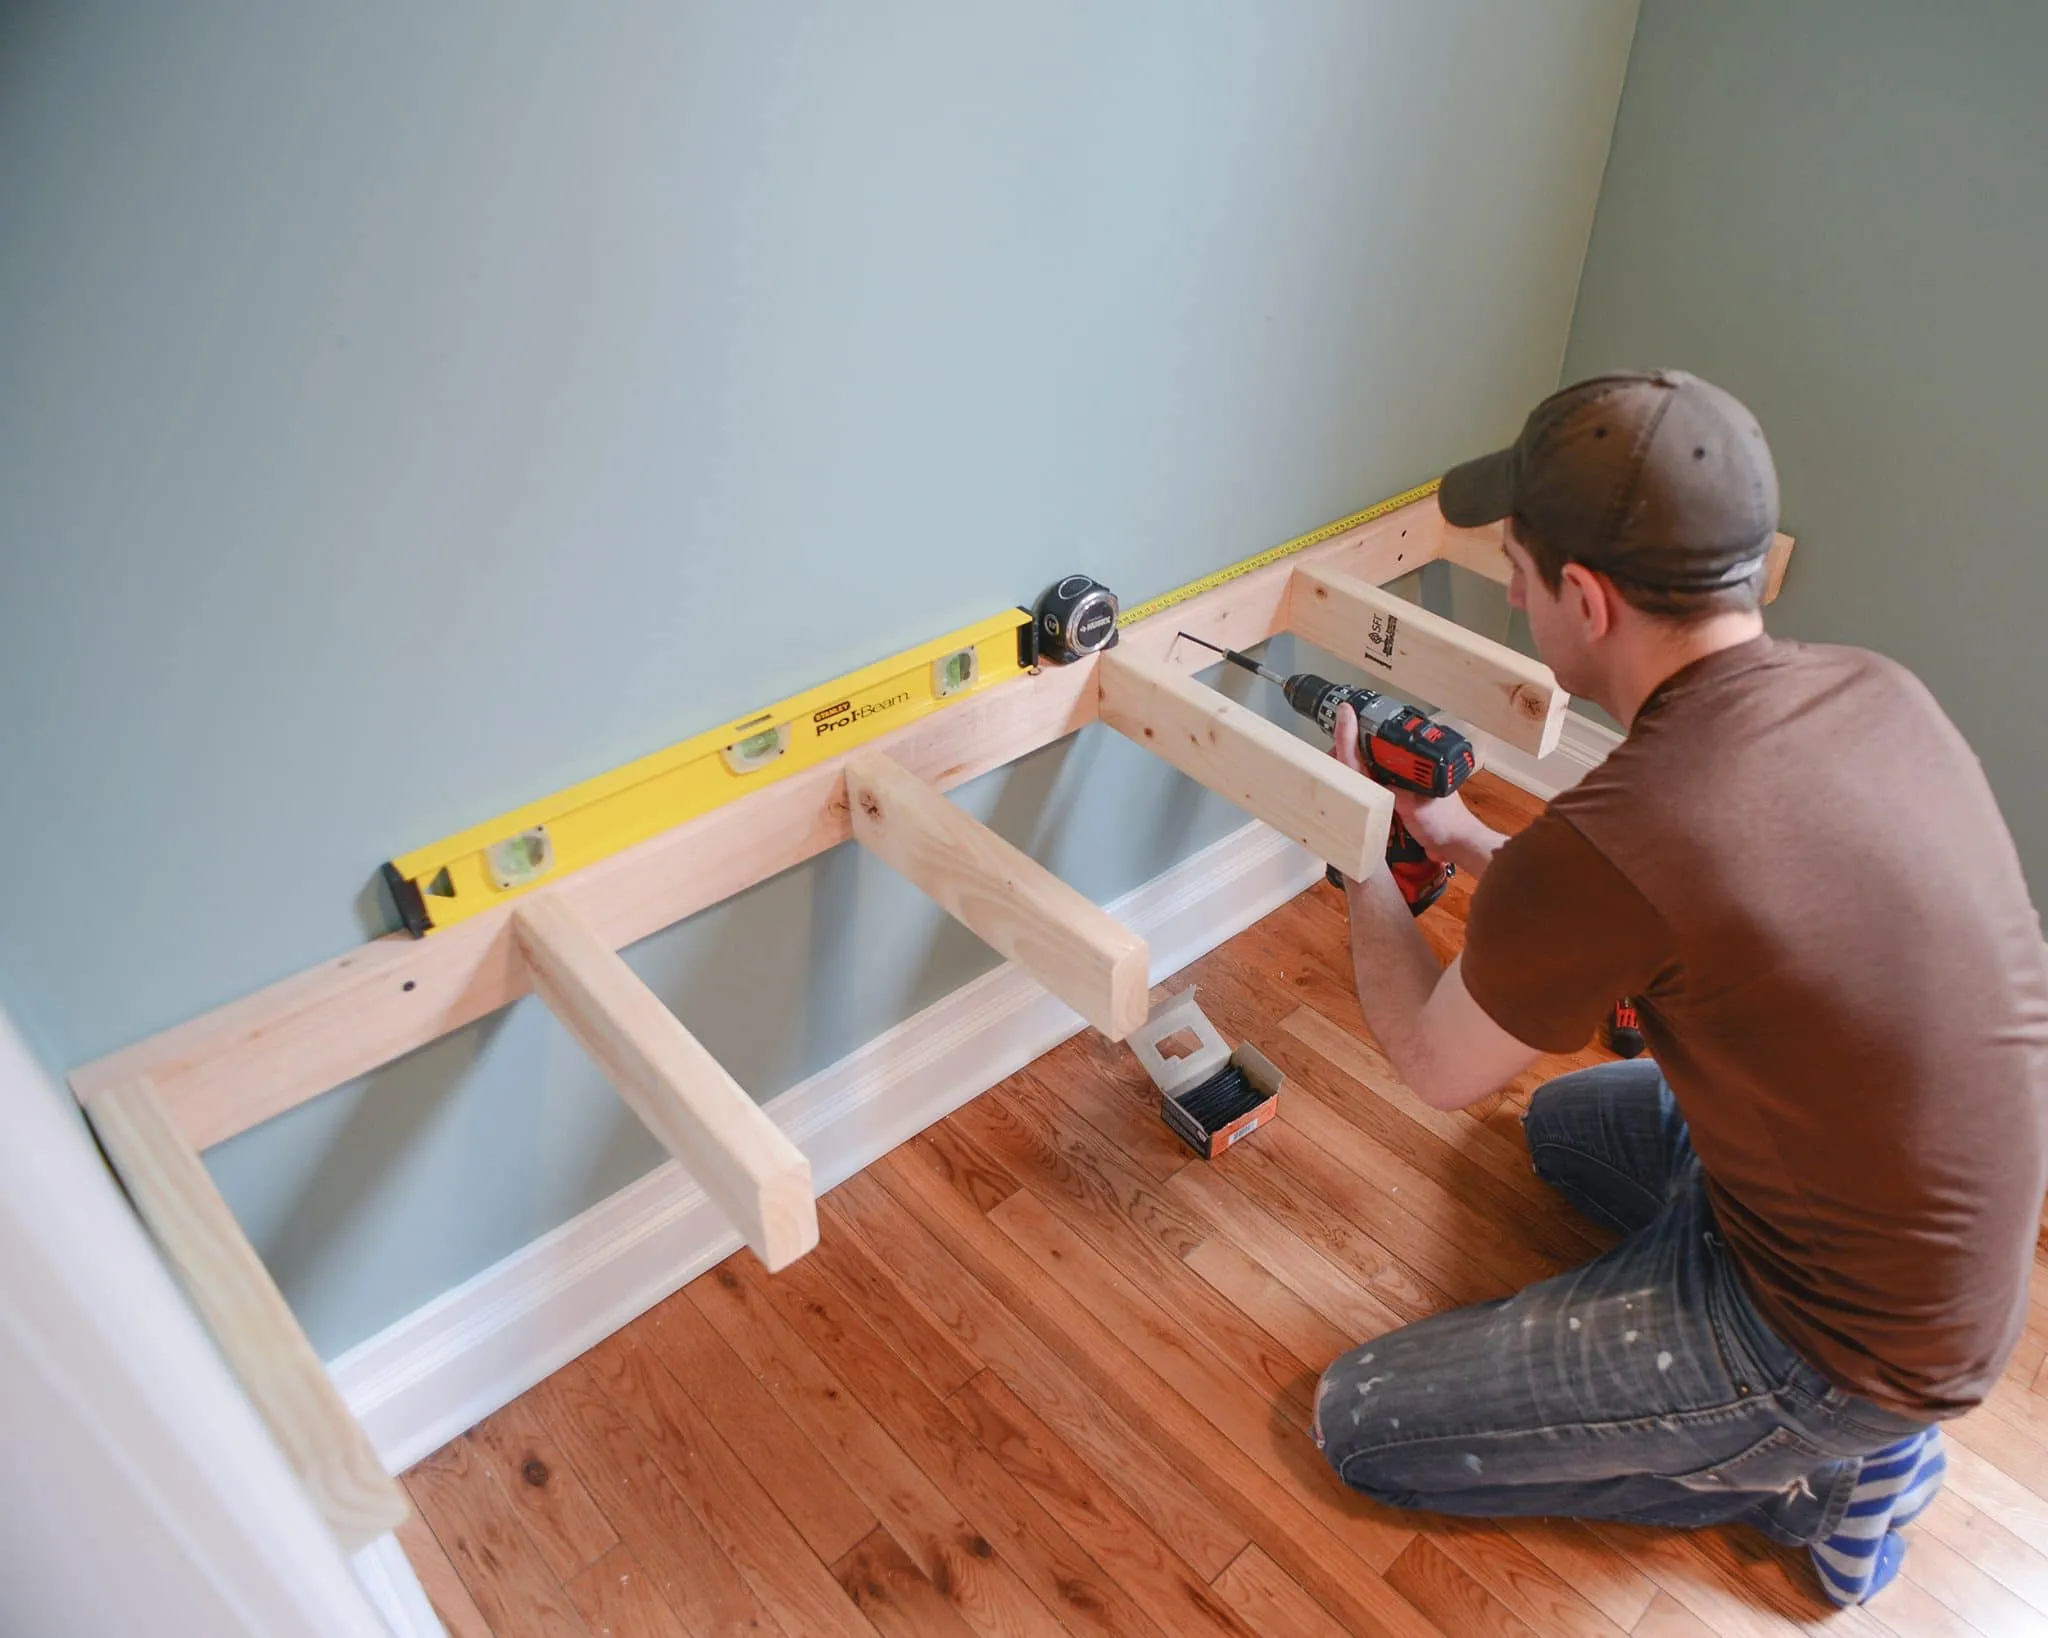 installing the ladder system to the wall | head to Yellow Brick Home for the step-by-step floating shelf tutorial!
4. Apply Touch-Up Paint (Optional)
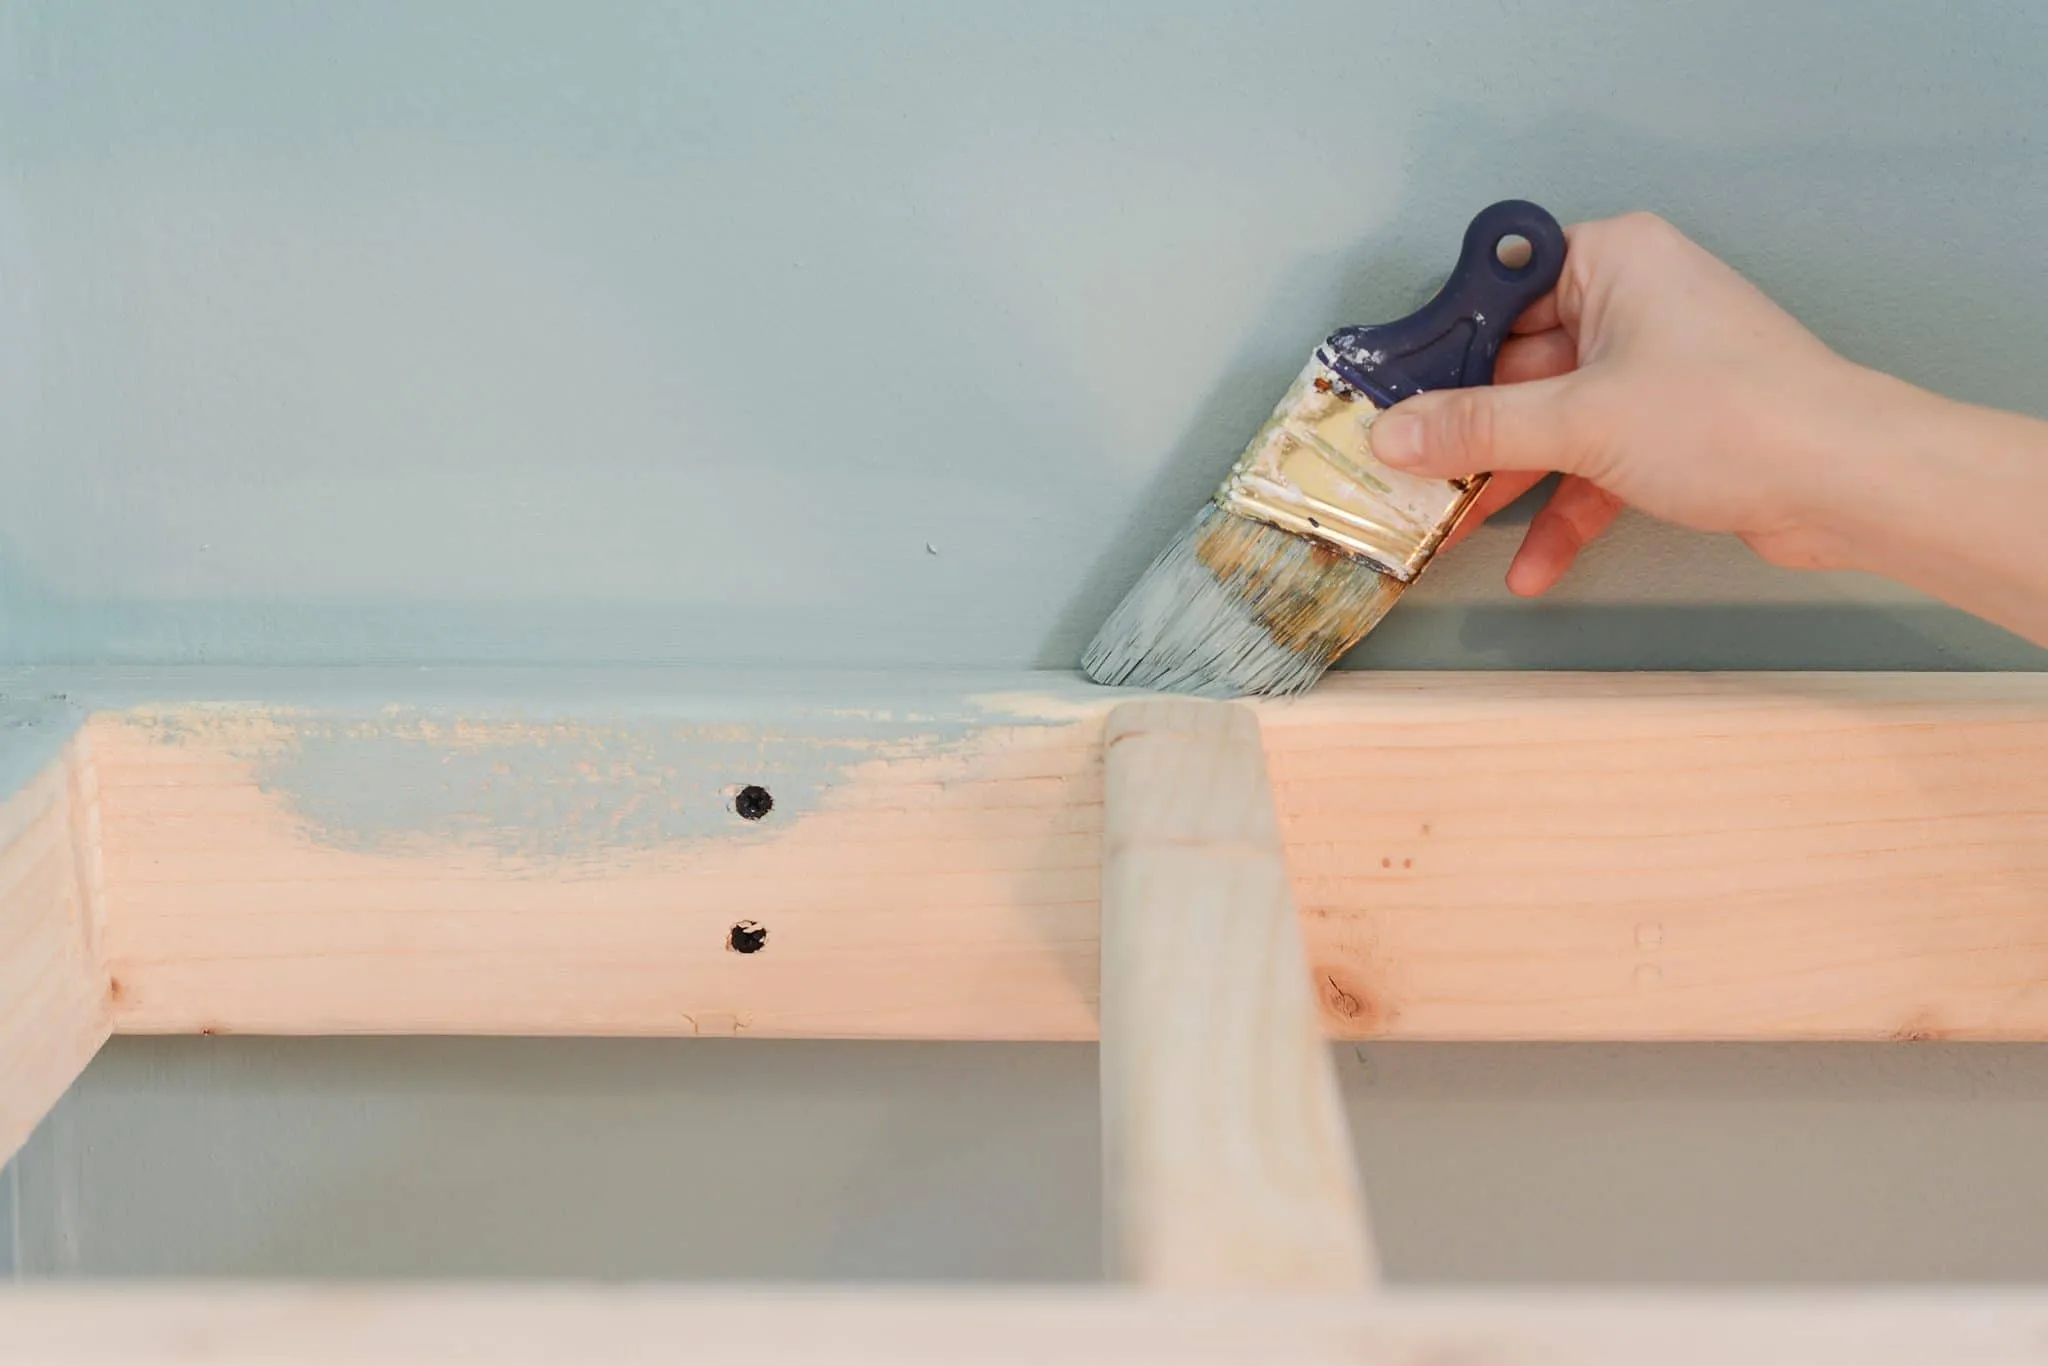
For a polished look, apply a thin coat of wall color paint to the exposed edges of the support structure.
 installing the ladder system to the wall | head to Yellow Brick Home for the step-by-step floating shelf tutorial!
5. Attach Plywood and Stain
Cut the plywood sheets to size and secure them to the top and bottom of the support system using a mallet and nail gun. Apply your chosen wood stain.
 Add Plywood Sheets to Top and Bottom of Supports + Stain
6. Add the Front Facing
Cut the aspen planks (or your chosen wood) to size and attach them to the front of the shelves using the nail gun. Don’t forget to stain these pieces as well!
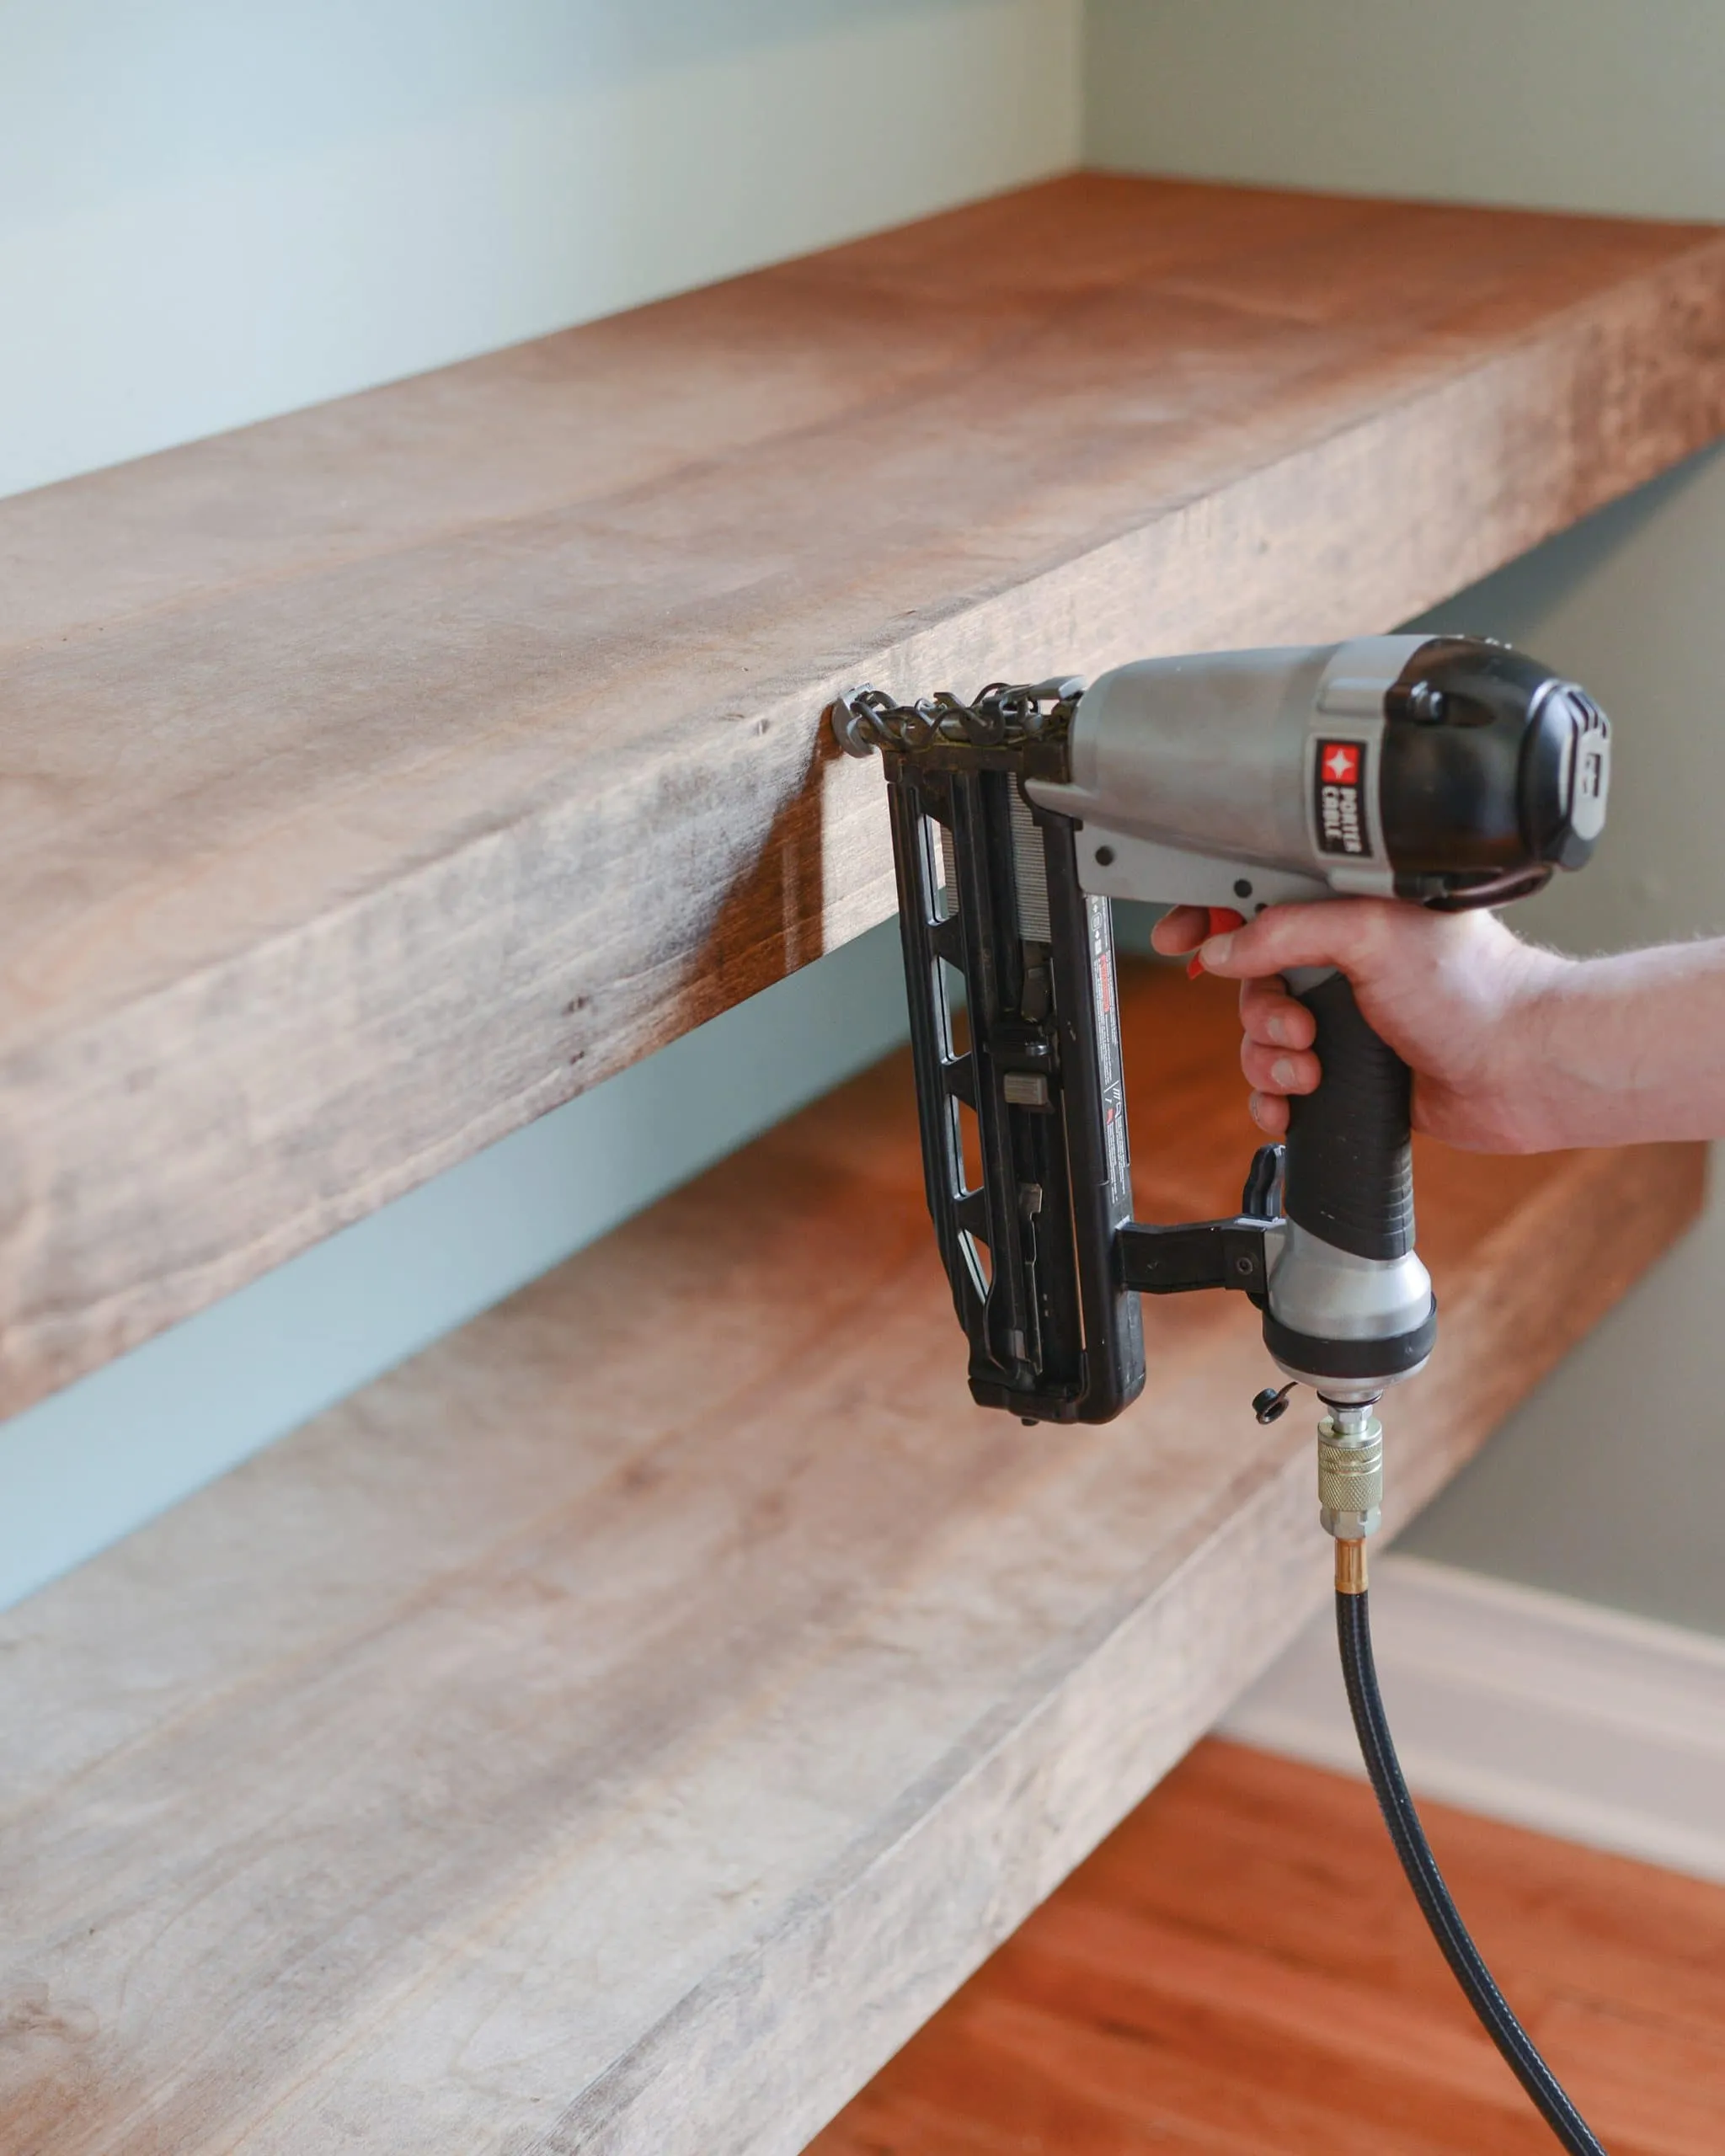 Installing the front face to our thick and chunky floating shelves | head to Yellow Brick Home for the step-by-step floating shelf tutorial!
7. Stand Back and Admire Your Work!
Congratulations, you’ve successfully created beautiful and functional floating shelves! Now comes the fun part – styling your shelves with your favorite art pieces, books, or tools.
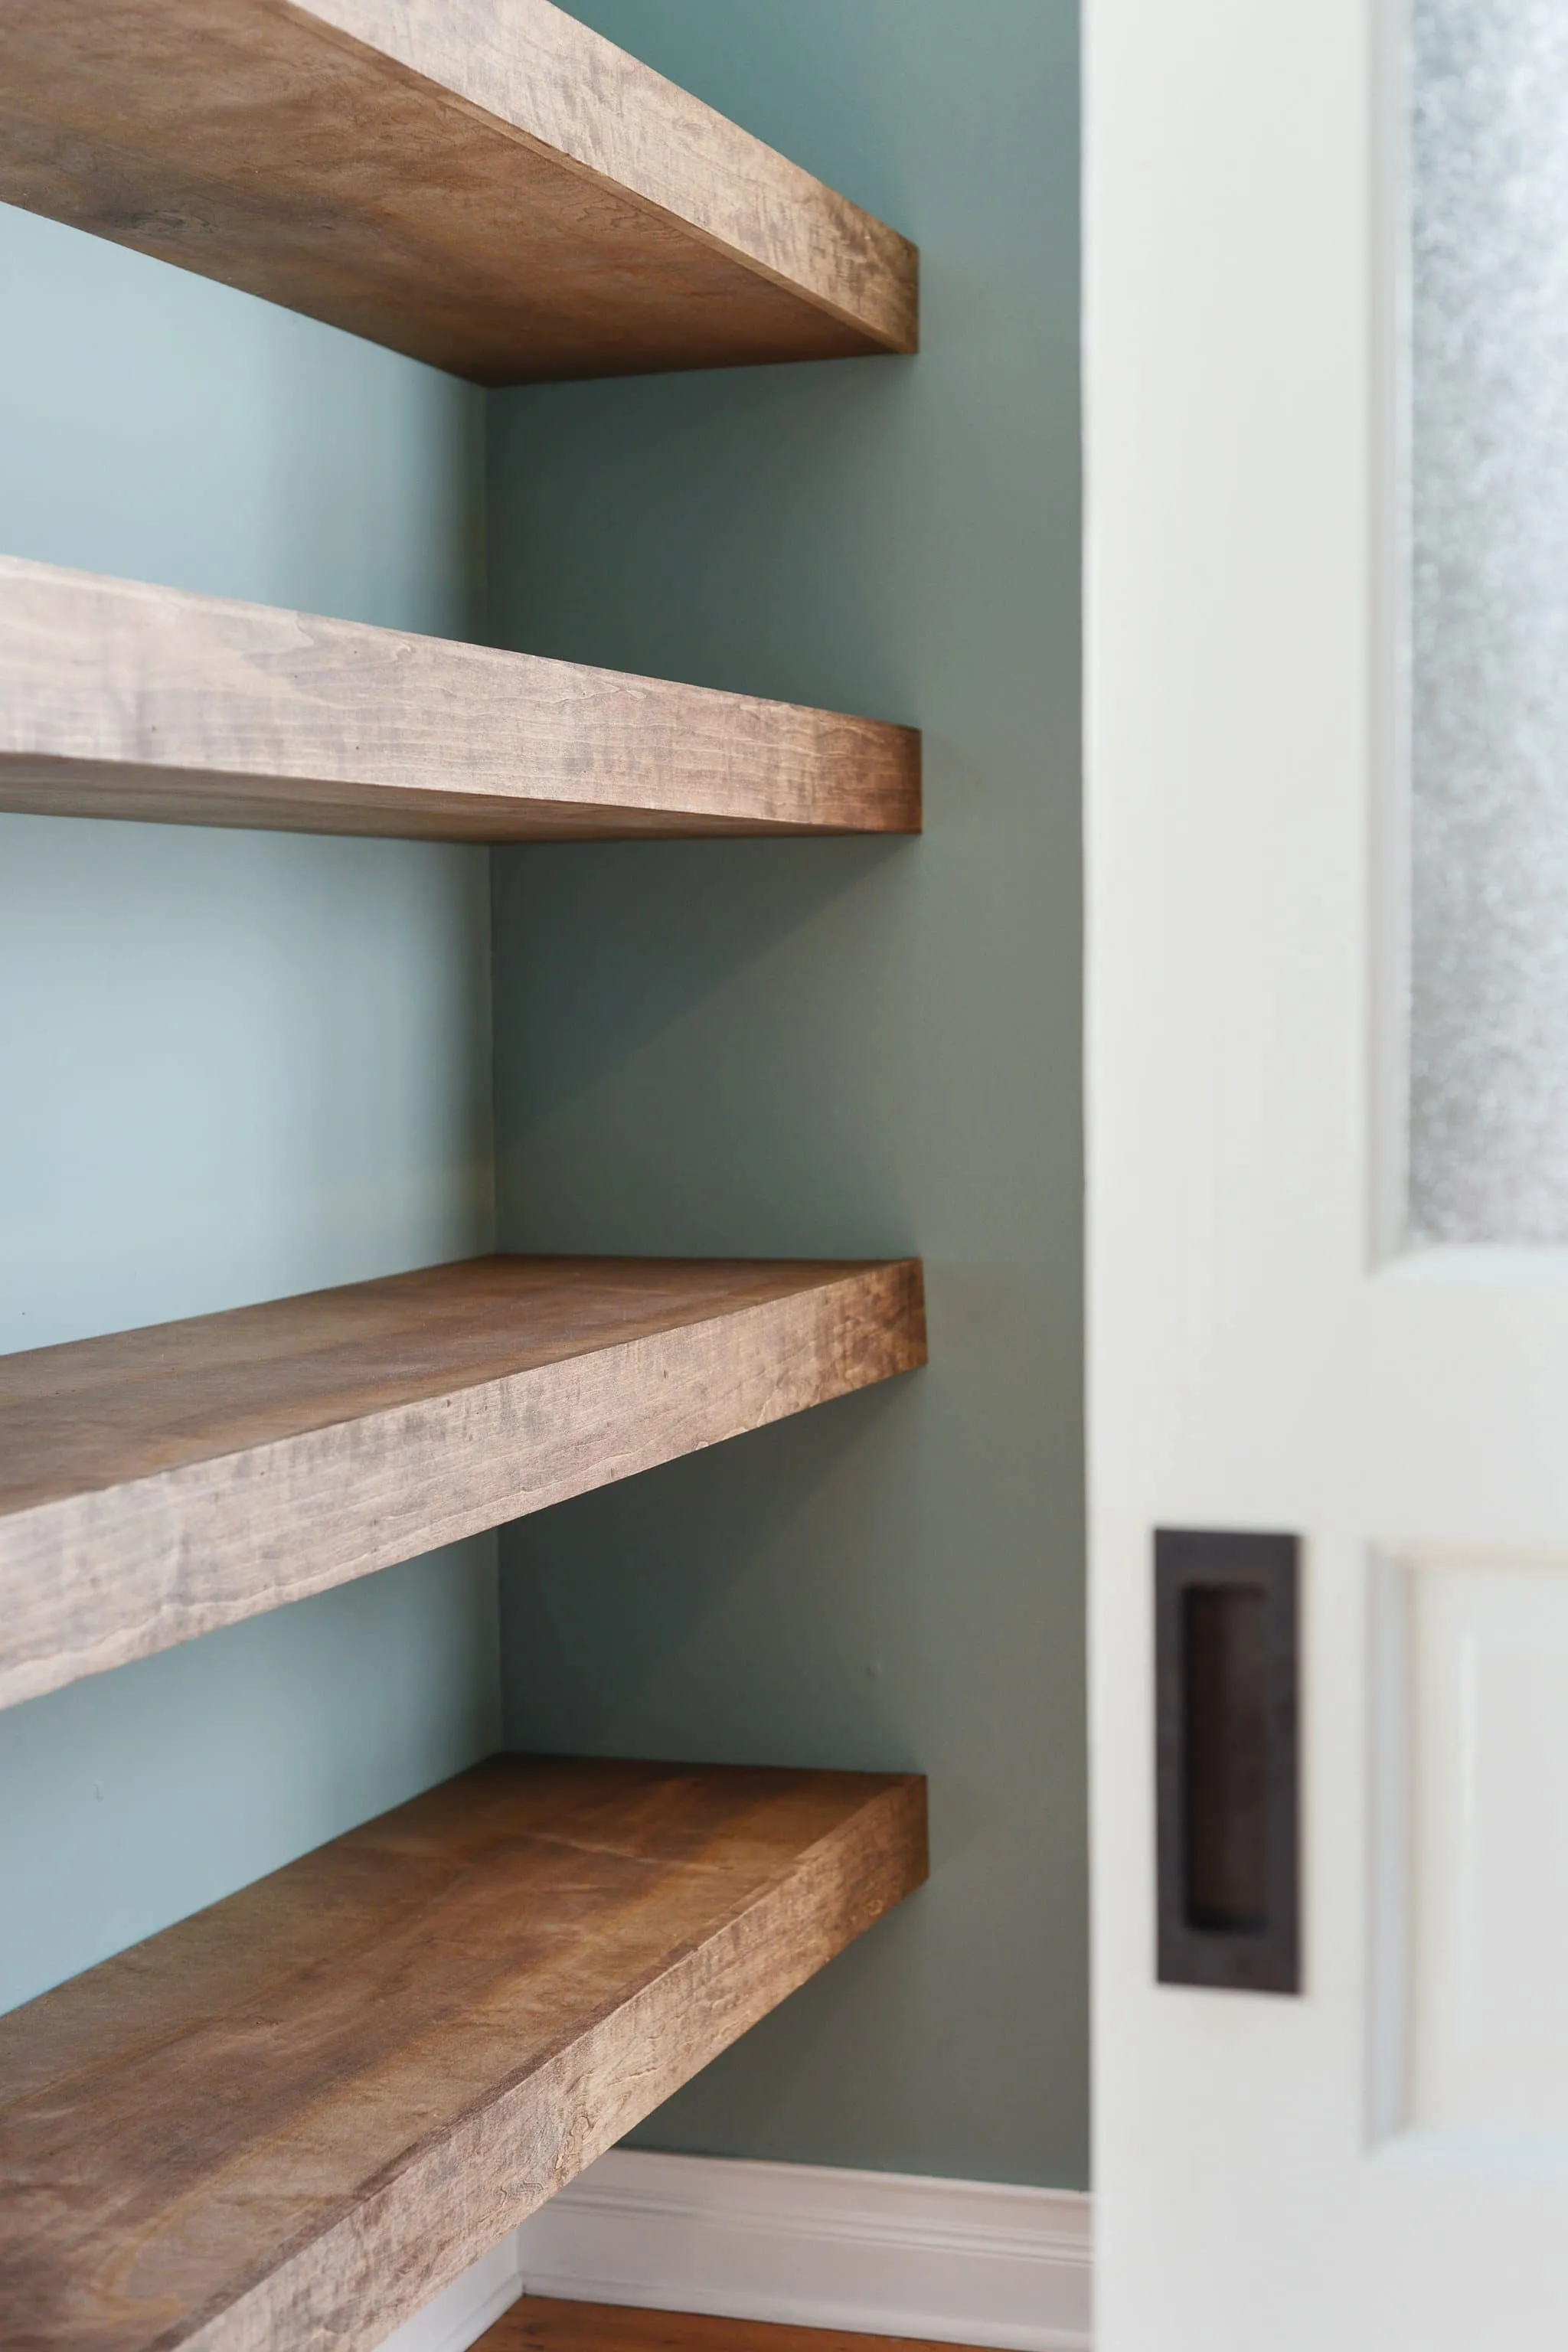 Our chunky floating shelves installed! | head to Yellow Brick Home for the step-by-step floating shelf tutorial!
Tips From Robert Kline Art:
- Invest in Quality Materials: Opt for high-grade lumber and plywood to ensure your shelves are built to last.
- Level, Level, Level: I can’t stress this enough – a level is your best friend throughout this project.
- Pre-Drilling is Key: Pre-drilling pilot holes can prevent wood from splitting, especially when working with hardwoods.
- Get Creative with Finishes: Don’t be afraid to experiment with different stains, paints, or even a distressed look for a unique touch.
Conclusion
Building DIY floating shelves is a rewarding project that can transform any space. Remember, you can customize the dimensions and style to match your unique needs and taste.
Now, I’d love to hear from you! Have you tackled any DIY projects lately? Share your experiences and photos in the comments below. And for more creative inspiration and unique handmade gifts, browse the collection at Robert Kline Art – you might just find your next masterpiece!
