DIY Floating Media Shelf: A Space-Saving Solution for Your TV Wall

Hey everyone, Robert Kline here! In the world of interior design, finding creative solutions for small spaces can be a fun challenge. Today, I’m excited to share with you one of my favorite DIY projects that tackles this very issue: a sleek and stylish floating media shelf.
This project is perfect for those who want a low-profile alternative to a traditional media console, especially in areas where traffic flow is key. Let’s dive into the details and get those creative juices flowing!
 title image, living room, media shelf, white walls, tv, white art, ochre lounge chair, blue rug, celia vase with curly willow, sisal ottomans, small black lamp
Inspiration and Benefits
My inspiration for this floating media shelf came from a stunning design I stumbled upon in The Design Files. Their use of a long, continuous shelf instantly opened up the room while providing ample space for showcasing art, books, and of course, the TV.
This approach resonated with me because it offered both functionality and visual appeal. A floating shelf:
- Maximizes floor space: Perfect for small rooms or areas with high traffic.
- Creates a focal point: The extended length draws the eye and allows for eye-catching displays.
- Offers a clean, modern aesthetic: Floating shelves lend a contemporary and minimalist vibe to any space.
Materials You’ll Need
Before we get started, gather the following materials:
For the Shelf:
- Four 1″x10″ paint-grade or MDF wood boards (length should be slightly longer than your desired finished length)
- One 1″x4″ pre-finished board
- Wood glue
- Clamps
- Belt sander or orbital sander with 80 and 120 grit sanding belts
For Mounting and Finishing:
- Floating shelf bracket (ensure it’s sturdy and has pre-drilled screw holes for easy installation)
- Cordless drill
- 7/8″ auger drill bit
- 2″ hole saw
- 2″ grommet cover
- Router
- Rust-oleum White Spray Paint
- Kreg Jig
Building Your Floating Media Shelf
Now, let’s get down to building!
Step 1: Creating the Shelf Base
- Glue Your Boards: Apply wood glue to one of the 1″x10″ boards and spread evenly. Clamp two boards together securely. Repeat this process to add the third and fourth boards, creating a 3″ thick shelf.
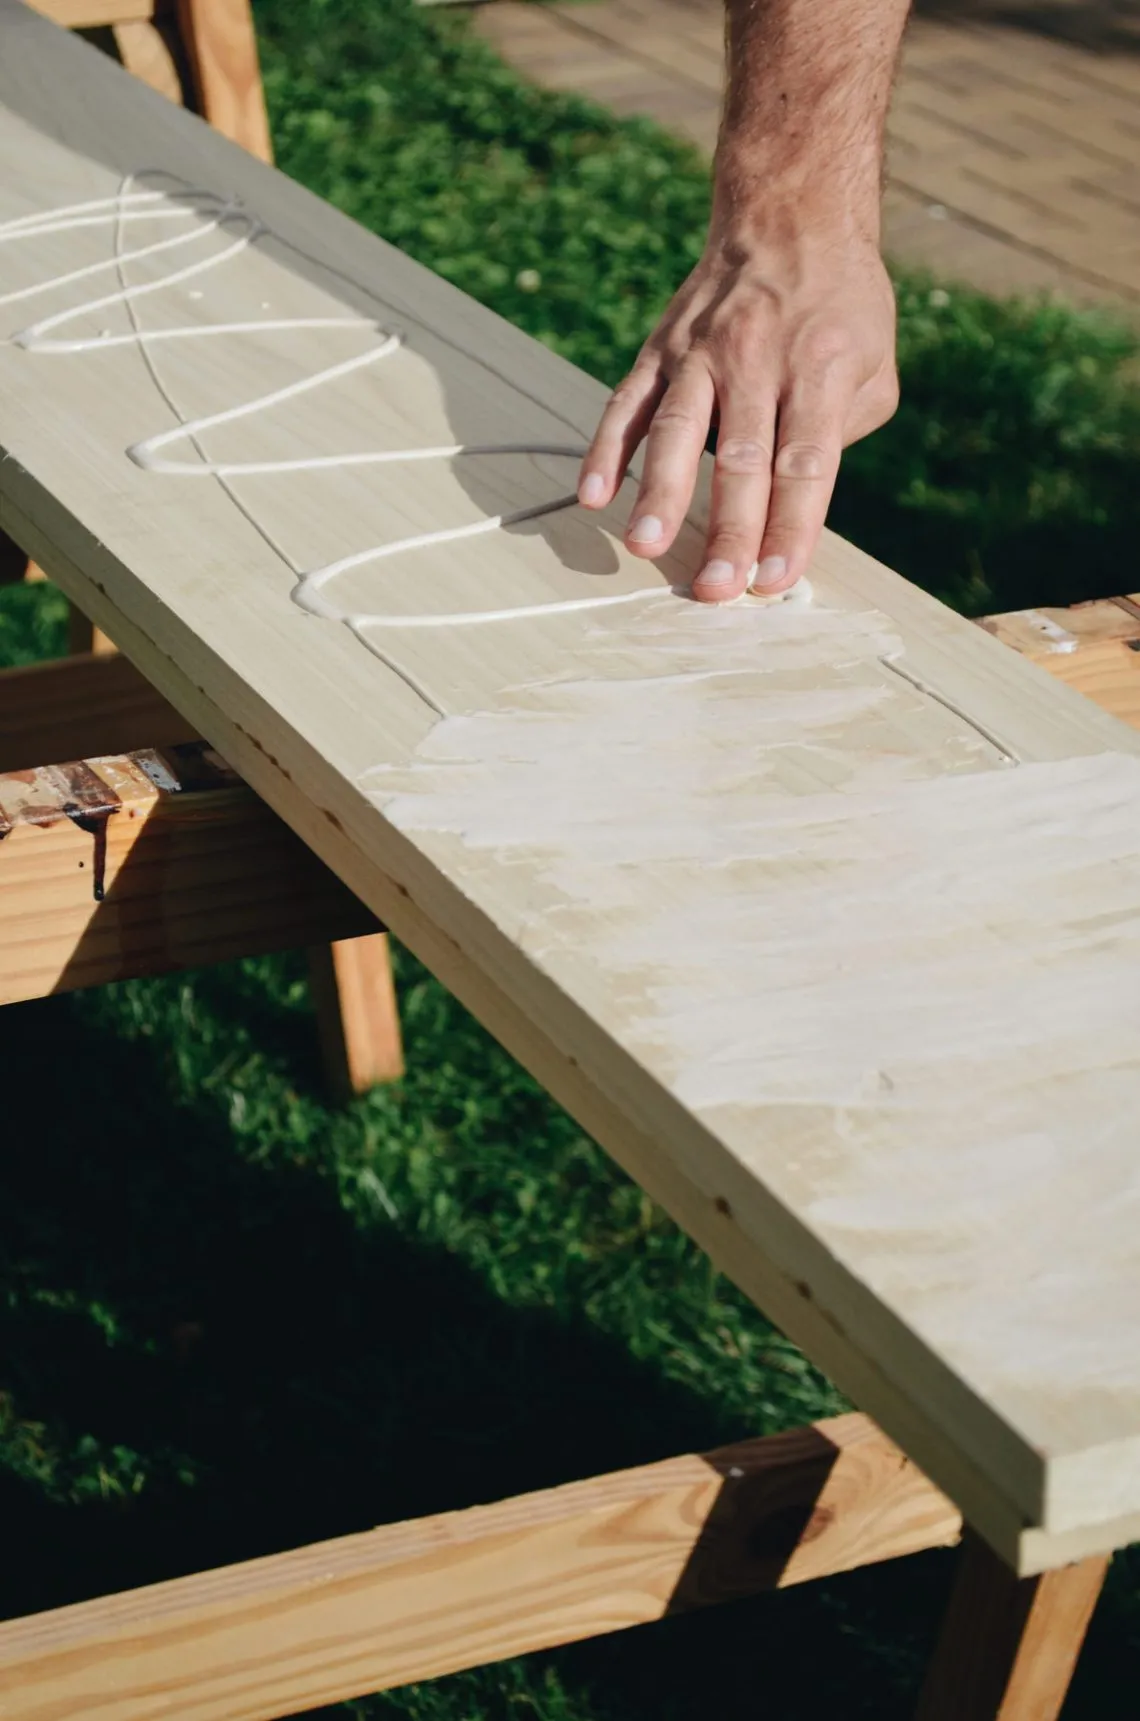 hand smearing wood glue on 1 x 10 board, green grass,
- Sand for Smoothness: Once the glue dries, sand all surfaces of the shelf using a belt sander or orbital sander. Start with 80 grit sandpaper and gradually work your way up to 120 grit for a smooth finish.
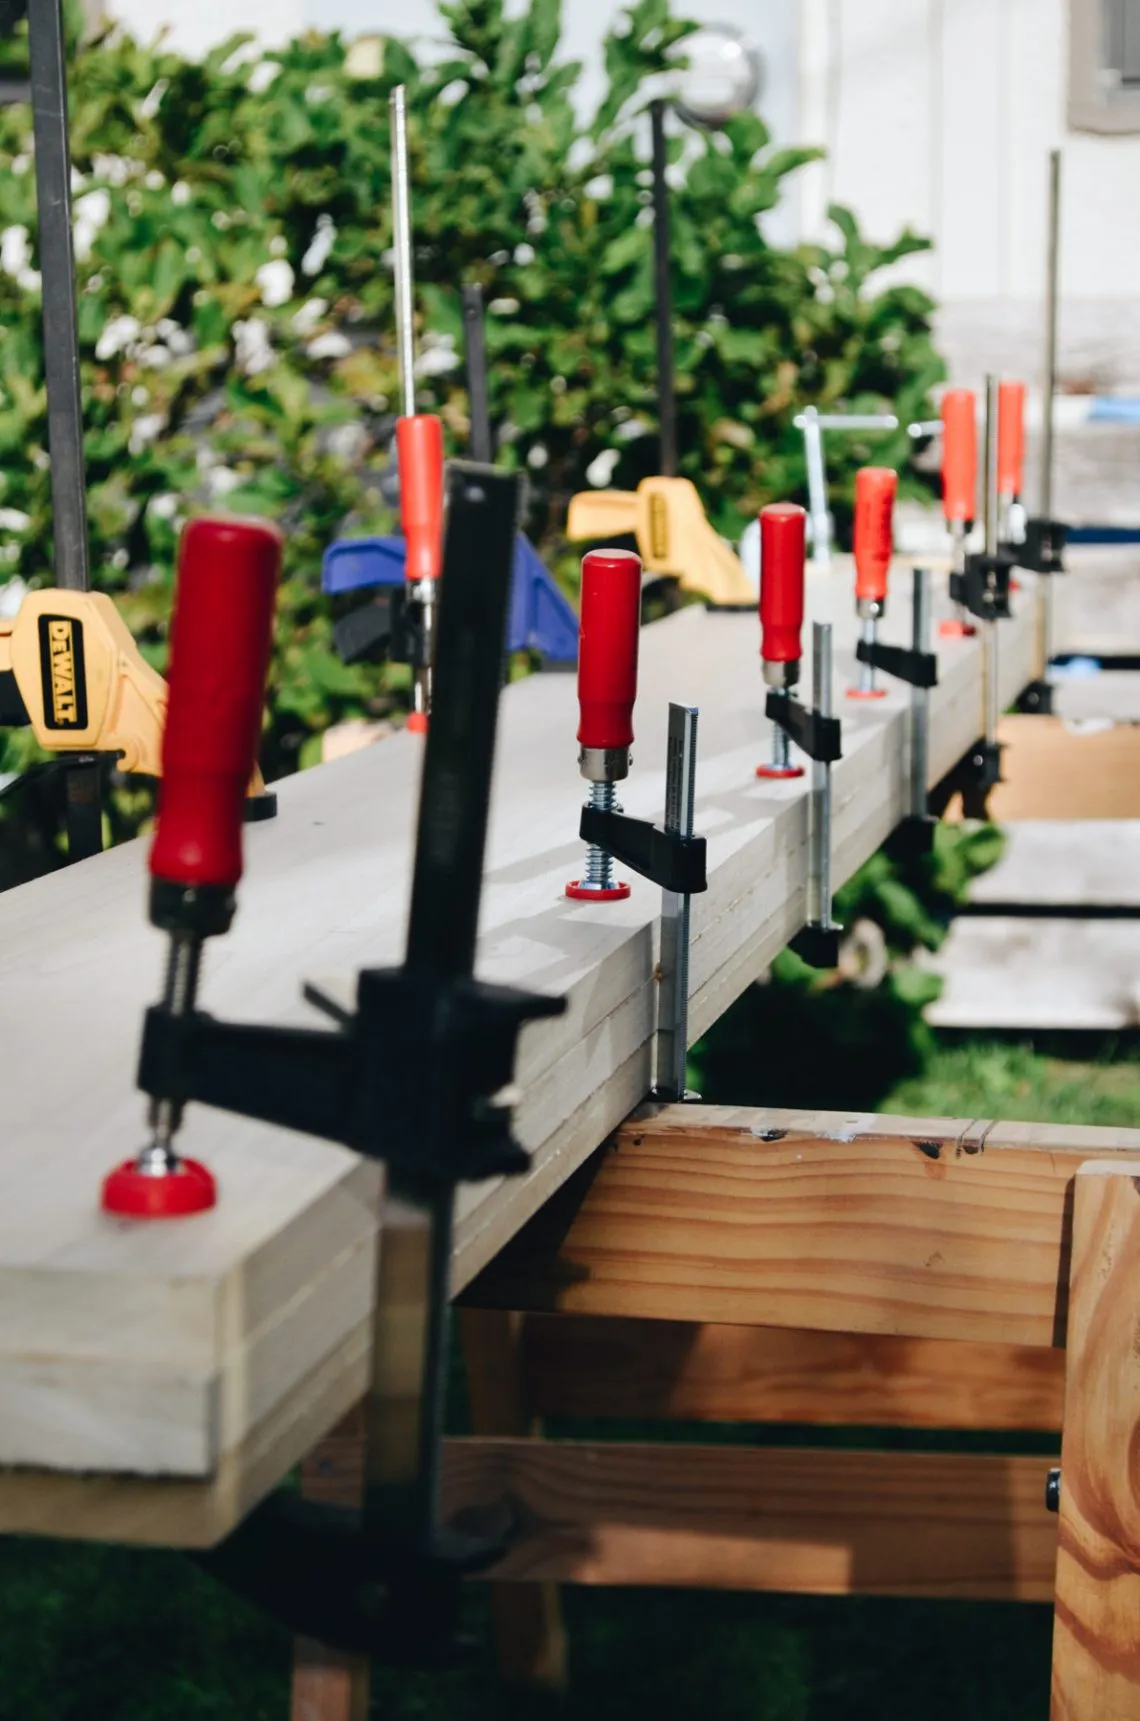 hand clamps holding boards together while glue dries, saw horses, green grass
Step 2: Preparing for Mounting
- Measure and Route: Carefully measure the dimensions of your floating shelf bracket, including its thickness and the length and spacing of the rod brackets. Use a router to create a void on the backside of the shelf to accommodate the bracket, ensuring a flush fit against the wall.
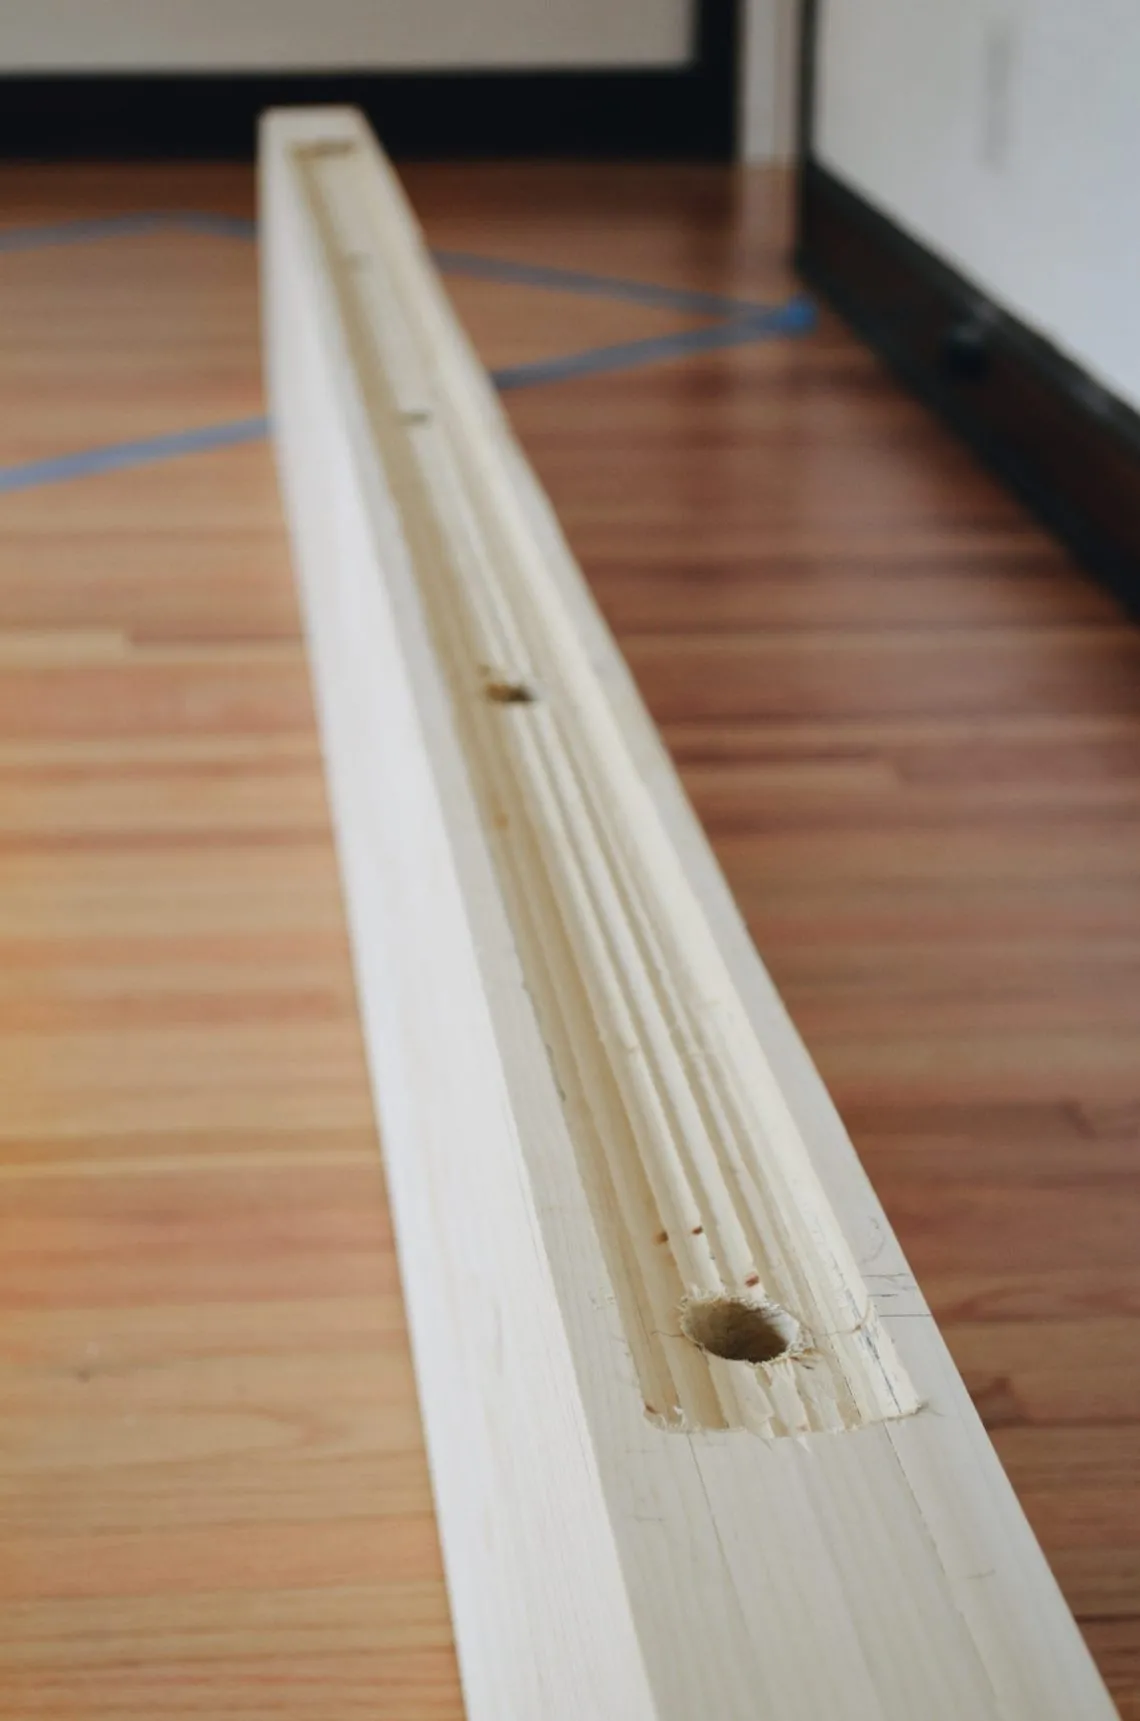 backside view of diy floating media shelf, routed out and drilled for bracket, natural oak flooring, dark wood trim
- Drill for Bracket Rods: Using a 7/8″ auger drill bit, drill holes into the backside of the shelf where the bracket rods will be inserted.
 cordless drill with 7/8" auger drill bit, white wall, arm wearing flannel shirt
Step 3: Mounting and Finishing
- Install the Bracket: Following the manufacturer’s instructions, securely mount the floating shelf bracket onto the wall.
- Dry Fit: Before painting, perform a dry fit by placing the shelf onto the bracket to ensure everything aligns perfectly.
- Paint or Stain: While staining might seem like a good option, keep in mind that certain wood types, like poplar, don’t always take stain well. In my case, I opted for a clean white finish using Rust-oleum White Spray Paint. This choice complemented the room’s existing wood tones without being overwhelming.
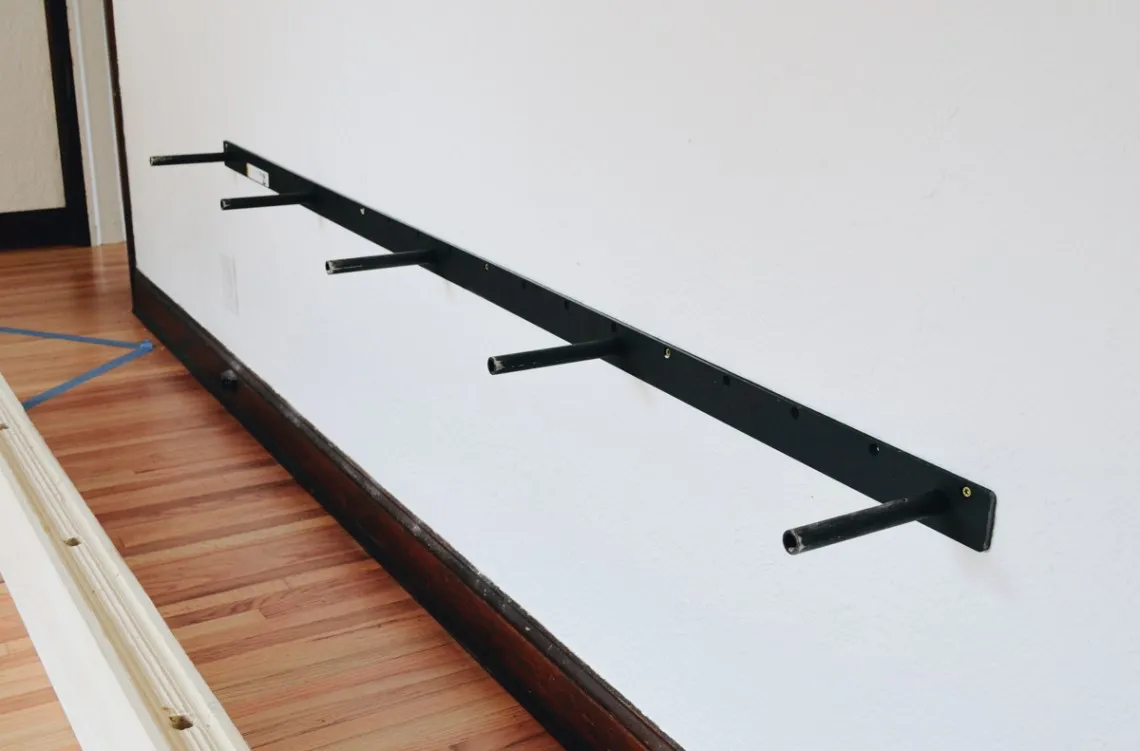 floating shelf bracket mounted to wall, white walls, natural oak wood floors, dark walnut wood trim
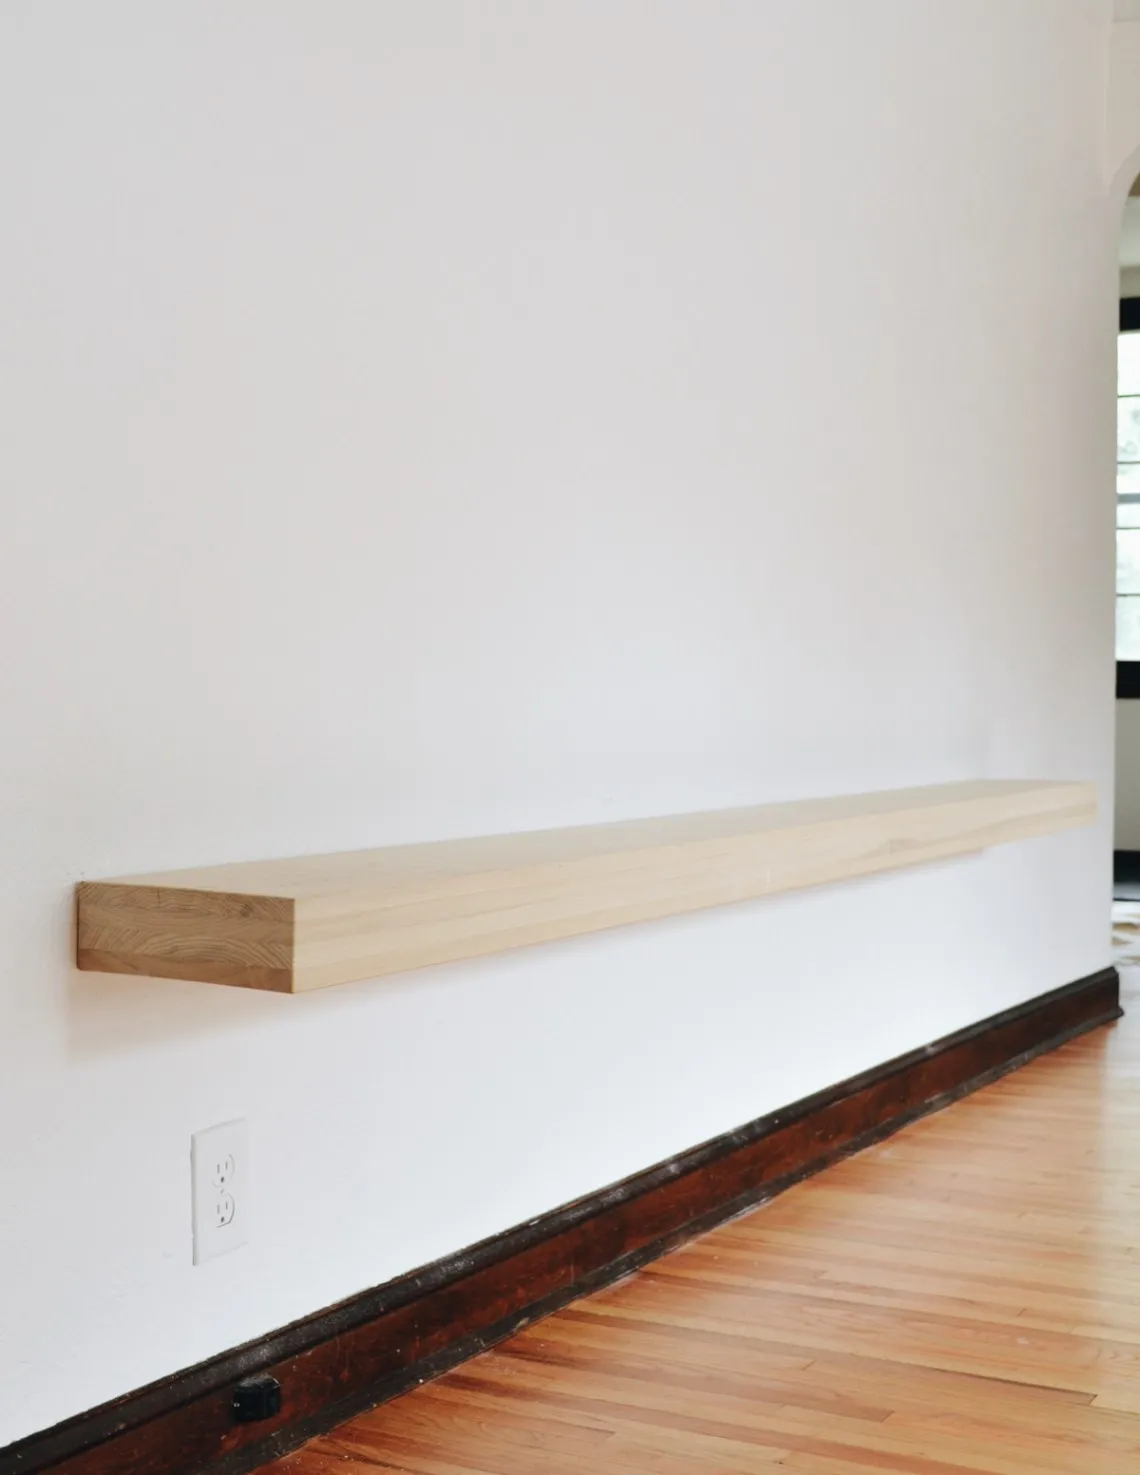 diy floating media shelf, unfinished poplar wood, installed on wall, white walls, natural wood floors, dark walnut trim, family room, living room
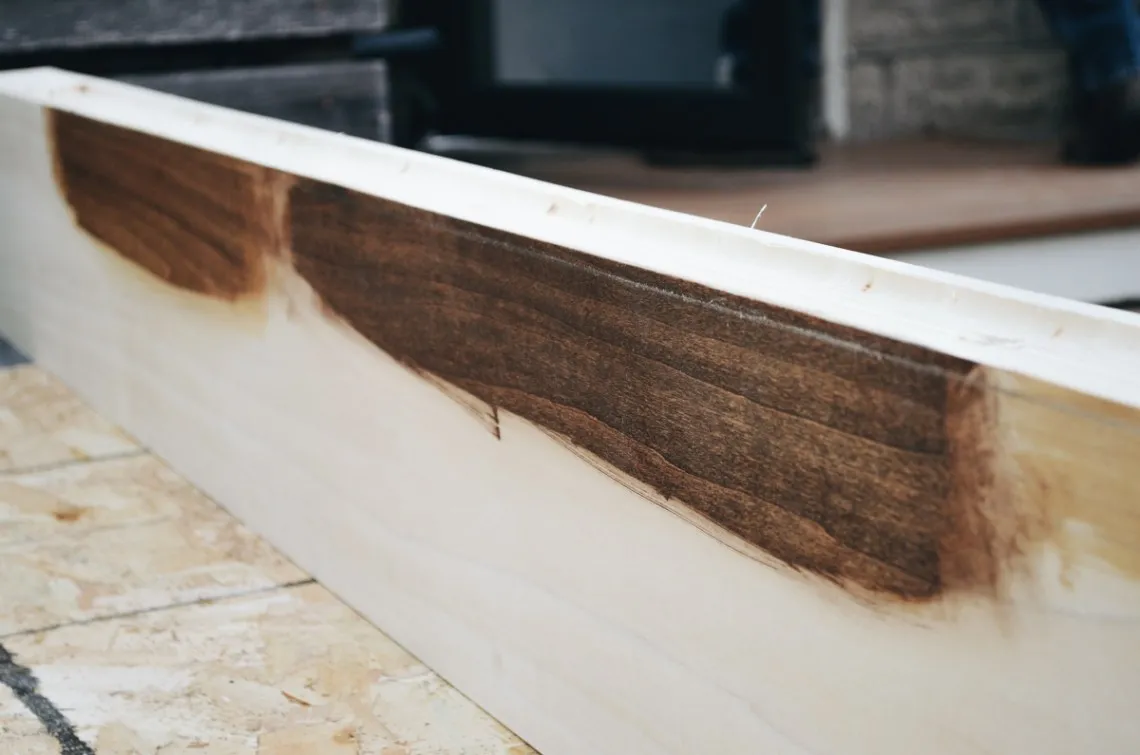 dark walnut stain on poplar wood
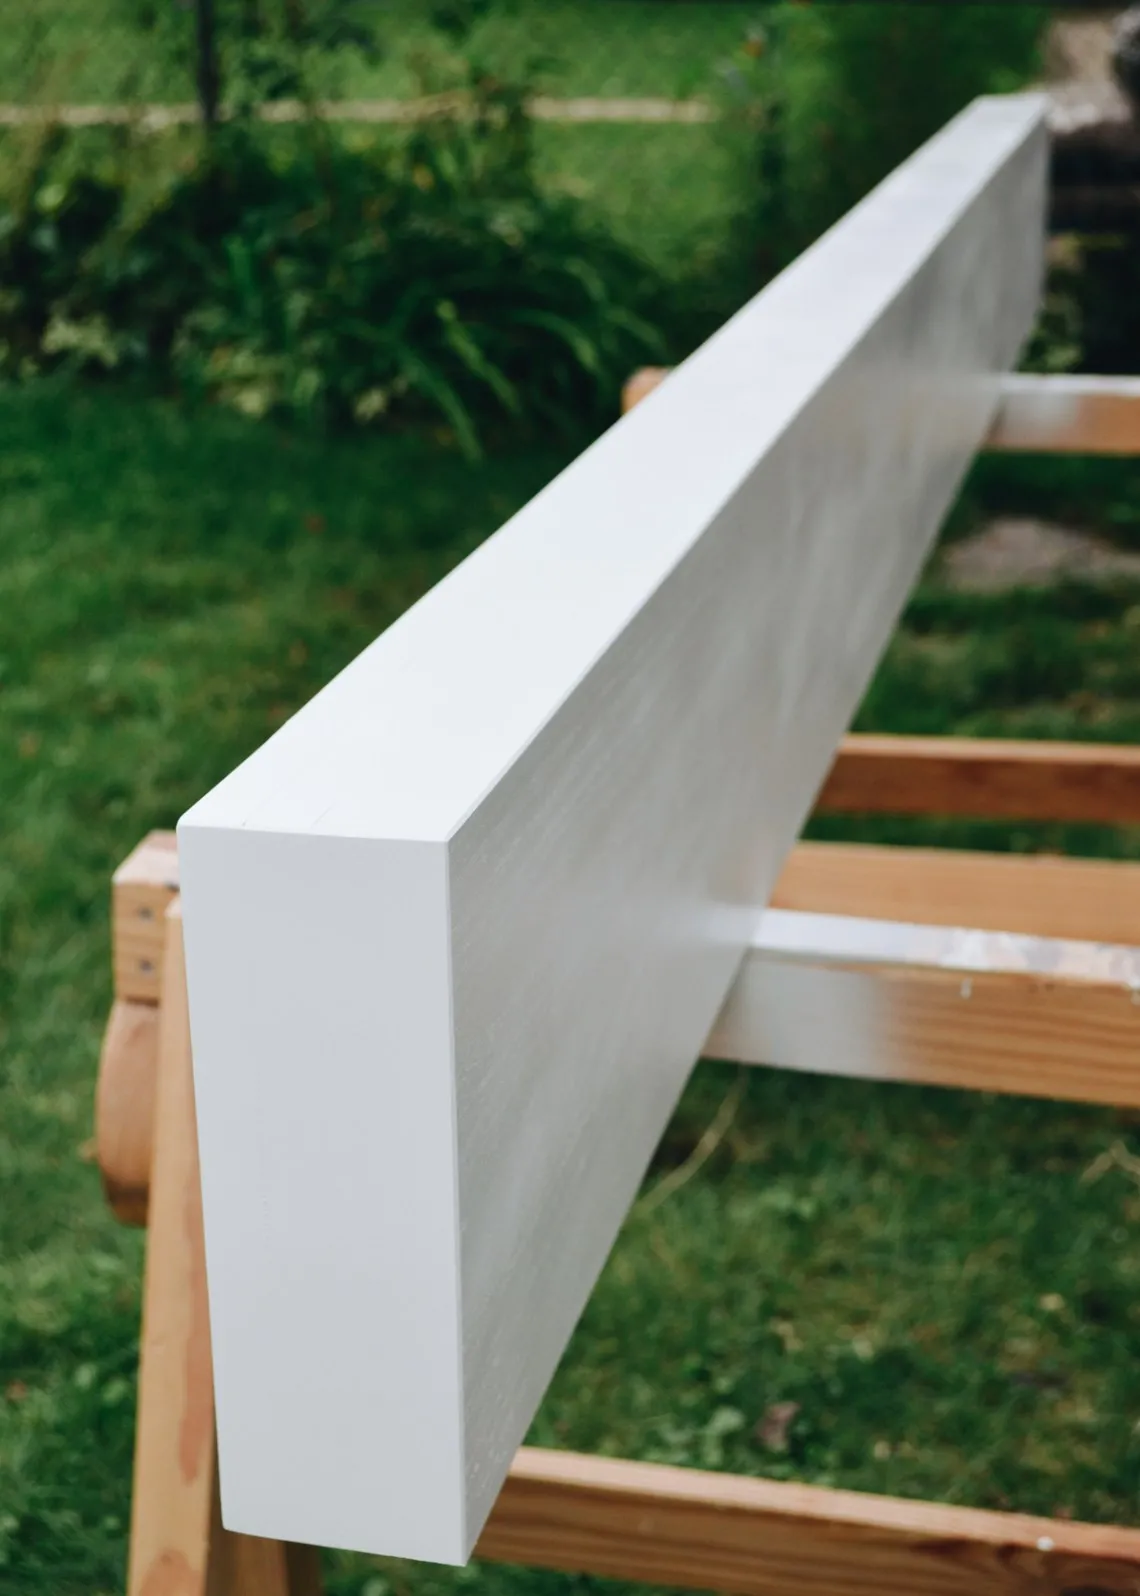 floating wood media shelf, painted white, sitting on saw horses, green grass
Concealing Cords: A Pro Tip
Managing cords is crucial for a clean and polished look. Here’s how I tackled this:
- Create a Grommet Hole: Using a 2″ hole saw, create a hole at the back of the shelf for routing cords. Install a grommet cover for a finished appearance.
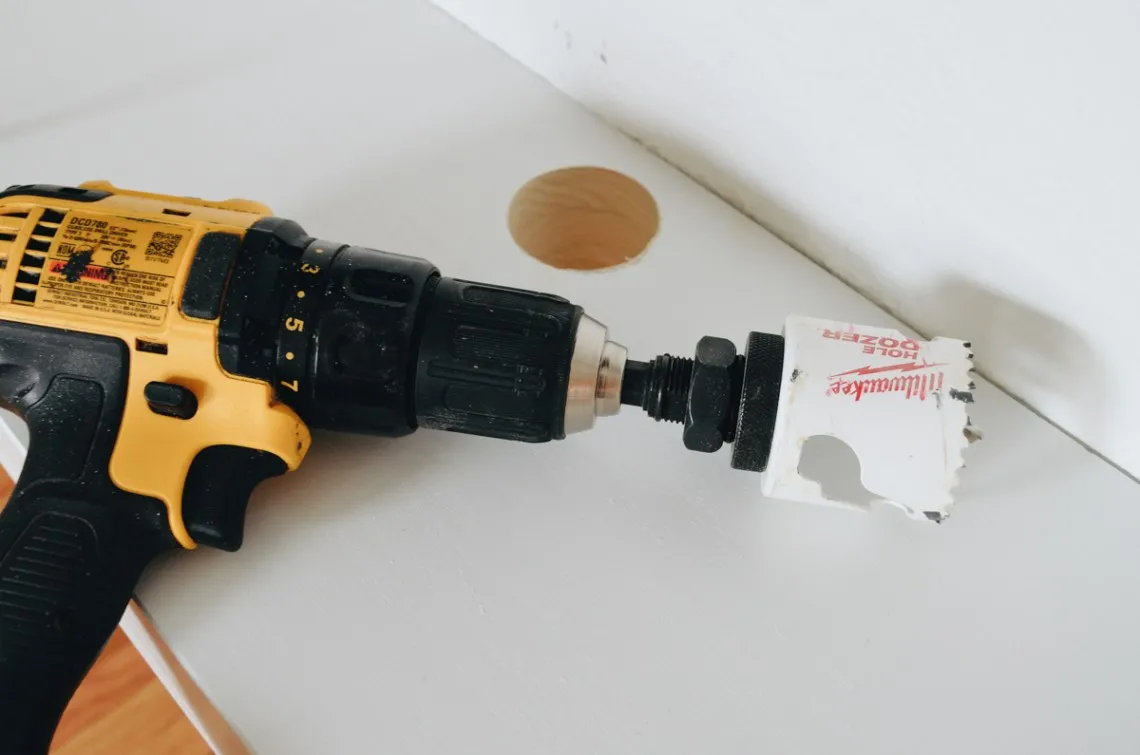 cordless drill with hole dozer drill, 2" grommet hole drilled on white floating shelf
- Add a Concealing Board: To hide the power strip and excess cords, attach a 1″x4″ pre-finished board to the underside of the shelf using a Kreg Jig. This board also acts as a cove for any LED light strips you may want to add.
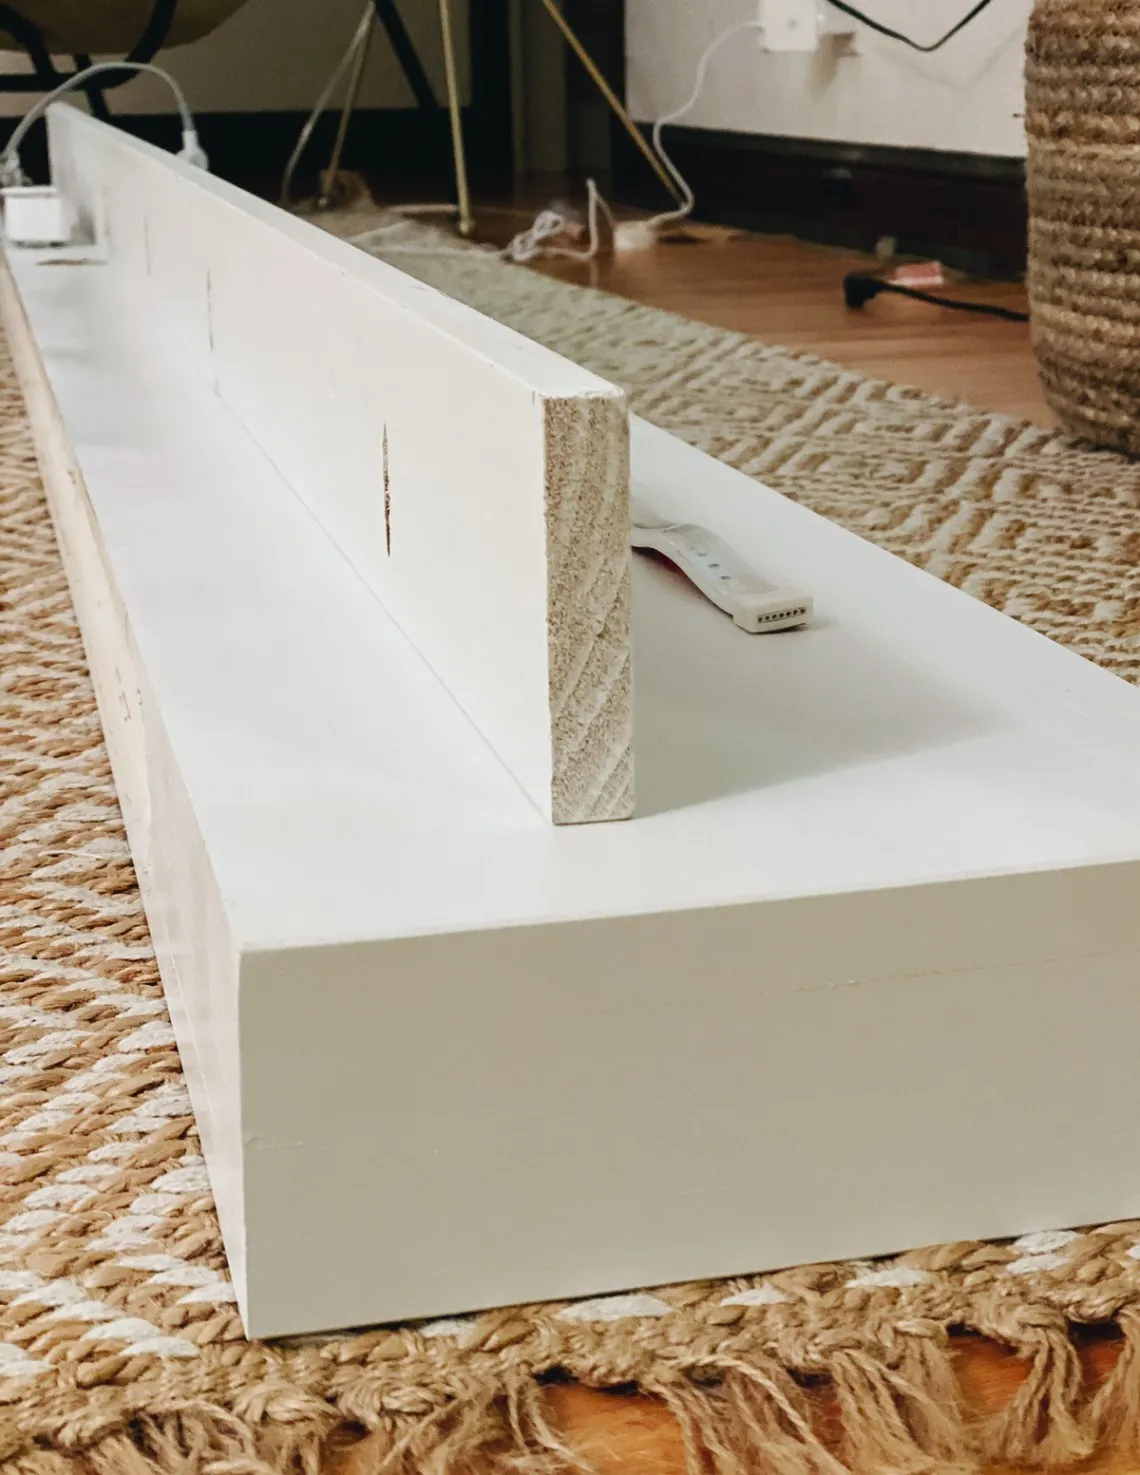 upside down white floating shelf with 1 x 4 board attached, diamond jute rug
The Finishing Touches: Styling Your Shelf
Now for the fun part – styling!
- Layer and Arrange: Don’t be afraid to play with height and texture. Layer artwork, stack books, and add decorative objects to create visual interest.
- Incorporate Greenery: Plants or flowers can add a touch of life and freshness to your display.
- Consider Lighting: Integrate lighting elements, such as LED light strips or table lamps, to enhance the ambiance.
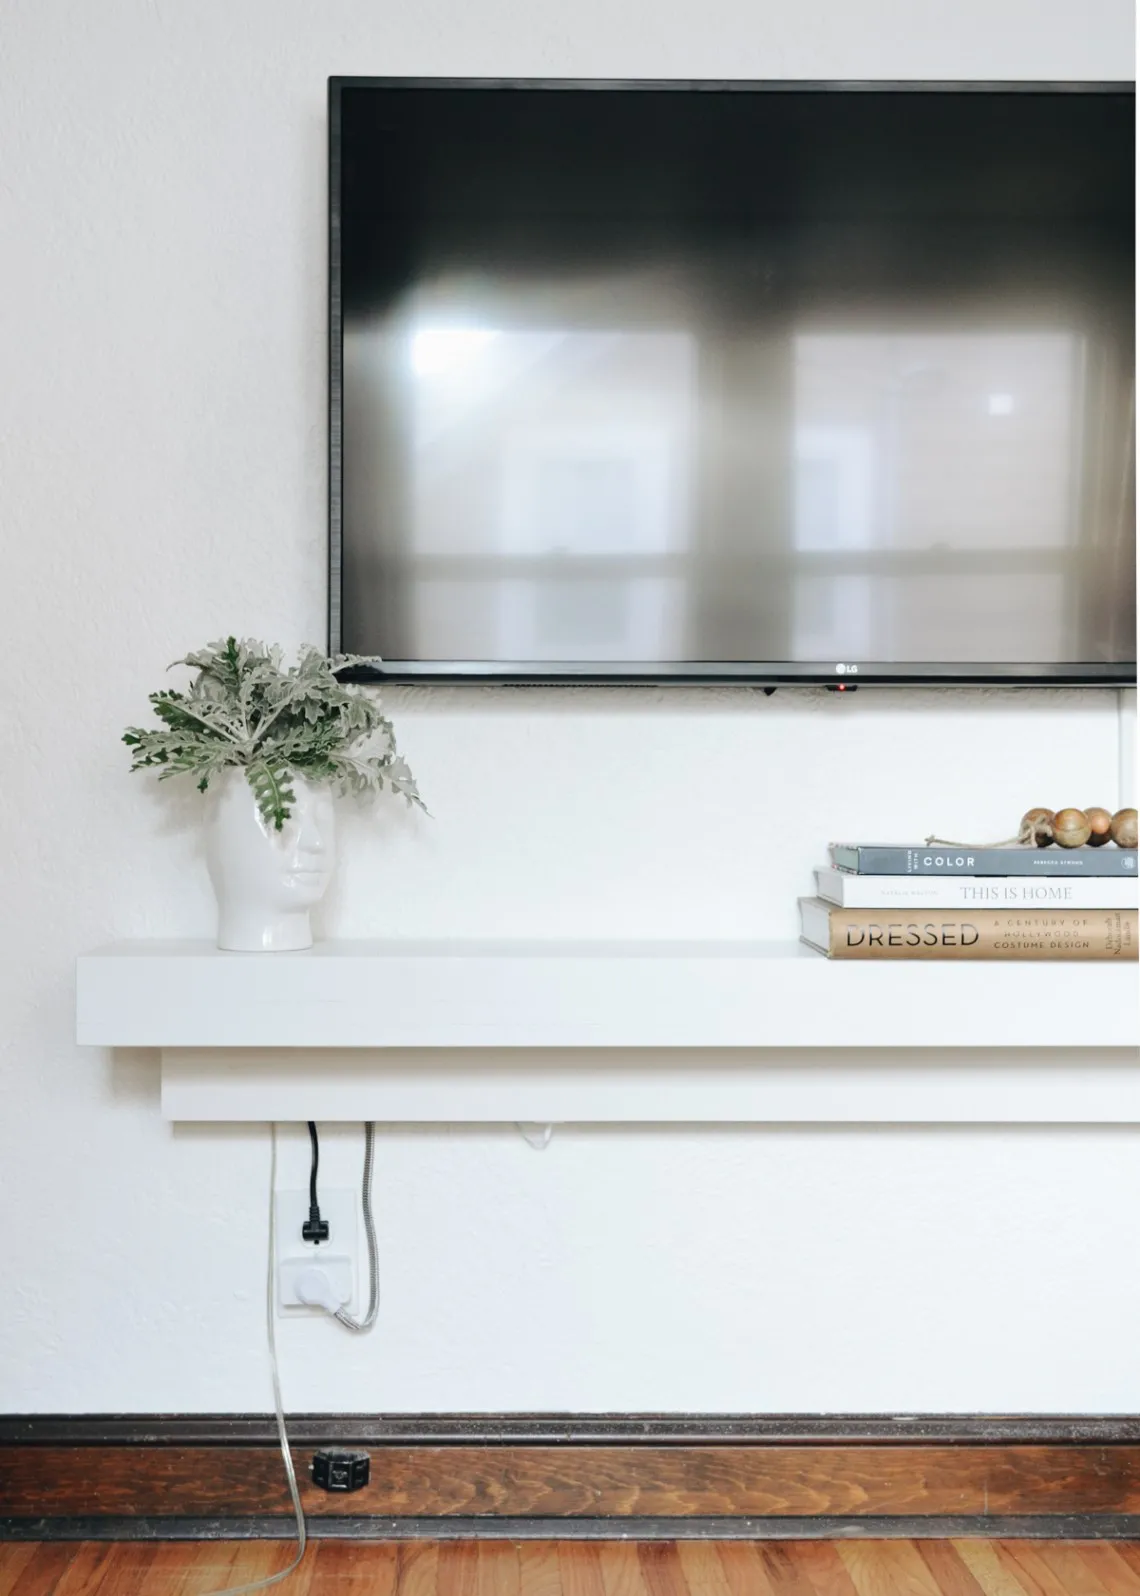 white floating media shelf, mounted on white painted wall, tv, white face vase, stack of books, dark wood trim
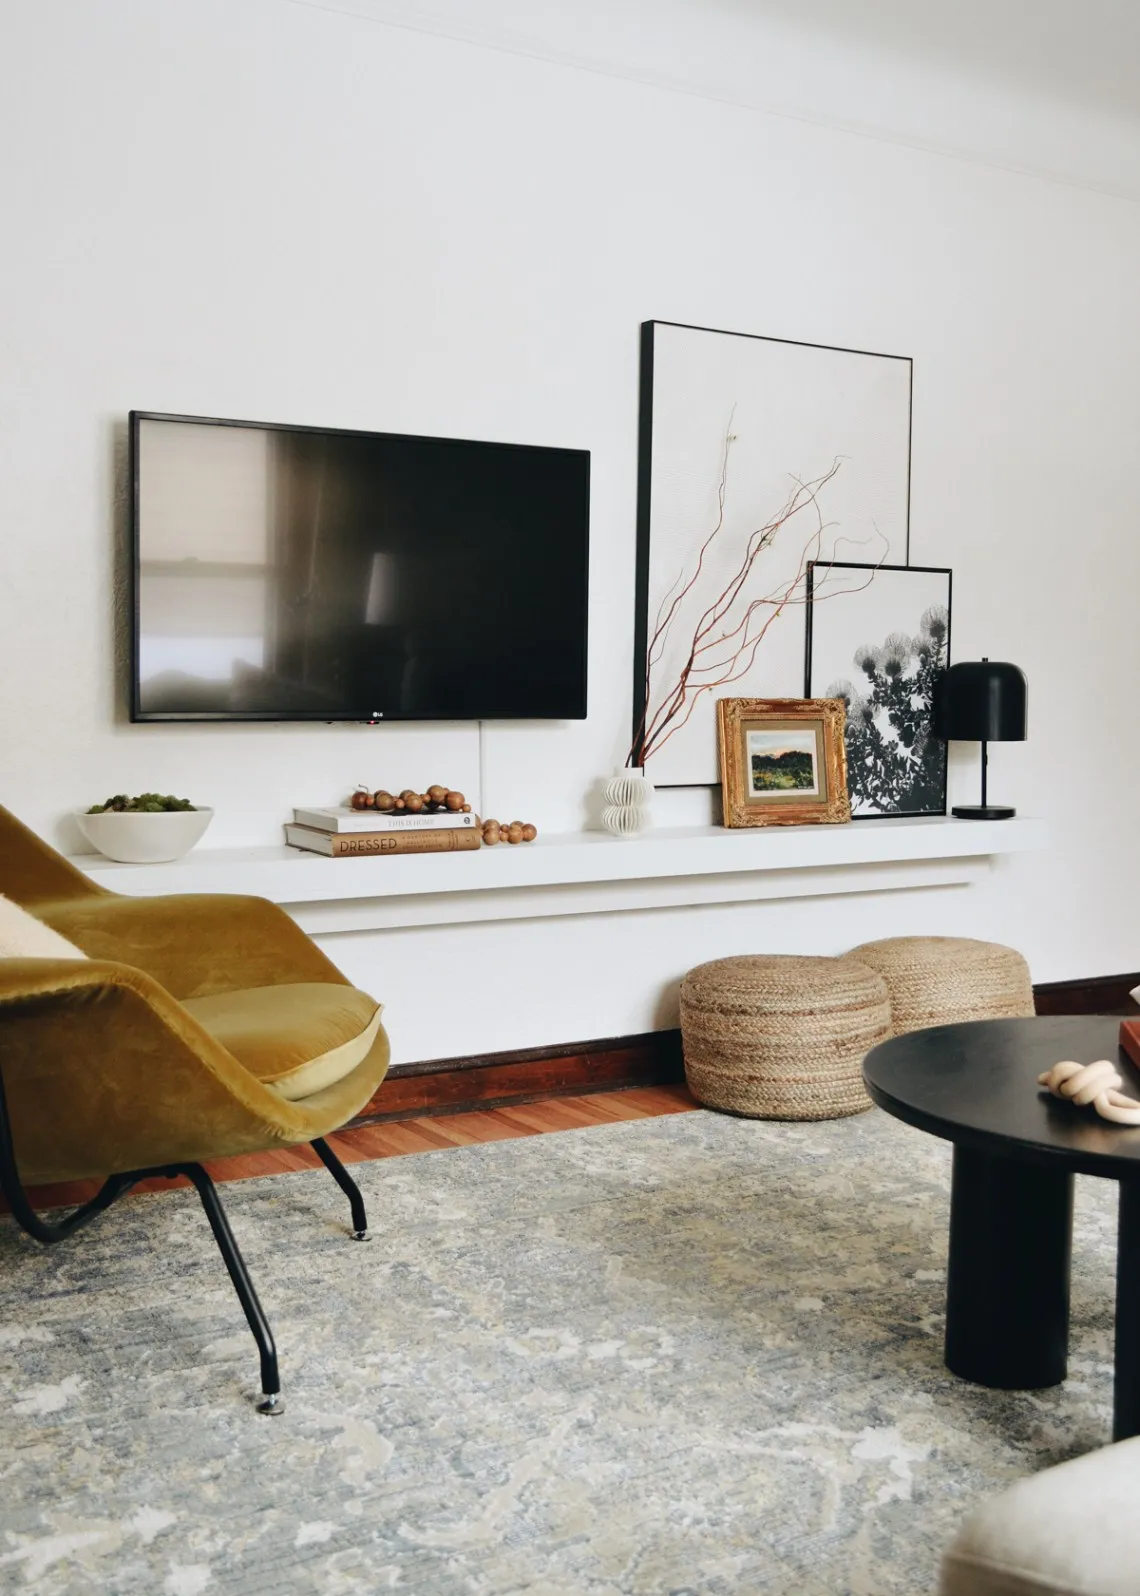 family room, living room, white painted walls, tv, white media shelf mounted on wall, art layered on media shelf, curly willow in textured white vase, sisal ottomans, dark wood trim, light grey green rug, gold velvet womb chair, black column coffee table, bowl of moss,
Conclusion
And there you have it – a beautiful and functional floating media shelf that maximizes space without compromising on style! This DIY project is a testament to the fact that with a little creativity and effort, you can transform your living space to reflect your unique taste and needs.
I encourage you to give this project a try and share your creations with me. Remember, the beauty of DIY lies in its ability to personalize and create something truly unique to you. For more inspiring projects and handcrafted treasures, be sure to explore the rest of the Robert Kline Art website. Happy crafting!
