Blog
DIY Wall-Mounted Floating Desk: The Perfect Blend of Style and Functionality
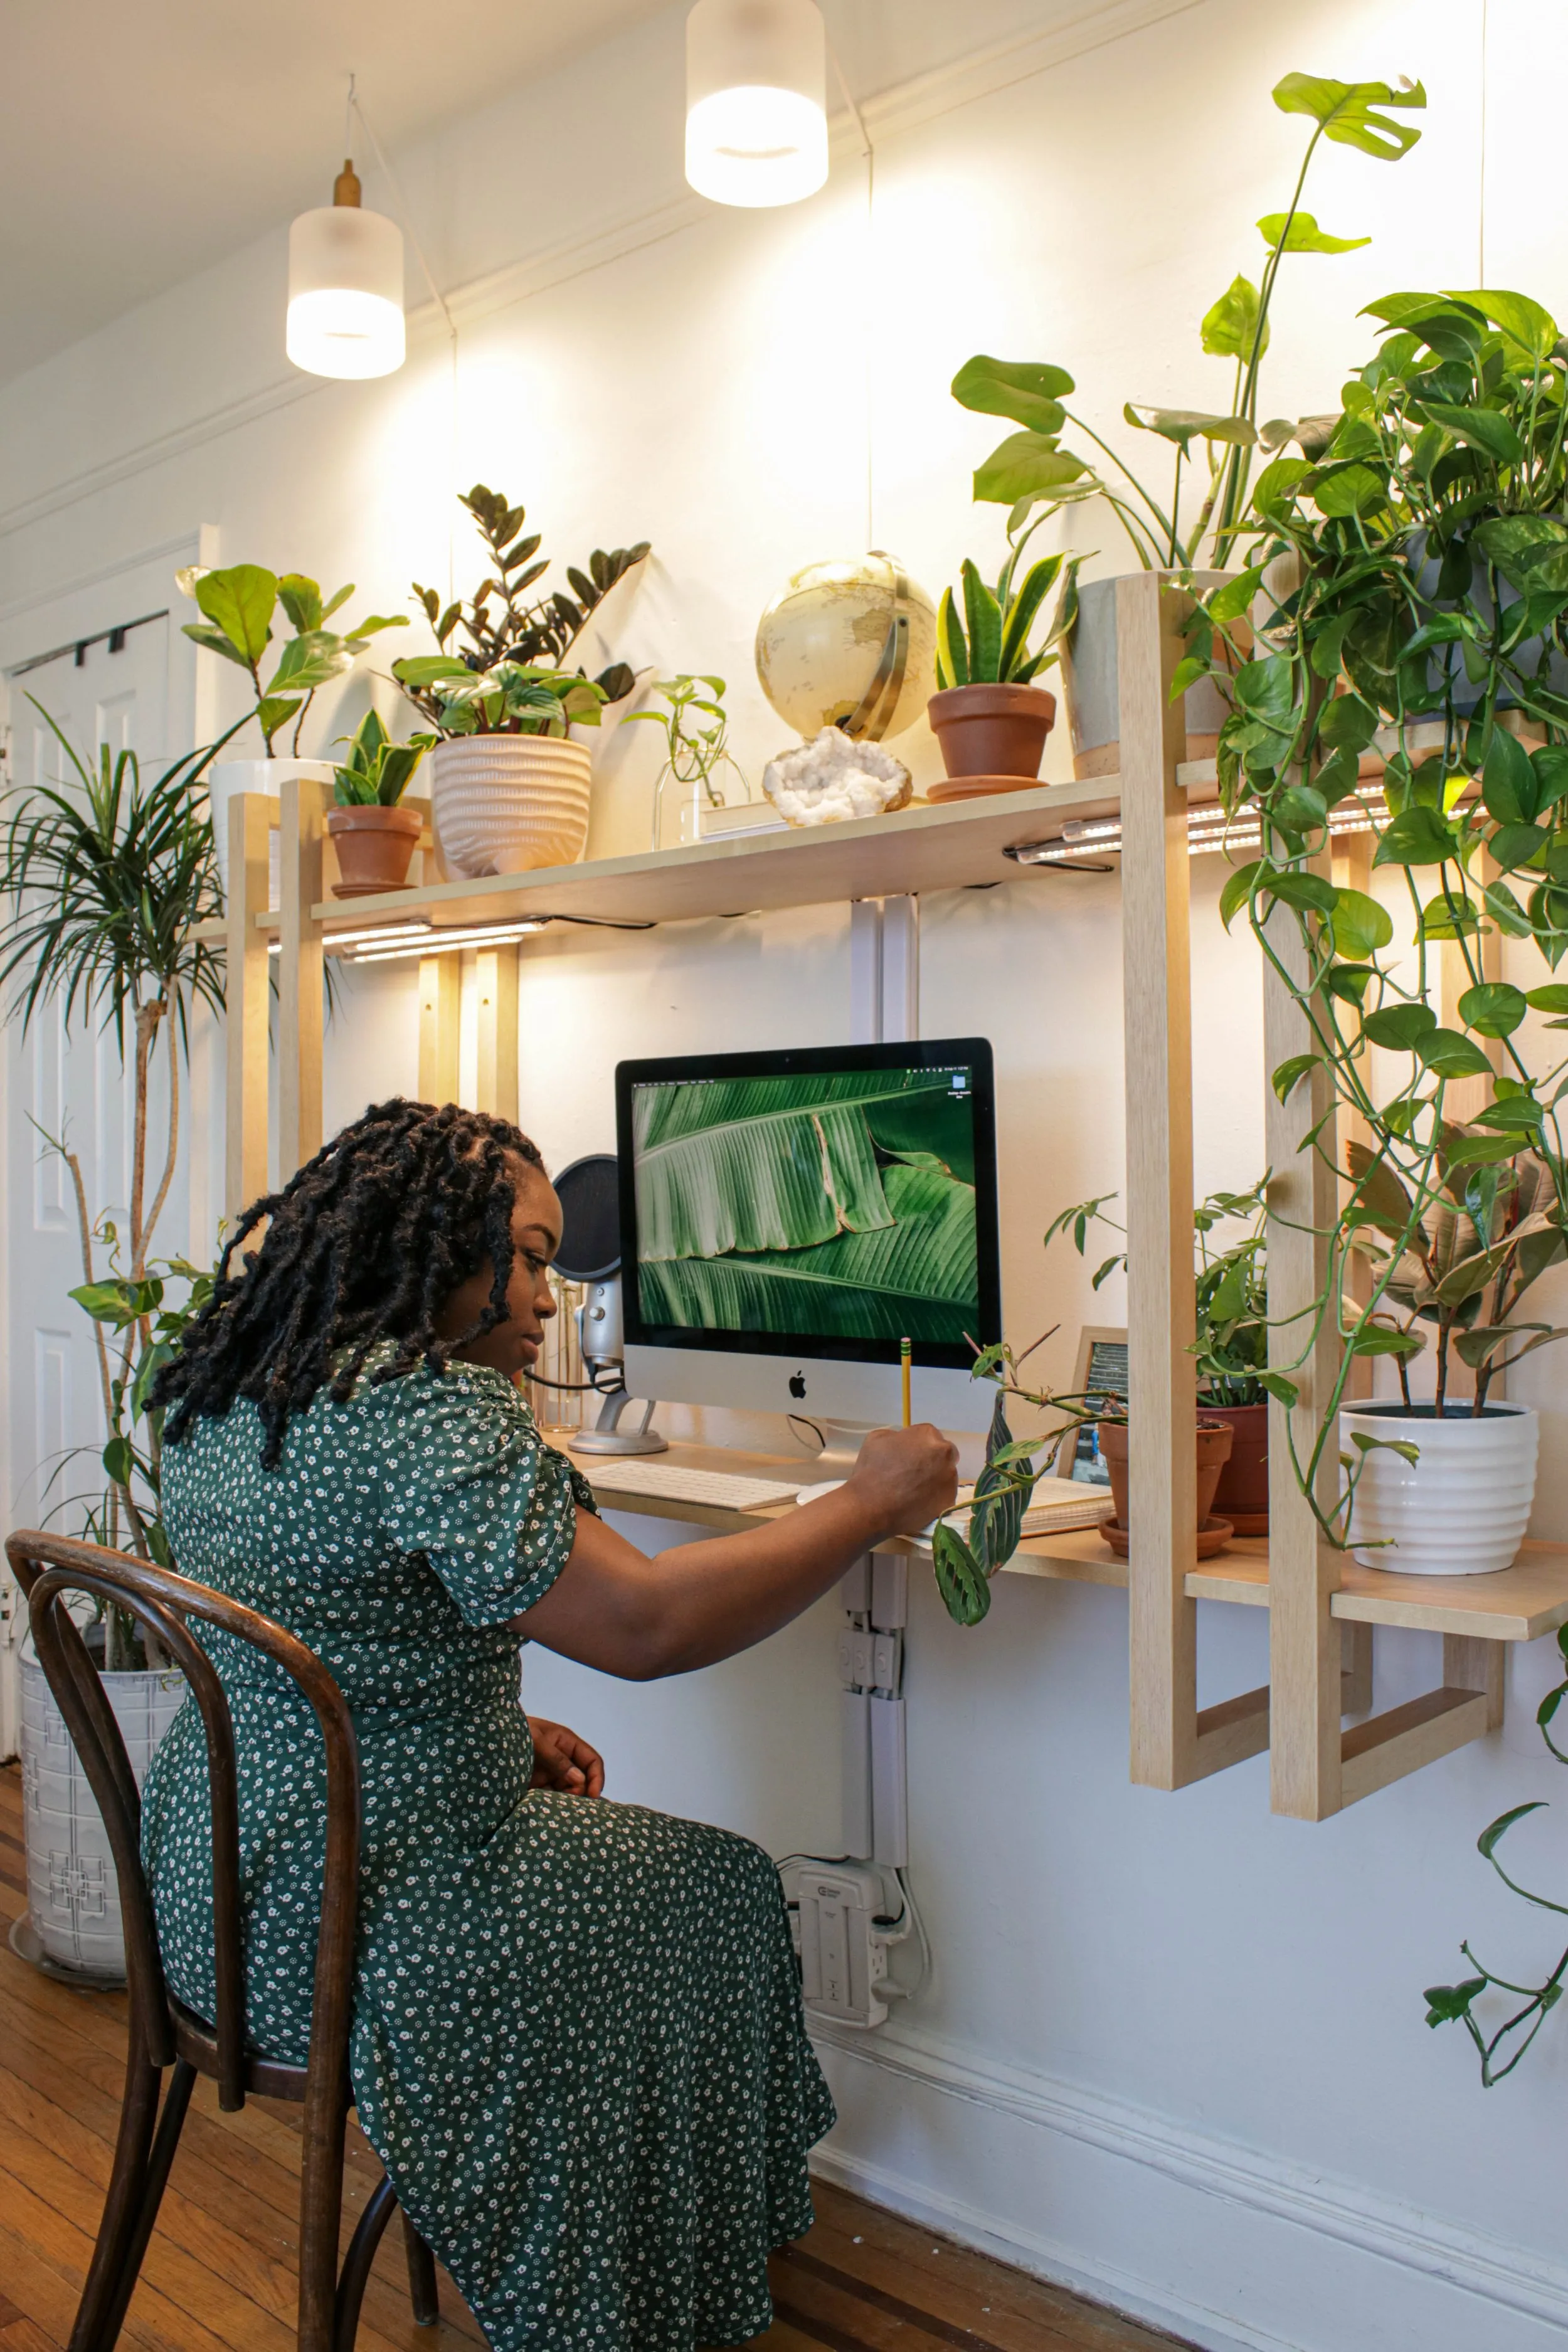
Hey there, fellow craft enthusiasts! Robert Kline, here, your guide to all things handmade. Today, we’re diving into a project that combines functionality with a sleek, modern aesthetic: a DIY wall-mounted floating desk. Imagine a workspace that not only saves precious floor space but also adds a touch of elegance to your room. Intrigued? Let’s get crafting!
Gathering Your Tools and Materials
Before we embark on this rewarding journey, let’s ensure we have all the necessary supplies. For this project, you’ll need:
Materials:
- 4 x 8 birch plywood
- 220 grit sandpaper
- Wood glue
- Edge banding (1.5 in and 3/4 in)
- Pencil
- 1.25 in and 2 in pocket hole screws (a variety pack is recommended)
- Respirator mask with filters or other face masks
- Safety glasses
- 2-in brad nails
- Wood pre-stain/stain/sealer
Tools:
- Kreg jig pocket hole system
- Jigsaw
- Table saw
- Drill set
- Miter saw
- Iron
- Nail gun
- Speed square
- Level
- Kreg jig face clamp (comes with the Kreg jig kit)
- Edge banding trimmer
- Box cutter
Step-by-Step Guide: Building Your Floating Desk
Step 1: Precise Cutting
- Begin by carefully cutting your birch plywood into the following dimensions:
- (16) pieces of 1.5″ x 37″
- (2) pieces of 12″ x 72″
- (16) pieces of 1.5″ x 10.5″
Pro Tip: Always double-check your measurements before making any cuts. Accuracy is key in woodworking!
Step 2: Creating the Support Beams
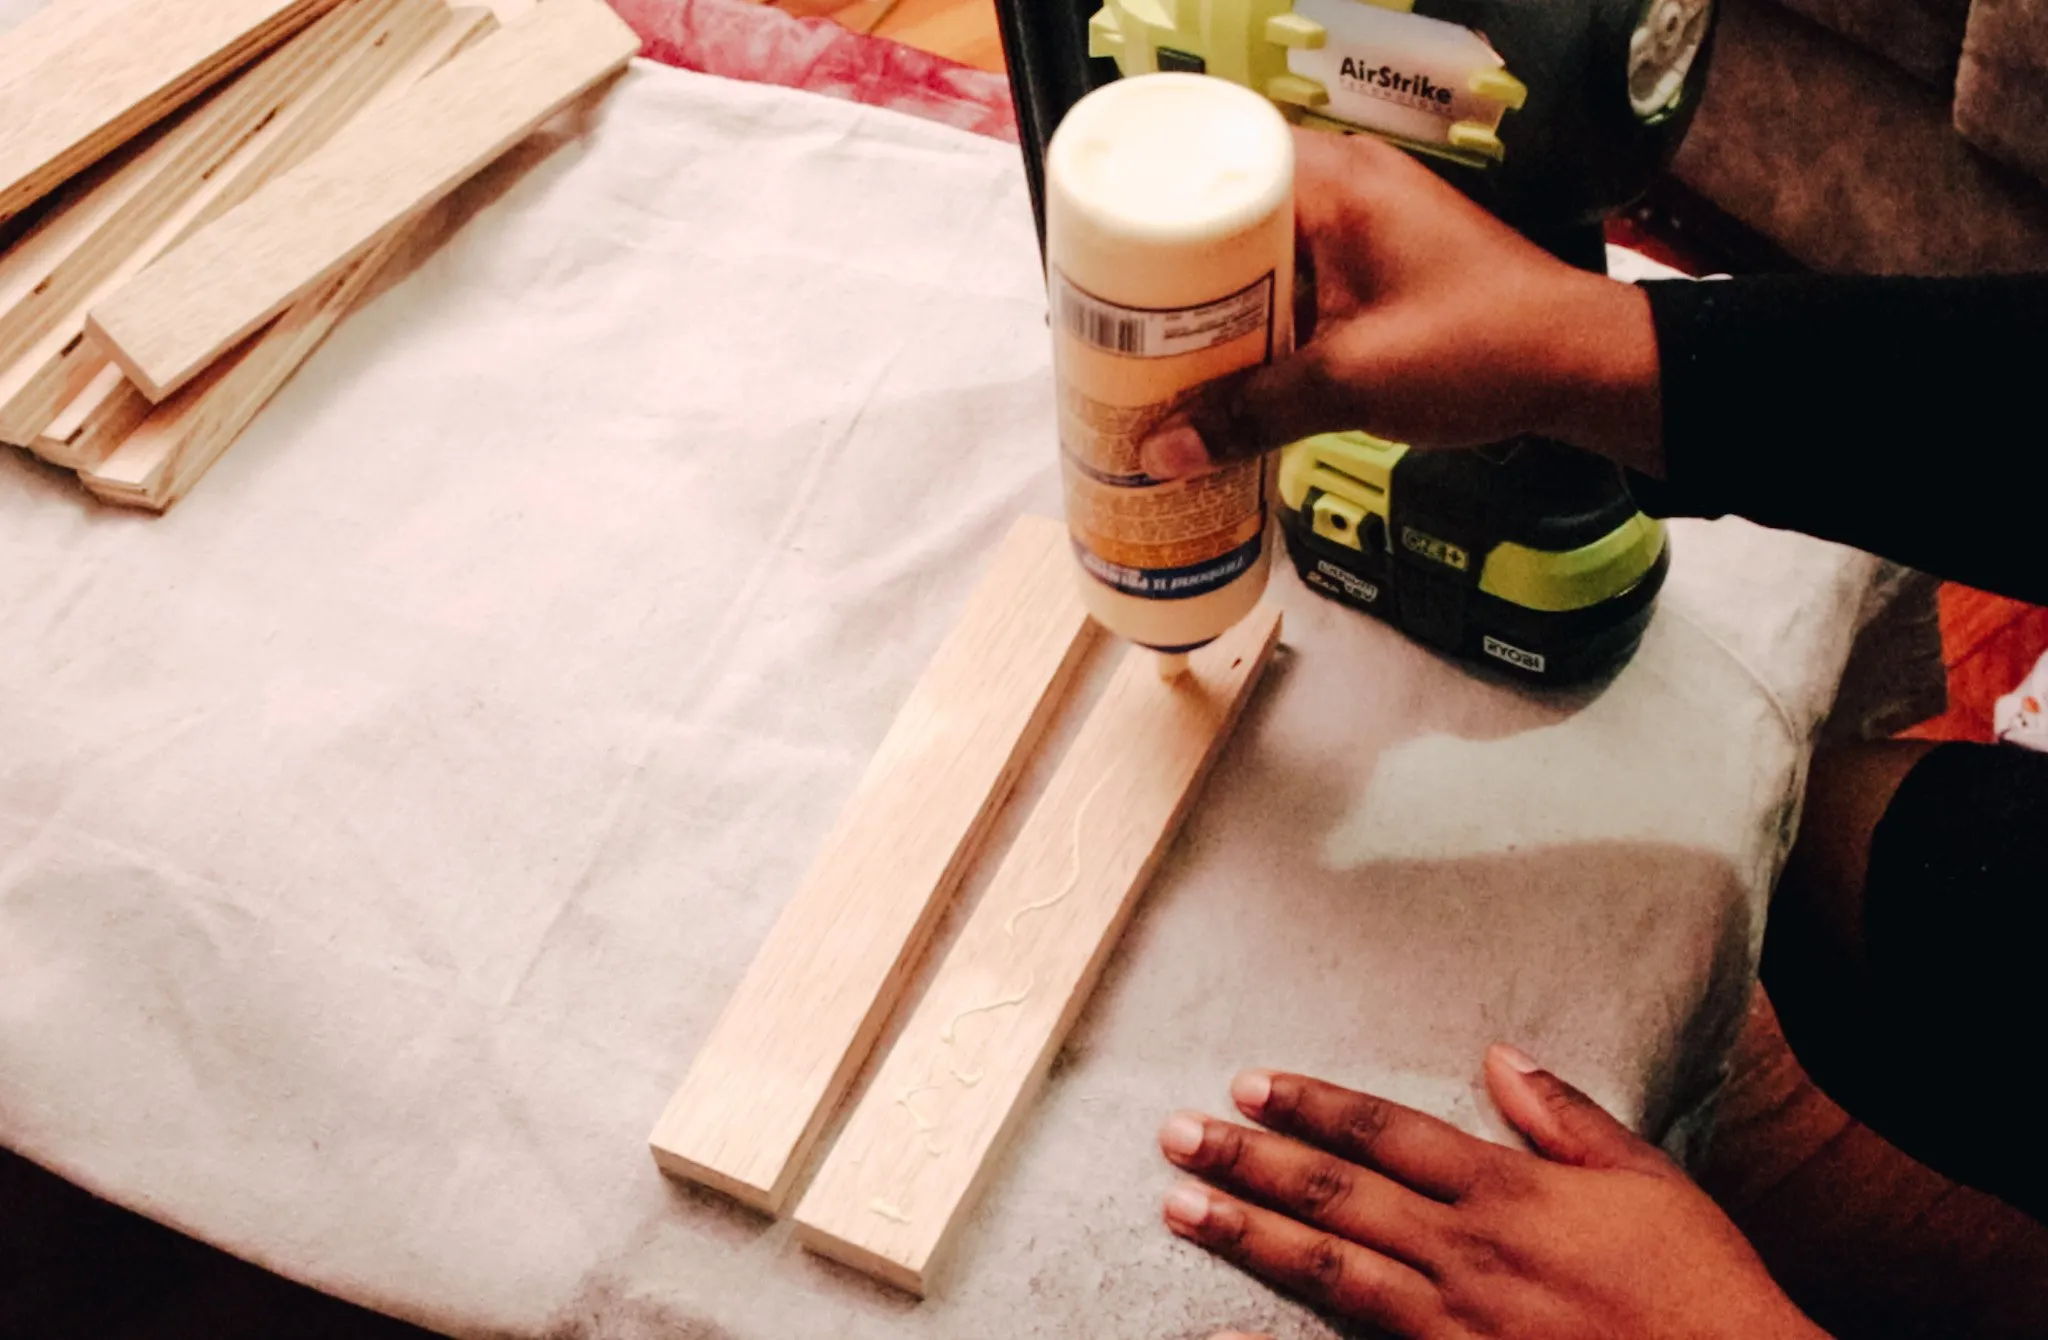
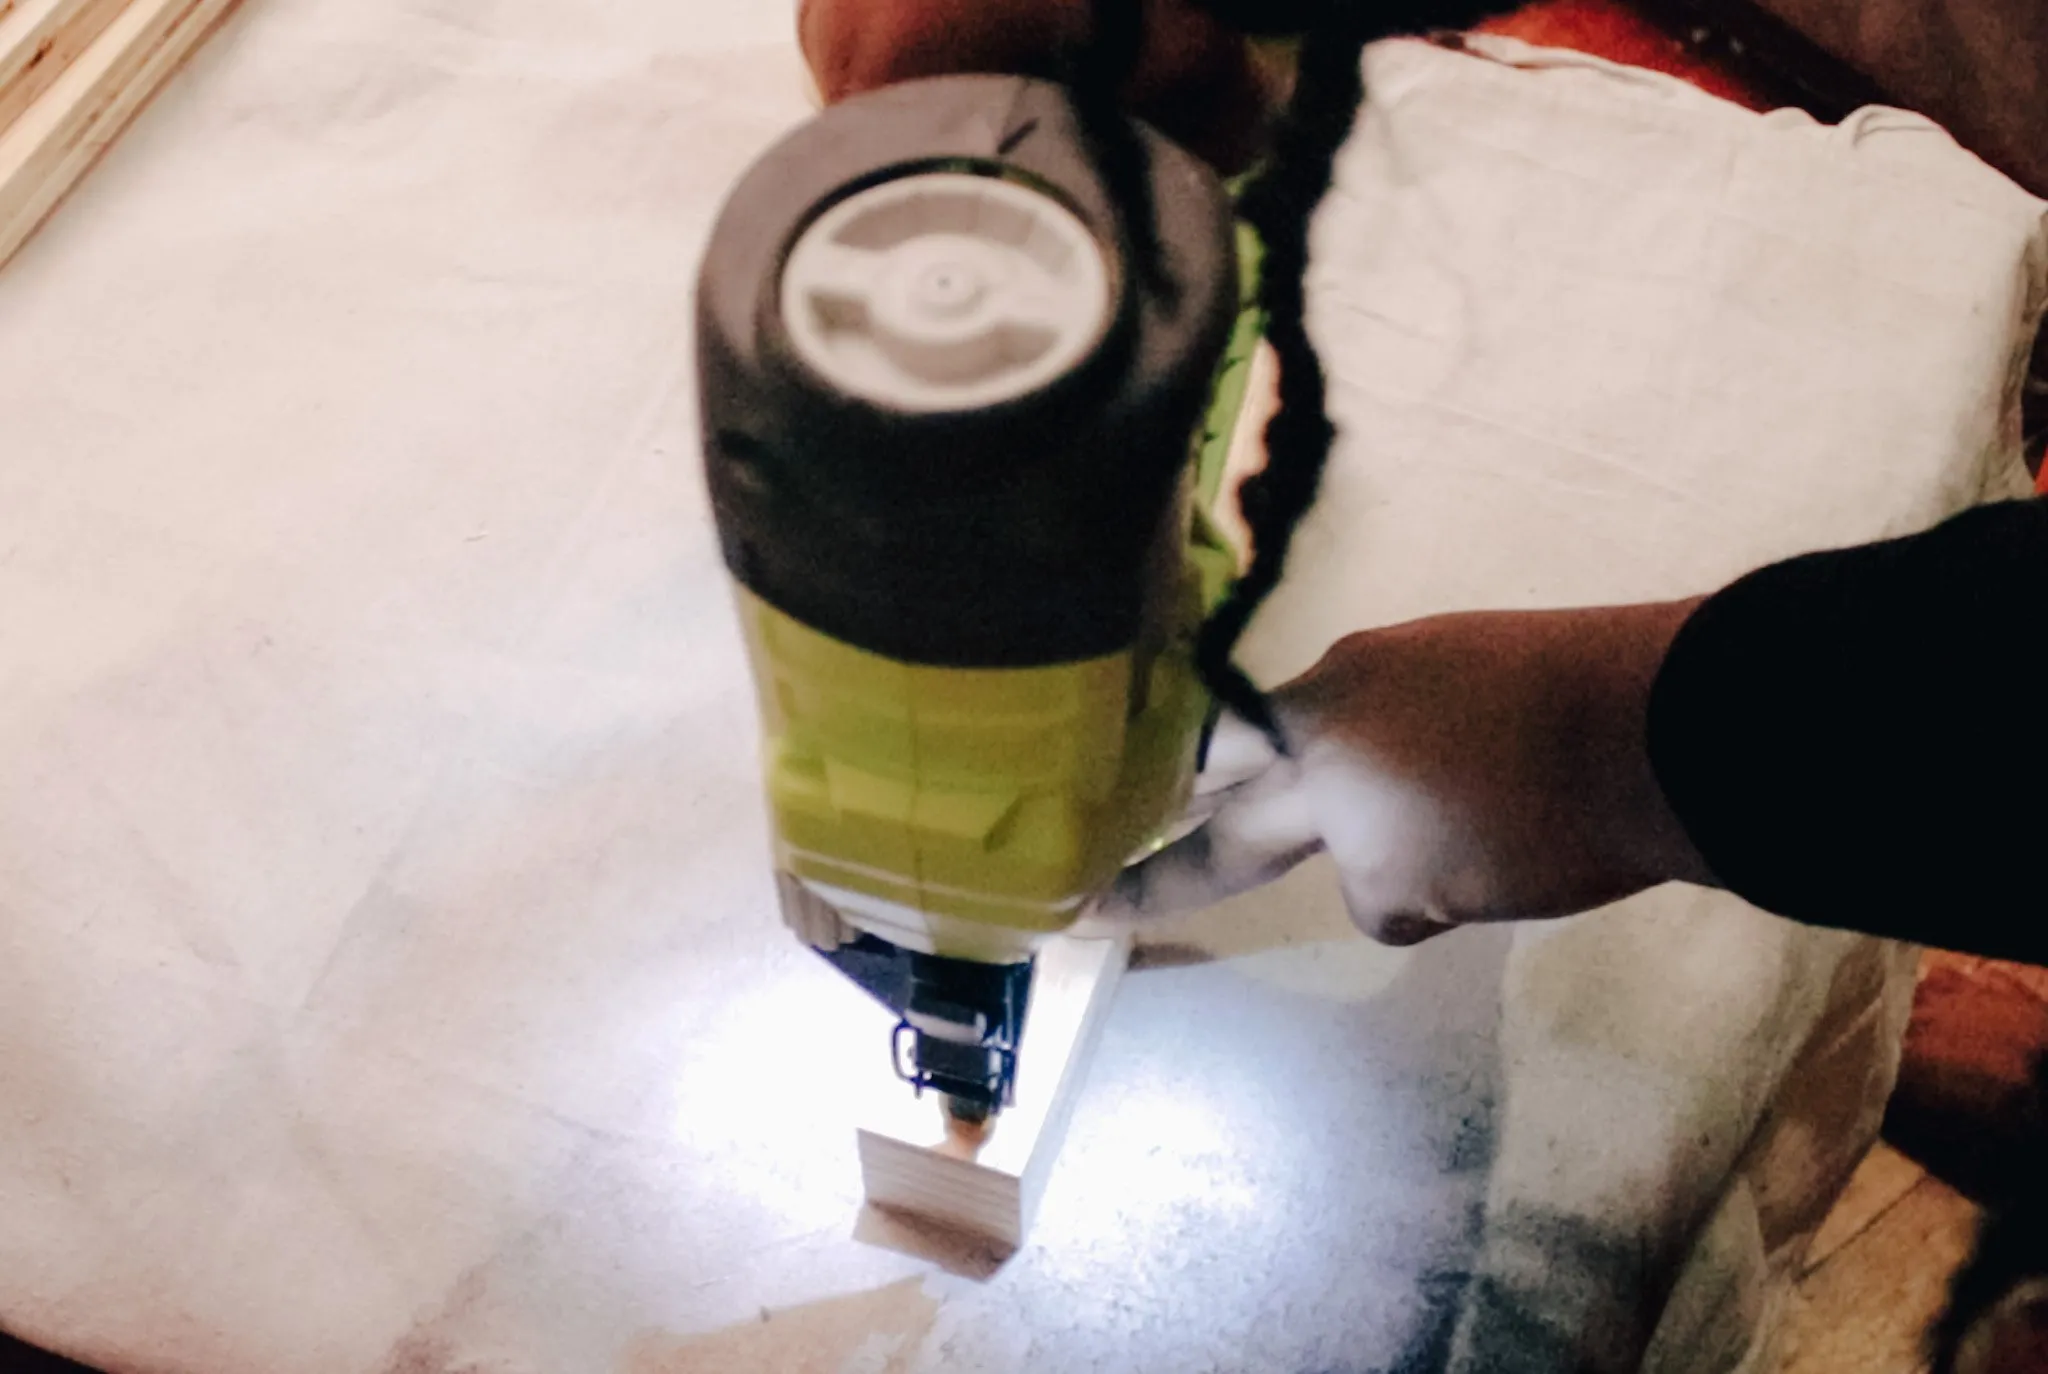
- Apply wood glue to the 37″ pieces and secure them together using your brad nailer. Repeat this process until you have 8 sturdy support beams.
- Follow the same procedure for the 10.5″ pieces, resulting in 8 additional support pieces.
Remember: Nail into the sides that will be facing the wall for a clean, finished look.
Step 3: Edge Banding for a Polished Finish
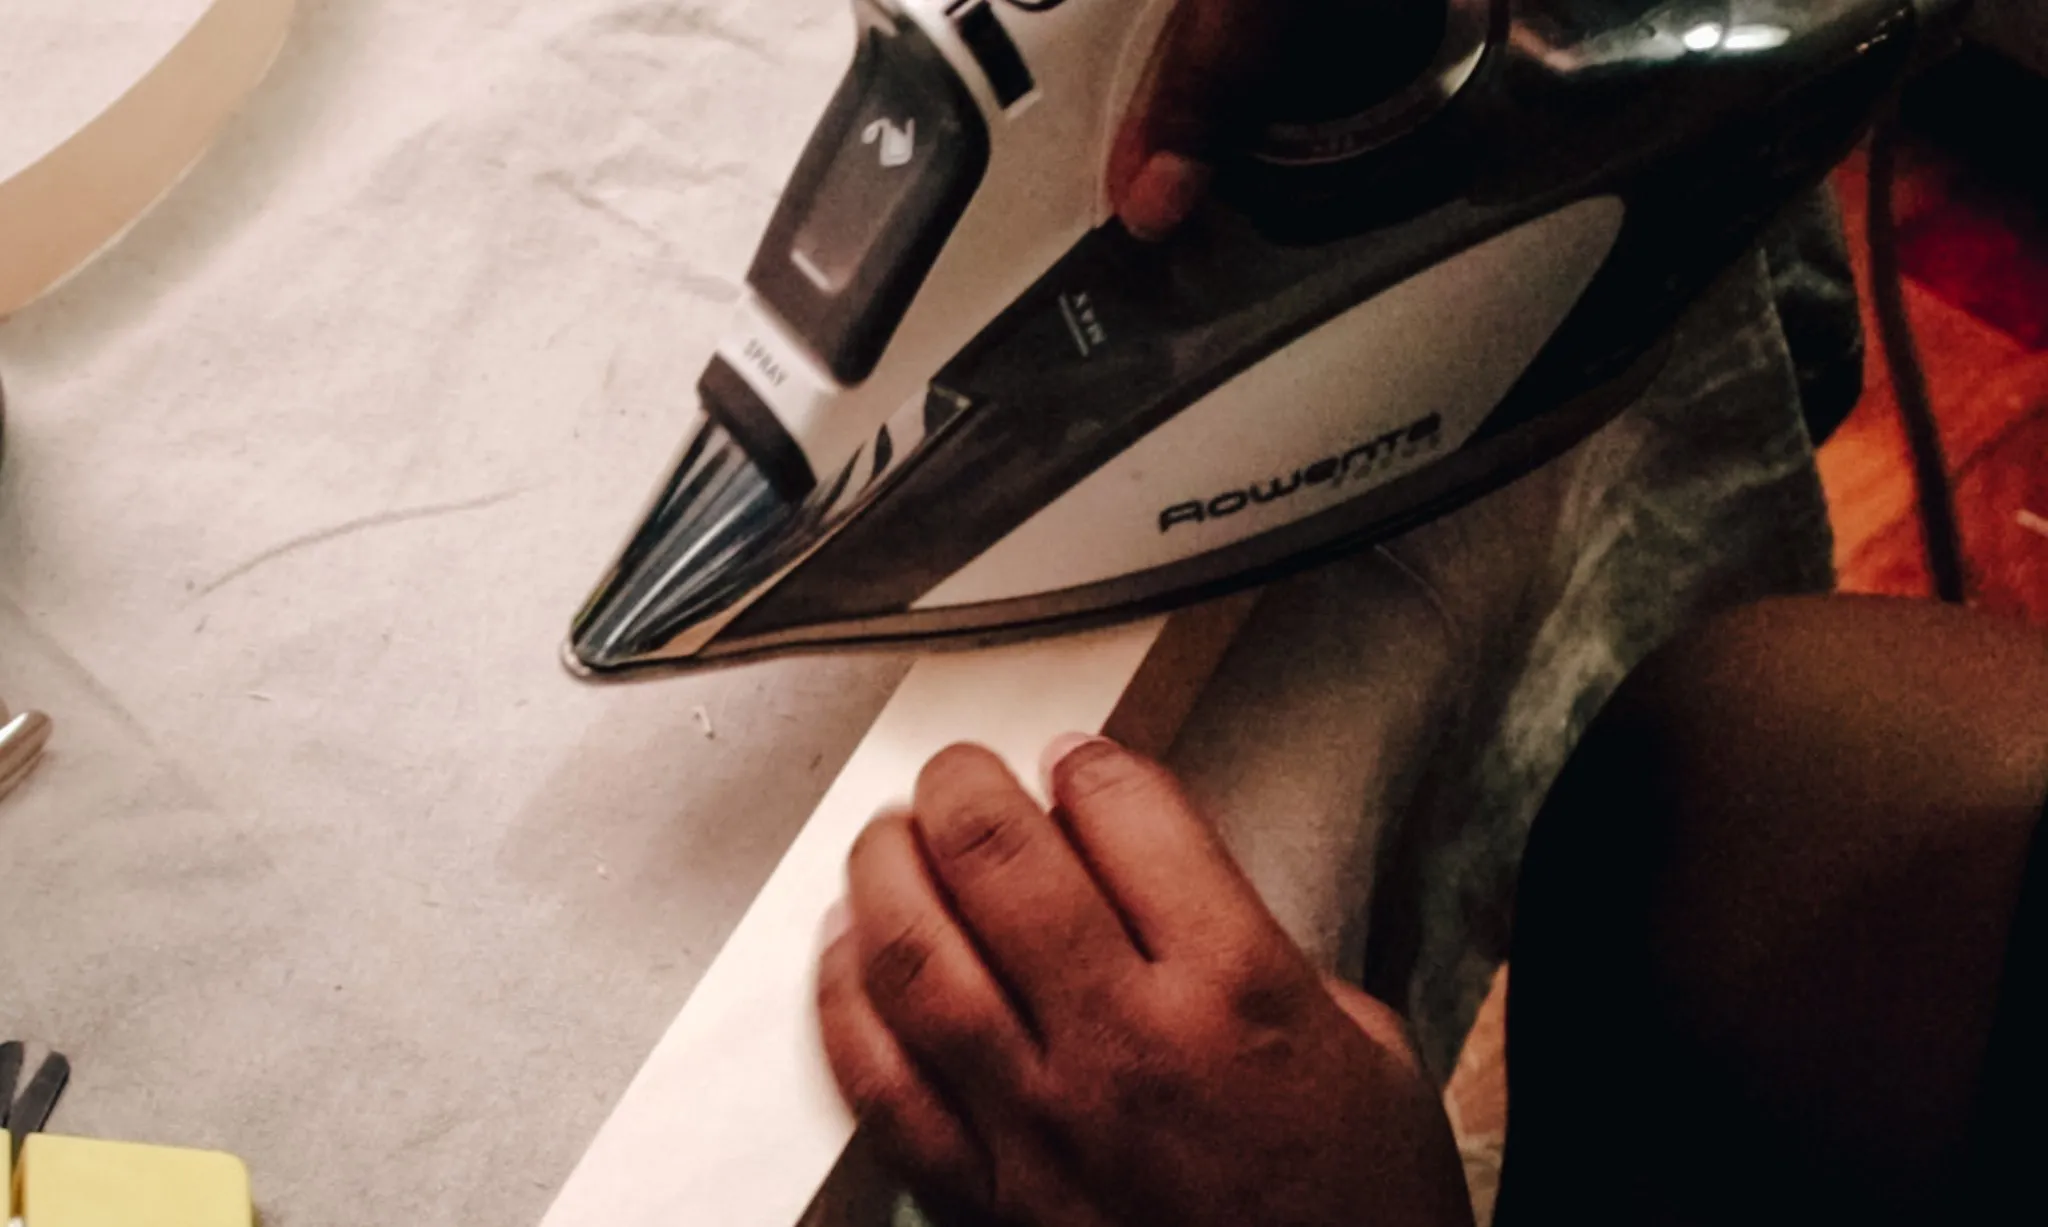
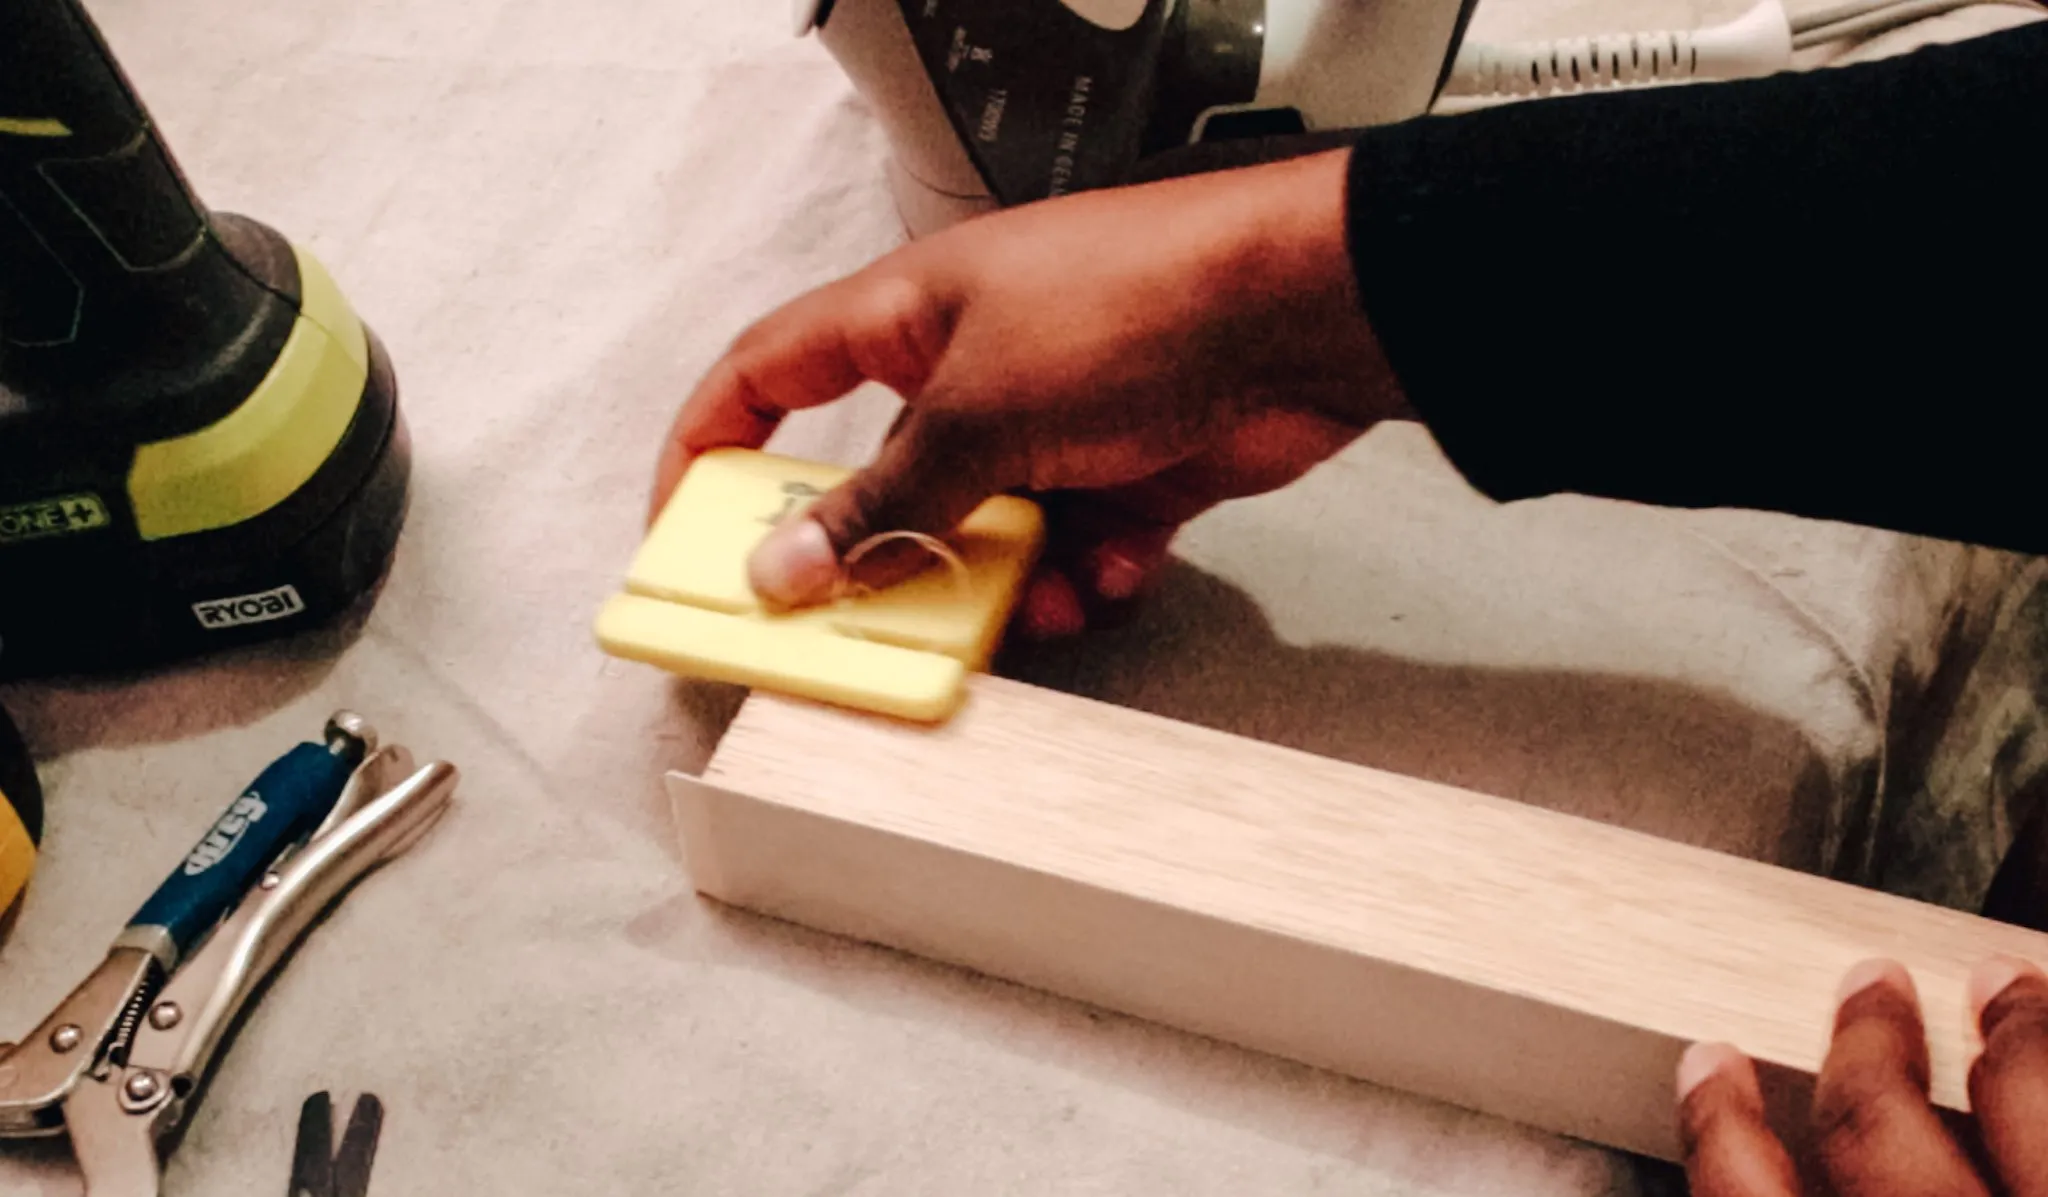
- Apply edge banding along all exposed edges of your support beams and the 12″ flat panels using a hot iron.
- Trim any excess edge banding with a box cutter or edge banding trimmer.
Step 4: Smoothing Out the Rough Edges
- Sand all the surfaces and edges of your pieces to achieve a smooth and splinter-free finish.
Step 5: Crafting the Shelf Supports
- On both 12″ flat panels, measure and mark 7″ and 12″ on one side.
- From each mark, measure and mark 3/4″ on both sides and extend the lines across the panel using a speed square.
- Mark 3/4″ from the edge towards the inner corner of each panel and draw a horizontal line across.
- Use a jigsaw to carefully cut out the notches you’ve marked.
Step 6: Test Fitting for a Perfect Fit
- Dry fit the 37″ support beams into the notches you’ve created on the flat panels. The fit should be snug but not too tight.
- If necessary, make adjustments by sanding down or trimming the notches with your jigsaw.
Step 7: Creating Pocket Holes for Secure Assembly
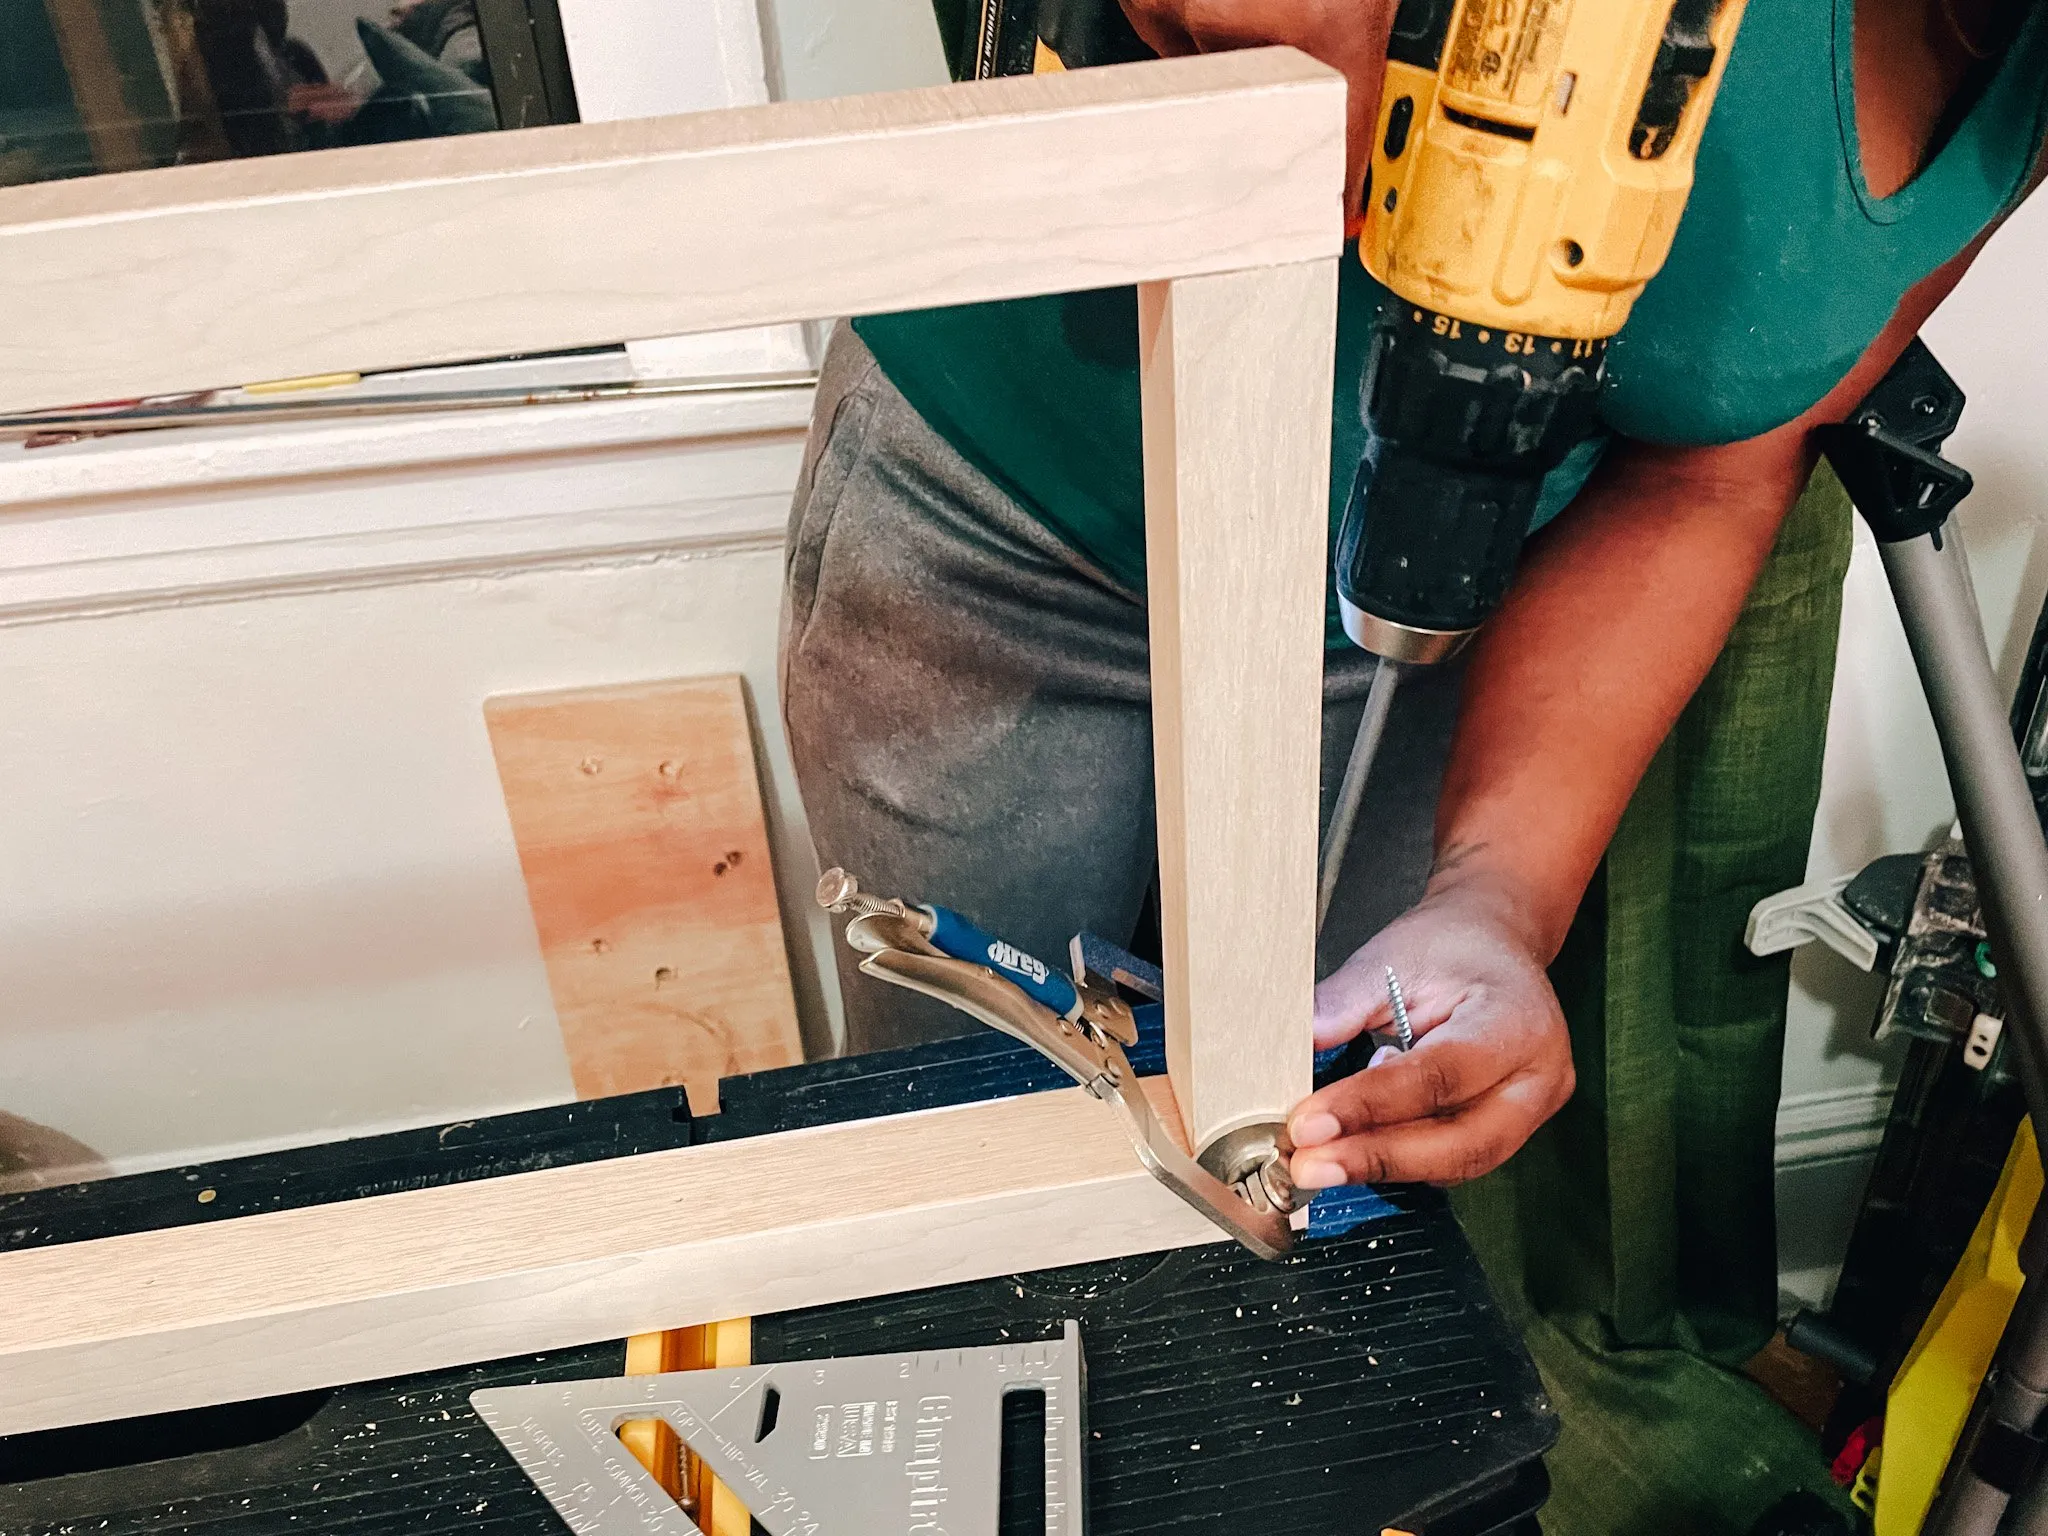
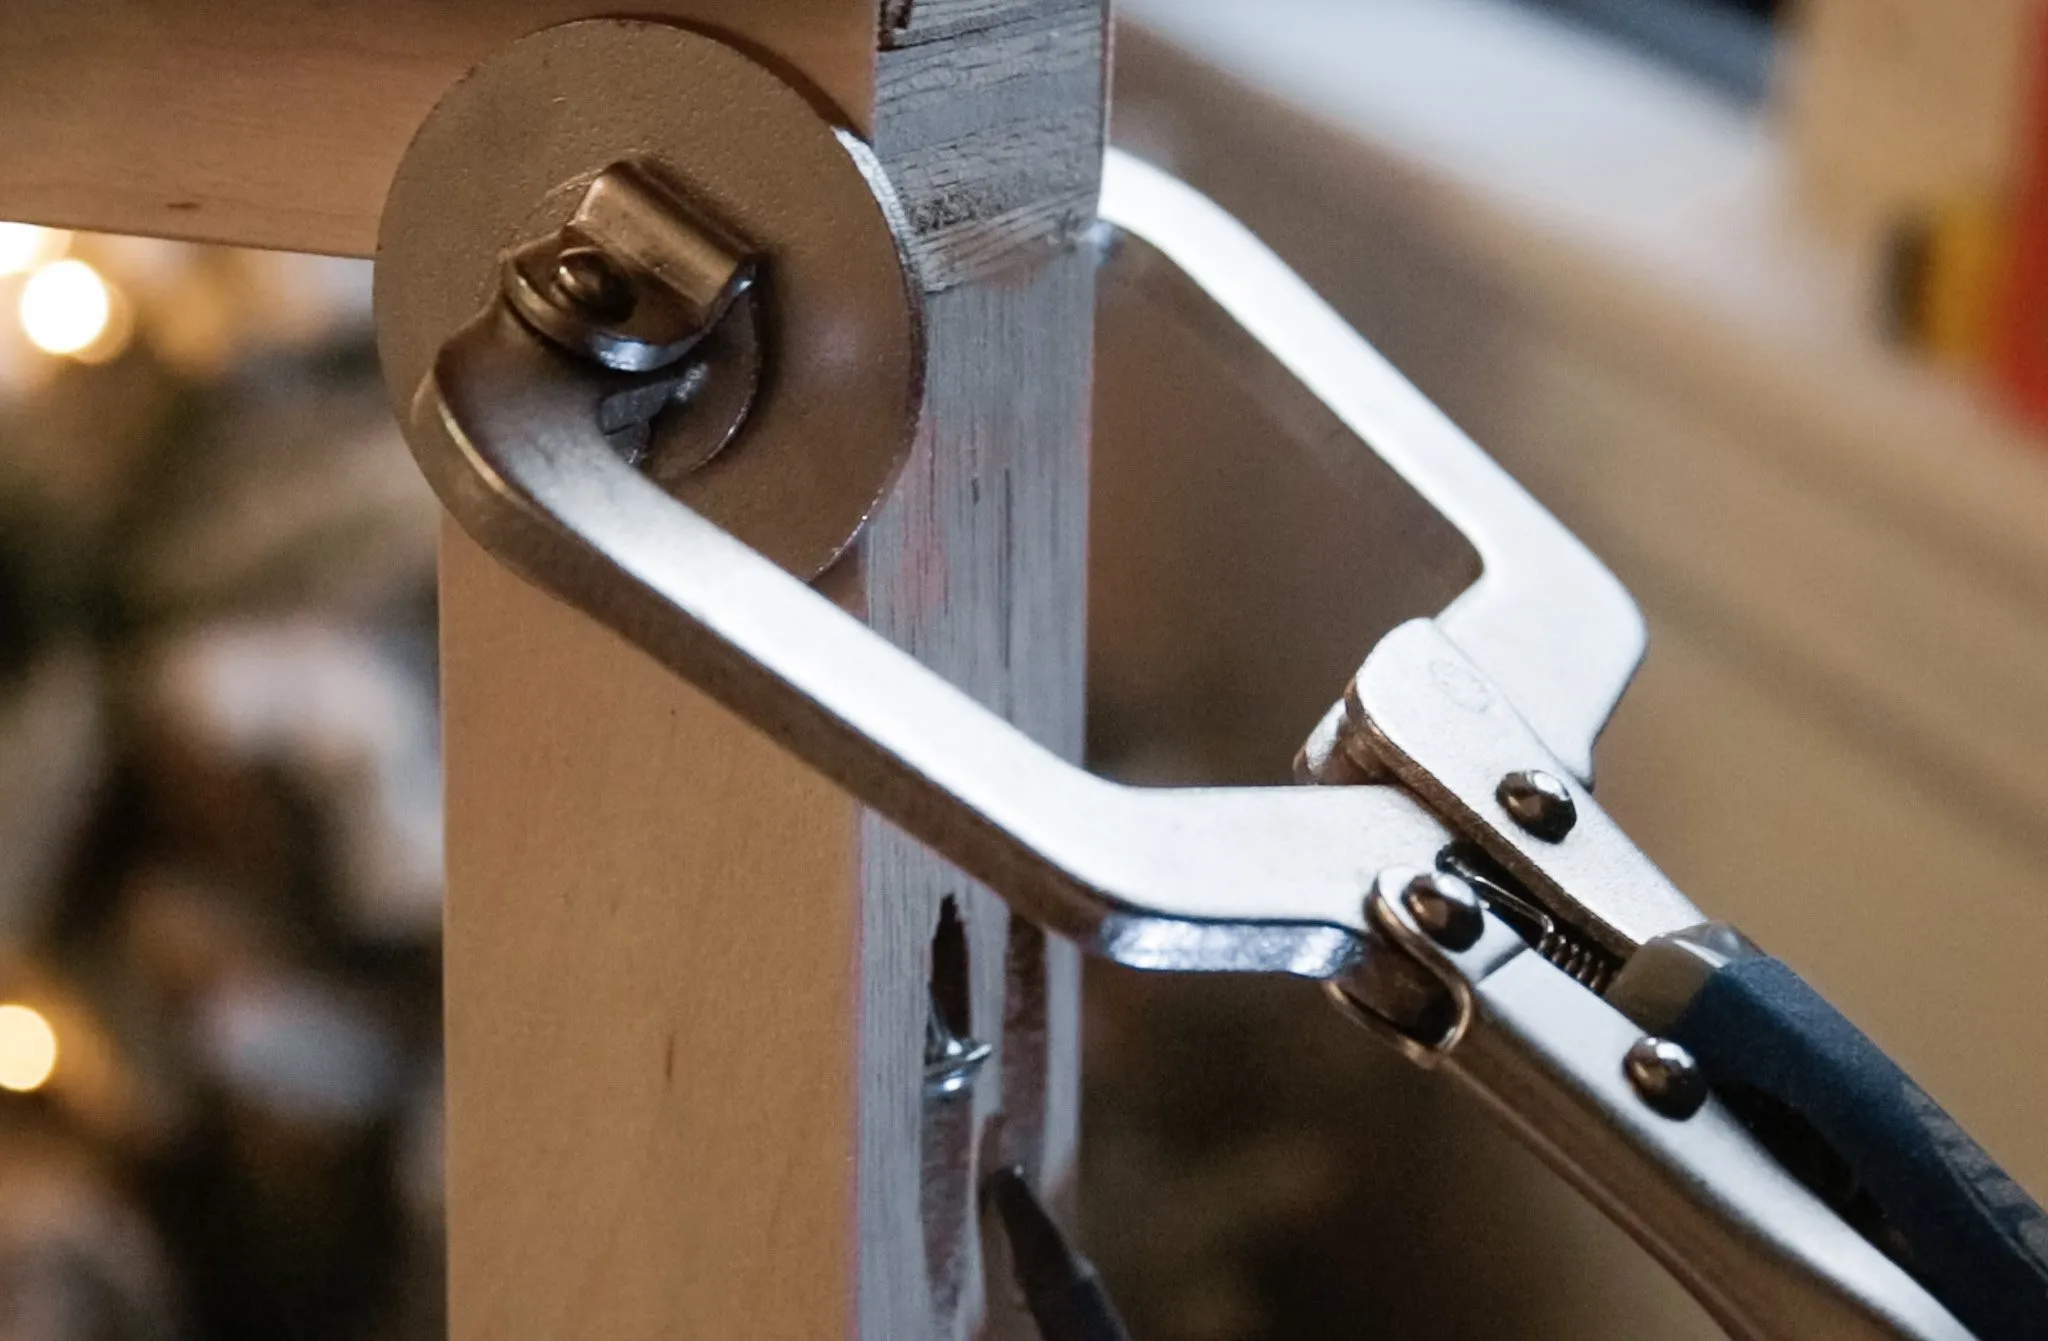
- Drill pocket holes into one side of the 10.5″ support pieces and inside the notches of the flat panels.
Step 8: Assembling the Desk Frames
- Assemble four sturdy frames using the 2-inch pocket hole screws.
- Ensure each frame is perfectly square using a level.
- Once assembled, mark guides on the top and bottom of each frame’s inner section to indicate where the flat panels will be attached.
Step 9: Securing the Shelves
- Carefully slide the flat panels into the frames, one at a time.
- Secure them in place using 1.25″ pocket hole screws, ensuring the shelves are level.
Step 10: Finishing Touches
- Remove any dust or debris from your assembled desk.
- Apply wood conditioner, stain, and a protective sealant to enhance the desk’s durability and beauty.
Optional Step 11: Adding Grow Lights (For a Plant-Friendly Workspace)
- If you’re planning to use your floating desk as a platform for your plant babies, consider installing grow lights to provide them with the light they need to thrive.
Conclusion
Congratulations on crafting your very own wall-mounted floating desk! This versatile piece is sure to elevate your workspace while showcasing your DIY prowess. Feel free to customize it further with paint, additional shelves, or decorative elements.
Now it’s your turn! We’d love to see your creations. Share your finished floating desks with us in the comments below! And for more inspiring DIY projects and unique handmade gifts, browse the curated collection on Robert Kline Art. Happy crafting!
 Completed floating desk with plants.
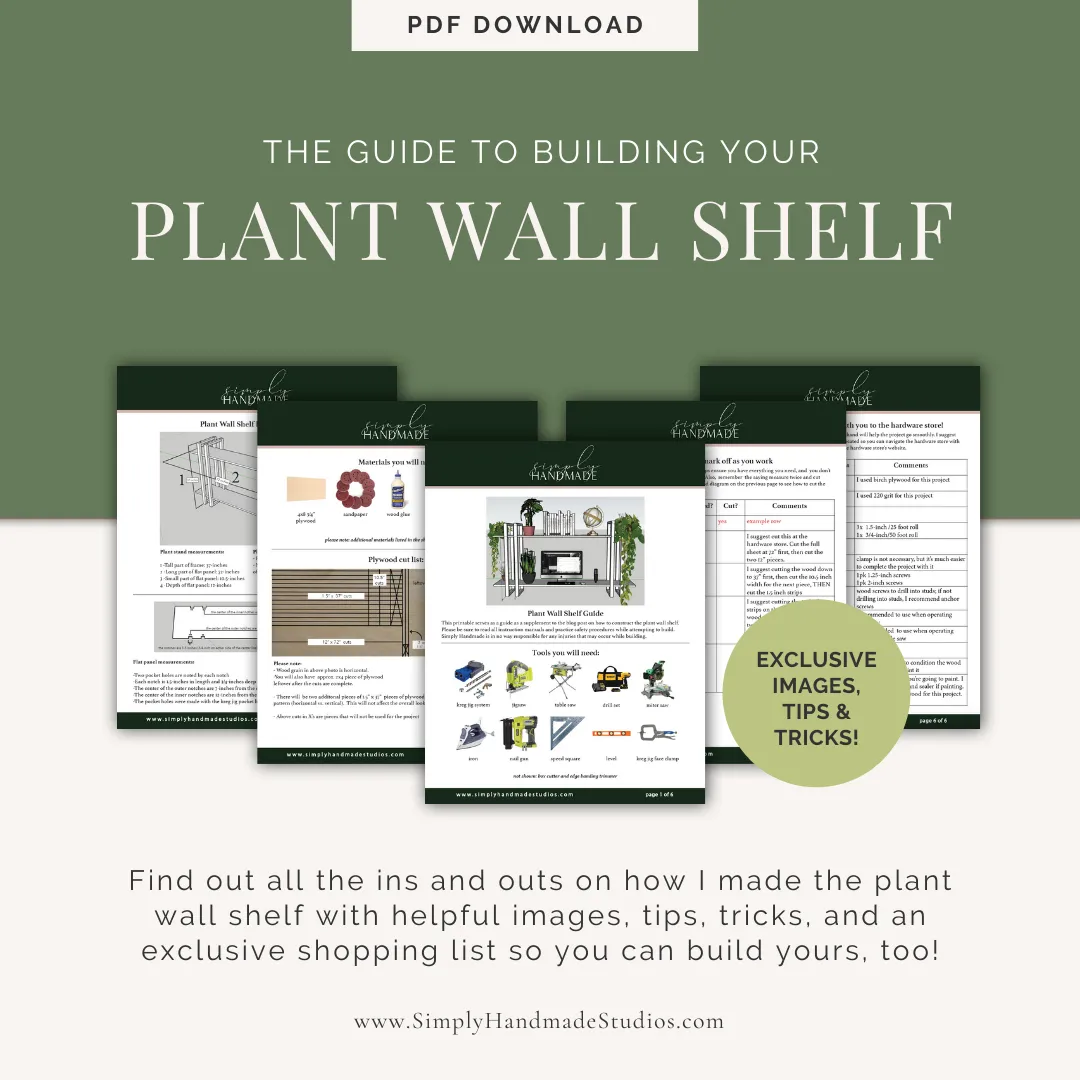 Promotional image for an ebook on building a floating desk.
 Person working on a floating desk.
 Floating desk with plants on it.
 Close-up of the construction of a floating desk.
 Floating desk with a plant on it.
 Floating desk with plants on it.
 Tall floating desk with plants on it.
 Tall floating desk with plants on it.
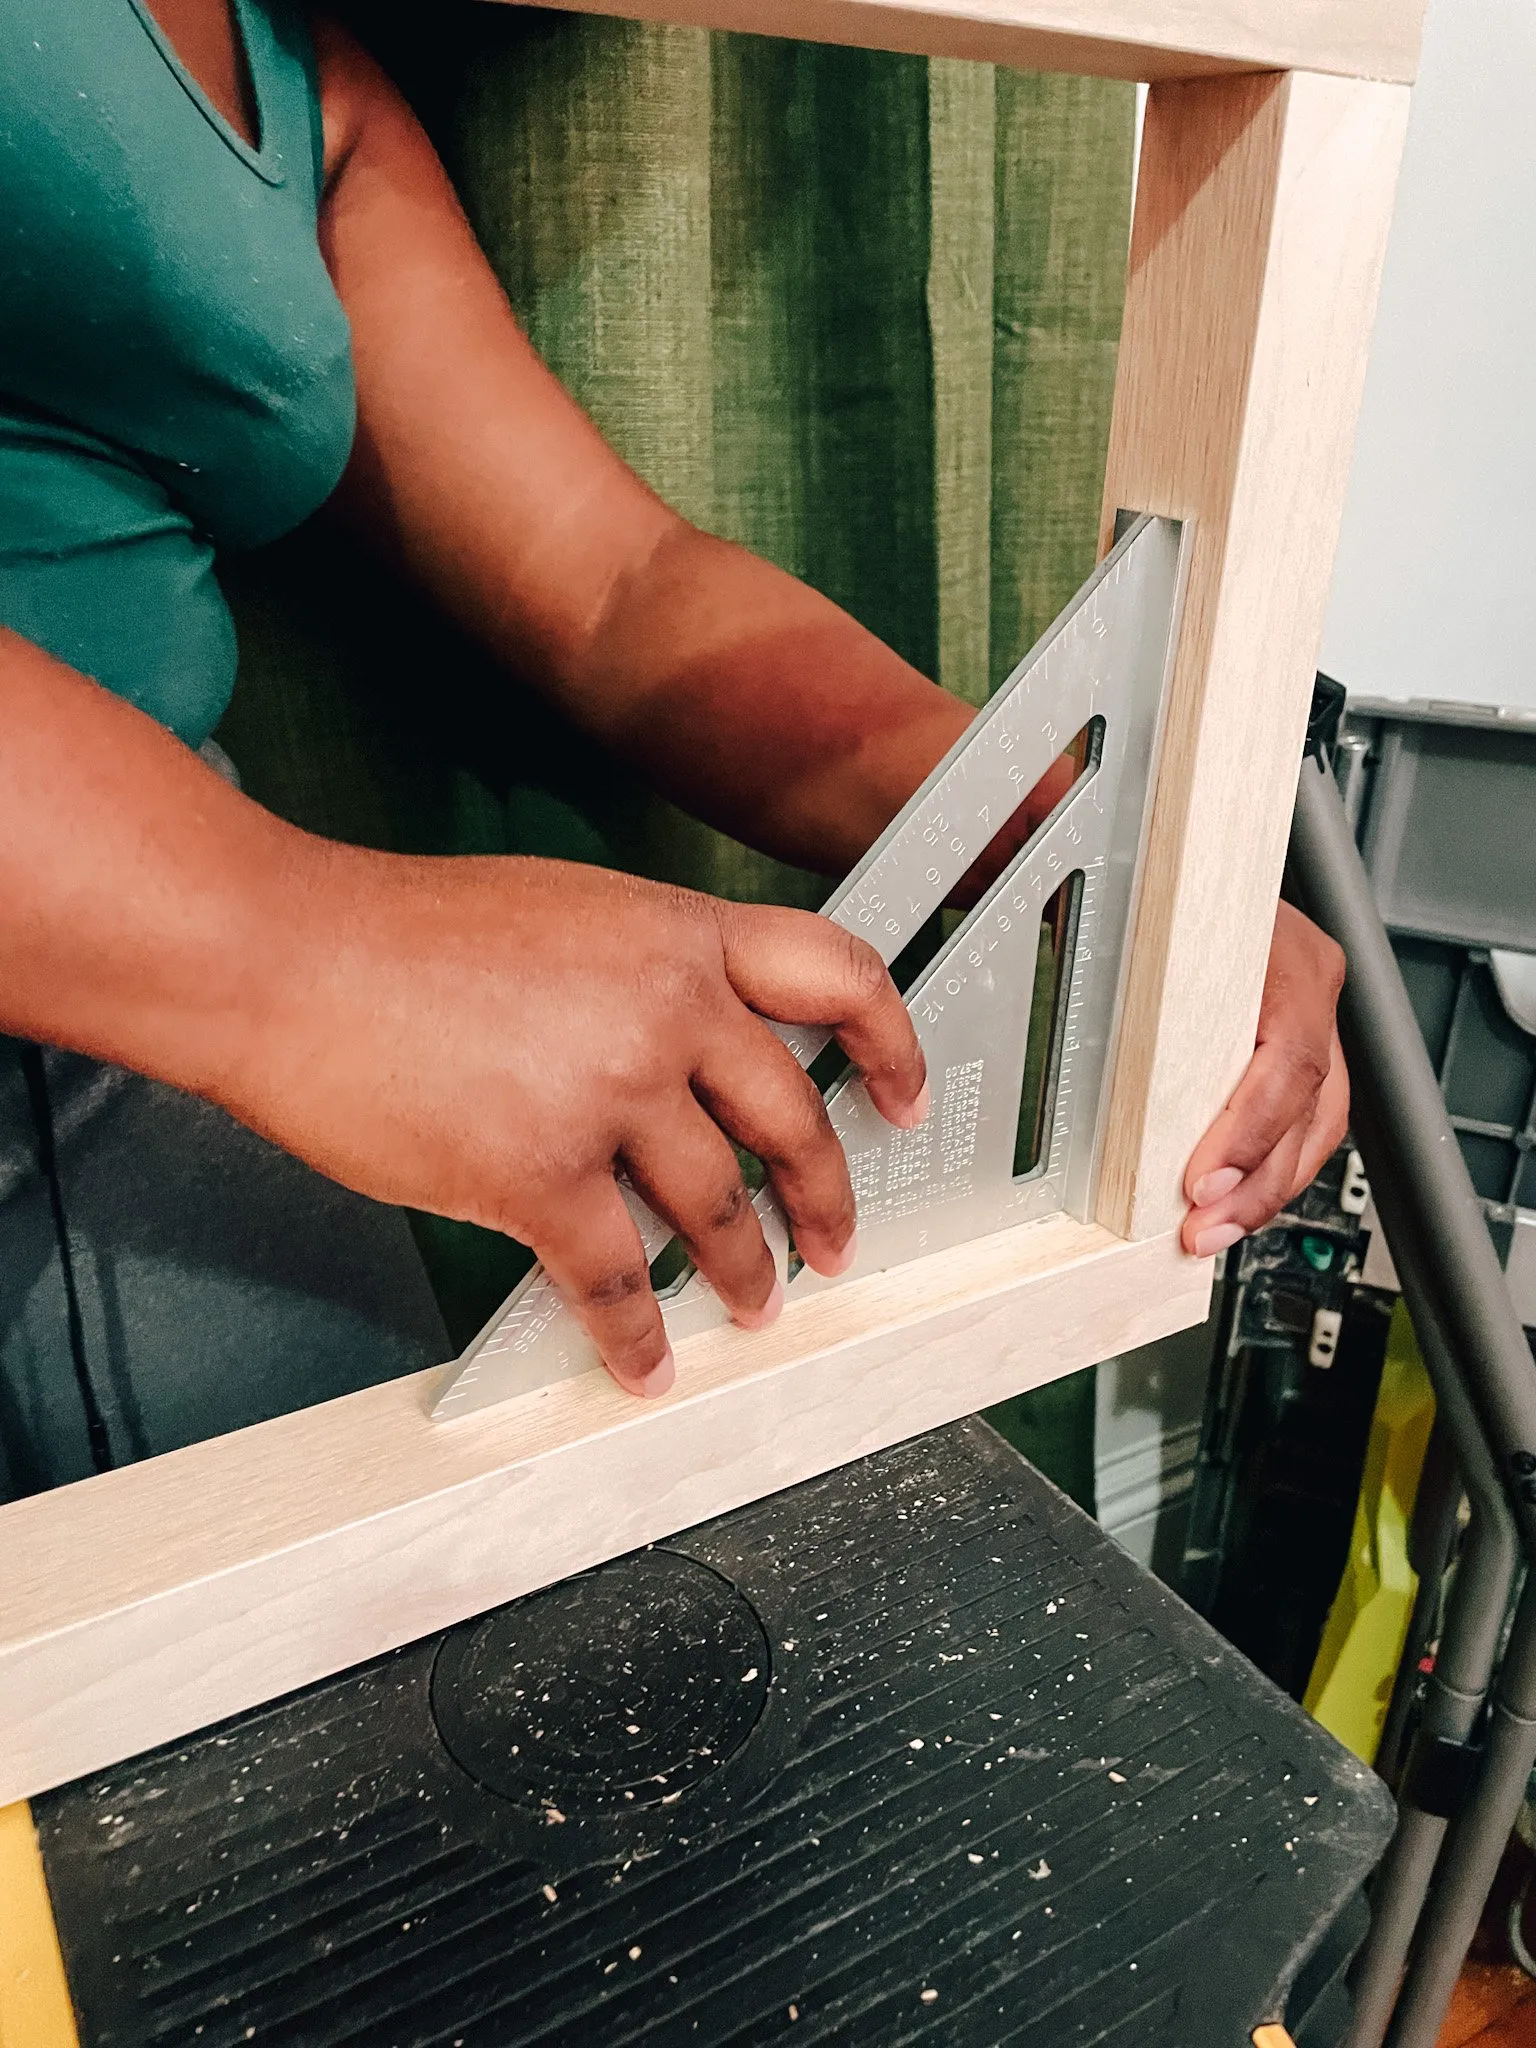 Person working on a floating desk.
 Floating desk with plants on it.
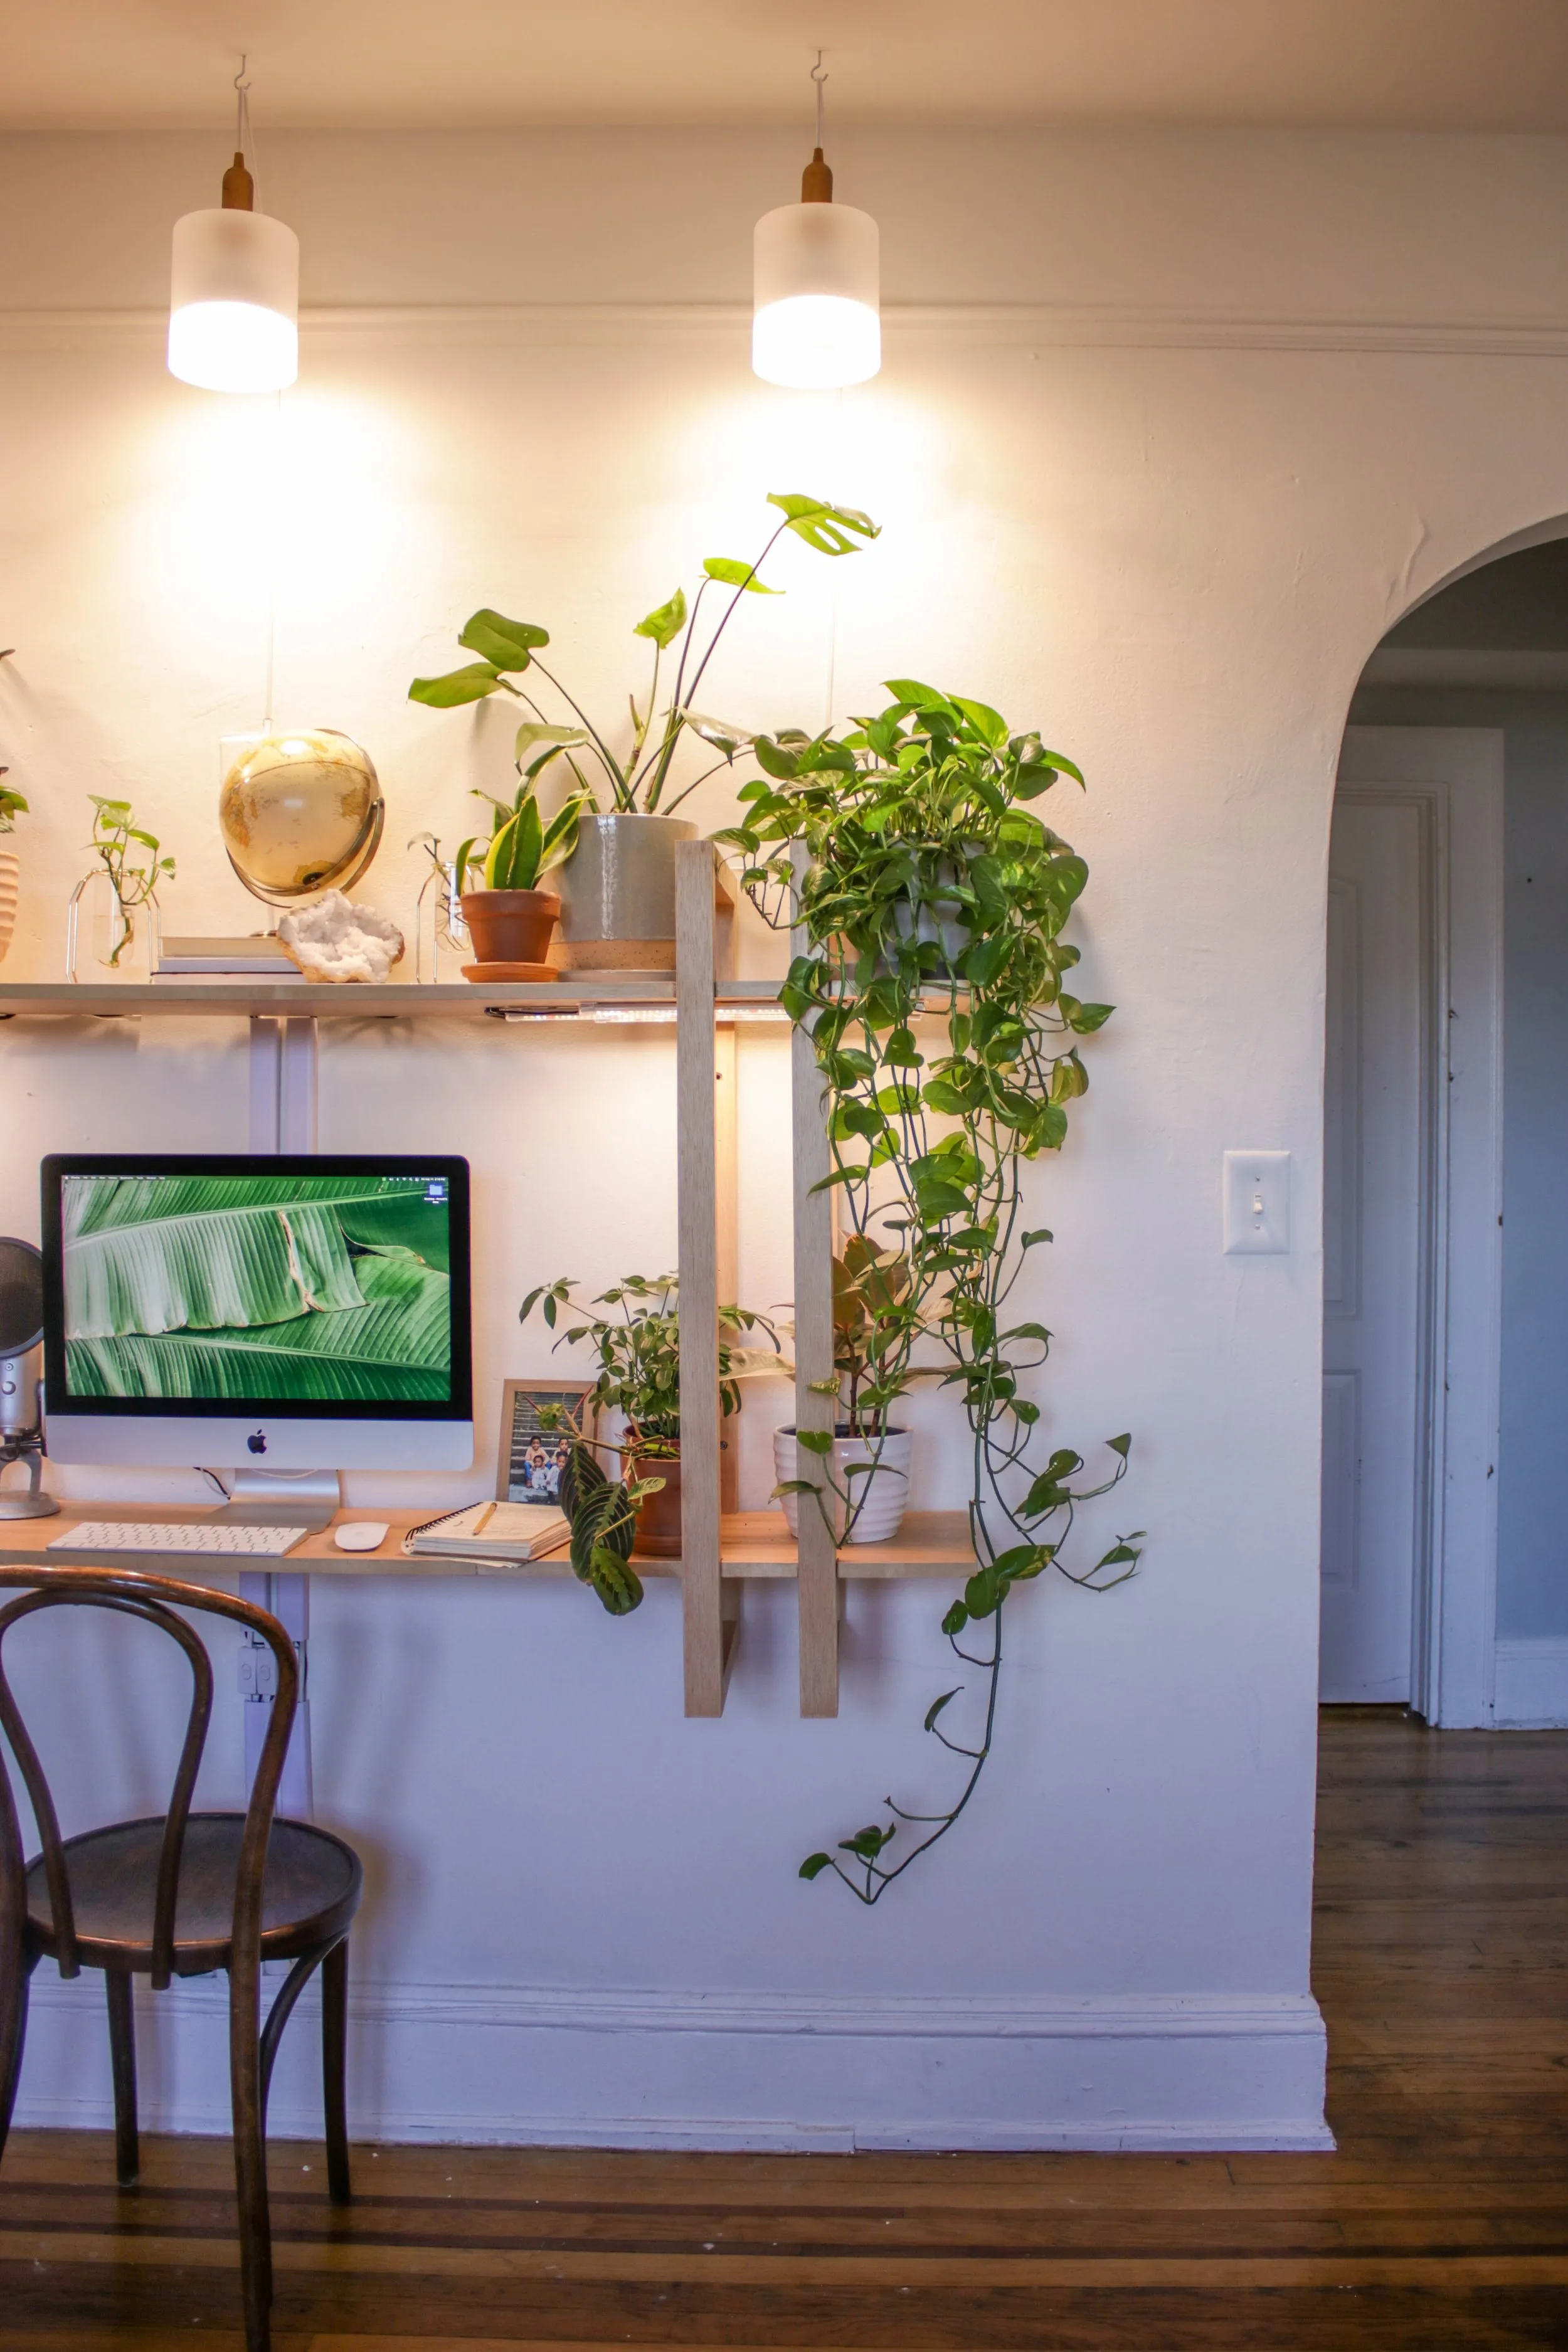 Completed floating desk with plants.
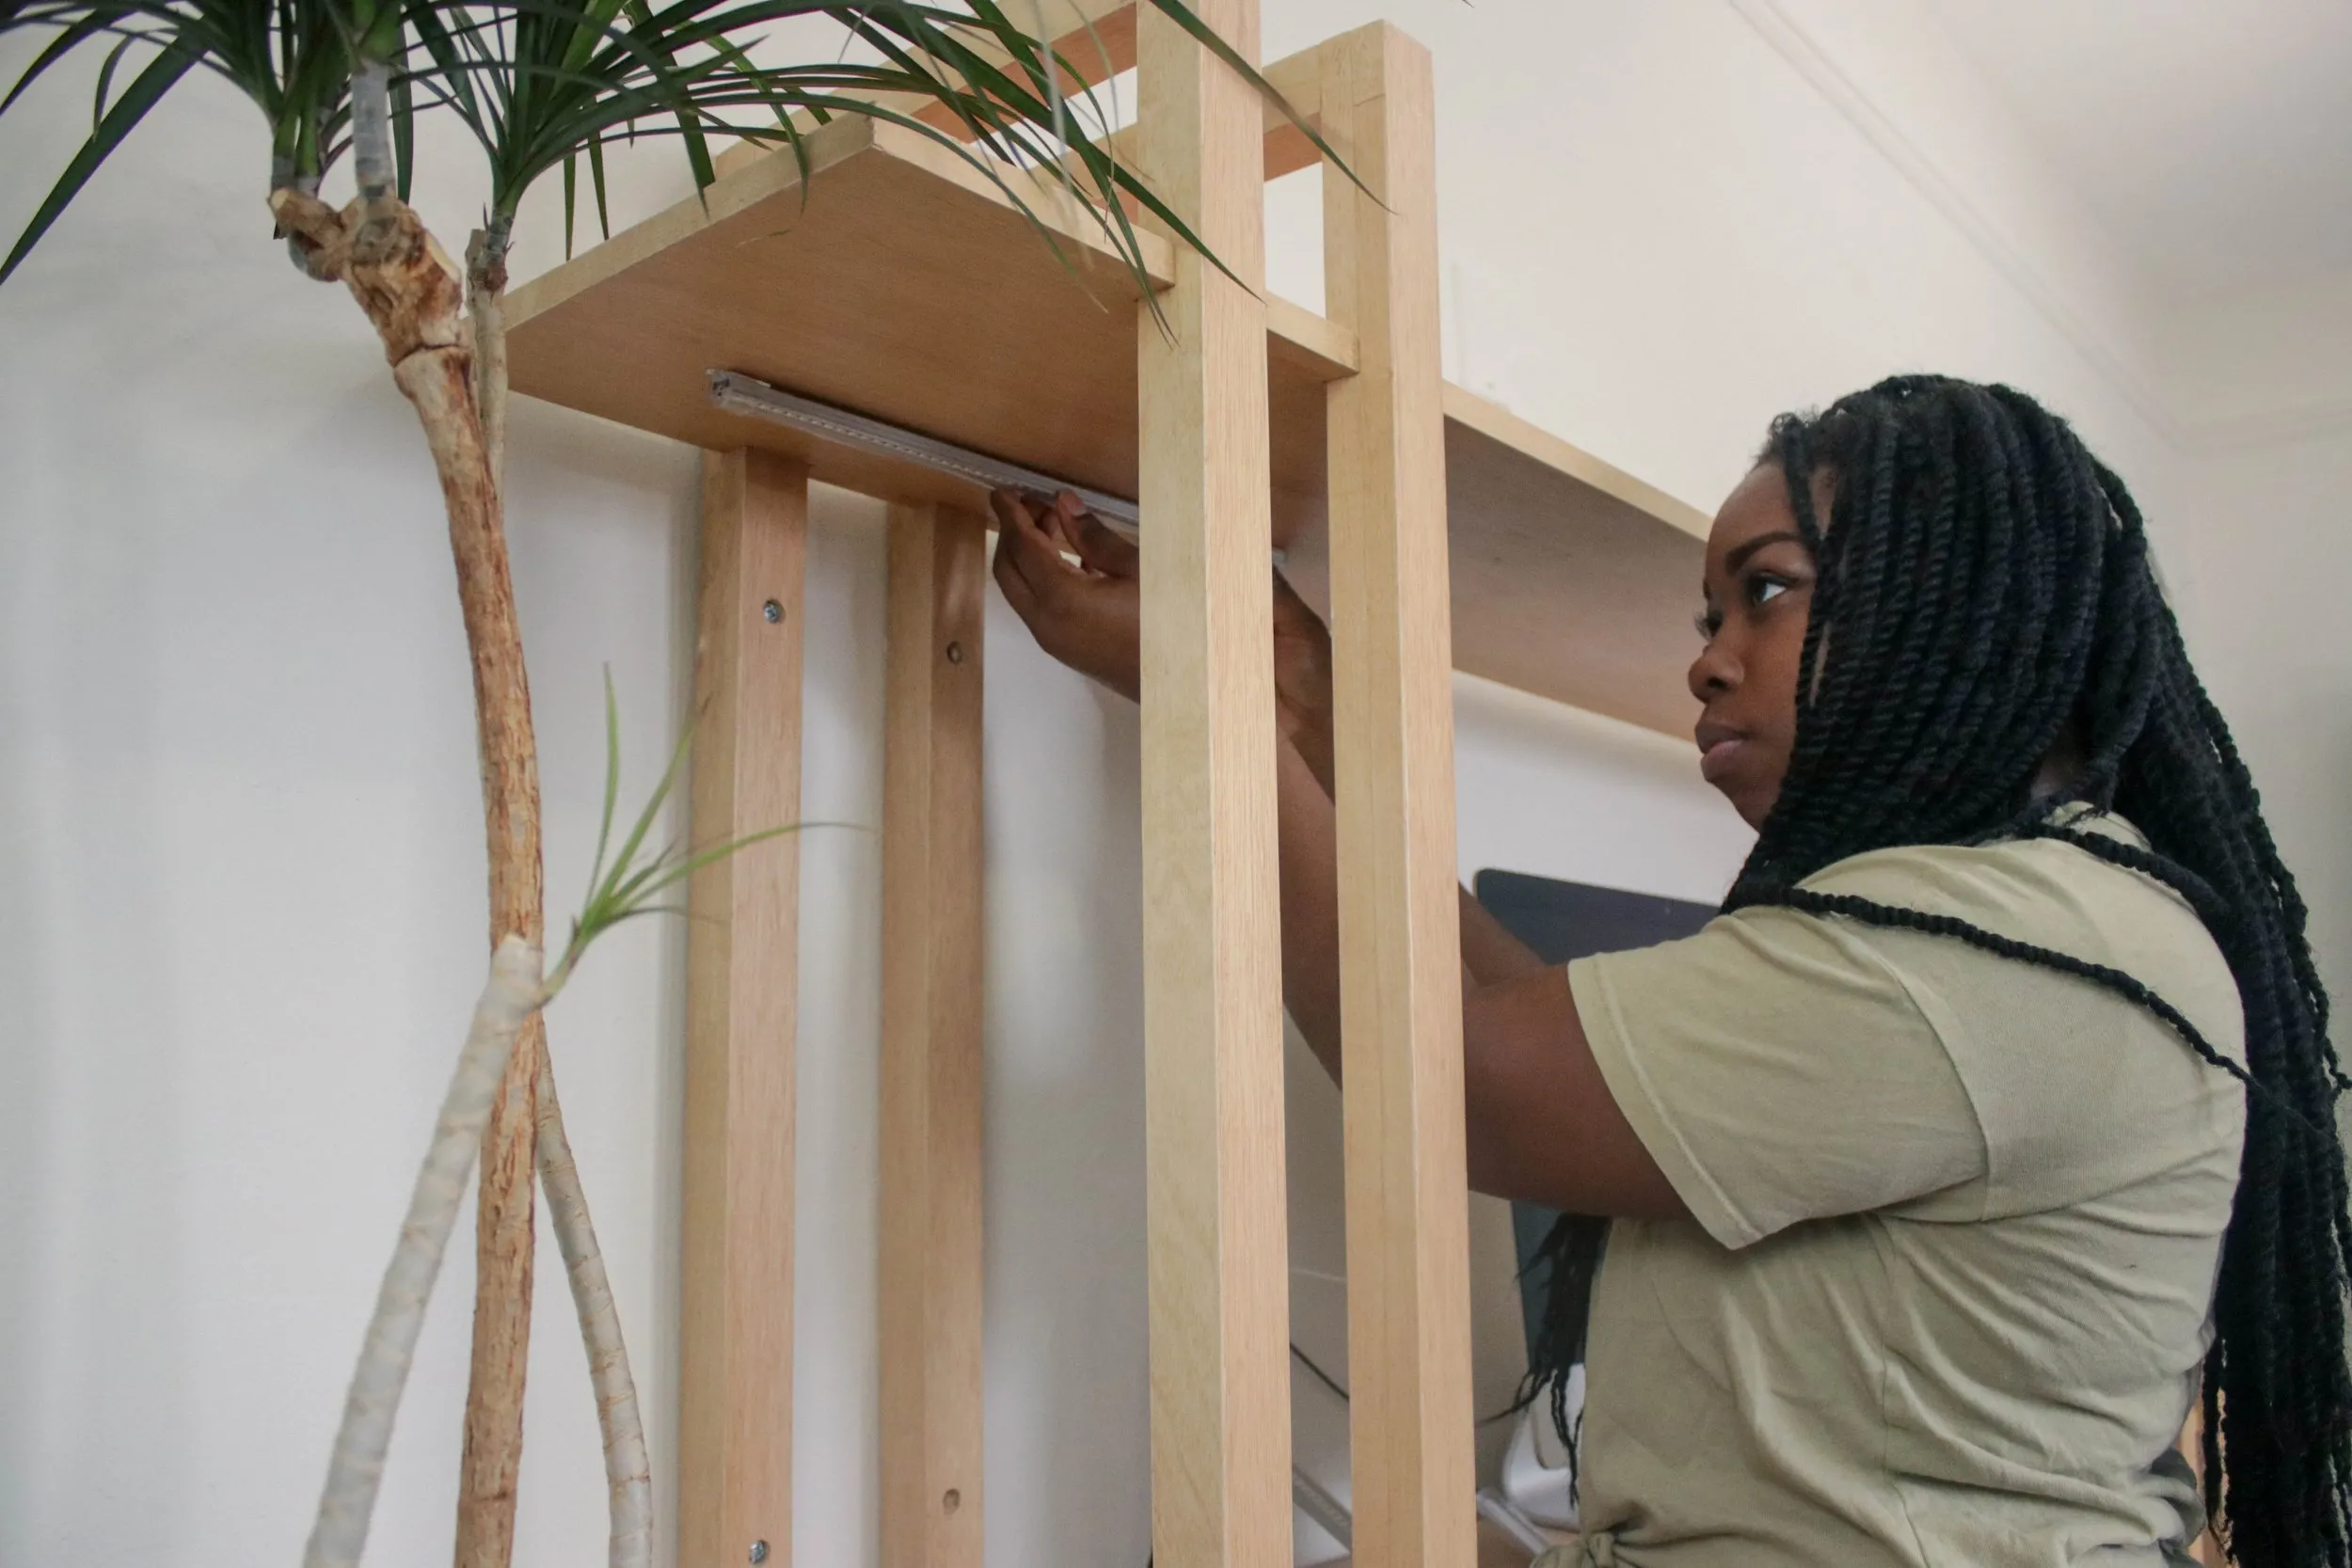 Close-up of the construction of a floating desk.
 Close-up of the construction of a floating desk.
 Completed floating desk with plants.
