Blog
Crafting a Wall-Mounted Floating Credenza: A Journey in Wood
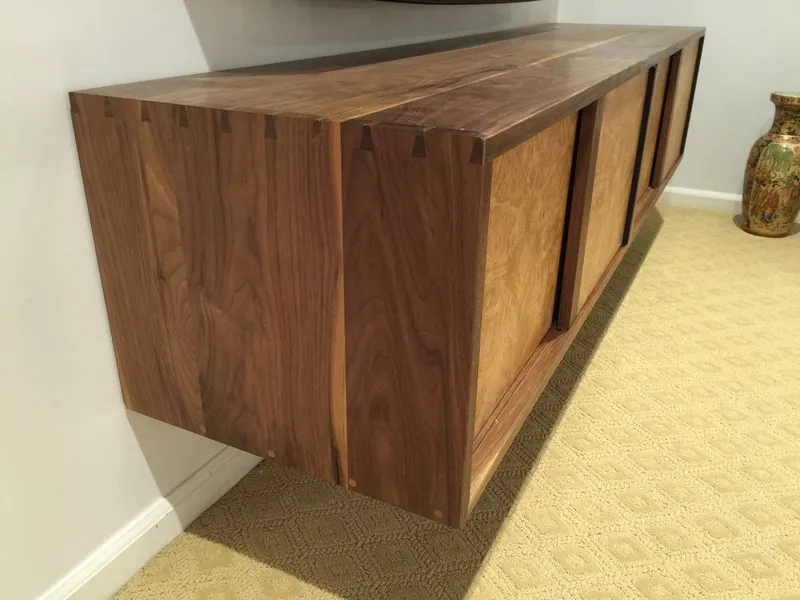
Welcome to Robert Kline Art! I’m thrilled to share my latest project with you – crafting a stunning wall-mounted floating credenza. This journey will be a two-part series, where we’ll explore the creation of two unique credenzas: one in rich American black walnut and the other in warm American black cherry. Both will boast similar designs, featuring elegant sliding doors. However, the black cherry cabinet will have a unique twist with the addition of three spacious drawers.
Drawing Inspiration from Experience
This isn’t my first rodeo! A few years back, I built a similar wall-hanging credenza that’s been serving me faithfully ever since. It’s amazing how everyday use can spark new ideas. While I’m happy with the functionality of the first piece, this time, I’m refining the design to better reflect my evolving aesthetic.
One significant change I’m incorporating is mitering the corner edges of the dovetails. This seemingly small detail will create a sense of visual continuity along the edges, elevating the overall craftsmanship.
 ec62cccf-0fbf-446f-bdb5-0f99bd5482dc_zps4wjedfa3
Mitered dovetails create a seamless flow along the edges
Elevating the Design with Solid Wood
Remember those beautiful maple burl veneered plywood doors from my previous credenza? This time, I’m taking it up a notch. The new cabinets will showcase solid wood doors, inspired by the construction of my Medicine Cabinet series. We’ll be using dovetailed battens, meticulously mortised into full-sized stiles and capped with delicate rails. Just like the Medicine cabinet, the panel will sit flush with the frame for a sleek and sophisticated look.
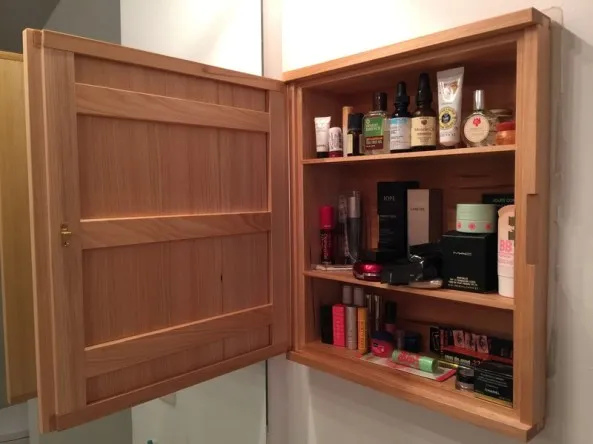 Medicine cabinet – handmade
The medicine cabinet’s solid wood door serves as inspiration
To complement this understated elegance, I’ll be opting for subtle wood grain for the doors, such as vertical or a similarly quiet pattern. I’ve been moving away from bold statements like bookmatched maple burl, embracing the beauty of subtlety.
Refining the Case Construction
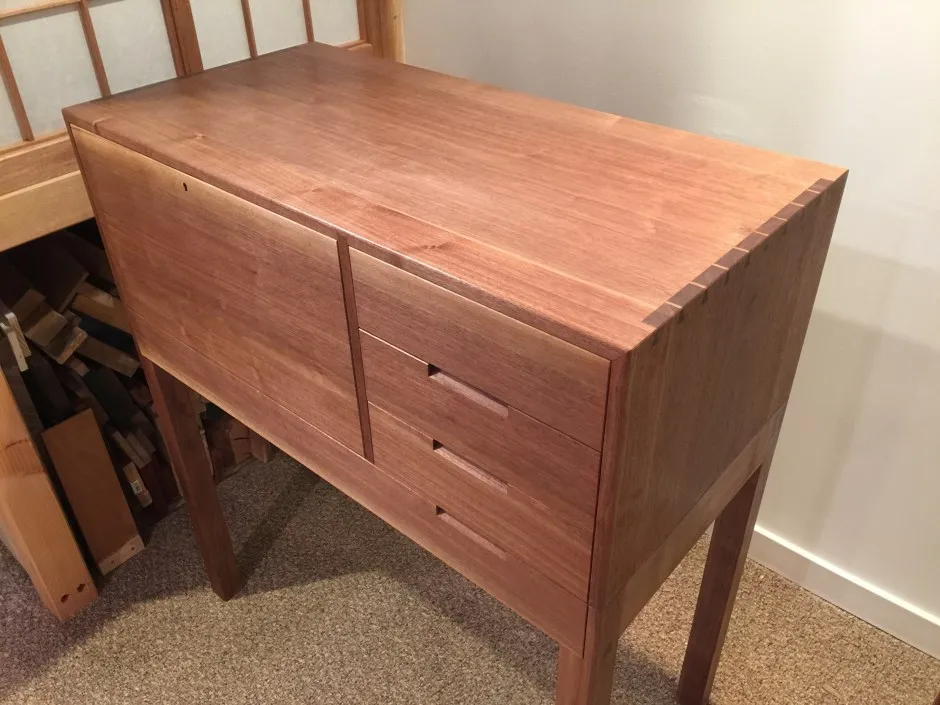
The previous wall-hanging cabinet relied on a dado joint reinforced with dowels to connect the case bottom to the sides. While functional, I’m aiming for a cleaner look this time. We’ll be using half-blind dovetails hidden beneath the case, eliminating the need for visible dowels. The case bottom will be slightly setback from the case sides along the front edge, creating a subtle ledge. This ledge, along with all other edges, will be chamfered for a refined finish.
 img_4679
Half-blind dovetails provide a strong and elegant joint
Selecting the Wood and Preparing the Panels
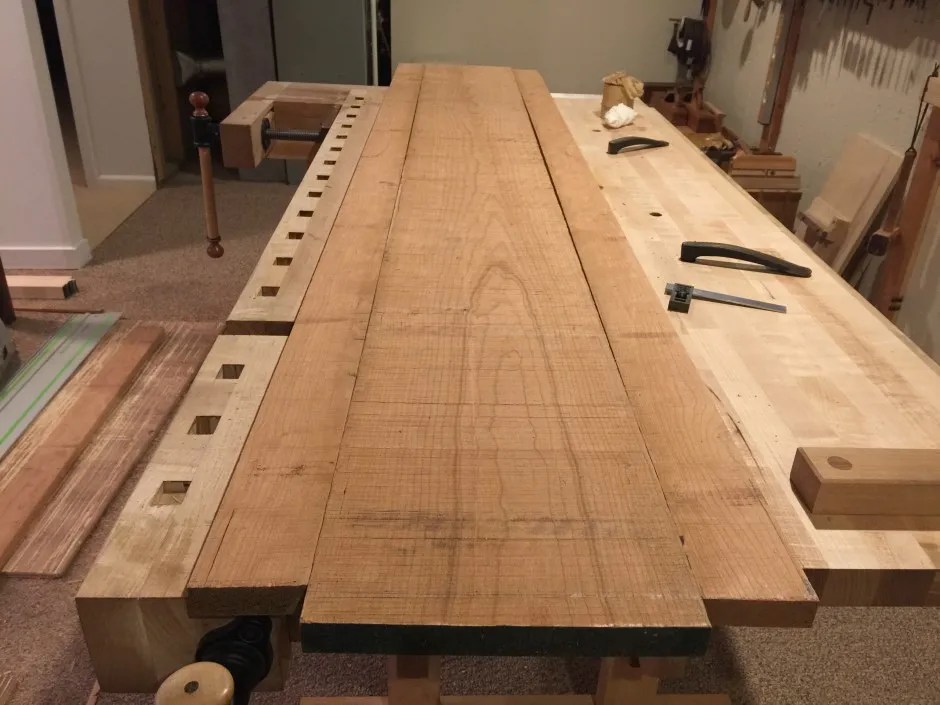
While I’m building both a cherry and walnut cabinet, I’ll primarily focus on the cherry one for this series. The cherry I’ve chosen for the case exterior came in flat sawn boards about 10″ wide. Since the cabinet needs to be 16″ deep, I selected a sequenced board to extend the width and create a seamless panel. Instead of bookmatching, I’ll be cutting the sequenced board to remove the rift sawn edges, using them to achieve the desired width.
Joining boards for a face-jointed panel requires meticulous attention to detail. I start by jointing the edges independently of the faces, using a square for initial checks and then winding sticks for perfect alignment. This ensures a flat panel with minimal material removal during thicknessing.
 img_4646
Winding sticks are essential for aligning board edges
I use a progression of planes – jack plane, try plane, and finally the LN 7 for a silky-smooth finish. Each board is carefully checked for flatness using a precision level.
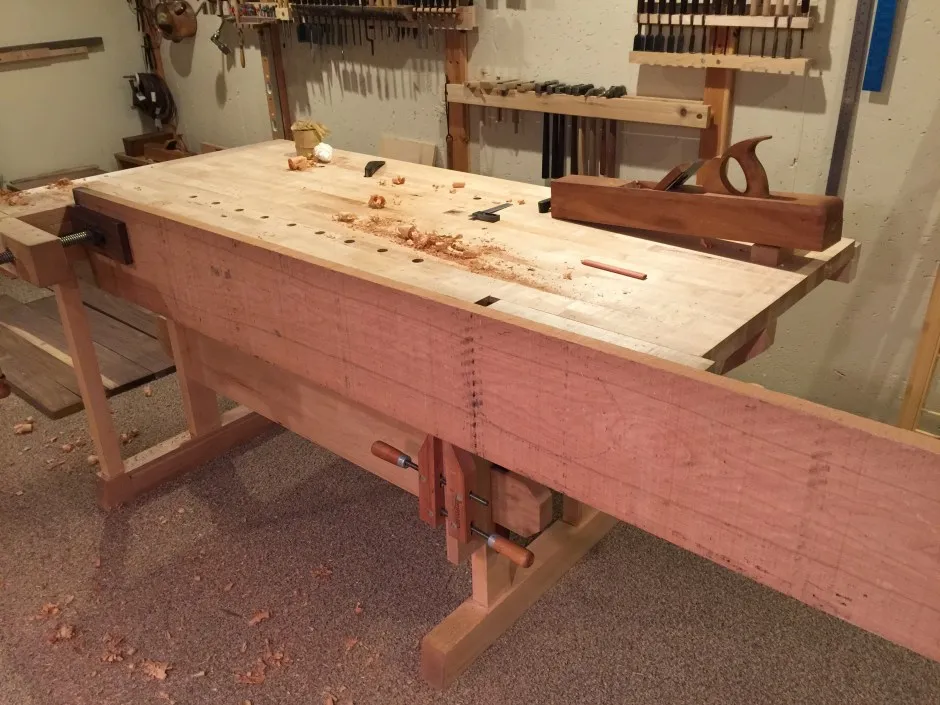 img_4647
A precision level ensures a perfectly flat surface
Once both boards are prepped, I check for gaps and mark the grain direction with arrows. This step is crucial for proper alignment during glue-up.
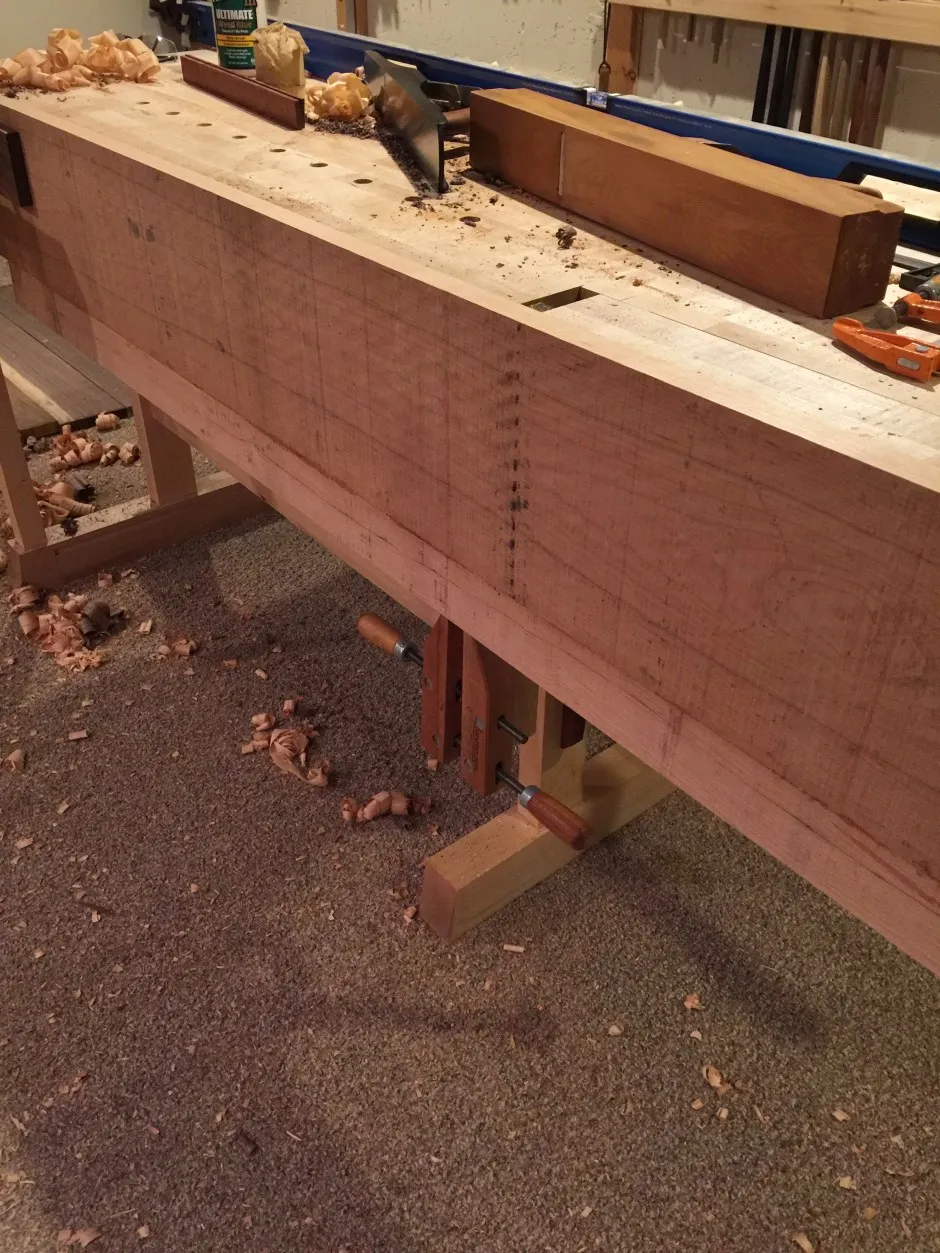 img_4656
Marking the grain direction ensures a cohesive final look
After the glue dries, I use long winding sticks to check for any twist in the panel before moving on to face jointing.
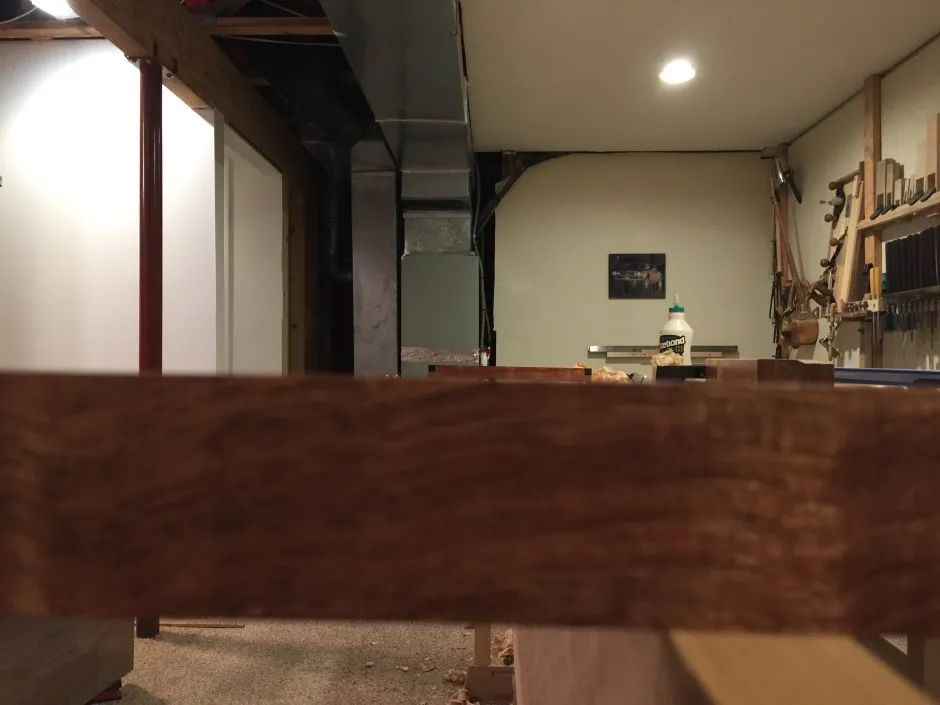 img_4657
Checking for twist is crucial for a flat panel
Unlike my previous project, the Butler’s Desk, where I did most of the rough work across the grain, this time, I’m experimenting by working along the grain. It seems to be slightly faster!
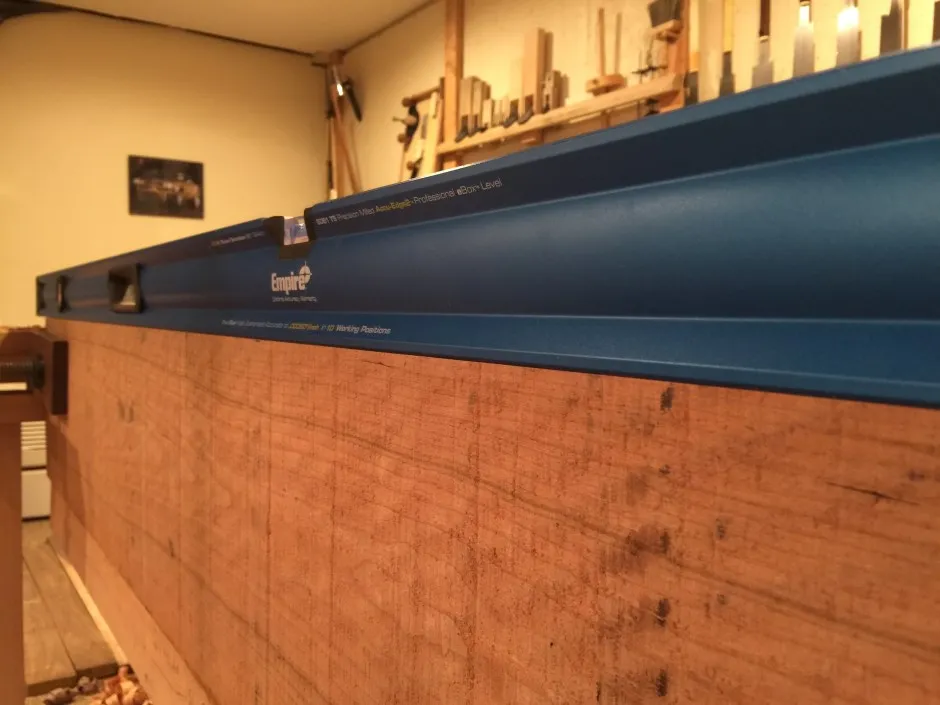 img_4658
Working along the grain for efficient stock removal
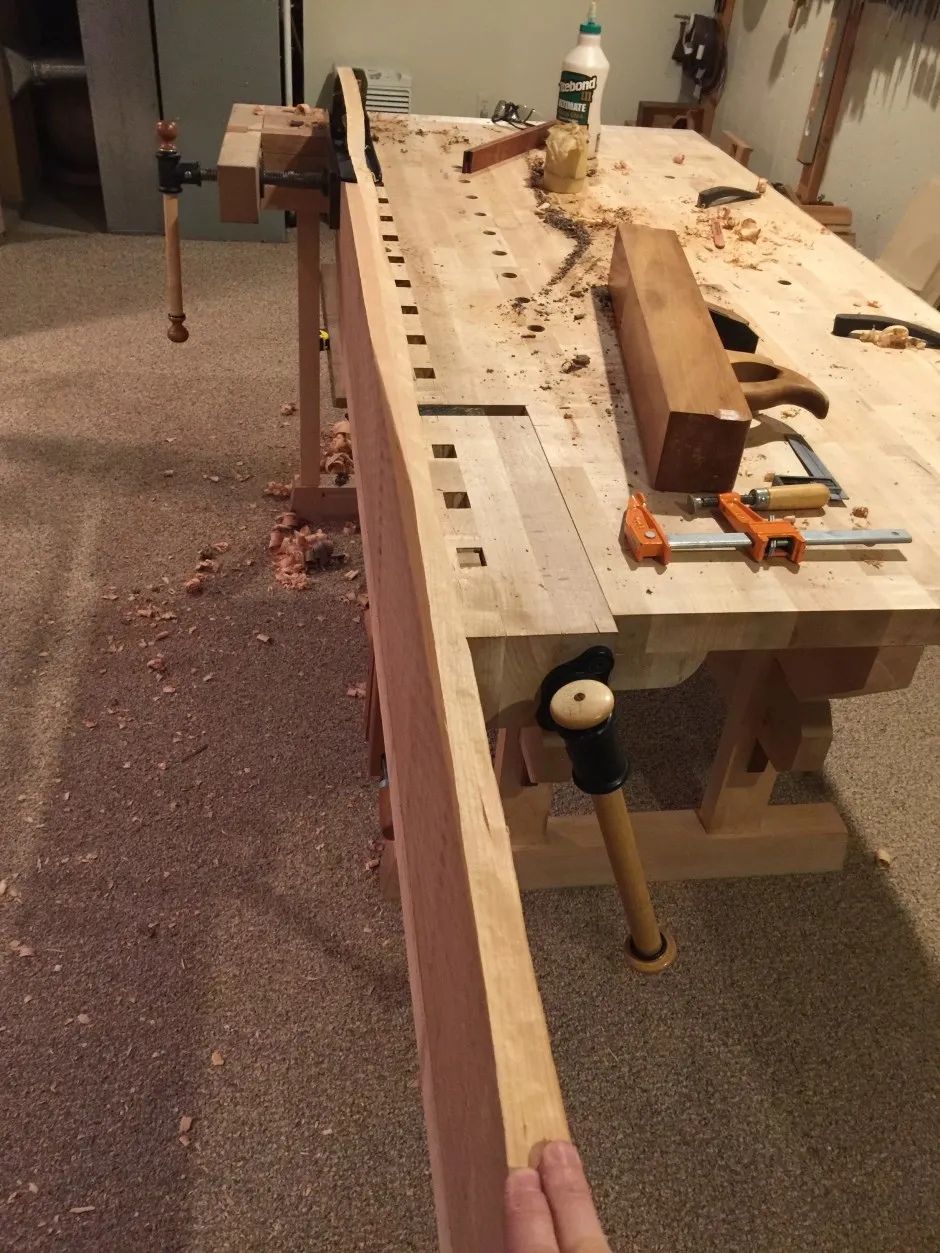
The result? A nearly invisible glue line and a beautifully smooth surface that highlights the subtle beauty of the cherry grain.
 img_4659
A testament to careful craftsmanship – a nearly invisible glue line
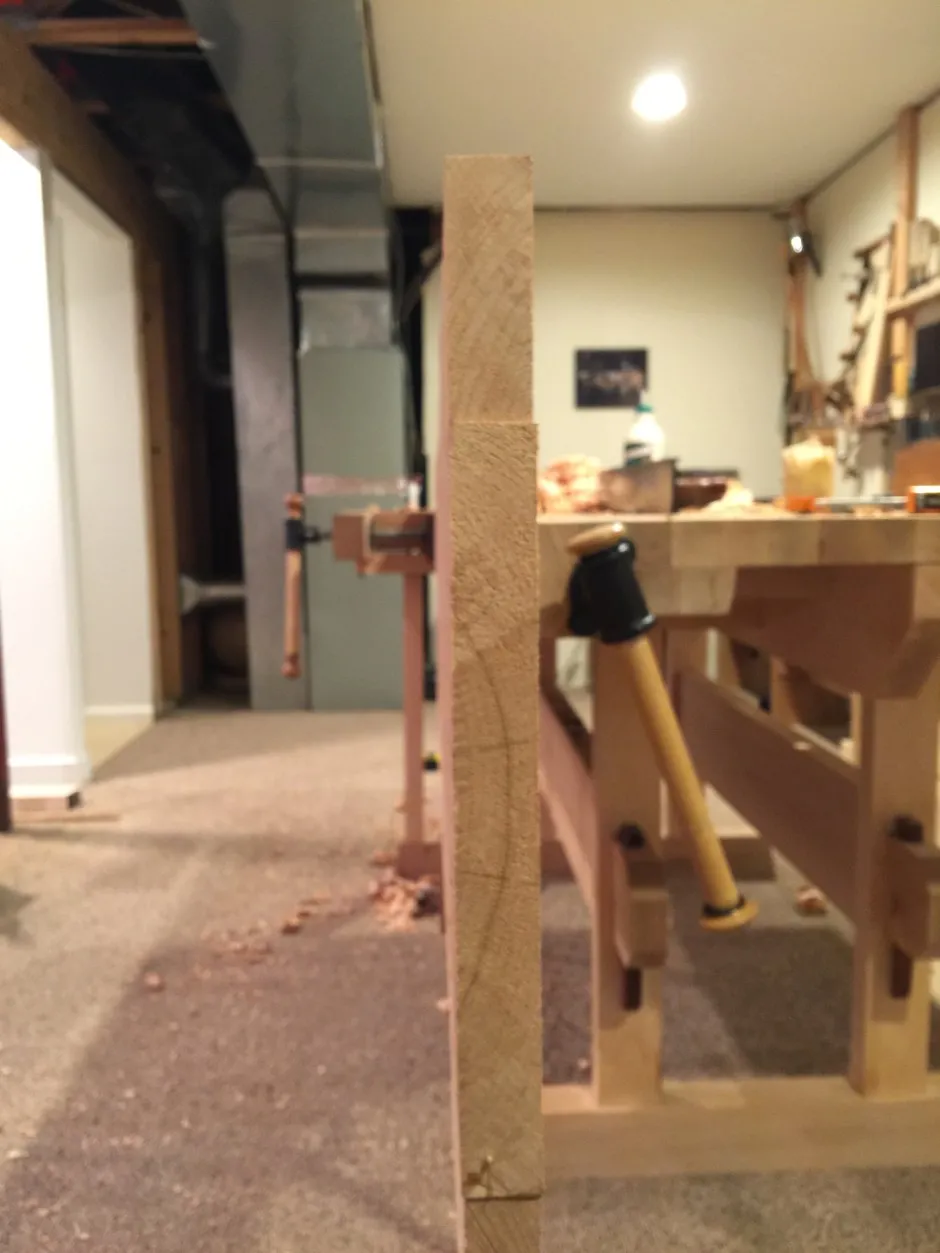
These long panels will eventually be cut down to form the case’s top and sides, creating a visually stunning continuous flow. The case bottoms, however, are separate panels, carefully chosen to match the top as closely as possible.
 img_4661
The case bottom panels are selected for their matching grain
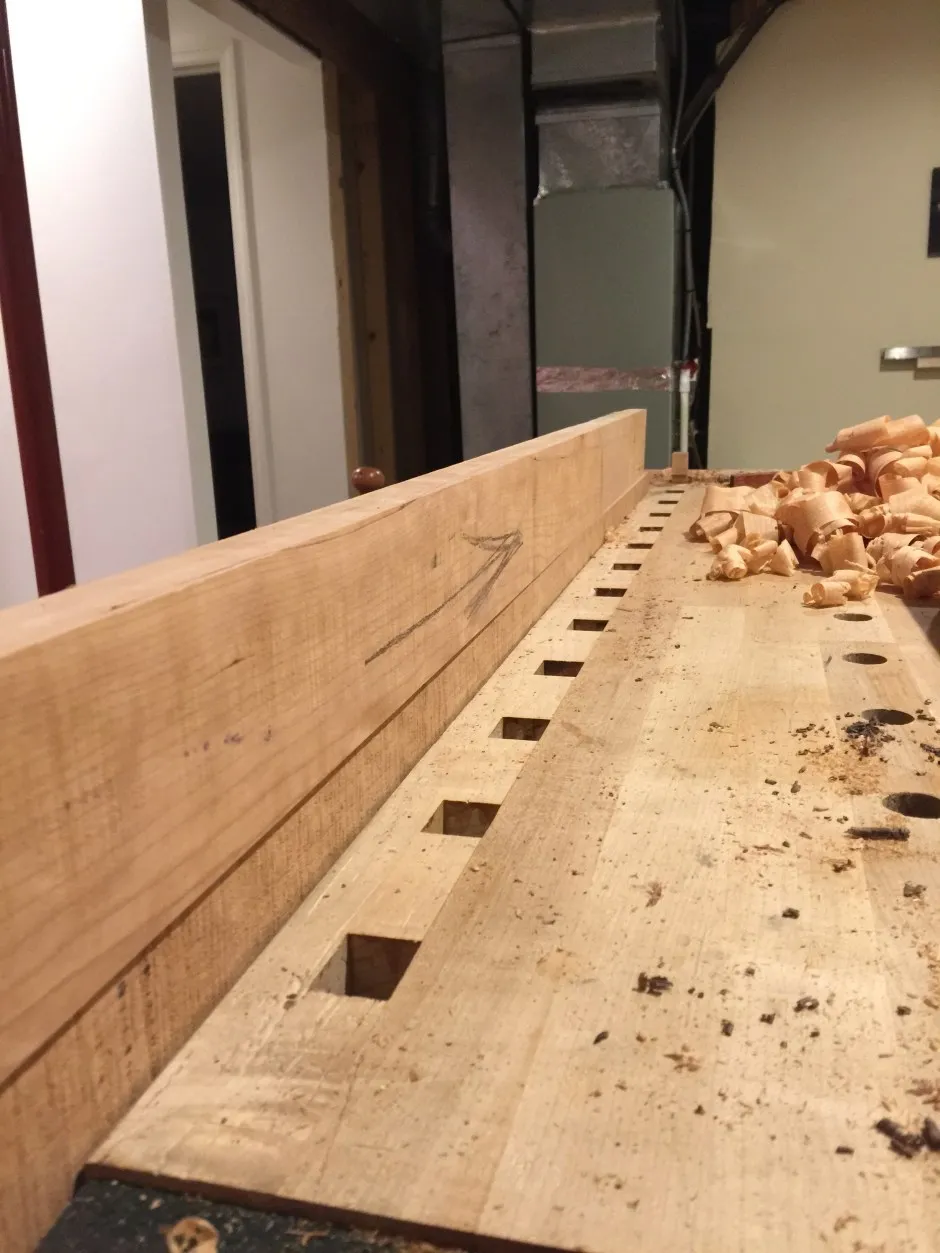
Following the same meticulous process, the cherry case bottom is face-jointed and brought to its final dimensions. Instead of using a saw to trim the boards to width, I employ a jack plane set for heavy shavings – a few swift strokes and the excess material is gone!
 img_4663
Using a jack plane to trim boards to their final width
Laying Out the Cuts
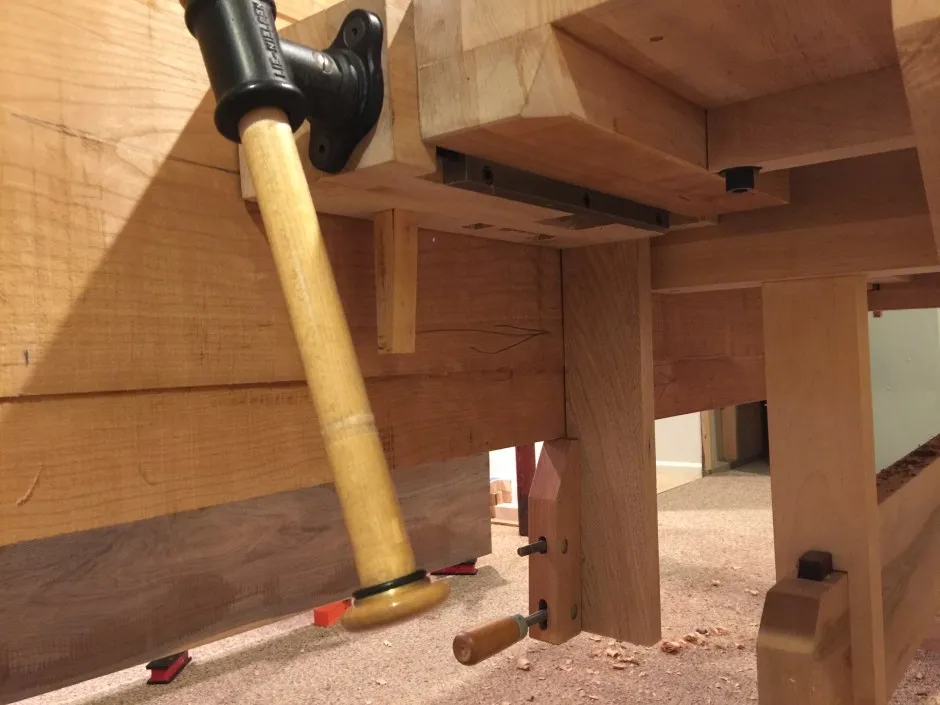
Once the panels are edge-jointed and sized, I lay out the saw cuts, strategically avoiding highly figured areas for the corner joints. Remember, highly figured grain, while visually appealing, can be weaker than straight grain.
 img_4664
Careful layout ensures the strongest joinery
Join Me on This Creative Journey
That’s all for now, fellow woodworking enthusiasts. I invite you to follow along as we delve into the next stages of this project. In the next installment, we’ll tackle the intricate dovetails of the floating credenza.
Stay tuned for more woodworking adventures and be sure to share your thoughts and questions in the comments below. Don’t forget to check out other unique handmade gifts and creations at Robert Kline Art. Let’s inspire each other to create beautiful things!
