Blog
DIY Herb Drying Rack: A Simple Guide to Preserve Your Garden Bounty

Nothing smells quite as intoxicating as fresh herbs. And nothing beats the satisfaction of growing those herbs yourself. As an avid gardener and craftsman here at Robert Kline Art, I look for creative ways to make my passions both beautiful and functional. This year, my herb garden exploded, and I needed a practical solution for drying and preserving that fragrant bounty. That’s when inspiration struck: a vintage-inspired DIY herb drying rack! This guide will show you how to build your own, turning your homegrown herbs into a fragrant, eye-catching display.
Why a DIY Herb Drying Rack?
I scoured antique stores and online marketplaces hoping to find the perfect vintage herb drying rack – no luck! But as they say, “necessity is the mother of invention.” I took inspiration from those charming vintage pieces and channeled my inner DIY spirit.
This project was driven by a few key goals:
- Space-Saving Design: I wanted something to mount on the wall, keeping my counters clear.
- Ample Drying Capacity: My herb garden was overflowing, so the rack needed to accommodate a large quantity.
- Decorative Aesthetic: I envisioned a piece that would not only dry herbs but also add rustic charm to my kitchen.
- Farmhouse Chic: Drawing inspiration from old farmhouses, I wanted something that exuded rustic elegance.
Drying Herbs: Exploring Your Options
Drying herbs is a simple art, and there are several methods to choose from, each with its pros and cons:
1. Hang Drying: My personal favorite! There’s something inherently charming about bundles of herbs hanging to dry, reminiscent of a simpler time. Plus, it’s a fantastic space-saving solution.
Expert Tip: “If you live in a humid climate, consider placing brown paper bags over your hanging herbs,” advises renowned herbalist Sarah Jones. “The bags will absorb excess moisture, speeding up the drying process and preventing mold.”
2. Drying Racks: Ideal for those with a large volume of herbs, drying racks provide ample space for laying herbs flat. However, they do require a designated drying area.
3. Dehydrators: A worthy investment for dedicated gardeners, dehydrators ensure fast and even drying with controlled temperatures.
4. Oven Drying: While convenient, this should be your last resort. The high heat can compromise the flavor, color, and essential oils in your herbs.
Conquering Humidity: Tips for Success
Living in a humid climate, I’ve learned a few tricks to prevent mold and ensure perfectly dried herbs:
- Smaller Bundles: Avoid overcrowding. Smaller bundles allow for better air circulation and faster drying.
- Paper Bag Trick: As Sarah Jones suggests, cover hanging bundles with paper bags to combat humidity.
- Strategic Placement: Choose the driest spot in your home, away from direct sunlight.
- Dehumidifier: Running a dehumidifier can make a world of difference in humid environments.
- Dehydrator Backup: For consistent results, a dehydrator is a worthwhile investment in humid climates.
Crafting Your DIY Herb Drying Rack:
This project is incredibly easy and budget-friendly. Here’s what you’ll need:
Materials:
- Measuring Tape
- Level
- Needle Nose Pliers
- 2 Wooden Dowels
- 4 Gold Hooks
- 1 Ball of Twine or Cotton String
- Glass Jars for Storage
- Optional: Ikea Wooden Spice Rack
- Optional: Glass Spice Jars
Instructions:
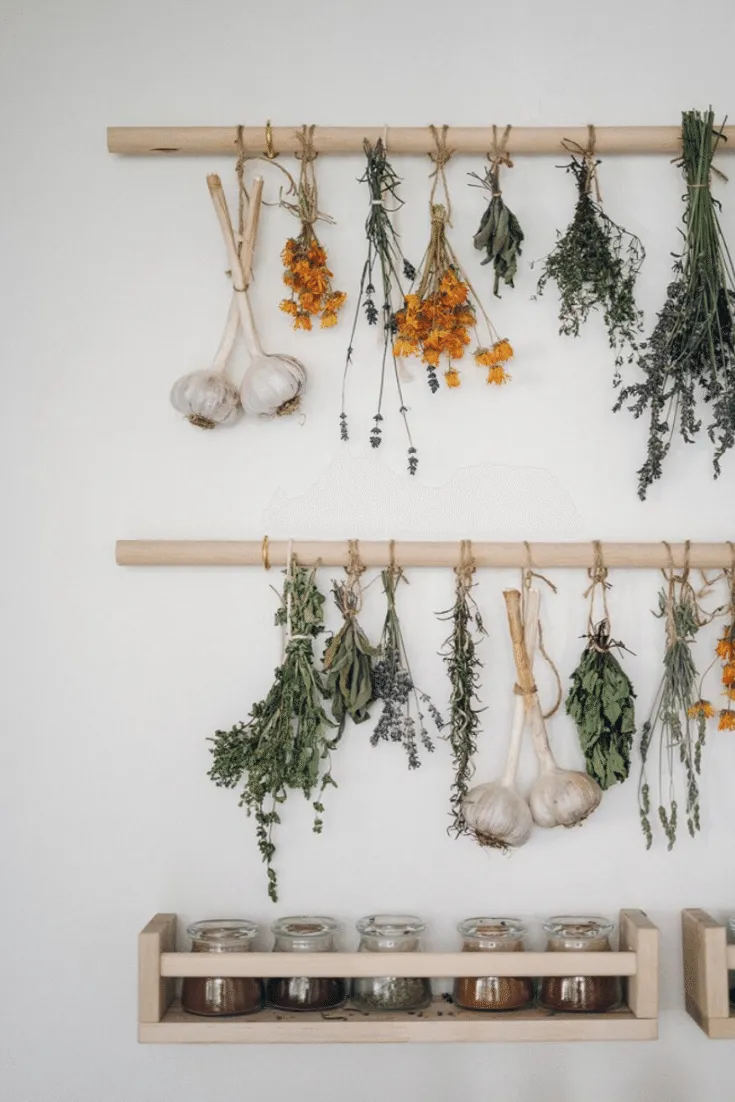
- Measure & Mark: Determine the placement of your drying rack on the wall. Find and mark the center point of both the wall and the dowels to ensure a centered hang. For adequate spacing, I recommend 14 inches between dowels.
- Hook Placement: Measure three inches inward from each end of the dowels and mark the wall for hook placement.
- Test & Adjust: Before securing the hooks, ensure the dowels fit by slightly opening the hooks with needle-nose pliers if needed.
- Secure Hooks: Screw the gold hooks into the wall at the marked points. This rack is lightweight, so finding studs isn’t necessary.
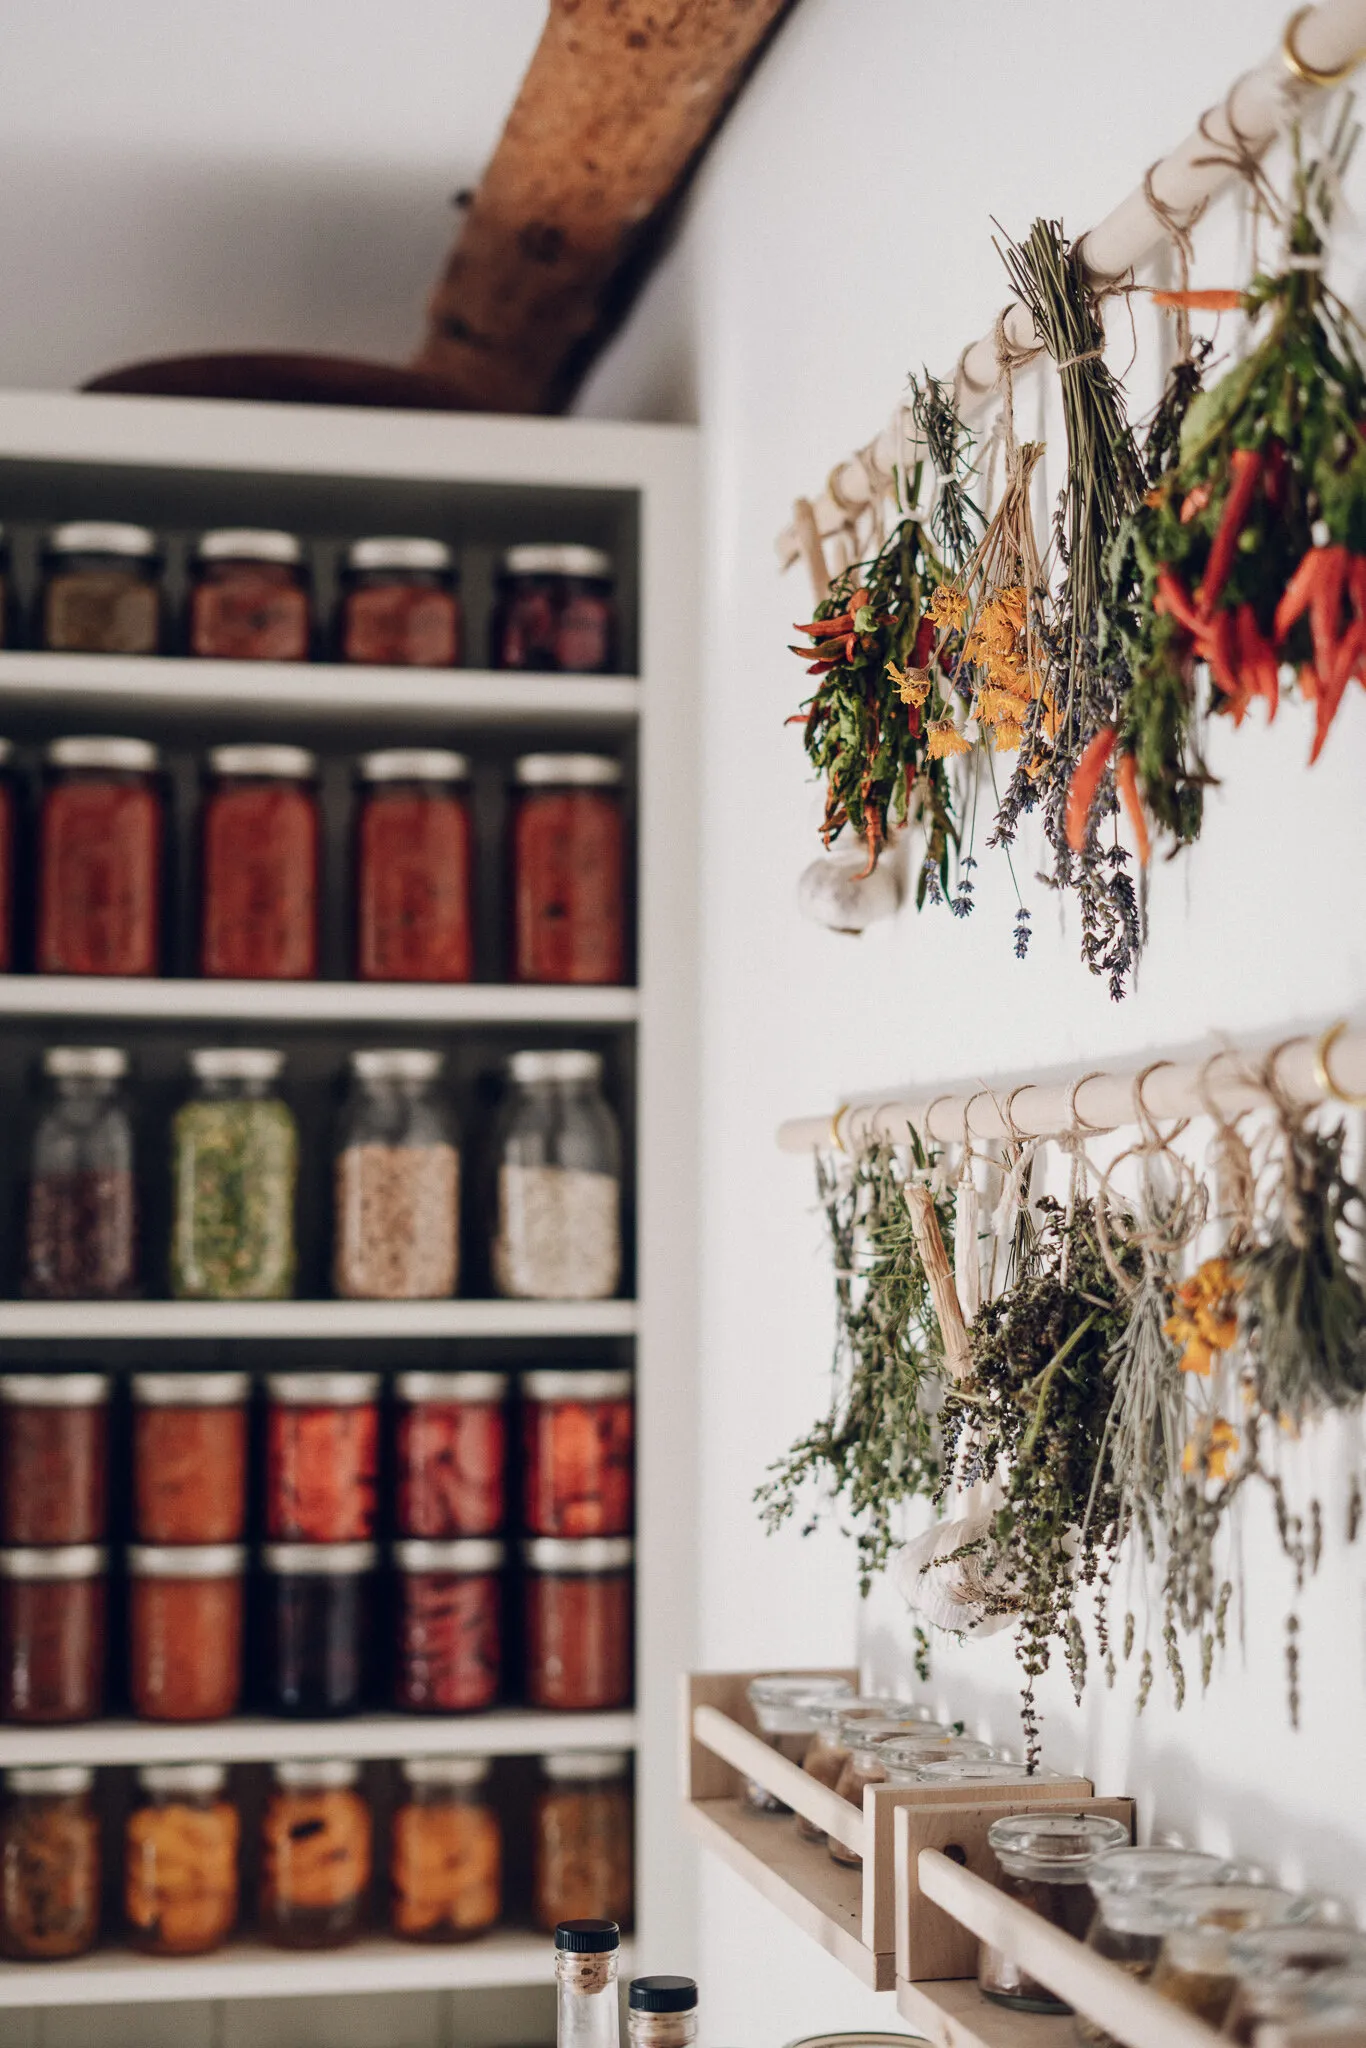
- Hang & Arrange: Slide the dowels into the gold hooks, creating the base of your rack. Tie bundles of herbs to the dowels using twine or string.
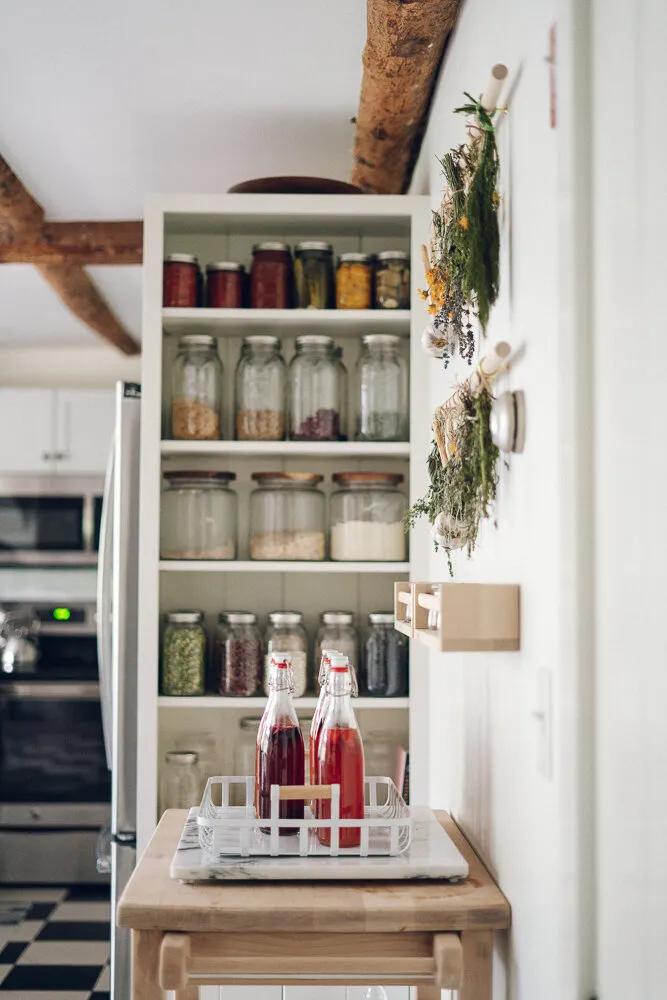
- Drying & Storing: Once your herbs are fully dried, remove them from the stems and store them in airtight containers, preserving their flavor and aroma.
 simple homemade diy herb drying rack
 DIY herb drying rack
 hanging herb drying rack
 hanging herb drying rack
 hanging herb drying rack
 simple homemade diy herb drying rack
 hanging herb drying rack
 diy herb drying rack
Conclusion: Enjoy the Fruits (and Herbs) of Your Labor!
This DIY herb drying rack is more than just a practical solution – it’s a testament to creativity, resourcefulness, and the joy of working with your hands. So, roll up your sleeves, embrace the process, and elevate your herb-drying game with this charming and functional addition to your home.
Don’t forget to share your creations and experiences with us in the comments below! And for more unique, handcrafted treasures, explore the collection on the Robert Kline Art website – perfect for adding a touch of handmade beauty to your life or gifting to someone special.
