Blog
How to Build a Stunning Wall-Mounted Desk (with Plant Space!)

Hey there, fellow DIY enthusiasts! Robert Kline, your friendly neighborhood art and craft aficionado, here. Today, we’re diving into a project that combines practicality with a touch of green: building a gorgeous wall-mounted desk with integrated plant shelving. This design is not only space-saving but also adds a vibrant, natural element to your workspace. Let’s roll up our sleeves and get started!
Gathering Your Tools and Materials
Every masterpiece starts with the right tools. Here’s what you’ll need for this project:
Materials:
- 4 x 8 sheet of birch plywood
- 220 grit sandpaper
- Wood glue
- Edge banding (1.5″ and 3/4″)
- Pencil
- 1.25″ and 2″ pocket hole screws (a variety pack is handy!)
- Respirator mask with filters or a face mask
- Safety glasses
- 2-in brad nails
- Wood pre-stain, stain, and sealer (choose your favorite shades!)
Tools:
- Kreg jig pocket hole system
- Jigsaw
- Table saw
- Drill set
- Miter saw (optional, but helpful for precise cuts)
- Iron
- Nail gun
- Speed square
- Level
- Kreg jig face clamp (usually included with the Kreg jig kit)
- Edge banding trimmer
- Box cutter
Building Your Wall-Mounted Desk: A Step-by-Step Guide
 Measuring and cutting wood for a DIY project
Alt Text: Precisely measuring wood ensures a professional-looking final product.
Step 1: Cut the Wood
Precision is key! Cut your birch plywood into the following pieces:
- (16) pieces: 1.5″ x 37″
- (2) pieces: 12″ x 72″
- (16) pieces: 1.5″ x 10.5″
Expert Tip: Refer to the downloadable guide in my shop for detailed cutting instructions and helpful tips. You’ll find it linked below!
 Ebook advertisement for a plant wall shelf guide
Alt Text: Download the comprehensive plant wall shelf guide for in-depth instructions.
Step 2: Create the Vertical Supports
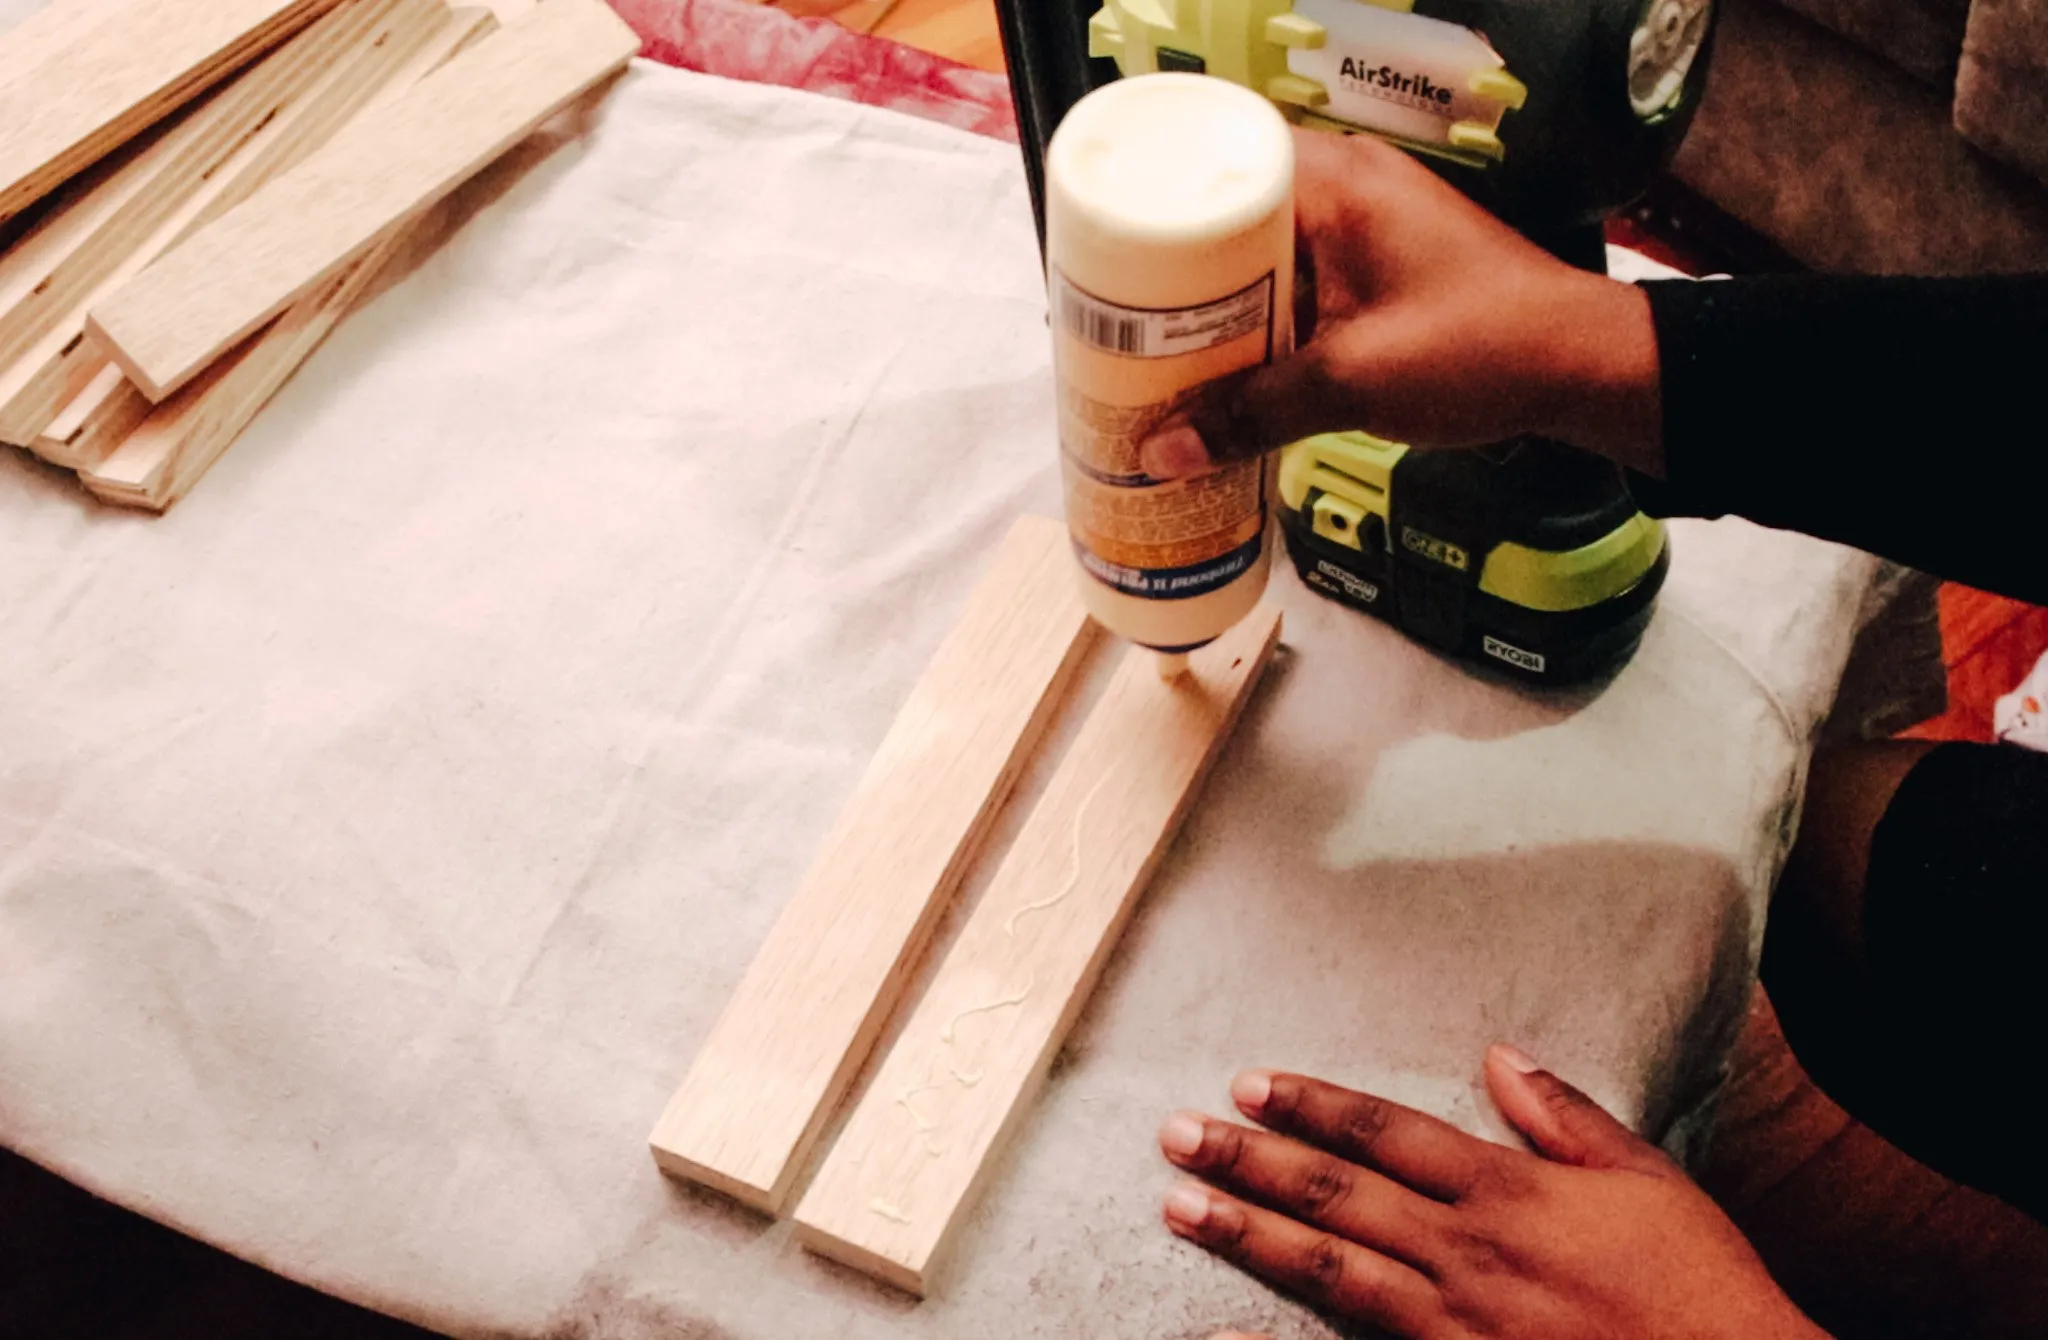
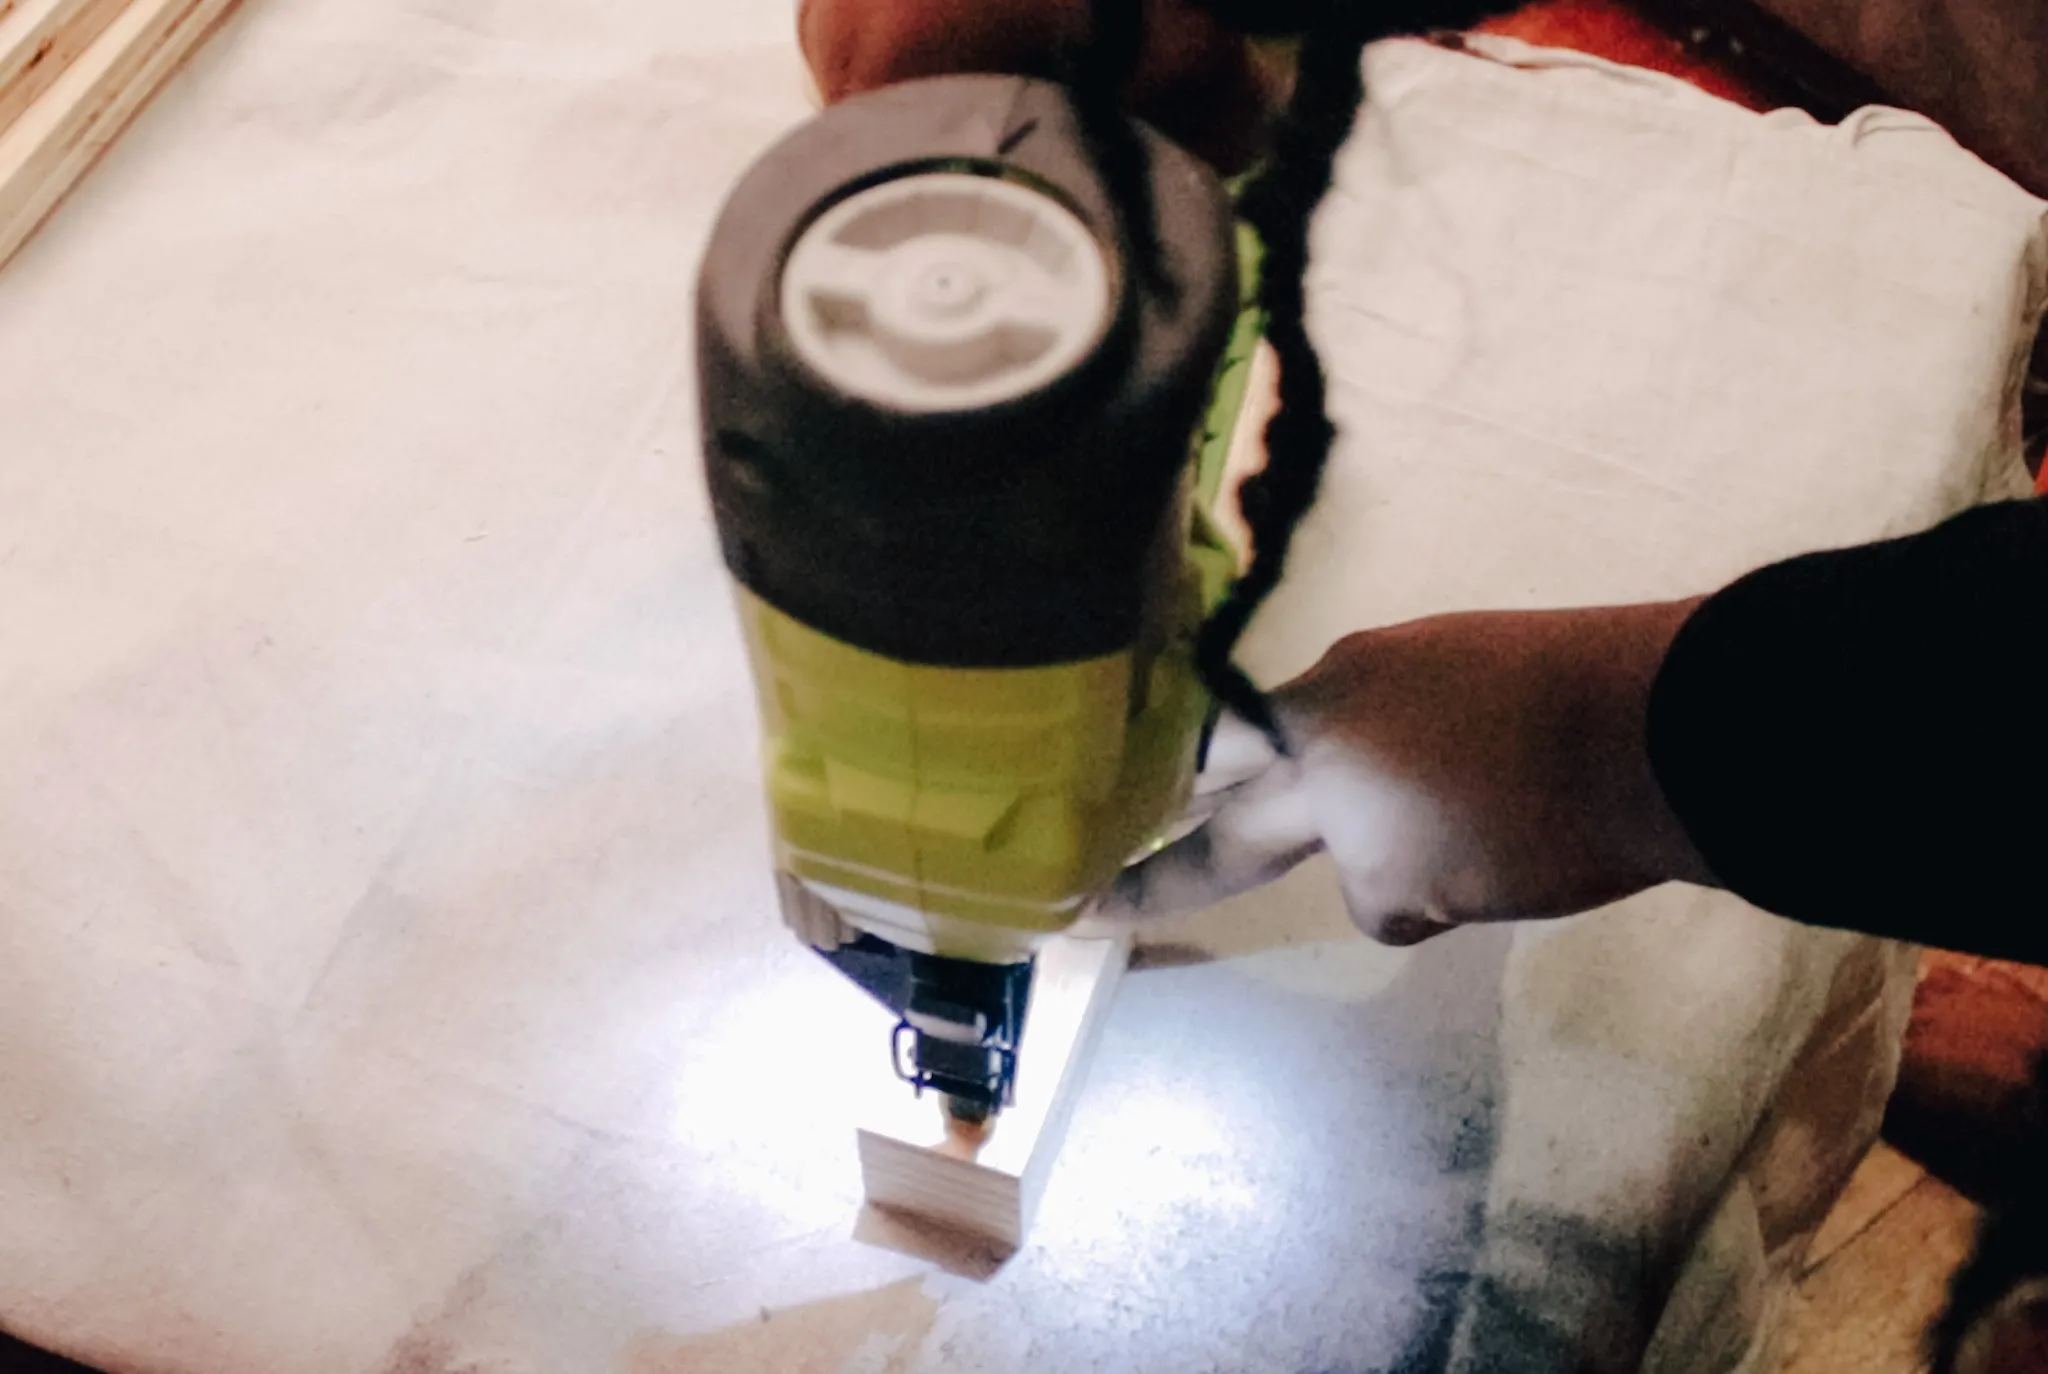
Apply wood glue to the edges of eight of the 37″ pieces and attach them together using your brad nailer. Repeat this process for the remaining eight 37″ pieces and all of the 10.5″ pieces.
Remember: Nail into the sides that will be facing the wall.
Step 3: Apply Edge Banding
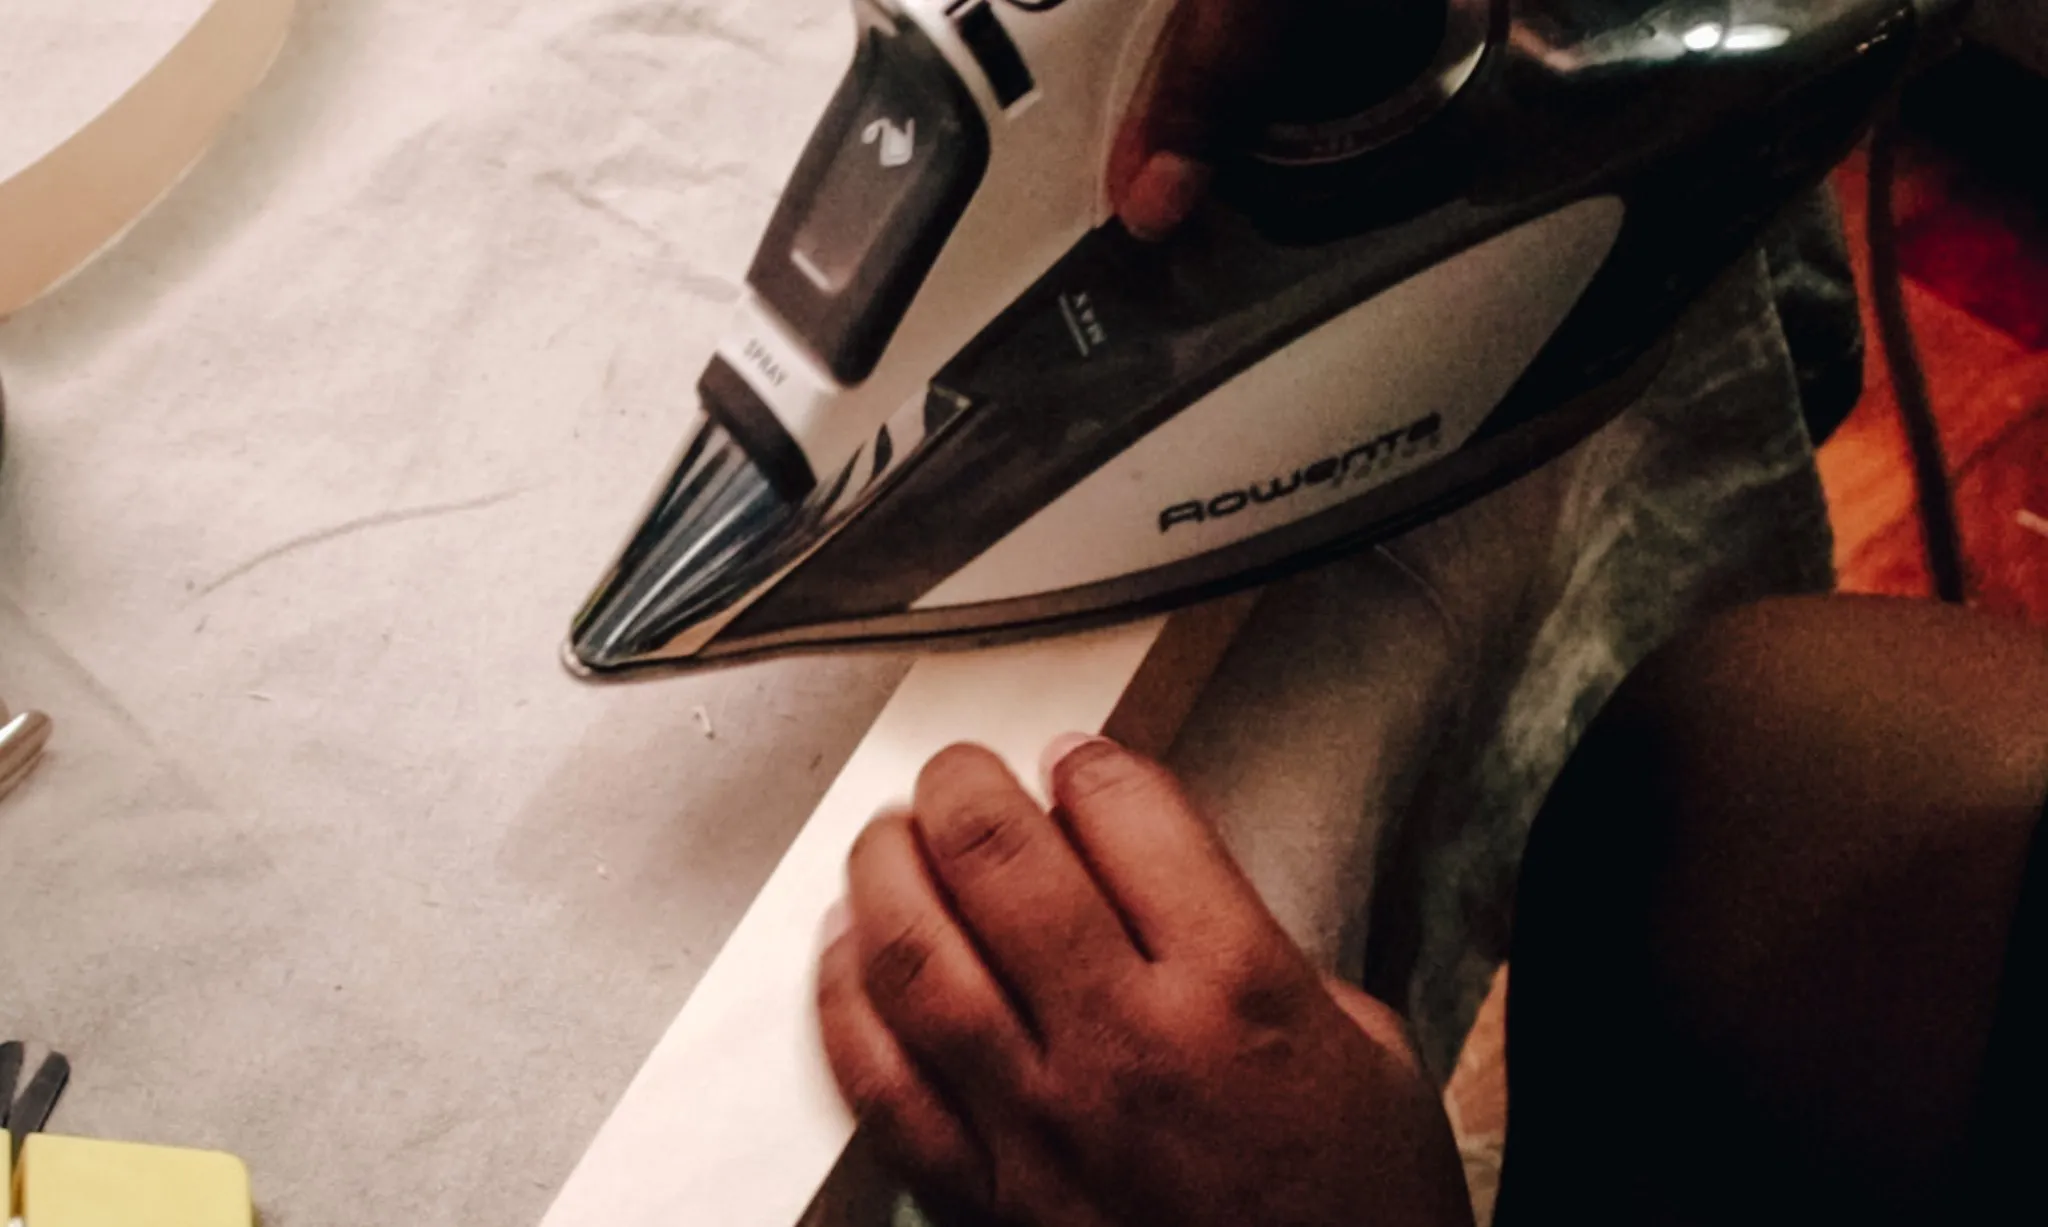
Iron edge banding onto the long edges of the 37″ and 10.5″ pieces, as well as around all edges of the 12″ x 72″ panels. This creates a clean, finished look. Trim any excess banding with a box cutter or edge banding trimmer.
Step 4: Sand for a Smooth Finish
Thoroughly sand all surfaces and edges of the assembled pieces. Smoothness is crucial for a professional-looking desk!
Step 5: Create the Shelf Notches
On one of the 12″ x 72″ panels, measure and mark 7″ and 12″ from one end. On either side of these marks, measure 3/4″ and extend these lines across the panel using a speed square. This ensures your notches are perfectly aligned. Repeat this process on the other 12″ x 72″ panel.
Next, mark 3/4″ inward from each corner on the same side as the notch markings. Use your jigsaw to carefully cut out the notches.
 Cutting wood with a jigsaw for a DIY plant shelf
Alt Text: A jigsaw is essential for creating the custom notches in the plant shelf supports.
Step 6: Test the Fit
Dry fit the long, assembled 37″ pieces into the notches you just cut. The fit should be snug but not overly tight. Adjust with sanding or a jigsaw if needed.
Step 7: Drill Pocket Holes
Drill pocket holes into one side of each 10.5″ piece and on the inside of the notches you cut into the 12″ x 72″ panels.
Step 8: Assemble the Frames
Using your 2″ pocket hole screws and Kreg jig, assemble four separate frames, ensuring each corner is perfectly square. Once assembled, align the frames and mark the top and bottom of each inner frame to indicate where you’ll attach the 12″ x 72″ panels.
Step 9: Secure the Shelves
Carefully slide the 12″ x 72″ panels into the frames, one at a time. Secure them using your 1.25″ pocket hole screws, ensuring each shelf is level. Remember, the horizontal supports you created earlier should be facing the back, ready to be mounted to the wall.
 Attaching a wooden shelf to a wall using a drill
Alt Text: Carefully secure the shelf to the wall for maximum stability.
Step 10: Finishing Touches
Clean off any sawdust and apply wood conditioner to all surfaces. Once dry, stain your desk and shelves with your chosen color and seal with a polyurethane sealer for lasting protection.
Expert Tip: I recommend mounting your desk to wall studs for maximum stability.
Step 11 (Optional): Install Grow Lights
If, like me, you’re using this desk for both work and plants, consider adding grow lights! This is especially helpful if your workspace doesn’t get a lot of natural light. Check out my blog post on DIY Pendant Grow Lights for a detailed tutorial.
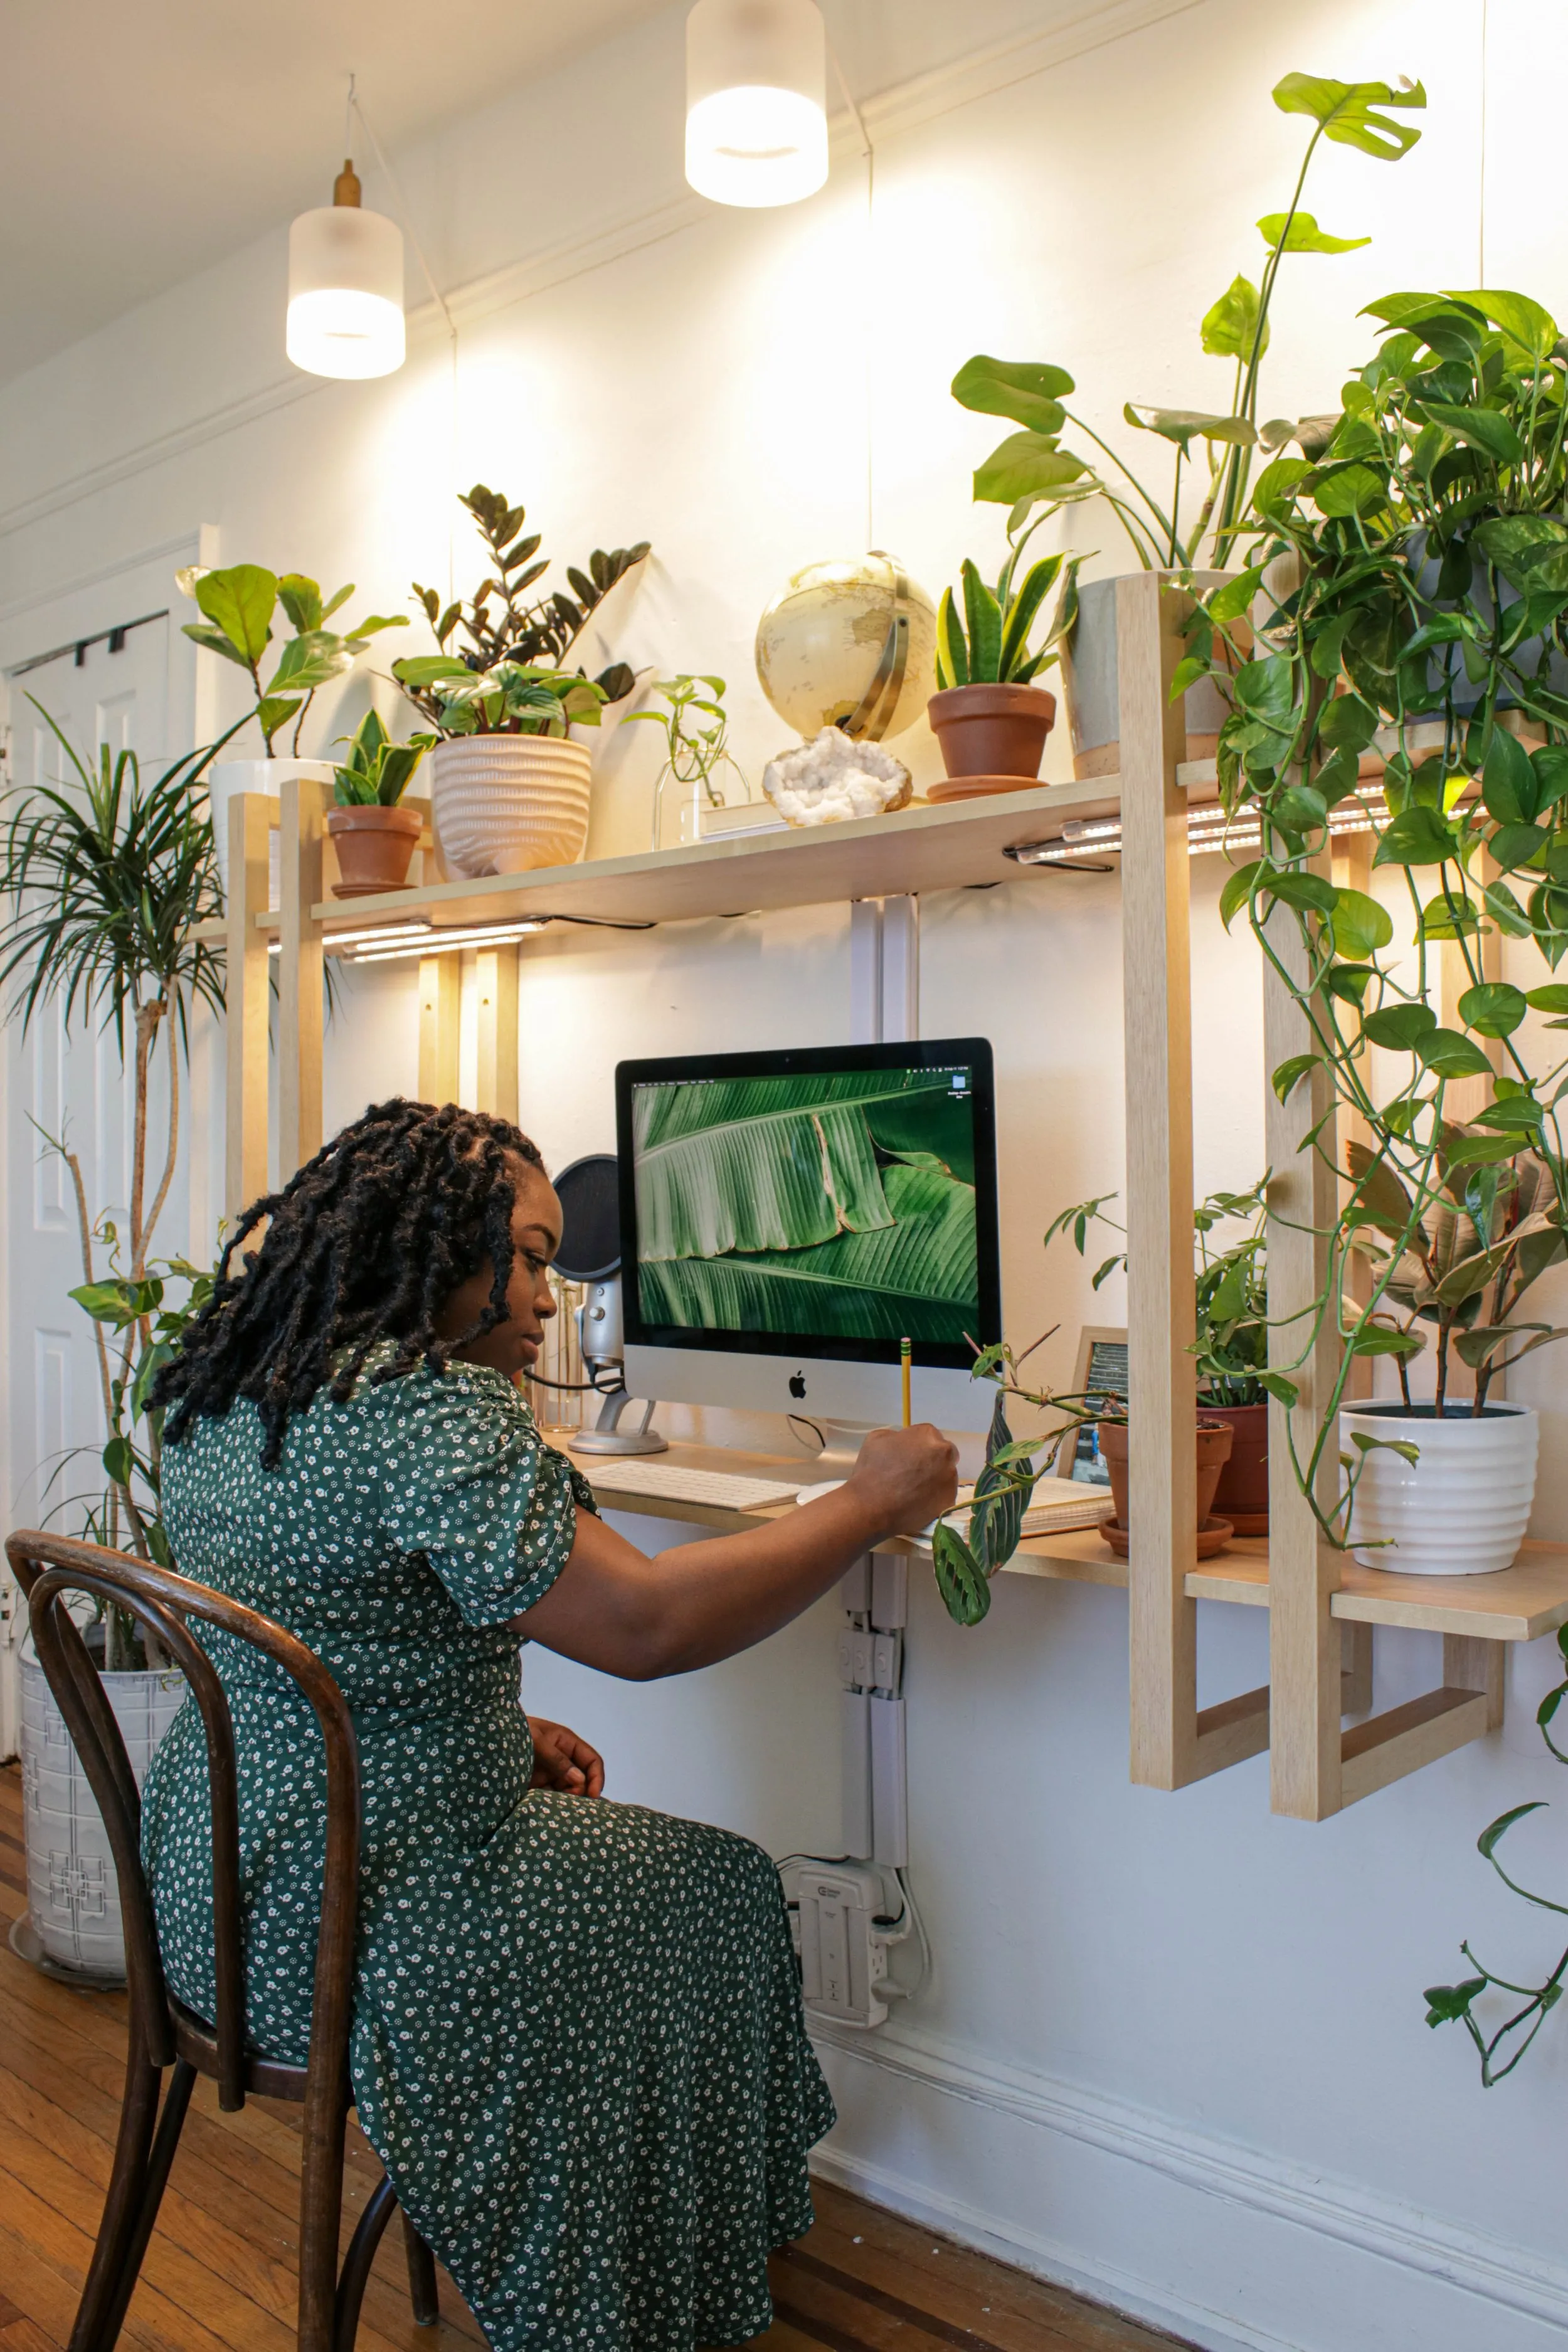
 A wooden plant shelf with integrated grow lights illuminates a variety of plants
Alt Text: Integrated grow lights create a thriving environment for your plants.
Enjoy Your Functional and Stylish Workspace
Congratulations! You’ve now created a beautiful and practical wall-mounted desk with integrated plant shelving. It’s the perfect way to maximize space, indulge your green thumb, and bring a touch of nature to your daily work routine.
I’d love to see your creations! Share photos of your finished desks in the comments below. And don’t forget to explore Robert Kline Art for more inspiring DIY projects and handcrafted gifts for your loved ones.
