Blog
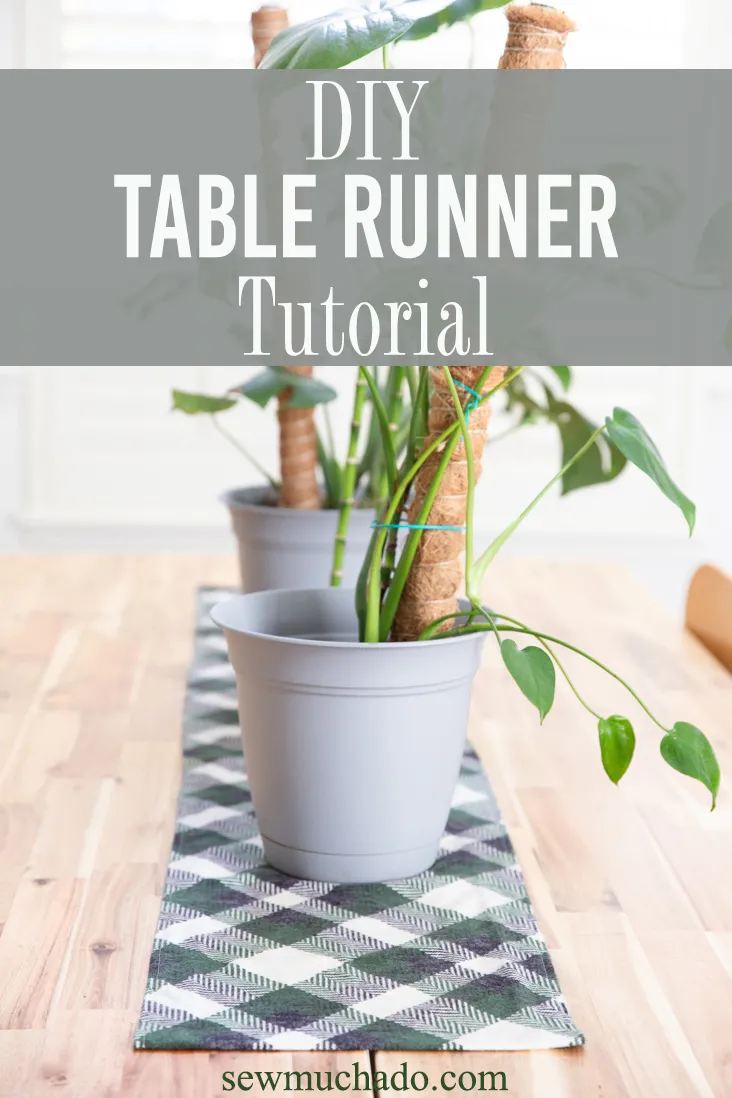
DIY Table Runner Tutorial: Craft the Perfect Centerpiece

Hey there, fellow craft enthusiasts! Robert Kline here, and today, we’re diving into the world of DIY home decor with a project that’s as satisfying to create as it is beautiful to look at: a handmade table runner.
Whether you’re a seasoned sewer or just starting your crafting journey, this step-by-step DIY table runner tutorial will guide you through the entire process. We’ll cover everything from fabric selection to sewing techniques, ensuring you end up with a stunning centerpiece you’ll be proud to show off. Let’s get started!
Gathering Your Supplies
Before we jump into the fun part, let’s gather our crafting arsenal:
Essentials:
- Main Fabric: Choose a woven fabric that speaks to your style! Home-decor weight, twill, linen, quilting cotton, or even denim – the options are endless. Check the table later in this post for fabric amounts needed based on your table size!
- Backing Fabric: Opt for a coordinating fabric in a lighter weight, like broadcloth or quilting cotton. This provides structure without adding bulk.
- Sewing Machine: Your trusty sidekick for this project!
- Thread: Choose a color that complements your fabric.
- Scissors: Fabric scissors, please!
- Iron: For crisp, professional-looking seams.
- Pins or Clips: Essential for keeping those fabrics in check, especially when working with long lengths.
- Measuring Tape: Precision is key!
- Rotary Cutter, Ruler, and Cutting Mat: Optional, but they make cutting fabric a breeze.
Optional (but recommended for heavier fabrics):
- Heavy-duty Sewing Machine Needle: Size 14 or 15 will do the trick.
Choosing Your Fabrics: A World of Possibilities
Main Fabric: This is where you can let your creativity shine!
- For a structured look: Choose heavier fabrics like home-decor weight, twill, or even denim.
- For a softer drape: Opt for linen or quilting cotton.
- Don’t be afraid to experiment! I’ve even used burlap to create a charmingly rustic ruffled table runner.
Backing Fabric: The supporting actor to your star fabric.
- Broadcloth or quilting cotton are great all-around choices.
- If using quilting cotton for the main fabric, consider a twill or canvas backing for added structure.
Determining the Perfect Size
No more guessing game! Here’s how to calculate the ideal dimensions for your table runner:
Width: Aim for approximately 1/3 of your table’s width. For example, a 36-inch wide table would look great with a 12-inch wide runner.
Length:
- For a runner that sits on top of the table: Make it 12-24 inches shorter than your table length, allowing for 6-12 inches of table space on each end.
- For a runner that drapes over the ends: Make it 12-24 inches longer than your table length, allowing for a 6-12 inch overhang on each side.
Fabric Yardage: Refer to the handy chart below for recommended fabric amounts based on common table lengths. Keep in mind that these measurements include extra length to account for potential shrinkage during pre-washing.
| Table Length | Fabric Needed for Runner (Main & Backing) |
|---|---|
| 48 inches | 1 yard |
| 60 inches | 1 1/4 yards |
| 72 inches | 1 1/2 yards |
| 96 inches | 2 yards |
| 120 inches | 2 1/2 yards |
Pre-washing: A Must-Do Step
Always pre-wash your fabrics, especially if you plan to wash the finished table runner. This prevents shrinkage and ensures the fabrics won’t warp or lose their shape after you’ve put in all that hard work.
Step-by-Step Guide: Let’s Sew!
Now, the moment you’ve been waiting for – let’s bring your DIY table runner to life!
Step 1: Sewing the Long Edges
- Place your main fabric and backing fabric right sides together, aligning the long edges. The main fabric will be wider than the backing fabric. Secure with pins or clips.
- Using a 1/2-inch seam allowance, stitch along both long edges.
Step 2: Turning and Pressing
- Turn the runner right side out so that the wrong sides are now facing each other.
- Press the runner flat, ensuring that 1 inch of the main fabric wraps around to the back of the runner on each side. Press the seam allowances towards the center of the runner.
Step 3: Topstitching
- From the front side, topstitch along each long edge, about 1/4-1/2 inch from the edges. This adds a polished look and helps to secure the folded edges.
Step 4: Finishing the Short Edges
- Press one short edge of the runner 1 inch to the wrong side. Press again, folding the edge over itself to enclose the raw edge.
- Repeat this step for the other short edge.
- Stitch along each folded edge, close to the inner fold, to secure the hems.
Congratulations! You’ve just sewn a beautiful DIY table runner!
 DIY Table Runner Tutorial
Conclusion: Embrace Your Inner Decorator
And there you have it – a stunning, handmade table runner that’s sure to elevate your home decor game!
Remember, the beauty of DIY projects lies in the freedom to customize. Play around with different fabrics, colors, and even add embellishments like tassels or trim.
Don’t forget to share your creations with me! You can tag Robert Kline Art on social media or leave a comment below. I can’t wait to see your unique spins on this classic project.
Happy crafting!
