Blog
Crafting the Perfect DIY Soap Dish: A Step-by-Step Guide
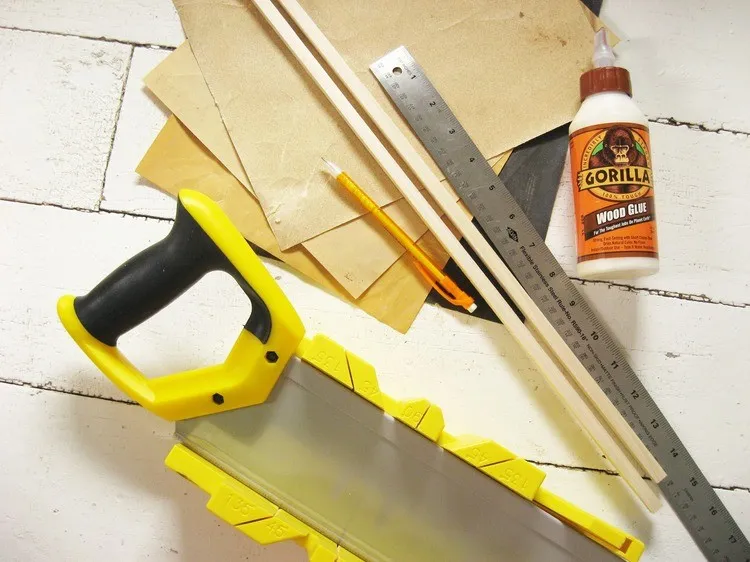
Tired of your soap dissolving into a soggy mess? Does the sight of your current soap dish make you cringe? Well, fret no more, fellow craft enthusiasts! Today, we embark on a journey to create a stunning DIY soap dish that’s as functional as it is beautiful. This project is perfect for beginners, requiring only basic woodworking skills and a few simple tools. So, gather your supplies, and let’s dive into the world of handmade elegance!
Tools and Materials
Before we begin, let’s ensure you have everything you need to craft your masterpiece. Here’s a list of essential tools and materials:
- Two 36-inch long 3/8 by 3/8 square poplar dowels: These will form the structure of our soap dish. Poplar is a great choice for its durability and smooth finish. If you can’t find poplar, feel free to use other hardwoods like oak or maple.
- Miter box and saw: These tools are essential for making accurate crosscuts on the dowels. Don’t worry; they’re readily available and easy to use.
- Ruler and pencil: For measuring and marking our cuts.
- Sandpaper (150, 220, 320, and 400 grit): To smooth out rough edges and prepare the wood for finishing.
- Waterproof wood glue: To bond the dowels together securely.
- Mineral oil: This food-safe oil will protect your soap dish from moisture and enhance its natural beauty.
- Paper towels: For general cleaning and applying the mineral oil.
- Safety glasses and dust mask: Always prioritize safety when working with wood and tools.
Optional materials:
- Tack cloth: This slightly sticky cloth is helpful for removing fine dust before applying finishes.
Step-by-Step Guide
Now that we have our tools and materials ready, let’s begin crafting our DIY soap dish!
Step 1: Measure and Cut the Dowels
-
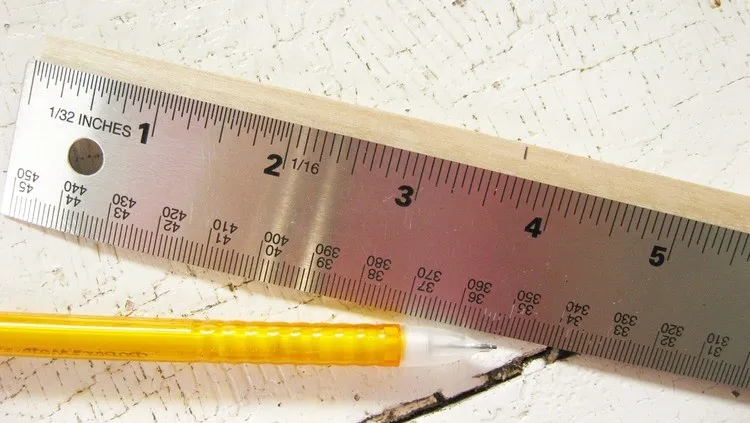
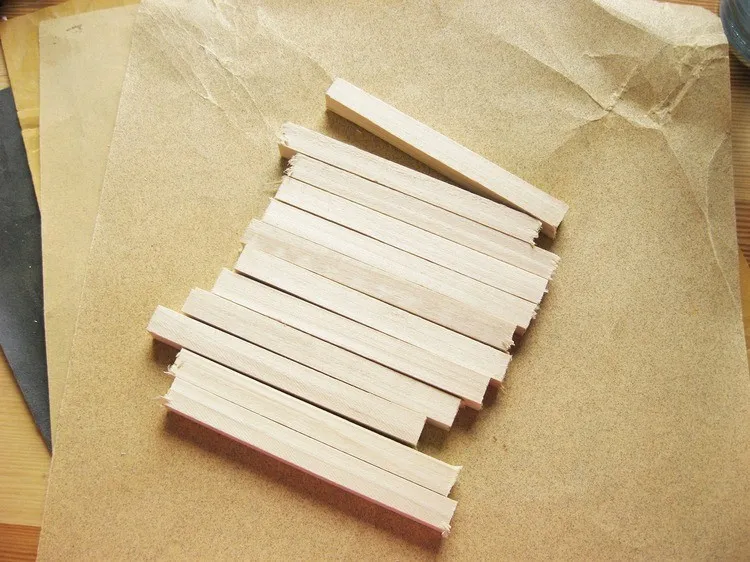
Determine the width of your soap dish: This will depend on your preference and the size of your soap. For this tutorial, we’ll use a width of 3 3/4 inches.
-
Mark the cut lines: Using your ruler and pencil, carefully mark the desired width on one of the dowels.
-
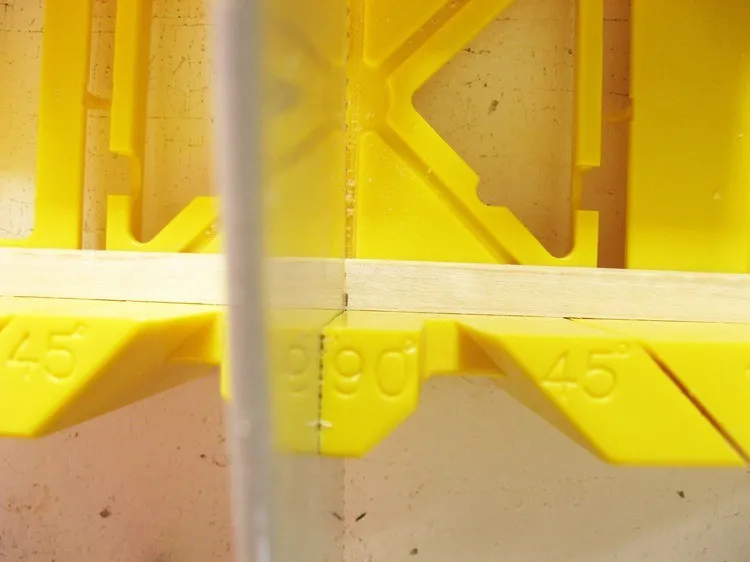
Set up your miter box: Place the dowel inside the miter box, aligning your mark with the appropriate saw guide.
-
Make the cuts: Securely hold the dowel in place with your non-dominant hand, keeping it well clear of the saw blade. Use smooth, even strokes to cut through the dowel. Repeat this process for each piece, ensuring consistent lengths.
 Wood dowel being cut on a miter box.
Step 2: Sanding and Shaping
-
Smooth out the edges: Using 150-grit sandpaper, sand each piece on all sides, including the ends. Focus on removing any rough spots or splinters.
-
Break the corners: Lightly sand the edges of each piece to create slightly rounded corners, preventing any sharp edges.
-
Repeat with finer grits: Gradually work your way up through the sandpaper grits (220, 320, and 400), sanding between each grit. This will create a smooth and polished surface.
 Sanding the edges of a piece of wood.
Step 3: Raising the Grain
-
Wet the wood: Thoroughly wet all the sanded wood pieces with water. This will cause the wood fibers to swell, creating a slightly rough surface.
-
Let it dry: Allow the wood pieces to dry completely. This will take a few hours, depending on the humidity and temperature.
-
Sand again: Once dry, sand the wood pieces again using 320 and 400-grit sandpaper to smooth out any raised grain.
 Sanding the surface of a piece of wood
Step 4: Gluing the Pieces Together
-
Arrange the pieces: Arrange the dowel pieces side by side to form the desired pattern for your soap dish.
-
Apply glue: Working with one pair of dowels at a time, apply a thin, even layer of wood glue to one side of each piece.
-
Join the pieces: Carefully align the glued sides of the dowels, ensuring the corners are flush. Press firmly together for a few seconds to secure the bond.
-
Repeat and let it dry: Continue gluing the remaining dowel pieces in pairs until you have two complete halves of the soap dish. Allow the glue to dry completely overnight.
 Gluing two pieces of wood together.
Step 5: Final Sanding and Finishing
-
Sand the glued joints: Once the glue is dry, lightly sand any rough spots or excess glue around the joints.
-
Apply mineral oil: Using a clean cloth or paper towel, liberally apply mineral oil to all surfaces of the soap dish. Allow the oil to soak in for about an hour.
-
Repeat the oiling process: Apply at least 3-4 coats of mineral oil, allowing it to soak in between each coat. This will protect the wood from moisture and give it a beautiful sheen.
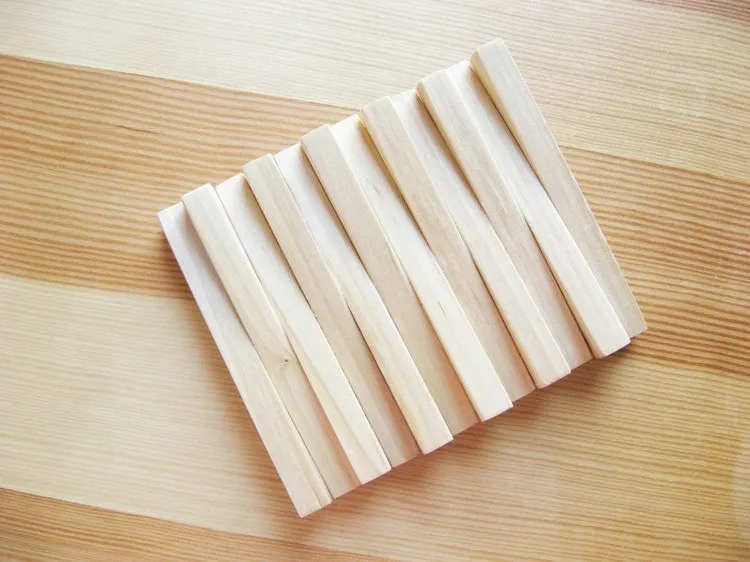 Applying mineral oil to the finished soap dish.
Conclusion
Congratulations! You’ve now crafted a beautiful and functional DIY soap dish that’s sure to elevate your bathroom decor. Not only will it keep your soap high and dry, but it also serves as a testament to your creativity and craftsmanship. Remember to reapply mineral oil every few months to maintain its luster and water resistance.
Now, it’s your turn! Don’t be afraid to experiment with different types of wood, finishes, or even add a personal touch with decorative elements. Share your creations and inspire others to embark on their own crafting adventures! Explore our website for more unique, handmade gift ideas and unleash your inner artist.
