Blog
Crafting a Custom Serving Tray: A Step-by-Step DIY Guide

At Robert Kline Art, we’re passionate about bringing the joy of crafting into your homes. There’s a certain magic in transforming raw materials into beautiful, functional pieces. Today, we’re diving into the world of woodworking by crafting a stunning, custom serving tray. Imagine surprising a loved one with this unique, handmade gift, or even gracing your own table with a piece of your creative spirit!
Gathering Your Tools and Materials
Before we embark on our woodworking adventure, let’s gather our essential tools and materials:
- Woodworking Equipment: Table saw, planer, drum sander, trim router, random orbit sander, drill & driver, miter saw, jointer.
- Lumber: Spalted white oak or your wood of choice.
- Finishing Supplies: Walnut oil (food-safe).
- Additional Materials: Wood glue, screws, dowel plugs, waxed paper.
- Safety Gear: Safety glasses, hearing protection.
Don’t be intimidated by the list! Many of these tools are staples in a DIYer’s workshop. As you progress in your crafting journey, you’ll find these investments invaluable.
Step-by-Step Guide to Creating Your Serving Tray
Step 1: Preparing the Wood
Just like an artist prepares their canvas, we’ll begin by prepping our wood. We’ll start by milling the lumber to the desired dimensions. This involves using the miter saw, jointer, and planer to create smooth, even surfaces. Finally, we’ll rip the wood into the widths we need using the table saw.
Step 2: Building the Tray Base
To create the bottom panel of our serving tray, we’ll need to join several pieces of wood. After milling the wood, we’ll apply wood glue to the edges and secure the pieces together using clamps. Using waxed paper on the clamps will prevent any glue from sticking.
Step 3: Sizing the Panel
Once the glue has dried, we’ll trim the panel to our desired size using a table saw and crosscut sled. Remember, it’s helpful to have a rough dimension in mind, especially if you’re working from a previous project.
Step 4: Personalizing Your Tray with Laser Engraving (Optional)
Add a touch of personalization by laser engraving a name, quote, or design onto the base of your tray. This step elevates the sentimental value of your creation, making it a truly unique gift!
Step 5: Shaping the Sides
Now, for the sides! We’ll use a piece of spalted white oak with a live edge for a touch of natural beauty. Using a French curve tool, we’ll mark out the graceful curves for the sides of our tray. A bandsaw is ideal for cutting along these curved lines.
Step 6: Crafting the Handles
For a seamless look, we’ll integrate the handles into the taller sides of our tray. Mark the desired position of the handles and drill out most of the material using a Forstner bit. A chisel and some hand filing will help achieve the final shape. A rounded edge on the handles ensures a comfortable grip.
Step 7: Smoothing It Out
Before assembling our tray, we’ll use a flap disc on an angle grinder to smooth out the live edges. Then, we’ll use a random orbit sander to achieve a polished finish on all the pieces.
Step 8: Assembly Time
Now comes the exciting part – bringing all the elements together! Apply wood glue to the edges of the base and carefully attach the sides. Securing the pieces with screws provides extra stability. For a refined look, we’ll use dowel plugs to conceal the screw heads.
Step 9: Finishing Touches
For a food-safe, natural finish, we’ll apply walnut oil to our serving tray. This step enhances the wood’s natural beauty and provides a protective layer. Apply the oil liberally, allow it to soak in, and then wipe off any excess.
 Bruceaulrich
 DIY CNC Table Build – FREE Plans
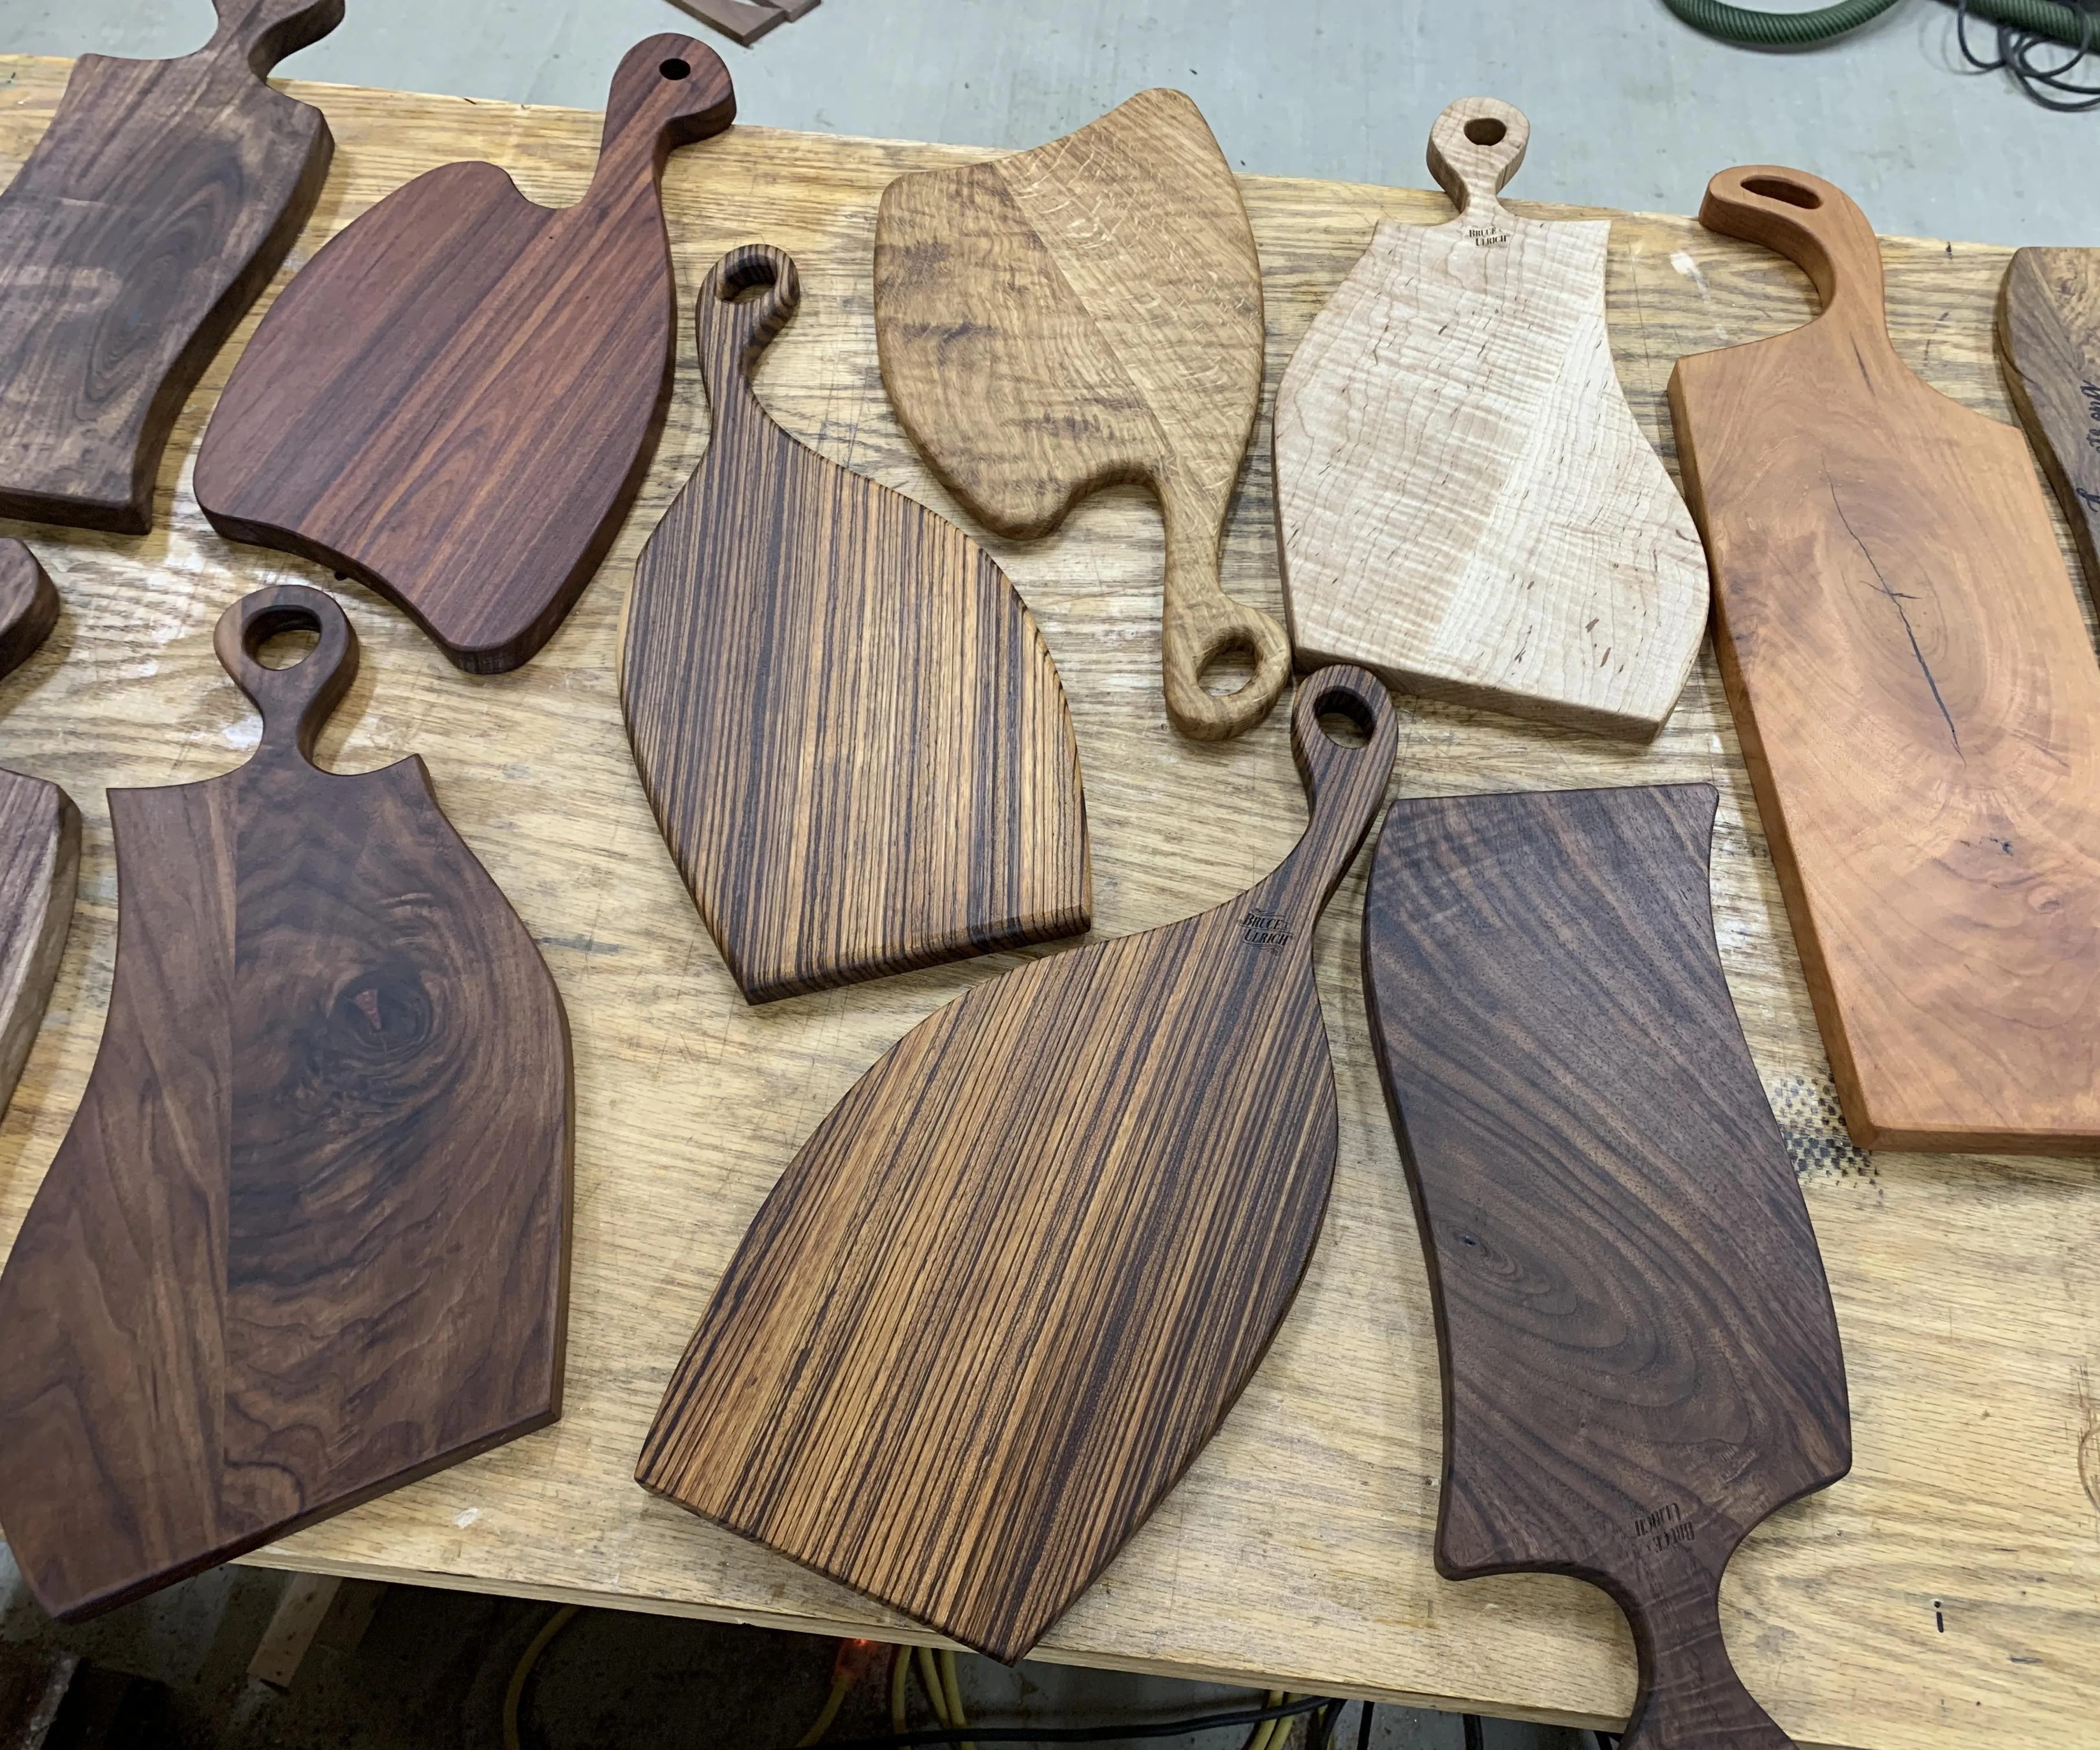
 How to Make Charcuterie Boards Using Clear Acrylic Templates
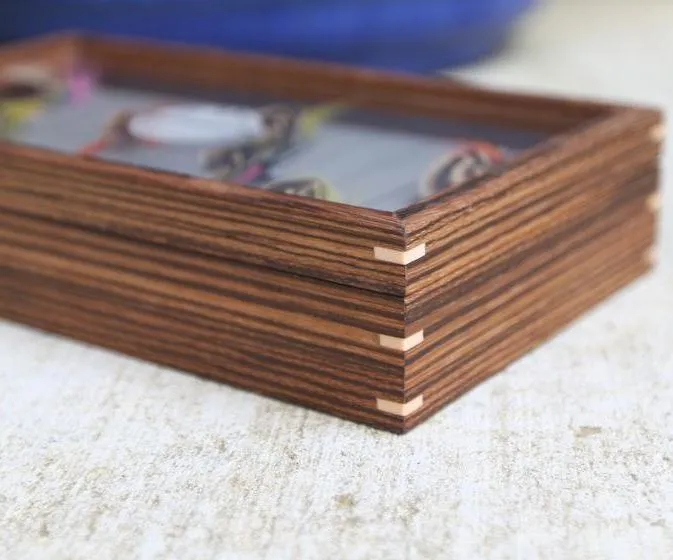
 HOW TO MAKE A FLY FISHING BOX
Conclusion
Congratulations on crafting your own unique serving tray! This project is a testament to the power of creativity and craftsmanship. Not only have you created a functional piece for your home, but also a conversation starter. Don’t forget to share your creations with us in the comments below. We love seeing your artistic visions come to life!
For those seeking unique, handmade gifts, explore the exquisite collection of handcrafted treasures on the Robert Kline Art website. Each piece tells a story, making it a thoughtful and unforgettable gift.
