Blog
DIY Rustic Wood Signs: Add Character to Your Home on a Budget

Hey there, fellow craft enthusiasts! Robert Kline, your resident art aficionado, here. If there’s one thing I adore, it’s a home brimming with personality. Walking into my own place, you’ll be greeted by walls adorned with inspiring words, cherished Bible verses, and quotes that resonate with my soul. That’s the beauty of farmhouse-style decor – it’s all about warmth, character, and making a house a home. One of my favorite ways to achieve this look is with rustic wood signs. But let’s be honest, those charming store-bought signs can cost a pretty penny! So, being the resourceful artist that I am, I embarked on a mission to create my own DIY versions. And trust me, it’s easier than you might think!
The Quest for the Perfect DIY Rustic Sign Method
My journey began, as most creative endeavors do, with Pinterest. I was instantly smitten with the countless rustic sign designs, but clicking through, I was met with the harsh reality of Etsy prices – $75 to $150 a pop! Ouch! Now, my love for rustic charm knows no bounds, but my budget certainly does. Determined to find a wallet-friendly solution, I delved into the world of DIY tutorials. Many recommended using a silhouette machine to cut out graphics and then Mod Podge them onto wood. While tempting, investing several hundred dollars in a machine wasn’t exactly in the cards (or should I say, in the budget!).
Back to the drawing board I went, fueled by a potent mix of creativity and frugality. That’s when I stumbled upon a game-changer – the ball-point pen method from That’s My Letter. It was a stroke of DIY genius! Simple, affordable, and perfect for achieving that coveted rustic aesthetic.
So, are you ready to unleash your inner artist and transform your living space without breaking the bank? Let’s dive into this step-by-step guide to crafting your own DIY rustic wood signs!
Crafting Your Masterpiece: A Step-by-Step Guide
Materials You’ll Need:
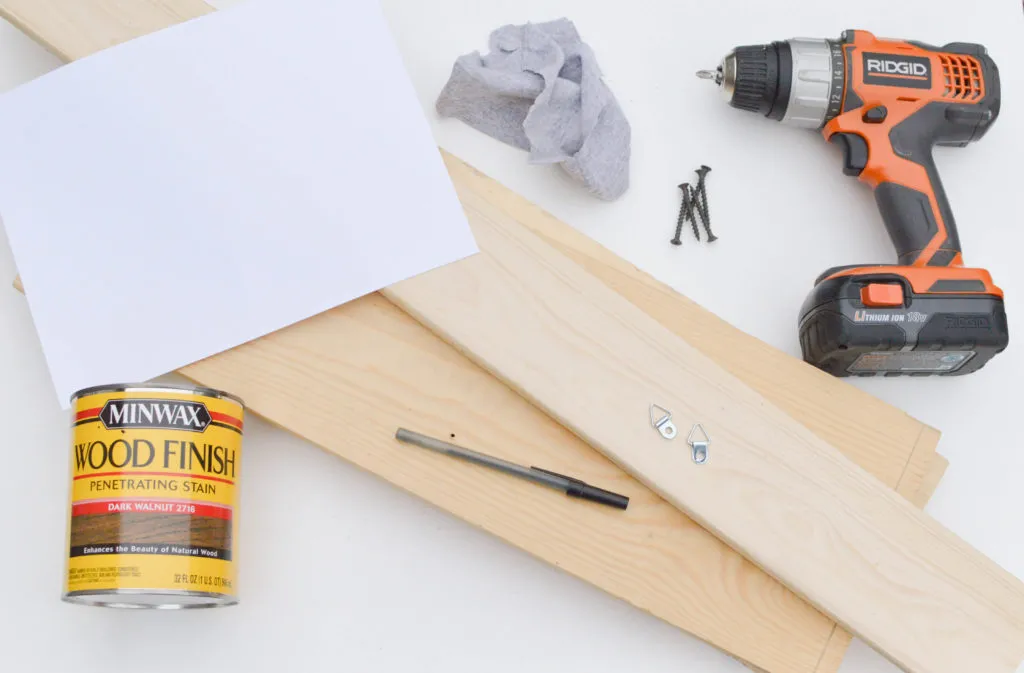
- Wood: Scrap 1x wood boards (I used 1x8s for this project) and a 1×3 for the backer board.
- Fasteners: Screws (1 1/4″ worked great for me). Make sure they’re long enough to go through both boards without poking through the front.
- Tools: Drill, orbital sander or 180 grit sandpaper, and a level.
- Finishing Supplies: Scrap t-shirt fabric, wood stain (I love Minwax Dark Walnut), disposable gloves, acrylic paint, a fine-tip paintbrush, and D-ring hooks for hanging.
- Design Essentials: Printer, printer paper, and a trusty ballpoint pen.
- Optional but Highly Recommended: A captivating Netflix show for those paint-drying moments.
Step 1: Prep Your Wood Canvas
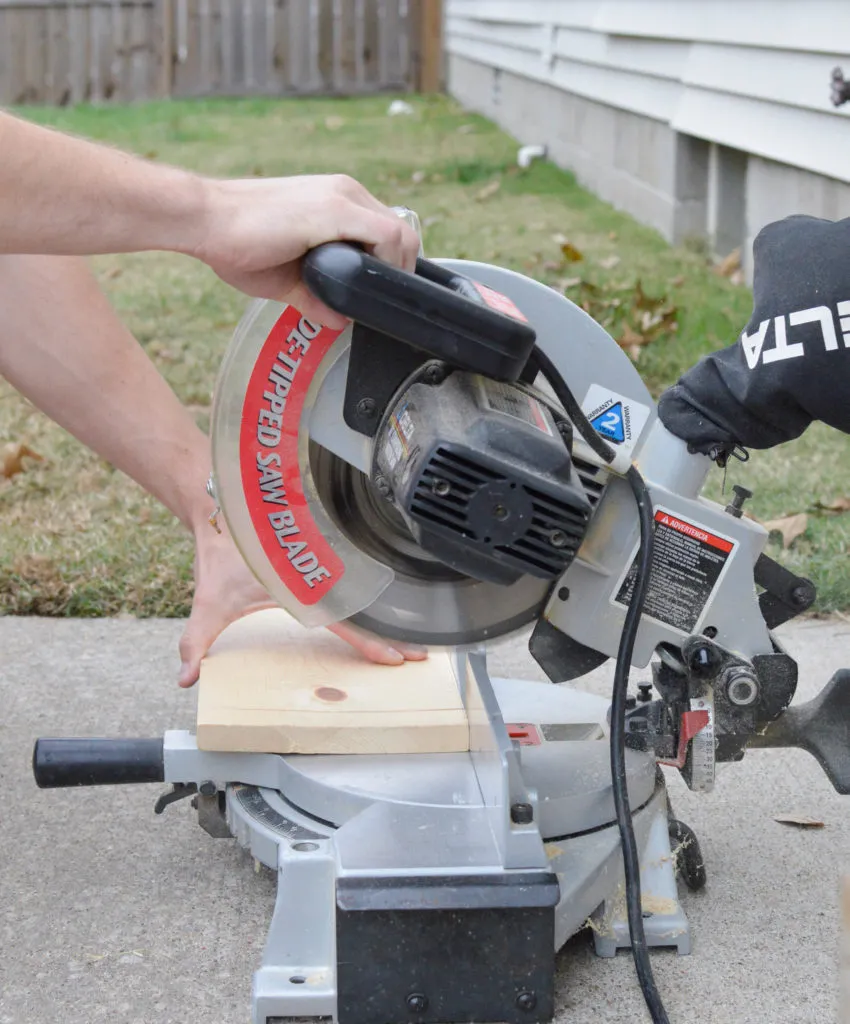
Start by cutting your boards to your desired length. I went for uniform lengths for a classic look, but feel free to experiment with varying lengths for a more eclectic, rustic vibe. Once you’ve got your main boards cut, measure and mark the 1×3 backer boards to the same length. This ensures a snug fit for those trusty D-ring hangers later on.
Step 2: Building Your Rustic Foundation
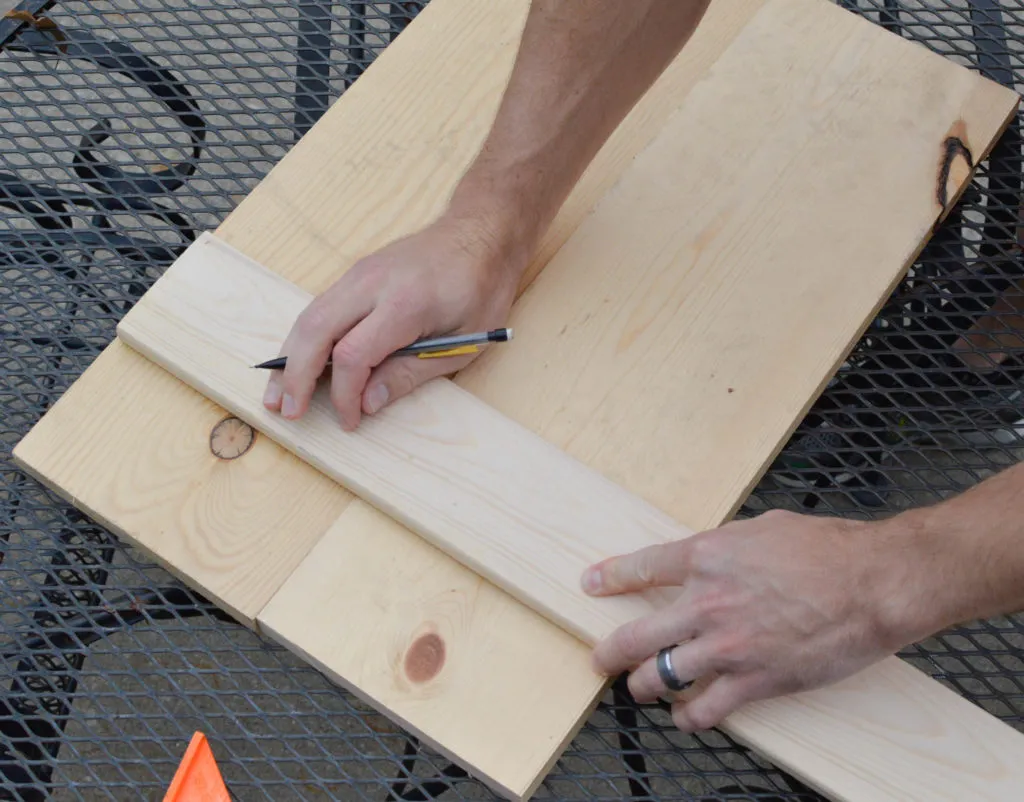
Now it’s time to assemble the base of your sign. Measure and mark the placement of your 1×3 backer boards on the back of your main board. Pro Tip: Space the center of the boards 16″ apart. This allows you to hang your sign securely on wall studs – crucial for those larger, statement-making signs. Secure the 1×3 boards using your trusty drill and screws, using about 3-4 screws per board. Give it a little wiggle test – if it feels even slightly wobbly, add another screw for good measure.
Step 3: Embrace the Beauty of Imperfection
Here’s where we infuse some rustic charm! Using an orbital sander or 180-grit sandpaper, smooth out the front and all four edges of your sign. The level of smoothness is entirely up to you. If you’re aiming for that timeworn, farmhouse aesthetic, consider giving your wood a few strategic whacks before sanding to create some authentic-looking dings and dents.
Step 4: Infuse Richness with Stain
Now it’s time to enhance the natural beauty of the wood with stain. Remember to stain a portion of the back as well, as it will be partially visible from the sides. I used Minwax Dark Walnut for a warm, inviting hue. Apply the stain evenly, working with the grain, and be sure to get into those nooks and crannies where the boards meet. Pro Tip: Avoid letting the stain pool in one spot for too long to prevent an uneven tone. Allow the stain to dry completely for at least 24 hours before moving on to the next step.
Step 5: Lettering: The Art of Words
While the stain dries, let’s focus on the heart of your sign – the lettering! Choose a font that speaks to you. Personally, I’m rather fond of the elegant contrast between script and block fonts. For this particular project, I opted for the classic pairing of PLAYFAIR DISPLAYSC and PLAYLIST. Print out your chosen words or quote in varying sizes and arrange them on your sign until you achieve a composition that pleases the eye. Ensure the letters are large enough to stand out but not so large that they overwhelm the overall design. Pro Tip: Print your letters in a light gray or another soft color. This makes it easier to see your pen tracing in the later steps.
Step 6: Securing the Blueprint
Once you’ve settled on the perfect arrangement, use a level or ruler to ensure those letters are perfectly aligned. Secure the edges of the paper to your sign using painter’s tape. This prevents any frustrating shifting mishaps during the transfer process.
Step 7: The Ballpoint Pen Magic
Here’s where the real magic happens! Using a standard ballpoint pen, firmly trace around each letter, applying enough pressure to create a slight indentation in the wood. This step requires a bit of patience, so I highly recommend queuing up a captivating show on Netflix to keep you company. Consider it a well-deserved artistic reward for your meticulous efforts.
 Transferring lettering onto a wood sign using a ballpoint pen.
Step 8: Bringing Your Design to Life with Paint
Grab your acrylic paint and fine-tip paintbrush – it’s time to bring those indented letters to life! Carefully brush the paint within the grooves, allowing it to seep into the indentations and create crisp, clean lines. This step does require a steady hand and a touch of focus, but the results are oh-so-satisfying. I typically apply two coats of paint, allowing ample drying time between each coat. Pro Tip: Don’t be afraid to embrace those happy little accidents! Rustic charm is all about imperfections, and those just add to the character.
 Filling the transferred lettering on the wood sign with white paint.
Step 9: The Art of the Hang
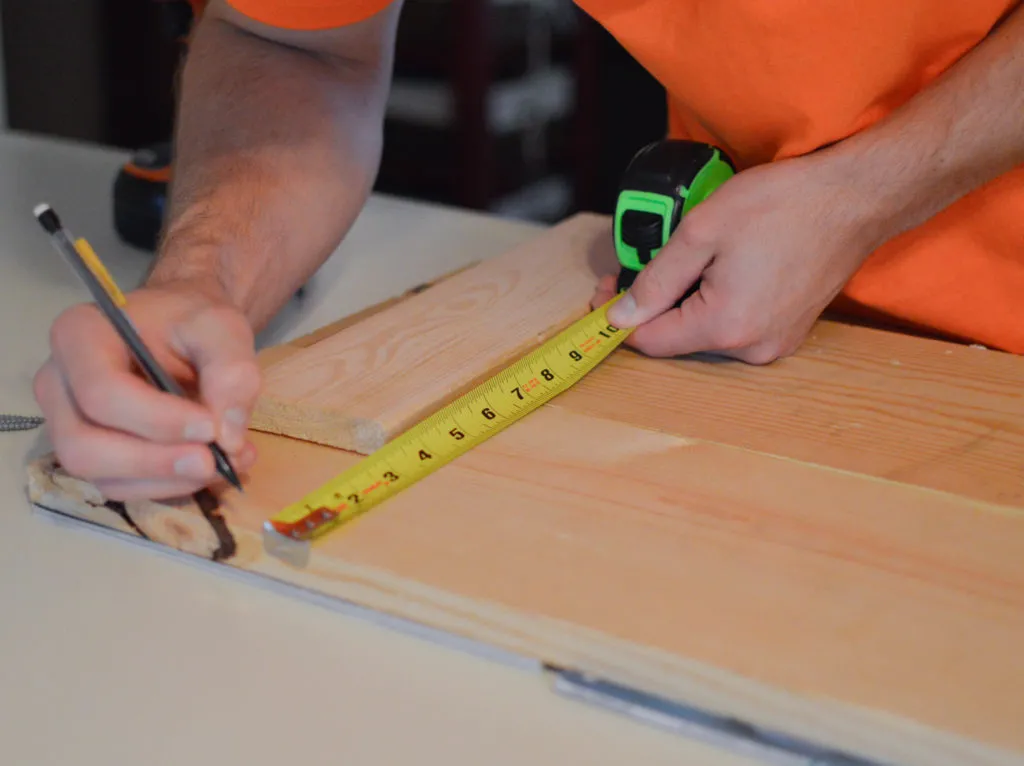
With your sign beautifully lettered and dried, it’s time to add the finishing touch – the D-ring hangers. Measure down an equal distance from the top of each 1×3 backer board and mark the spots for your brackets. For a secure hang, ensure the brackets are 16″ apart, aligning with those trusty wall studs. Use a level to make sure your brackets are straight, ensuring your sign hangs perfectly on the wall. Pro Tip: Measure twice, screw once! Trust me, it saves a lot of potential heartache (and unnecessary holes in your beautiful sign).
 Back of DIY rustic sign showing the hanging brackets.
Step 10: Admire Your Handiwork
And there you have it – a stunning, one-of-a-kind rustic wood sign, crafted with your own two hands! Grab your stud finder, a couple of screws, and hang your masterpiece proudly on the wall.
 Completed rustic wood sign hanging on a shiplapped wall.
The Joys of DIY: Rustic Charm and Beyond
Creating these rustic signs is a labor of love, a testament to the power of imagination and resourcefulness. Not only will you have a charming, personalized piece to adorn your home, but you’ll also have the immense satisfaction of knowing you created it yourself – without breaking the bank!
So there you have it, my fellow crafters. Don’t hesitate to experiment with different wood types, stains, fonts, and paint colors to create a sign that truly reflects your unique style.
I’m eager to see your creations! Feel free to share photos of your DIY rustic signs in the comments below – let’s inspire each other with our shared passion for handcrafted beauty. And remember, the world of art is your oyster – explore it, embrace it, and never stop creating! For more DIY inspiration and unique handmade gifts, browse the Robert Kline Art website – your destination for all things art and craft. Happy crafting!
