Blog
Creating a Stunning DIY Vertical Succulent Frame
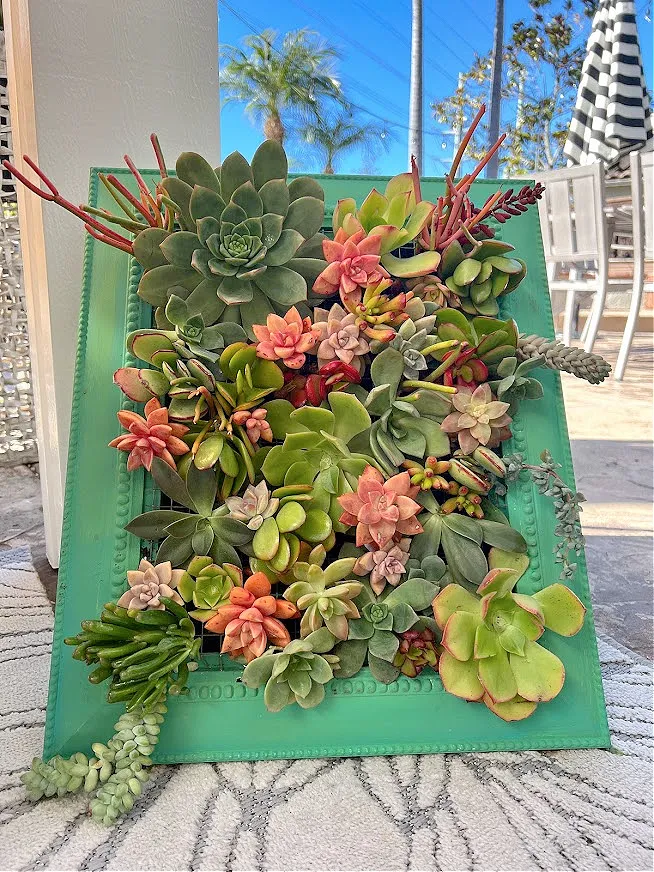
Hey there, art enthusiasts and plant lovers! Robert Kline here, your guide to all things creative and handmade. Today, we’re diving into the world of succulents with a project that’s as beautiful as it is rewarding: a DIY vertical succulent frame. Imagine a piece of living art gracing your wall, bursting with vibrant green life and unique textures. Sounds amazing, right?
This project is perfect for adding a touch of nature to your home or outdoor space, and it’s surprisingly simple to create. With my easy-to-follow guide, you’ll be well on your way to crafting your own succulent masterpiece. Let’s get started!
Gathering Your Materials and Tools
Before we begin, let’s gather everything we need. You might be surprised to find many of these items already in your craft stash or even at your local thrift store. Remember, resourcefulness is a key ingredient in any DIY project!
Here’s what you’ll need:
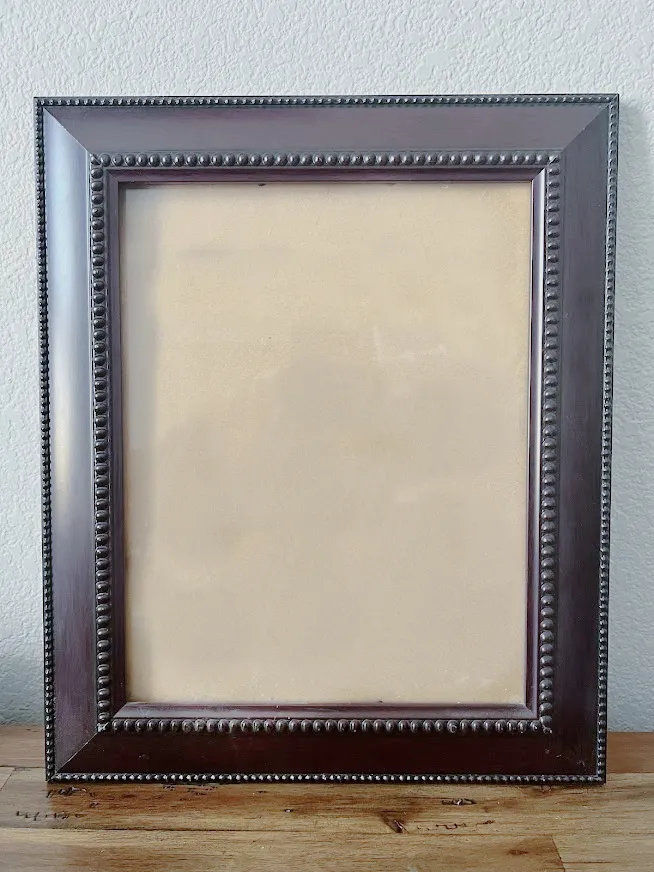
- A Picture Frame: Choose a size that suits your space. An 8×10 inch frame is a great starting point.
- Wood: Scrap wood works perfectly for creating the shadow box.
- Measuring Tape and Pencil: For precise measurements and marking.
- Saw: A miter saw or hand saw will do the trick for cutting the wood.
- Staple Gun and Staples: To secure the chicken wire.
- Screwdriver and Screws: For attaching the shadow box to the frame.
- Nails and Hammer (or Nail Gun): To reinforce the shadow box construction.
- Paint: Opt for outdoor paint for weather resistance or seal with a protective coat of polyurethane.
- Wood Glue: Gorilla Glue is a great choice for strong, lasting bonds.
- Sphagnum Moss (Optional): Adds a touch of earthy texture.
- Succulent Plants: Choose a variety of shapes and sizes for visual interest.
- Soil Mixture: Use a well-draining mix specifically formulated for succulents and cacti.
- Wire Cutters: For trimming the chicken wire.
- Chicken Wire: A 1/2-inch grid is ideal for holding soil and stems.
- Chopstick or Pencil: For creating planting holes.
Building Your Succulent Frame: A Step-by-Step Guide
Now that you have your materials ready, let’s transform them into a captivating piece of living art.
1. Constructing the Shadow Box
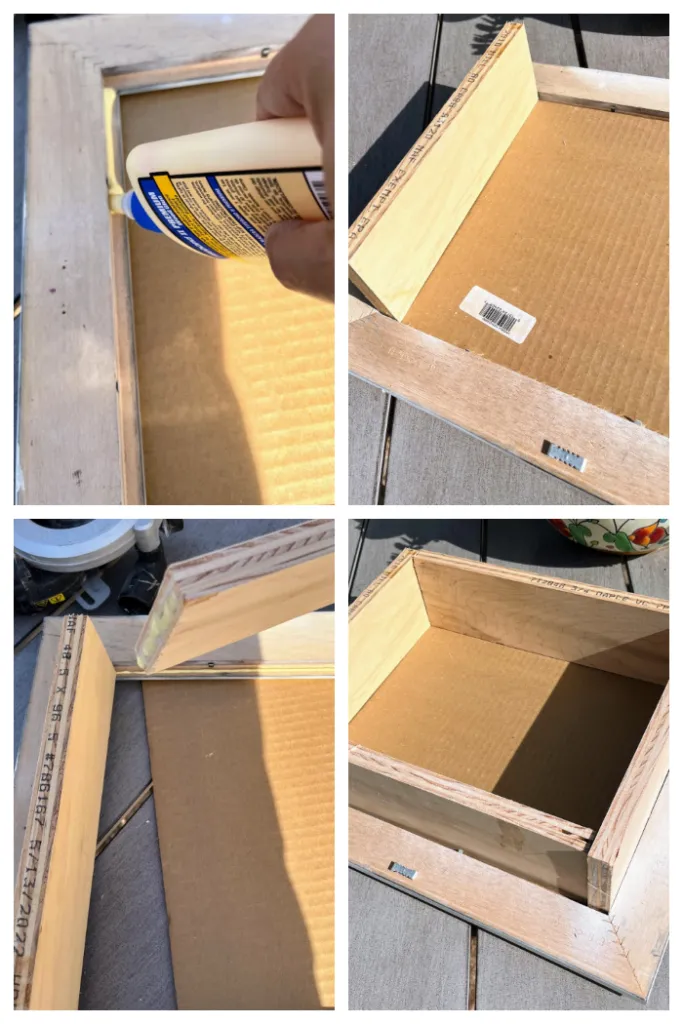
- Measure and Cut: Measure the dimensions of your picture frame and cut four pieces of wood accordingly to create a square or rectangular frame.
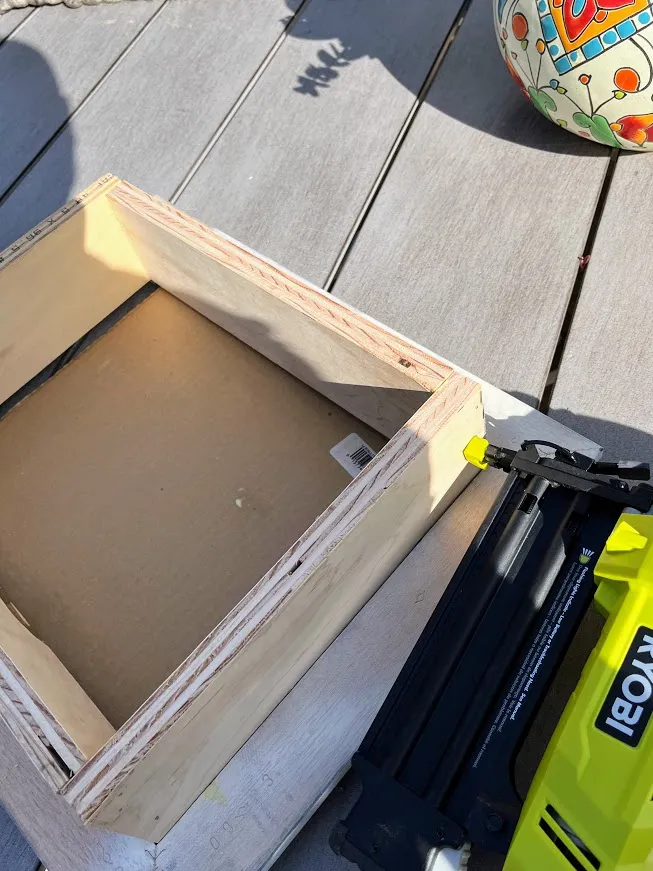
- Assemble and Secure: Apply wood glue to the ends of the wood pieces and join them together to form your shadow box frame. Reinforce the corners with nails or clamps for added stability. Allow the glue to dry completely.
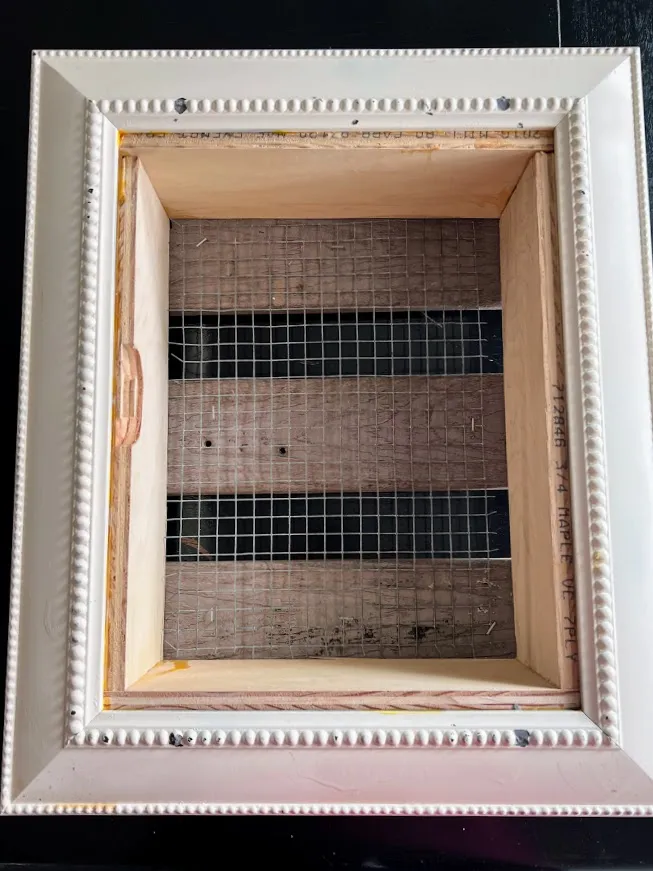
- Attach to Frame: Apply glue to the back of the shadow box frame and firmly press it onto the back of the picture frame. Use nails for extra reinforcement.
 "Shadow box attached to frame" width=
2. Creating the Planting Base
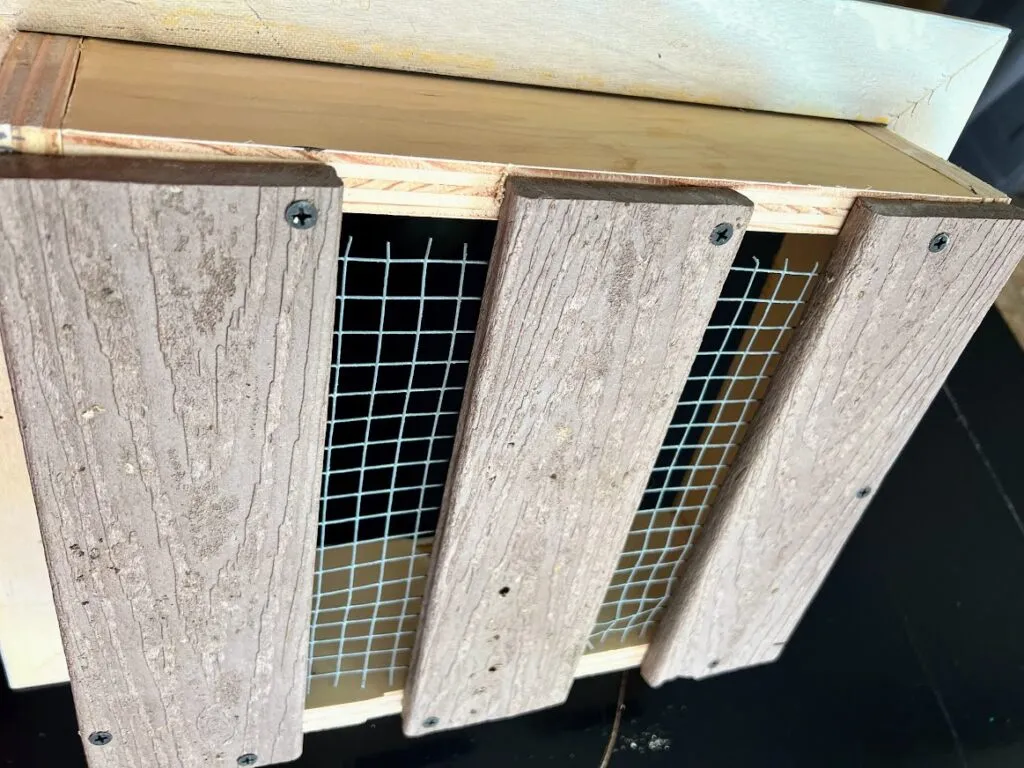
- Adding Drainage: Cut three pieces of wood to fit horizontally within the shadow box. Drill these onto the bottom of the box to elevate the planting area and promote drainage.
- Securing the Chicken Wire: Cut a piece of chicken wire slightly larger than the shadow box opening. Staple the chicken wire securely to the edges of the shadow box, ensuring it is taut.
 "Adding wire mesh to frame" width=
3. Adding the Finishing Touches
- Painting Your Frame: Now for the fun part – adding a splash of color! Apply a coat of outdoor paint or sealant to protect your frame from the elements. Don’t be afraid to get creative with different shades and techniques.
 "Painting the succulent frame" width=
4. Planting Your Succulents
- Adding the Soil: Carefully fill your frame with the succulent and cacti soil mix, stopping just below the edge of the frame.
- Arranging Your Succulents: Now comes the artistic part! Plan your succulent arrangement, starting with larger plants and filling in with smaller varieties. Use a pencil or chopstick to create holes in the soil for each succulent cutting.
- Securing the Succulents: Gently push the stem of each succulent through the chicken wire mesh and into the soil. Ensure the roots are covered, and the plants are snugly in place.
 "Adding succulents to vertical frame" width=
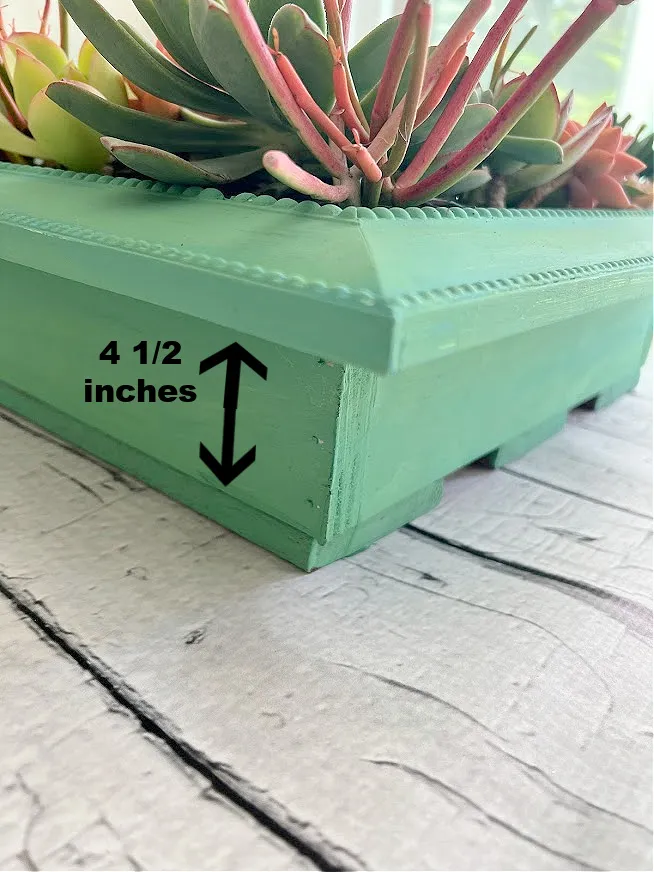 "Close-up of succulents in frame" width=
5. Caring for Your Vertical Garden
- Watering: Water your succulents sparingly, allowing the soil to dry completely between waterings. Overwatering can lead to root rot.
- Sunlight: Succulents thrive in bright, indirect sunlight.
- Maintenance: Remove any dead leaves or spent blooms and replace succulents as needed.
 "Completed succulent picture frame" width=
Final Touches and Inspiration
Congratulations on creating your very own DIY vertical succulent frame! I encourage you to let your creativity blossom by experimenting with different frame sizes, paint colors, and succulent arrangements.
 "Variety of succulents used" width=
 "Succulents planted close together" width=
Remember, the beauty of handmade crafts lies in their uniqueness.
Don’t forget to share your creations with me and the Robert Kline Art community in the comments below. And for more inspiring DIY projects and unique handcrafted gifts, be sure to explore the rest of our website. Happy crafting!
