Blog
Building a DIY Vertical Herb Garden for a Lush Patio Oasis
Hey there, fellow DIY enthusiasts! Robert Kline, your friendly neighborhood art and craft aficionado, here. Have you ever dreamed of having a fragrant and bountiful herb garden right on your patio? Today, I’m excited to share a project that’s not only functional but also incredibly stylish – a DIY vertical herb garden!
Transforming an Eyesore into a Garden Paradise
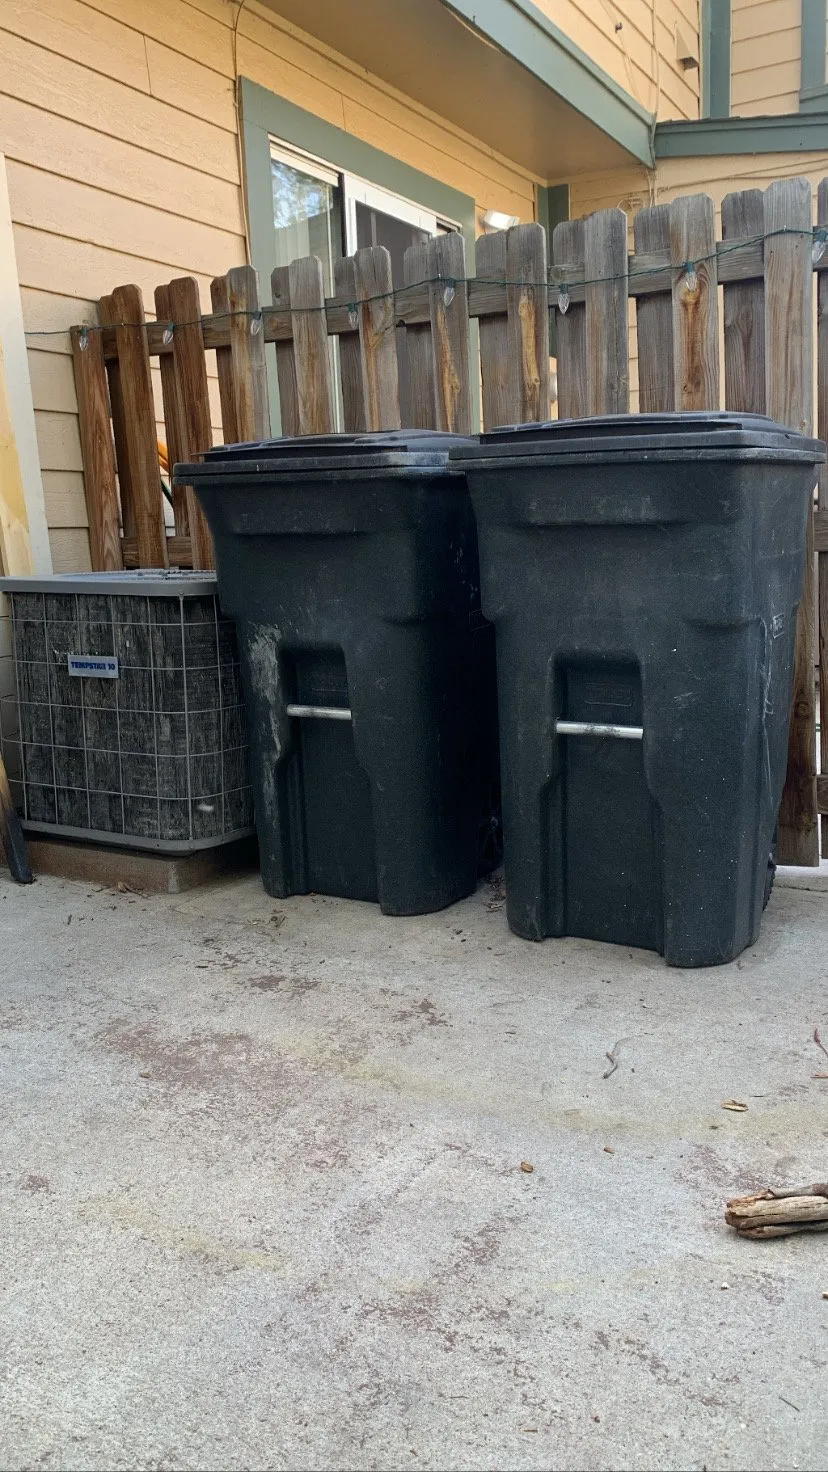
 Trash cans on a patio
Turning a utilitarian space into a green haven.
Let’s face it, not all patios are created equal. Sometimes, we’re stuck staring at unsightly necessities like trash cans or AC units. But what if we could transform these eyesores into something beautiful and functional?
Inspired by the desire to create a more inviting patio space, I stumbled upon the idea of a vertical herb garden. Imagine a lush green wall teeming with fragrant herbs, not only masking the unsightly but also providing fresh ingredients for your culinary creations. And the best part? This project can be easily customized to fit any space and style.
Planning and Gathering Your Supplies
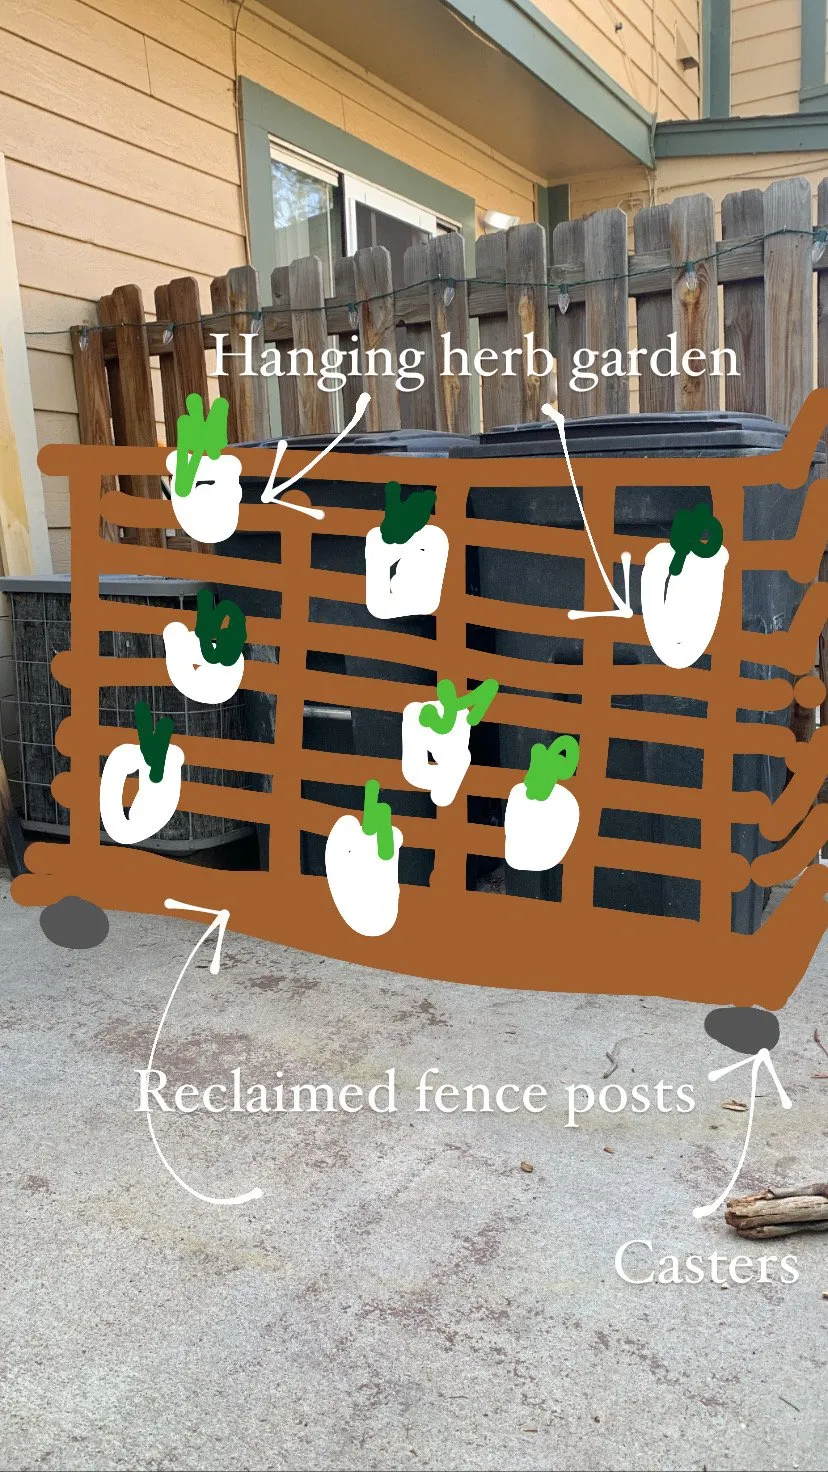 Design plan for vertical herb garden
A little planning goes a long way in a successful DIY project.
Before we dive in, let’s gather our tools and materials. Here’s a list to get you started:
Materials:
- 2 full-sized pallets
- 1 additional pallet or scrap wood (for planter boxes)
- 1 (2 in. x 4 in. x 8ft.) pine white wood
- 5 swivel locking casters
- Landscape fabric
- 3 in. corner brackets (black)
- Waterproofing exterior wood sealer
- Variety of herbs
Tools:
- Jigsaw
- Electric drill + exterior wood screws
- Clamps
- Hammer
- Safety goggles
- Measuring tape
- Pencil
Don’t be afraid to get creative and source your materials sustainably. Reclaimed wood and upcycled pallets can add a unique, rustic charm to your project.
Step-by-Step Guide to Building Your Vertical Herb Garden
Now, let’s roll up our sleeves and bring this vertical garden to life.
Step 1: Creating the Base
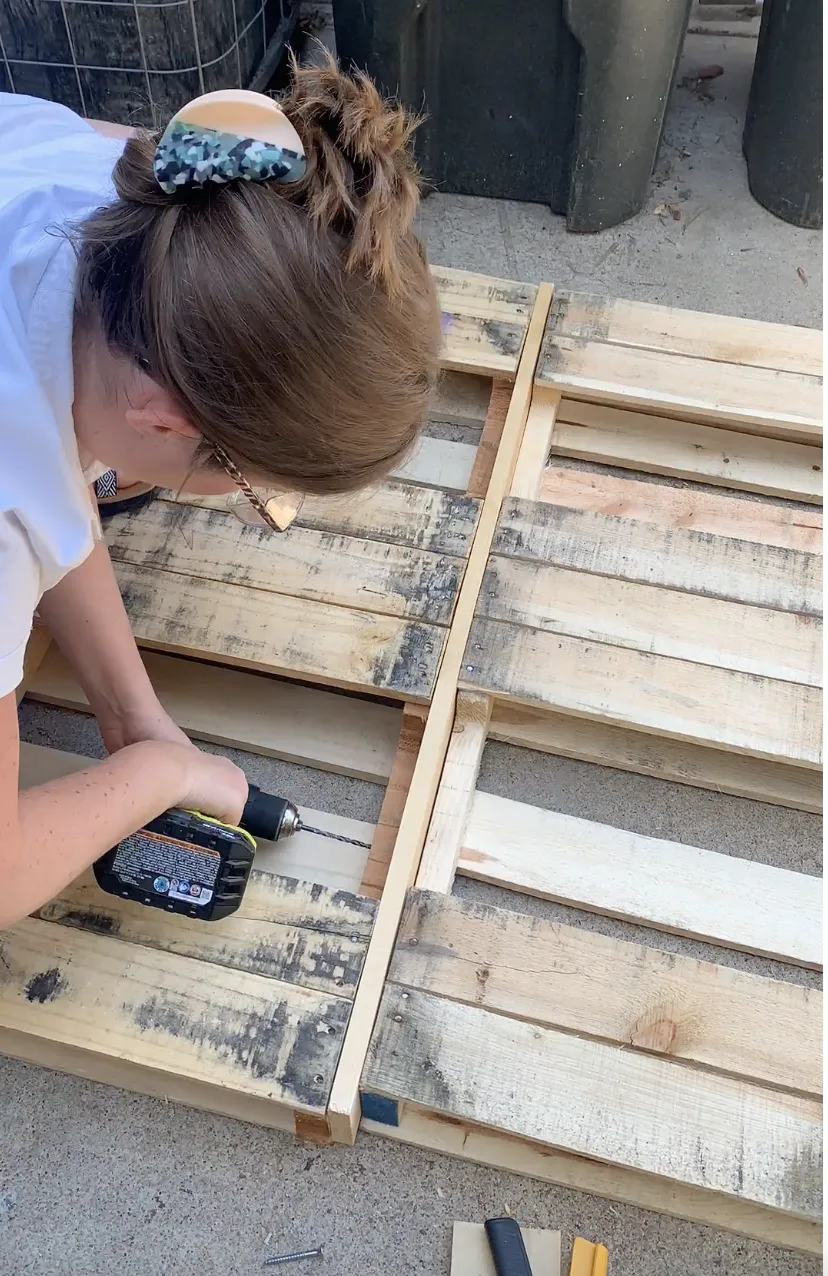 Woman attaching two wooden pallets together with electric drill
Building a sturdy base ensures the longevity of your garden.
Start by attaching the two full-sized pallets together. Cut your 2×4 to size and use your electric drill and exterior wood screws to secure them. Remember to pre-drill your holes to prevent splitting the wood. Clamps are your best friend in this step, keeping everything aligned while you work.
Pro Tip: Drive in the screws on alternating sides for added stability and a professional finish.
Step 2: Salvaging Wood for Planter Boxes
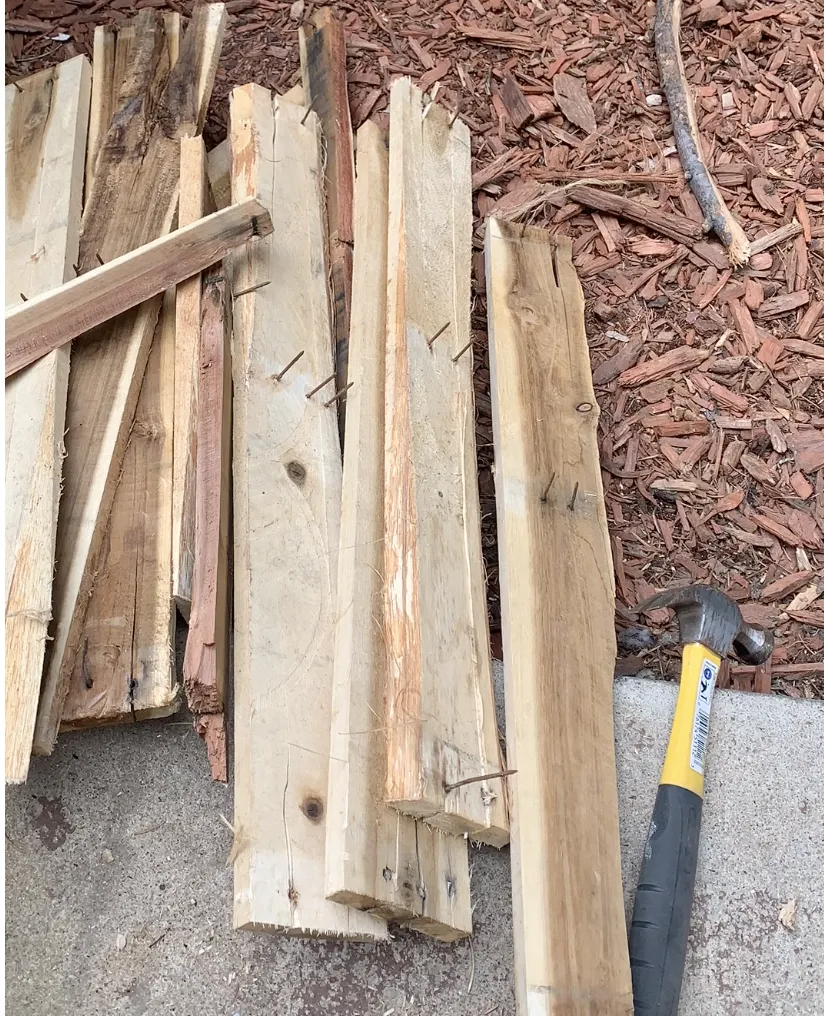 A pile of scrap wood and a hammer
Embrace the rustic charm of reclaimed wood.
If you’re using an additional pallet for the planter boxes, now’s the time to disassemble it. A hammer and some elbow grease will do the trick. Remember to remove all the old nails carefully.
Step 3: Assembling the Base Structure
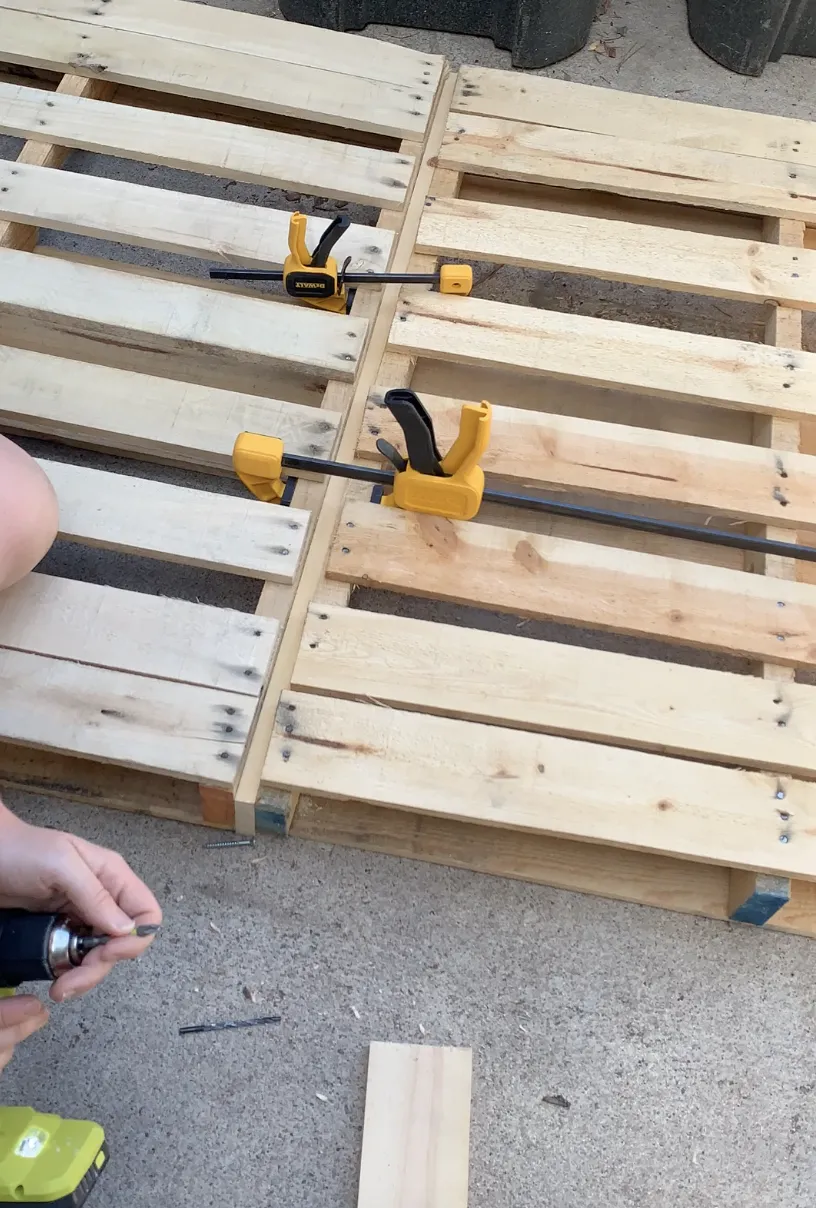 Two wooden pallets clamped together
A solid base is crucial for stability.
Measure the bottom of the joined pallets and cut more 2×4 pieces to size. Attach these to the bottom of the pallets using your drill and screws to form the base. Flip the entire structure over, ensuring the new base faces upwards.
Step 4: Adding Mobility with Casters
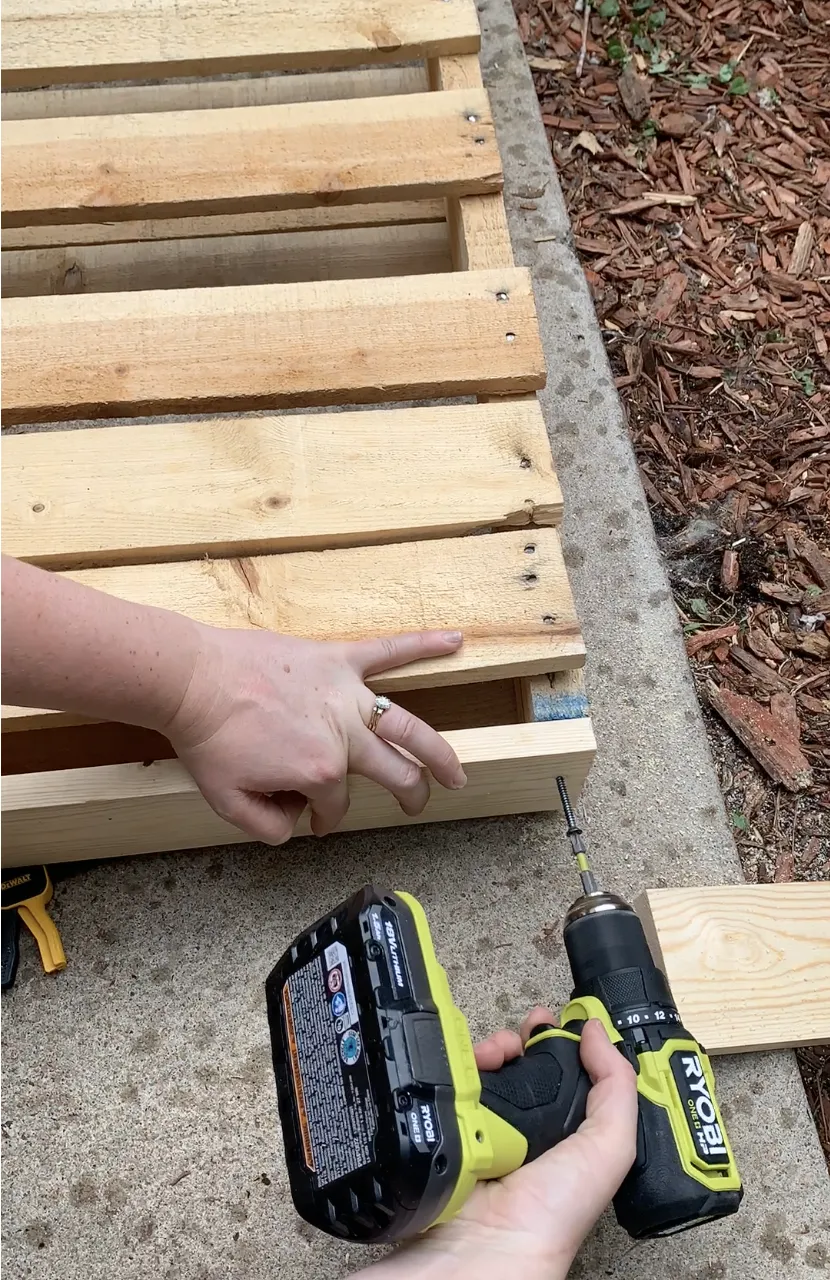 An electric drill and wooden pallet
Casters provide convenience and flexibility.
For easy maneuverability, especially if you need access to what’s behind the garden, casters are key. Cut the remaining 2×4 into three pieces for caster support. Attach these to the base with screws, then install the five casters – two on each end and one in the middle. Flip the structure back over, and voila, you have a movable privacy screen!
Step 5: Crafting the Herb Planters
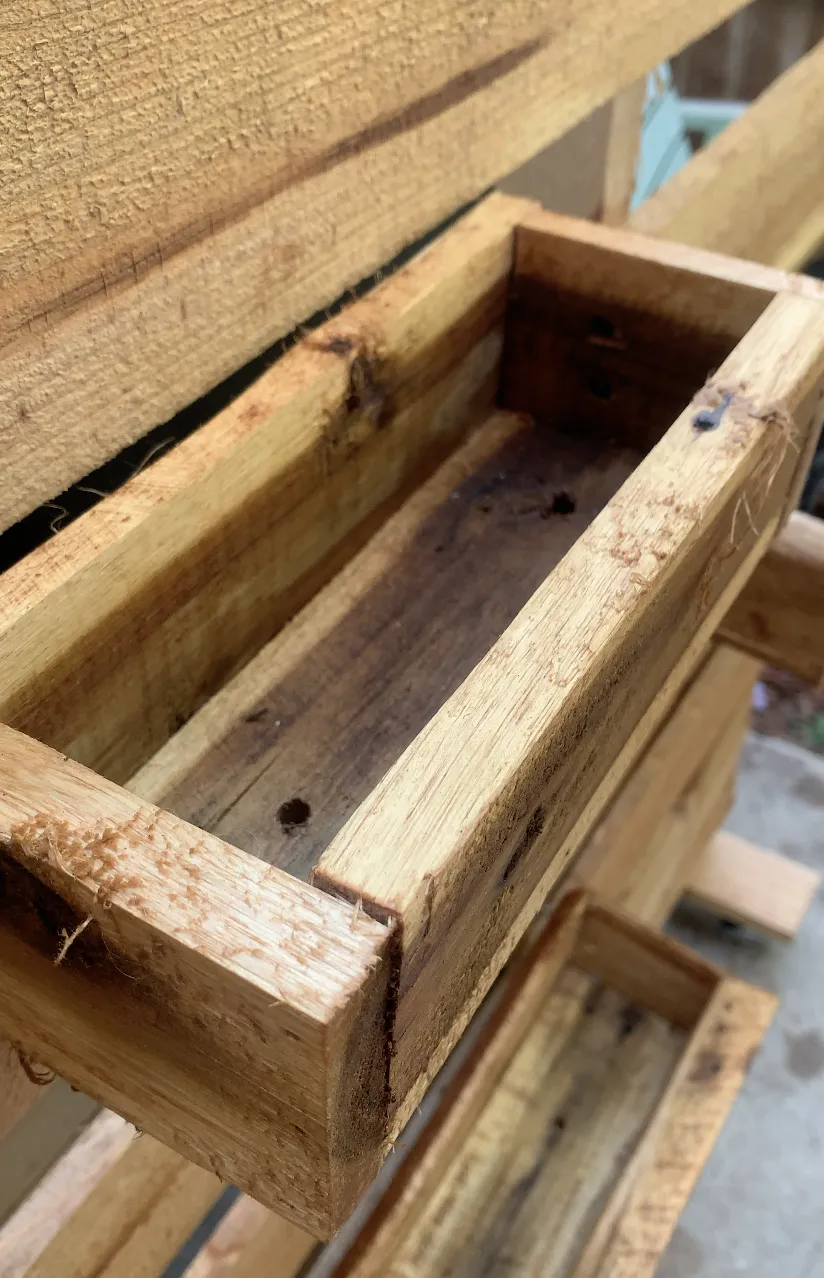 Building a planter box
Custom-made planters add a personal touch.
Now for the fun part – building the planter boxes! Using your jigsaw, cut the scrap wood into rectangular shapes. For a rustic look, precise measurements aren’t critical. I aimed for 18″ front and back pieces and 6″ sides for most of mine.
Assemble the box sides using a brad nailer and 1 1/2″ nails. Trace the base, cut it out, and attach it. Don’t forget drainage holes! Two per box should suffice.
To mount the planters, use two corner braces per box, screwing one side to the wall and the other to the planter.
Step 6: Sealing and Protecting Your Masterpiece
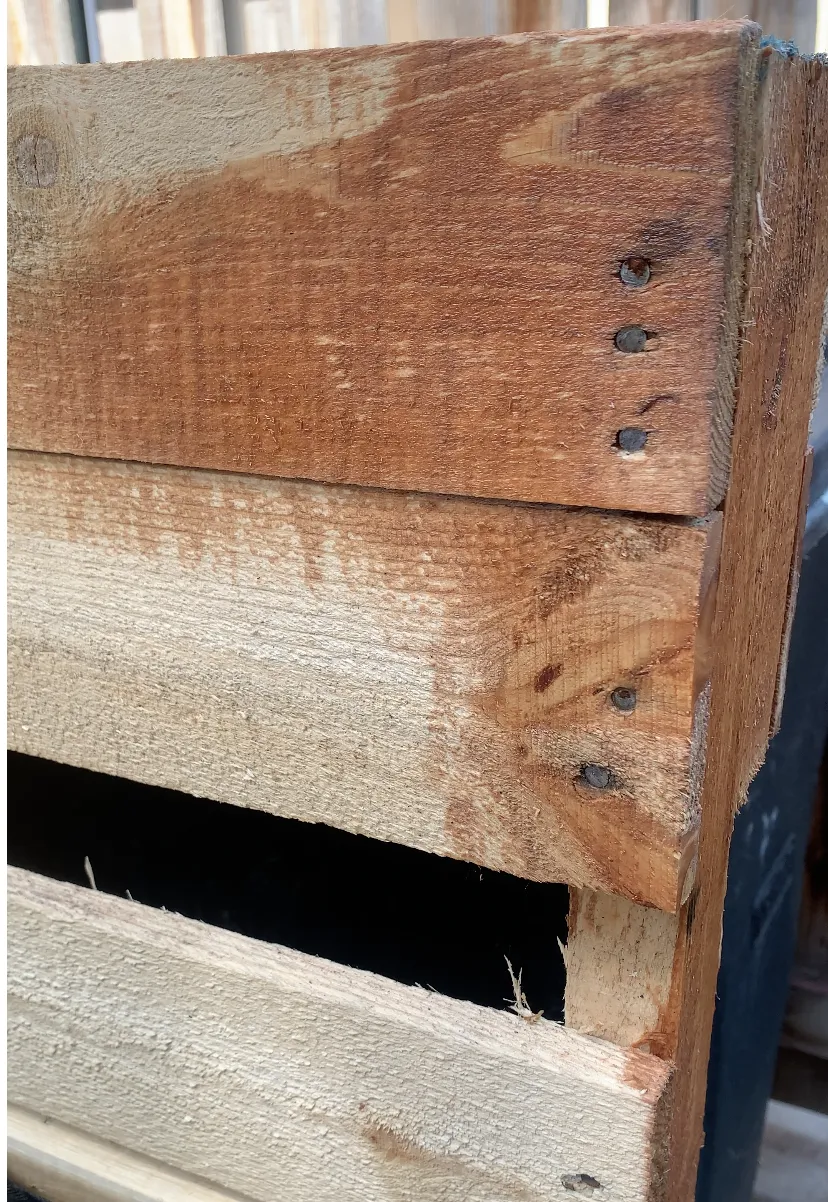 Staining exterior wood
Protect your hard work with a weather-resistant finish.
Protect your creation from the elements with a waterproofing wood sealer. Apply it to the entire structure, including the planter boxes, using a paintbrush.
Safety Tip: Wear gloves to protect your skin.
Allow it to dry thoroughly, ideally for 24 hours, before proceeding.
Step 7: Planting Your Herb Haven
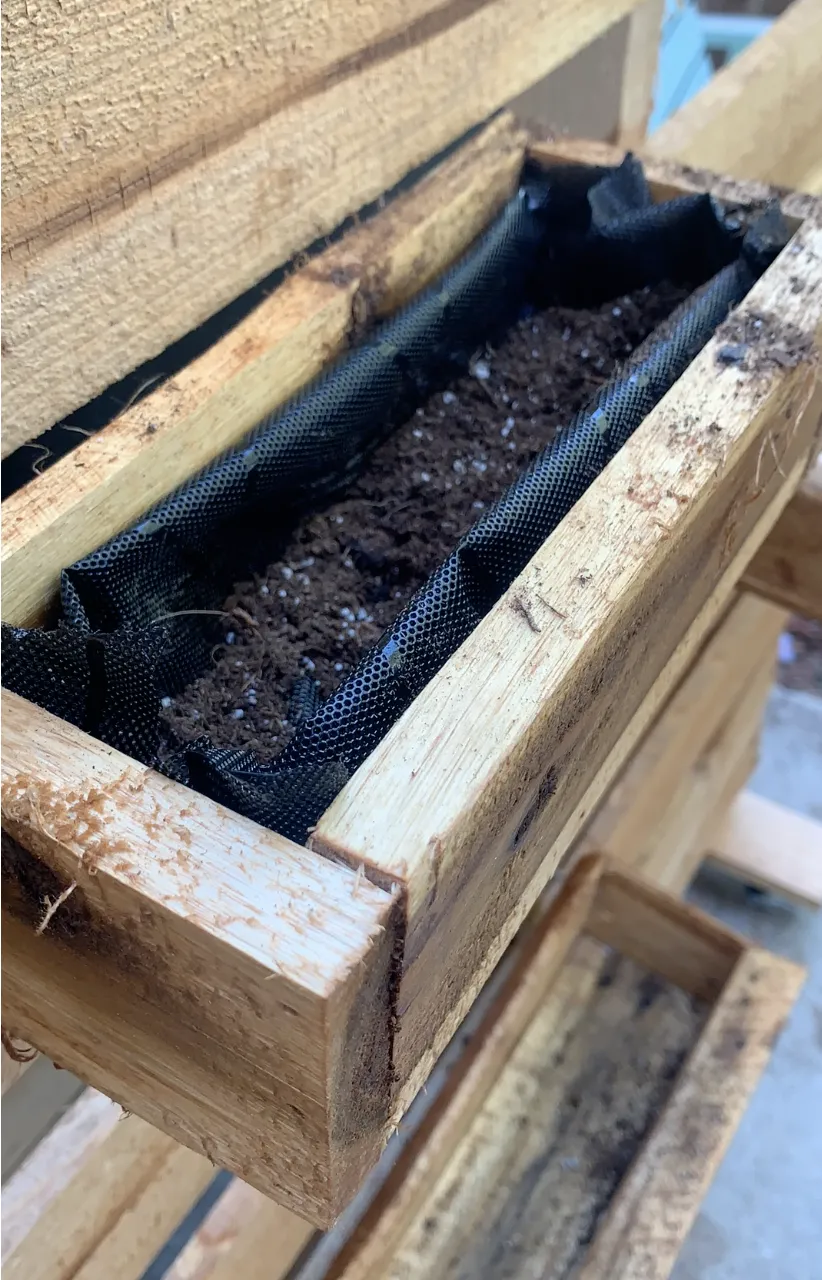 Adding landscape fabric and soil to planter box
Time to bring your garden to life with vibrant herbs.
Line the planters with landscape fabric, securing it with potting soil. Now comes the most exciting part – planting your herbs! I recommend two to three plants per larger box and one for smaller ones. Consider growth habits – give spreaders like mint and sage their own boxes.
Enjoying Your Culinary Oasis
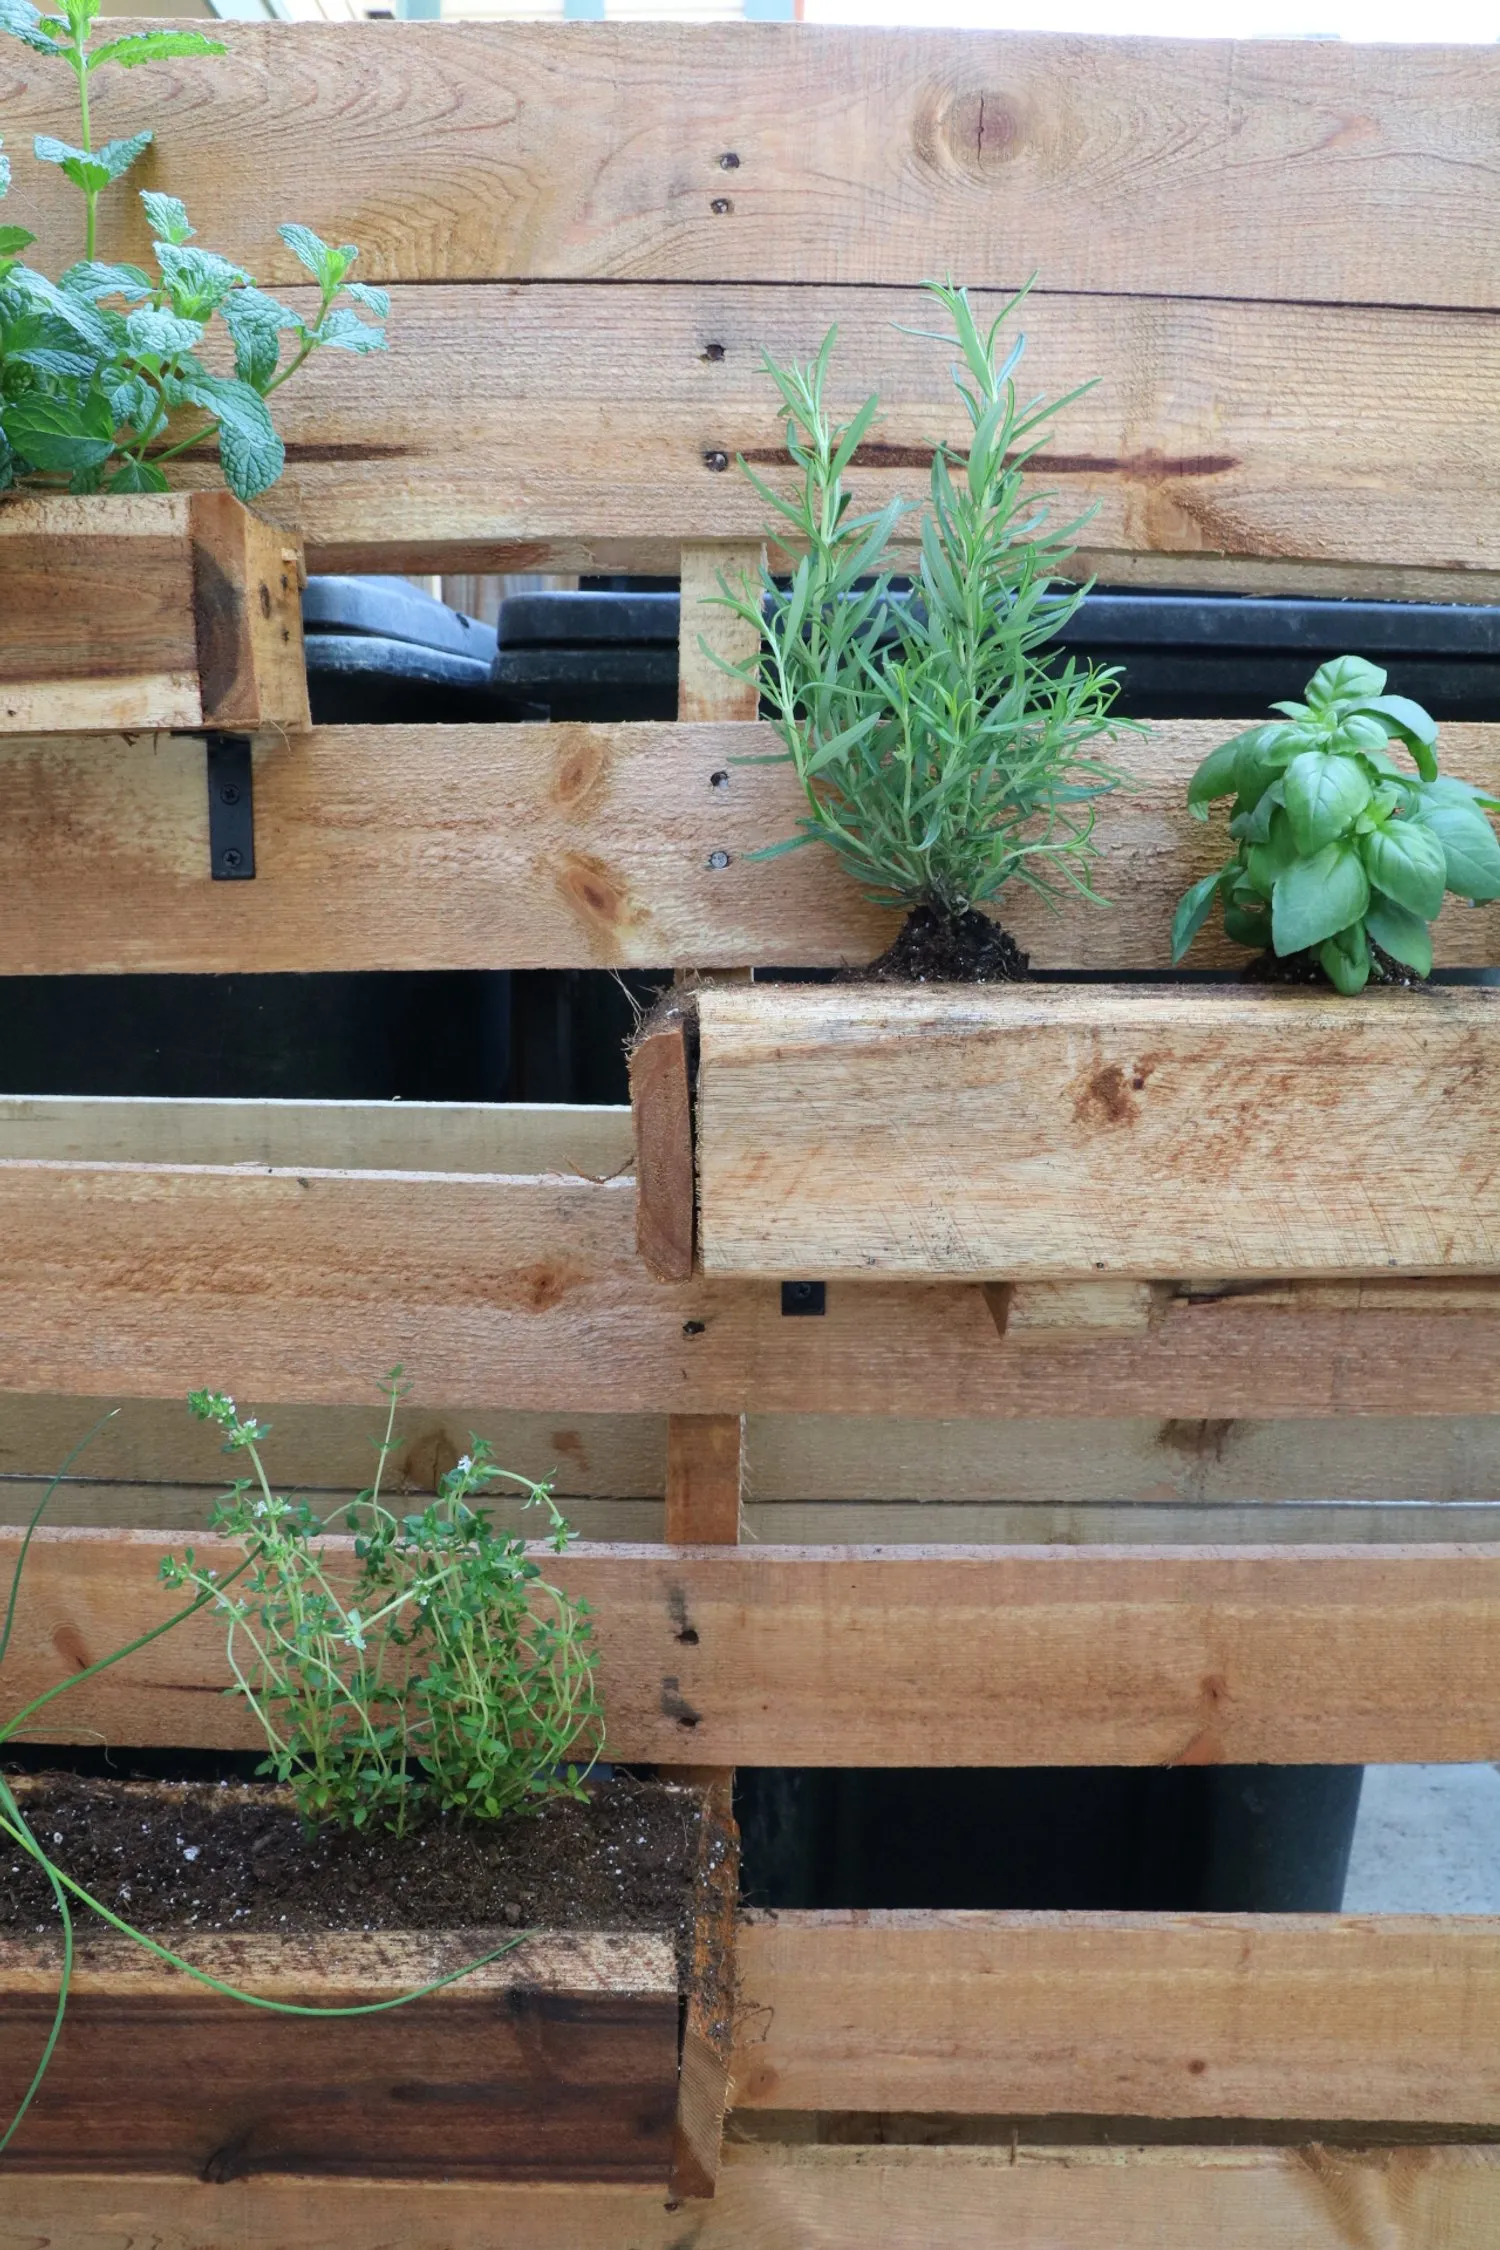 Planted herbs in vertical herb garden
Fresh herbs, just a snip away!
And there you have it! Your very own DIY vertical herb garden, ready to elevate your patio aesthetics and culinary experiences. Remember to water consistently, and soon you’ll have a thriving herb garden that’s both a feast for the eyes and the palate.
This project isn’t just about concealing the less appealing aspects of our outdoor spaces; it’s about transforming them into something we genuinely love and enjoy. I’d love to hear your thoughts and see your creations. Feel free to share your experiences in the comments below or tag Robert Kline Art on social media. Happy crafting!
