Blog
Building a Budget-Friendly DIY Vertical Garden Trellis
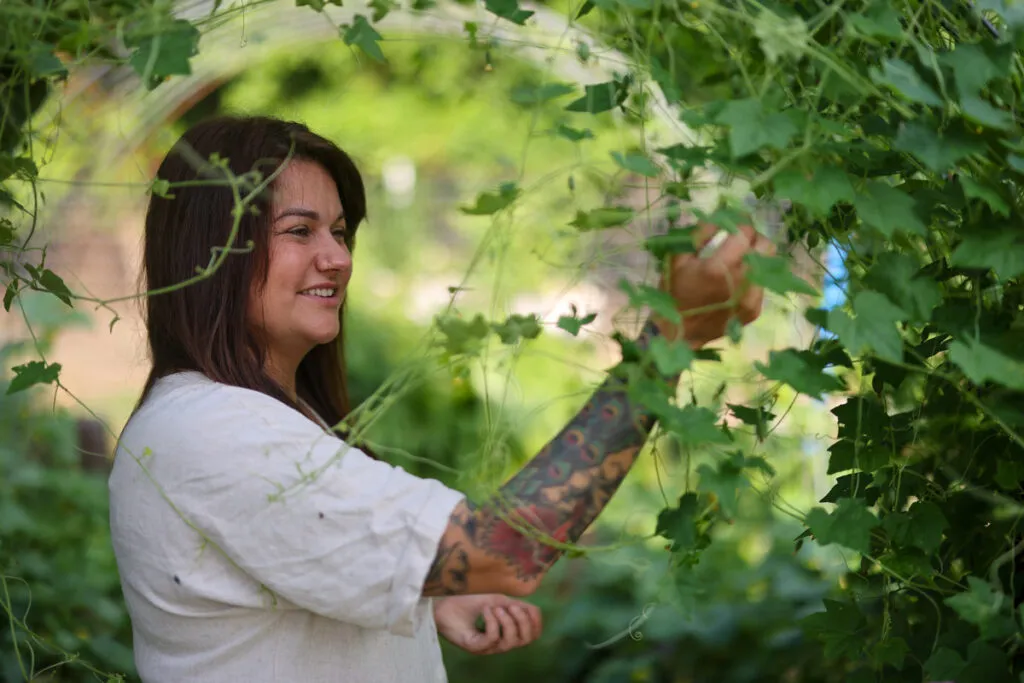
Hey there, fellow garden enthusiasts! Robert Kline here, your guide to all things artfully crafted, including transforming your outdoor spaces. Today, we’re diving into the wonderful world of vertical gardening with a simple yet stunning project: a DIY arched trellis made from readily available cattle panels.
Imagine this: a picturesque archway adorned with vibrant, climbing plants, creating a truly magical focal point in your garden. And the best part? This project is incredibly budget-friendly, costing around $30 per trellis. Let’s get started!
The Beauty of Vertical Gardening
As an artist, I’m always drawn to elements that add structure and visual interest to a space. Vertical gardening does just that while maximizing your growing area, no matter the size of your garden.
But it’s not just about aesthetics. Vertical gardening boasts a plethora of benefits:
- Space Optimization: Perfect for smaller gardens or those wanting to grow more in limited areas.
- Healthier Plants: Improved air circulation and sunlight penetration lead to healthier plants and reduced risk of diseases.
- Easier Harvesting: Say goodbye to backbreaking bending! Vertical gardening brings your harvest within easy reach.
- Affordable and Easy: Cattle panel trellises are surprisingly affordable and a breeze to assemble.
 A woman picking beans from a trellis in the garden.
Why Cattle Panel Trellises Are a Gardener’s Dream
Over the years, I’ve experimented with various trellising methods, and let me tell you, cattle panels have become a firm favorite. Here’s why:
- Durability: Cattle panels are designed to withstand the elements, making them a long-lasting investment for your garden.
- Easy Assembly and Disassembly: Perfect for rotational gardening, these trellises can be easily moved around your garden as needed.
- Sturdy Support: Rest assured, your precious plants are in safe hands! Cattle panels provide excellent support for even the heaviest of crops.
- Affordability: At around $30 per panel, these trellises won’t break the bank.
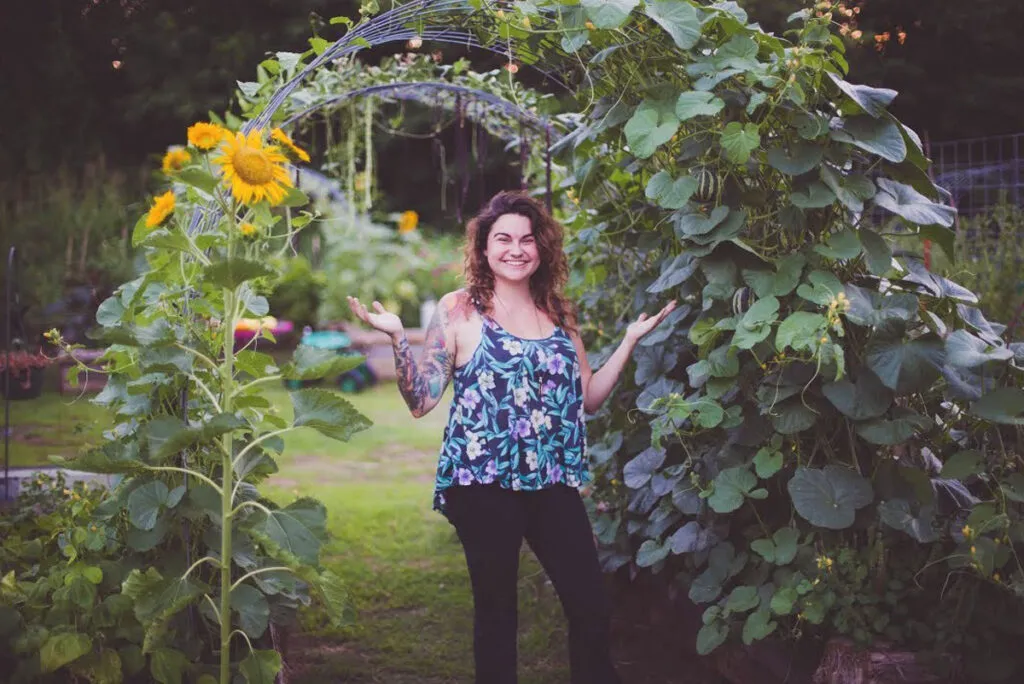 A woman standing under an arched trellis in the garden.
Gathering Your Supplies
Before we embark on our DIY adventure, let’s gather our tools and materials:
- One Cattle Panel: Approximately 18 feet long, costing around $20-$25.
- Two Metal T-Posts: Six feet tall is ideal, but five or seven feet will also work. Expect to pay around $5-$6 per post.
- Ten Medium-Length Zip Ties: Affordable and easy to use for securing the panel to the T-posts.
And there you have it! For under $35, you’ll have a sturdy and attractive trellis ready to grace your garden.
Step-by-Step Guide to Building Your Arched Trellis
Remember those childhood days of building pillow forts? This project is just as fun, and even more rewarding! Here’s your step-by-step guide:
- Position Your First T-Post: Drive your first T-post firmly into the ground, ensuring the notches face inward towards your future arch. If you’re placing the trellis in a raised bed, maintain a 4-6 inch gap between the bed’s edge and the post to allow for planting.
- Introduce the Cattle Panel: Lean the short side of the cattle panel against the notched side of the T-post.
- Create the Arch: Gently bend the long side of the cattle panel over your head, positioning the other short end in your raised bed or the desired location. Adjust the arch’s height and width to your liking.
- Position the Second T-Post: Align your second T-post with the other end of the cattle panel, ensuring it’s centered.
- Secure the T-Posts: With one person holding the panel steady, drive the second T-post into the ground, notches facing the panel. Ideally, the notches should grip the panel and push the base slightly into the ground for extra stability.
- Fasten with Zip Ties: Using your zip ties, securely fasten the cattle panel to the T-posts. Aim for at least five or six zip ties per post, ensuring they wrap around both the post and the panel.
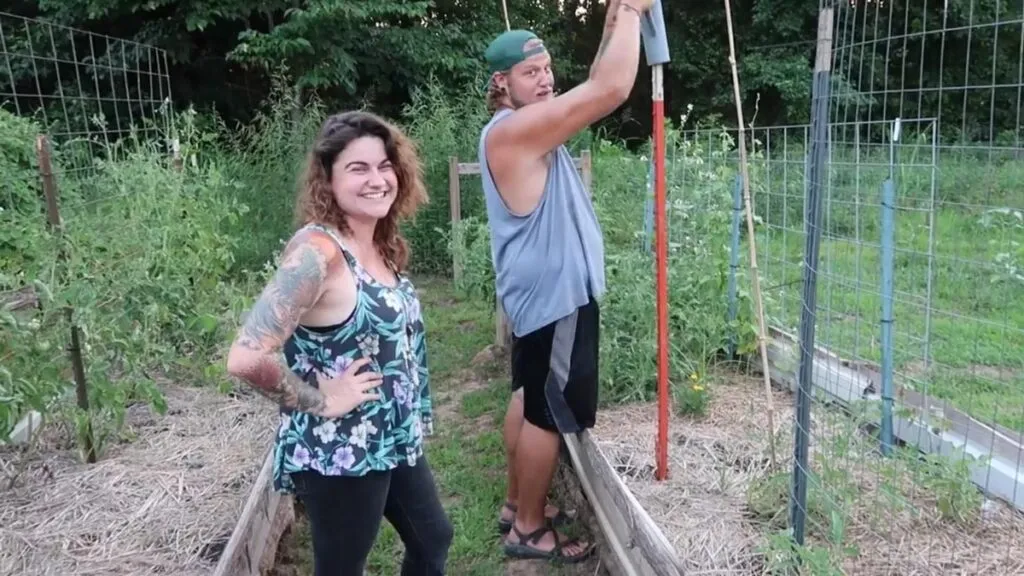 A man pounding in a t-post into the ground of a raised garden bed.
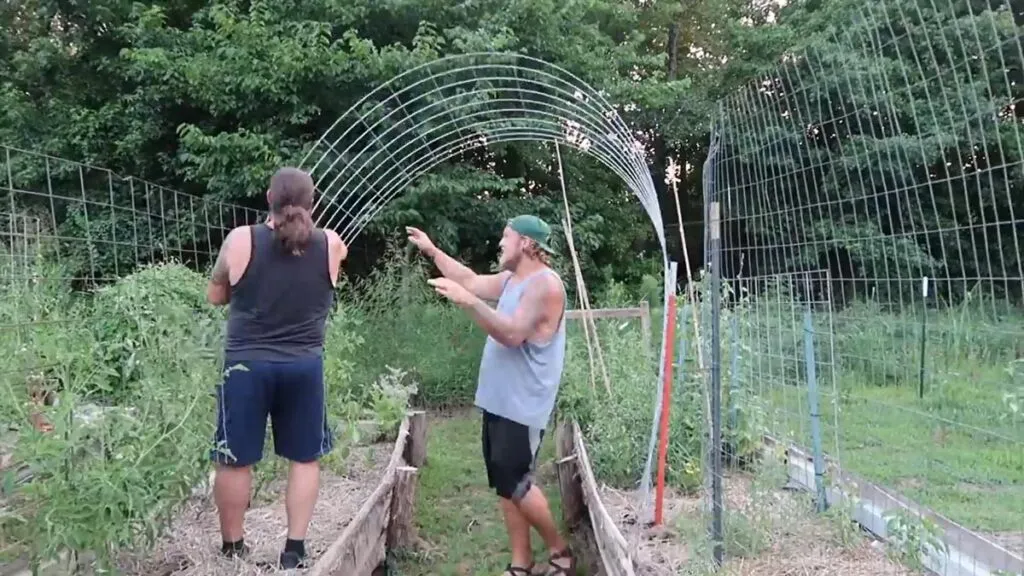 Two men bending a cattle panel for an arched vertical trellis.
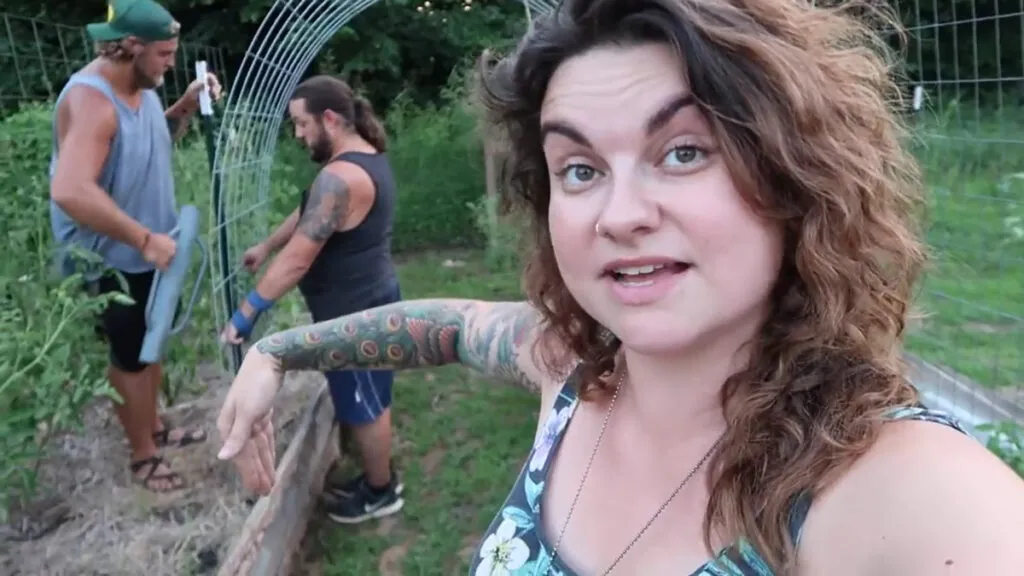 A woman describing how to build a vertical arched trellis.
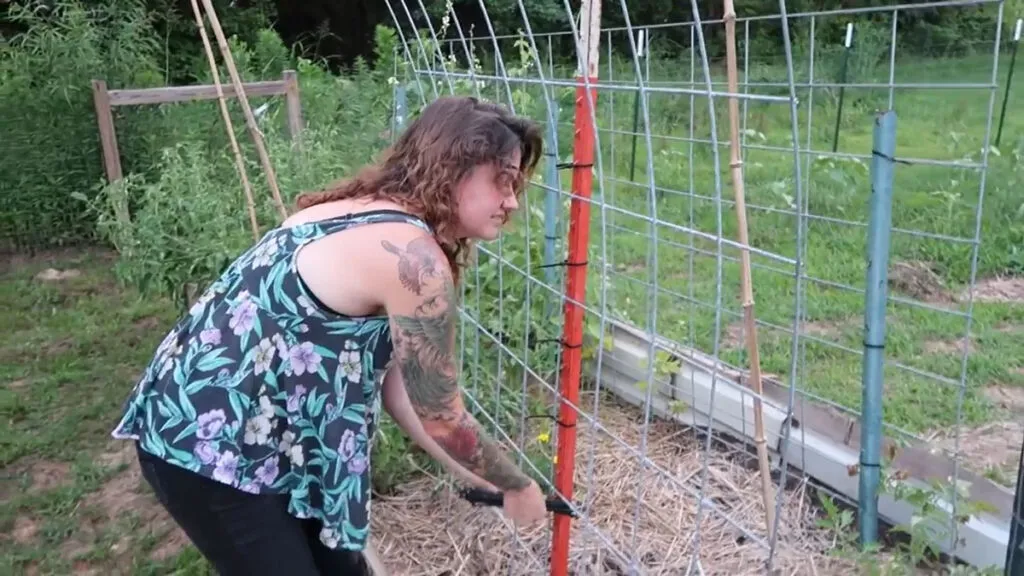 A woman putting on zip ties to a cattle panel attached to a t-post.
Choosing the Perfect Climbing Companions for Your Trellis
Now comes the fun part: selecting the ideal climbing plants to grace your brand-new trellis. Here are some tried-and-tested options:
- Beans: Scarlet runner beans, lima beans, and pole beans add a touch of whimsy with their vibrant blooms and bountiful harvests.
- Cucumbers: Imagine crisp cucumbers dangling within easy reach! Both pickling and slicing varieties thrive on trellises.
- Squash and Melons: Create a dramatic display with larger winter squash or opt for personal-sized melons like banana or kajari melons.
- Tomatoes: Give your climbing Trip-L-Crop tomatoes the support they need to flourish.
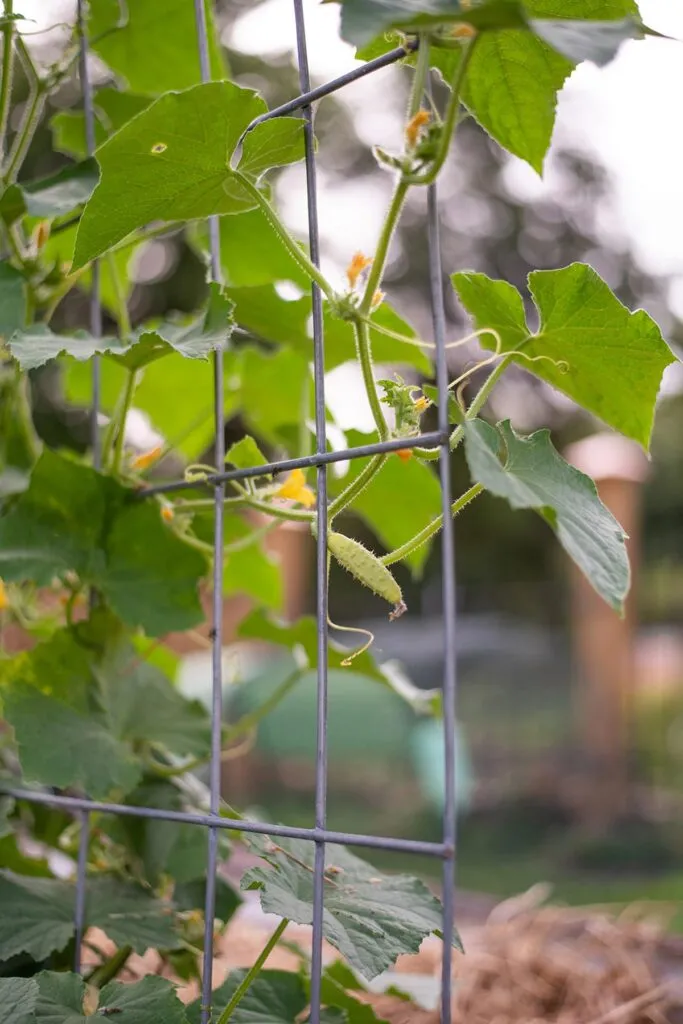 Cucumbers growing on a vertical trellis in the garden.
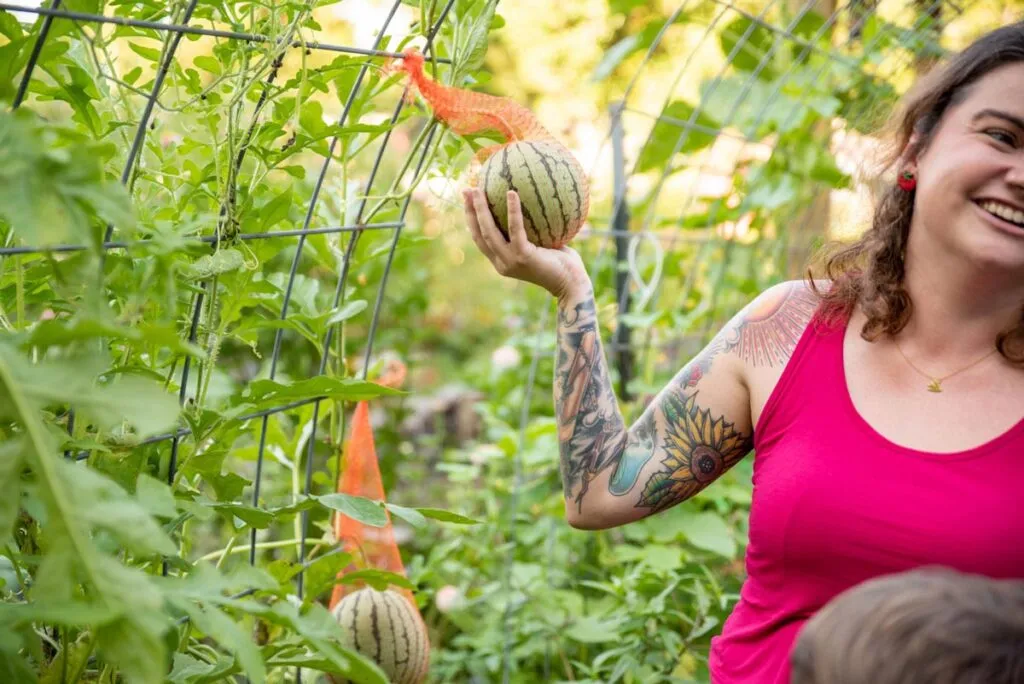 A woman holding up a melon in a mesh bag hanging from the vine.
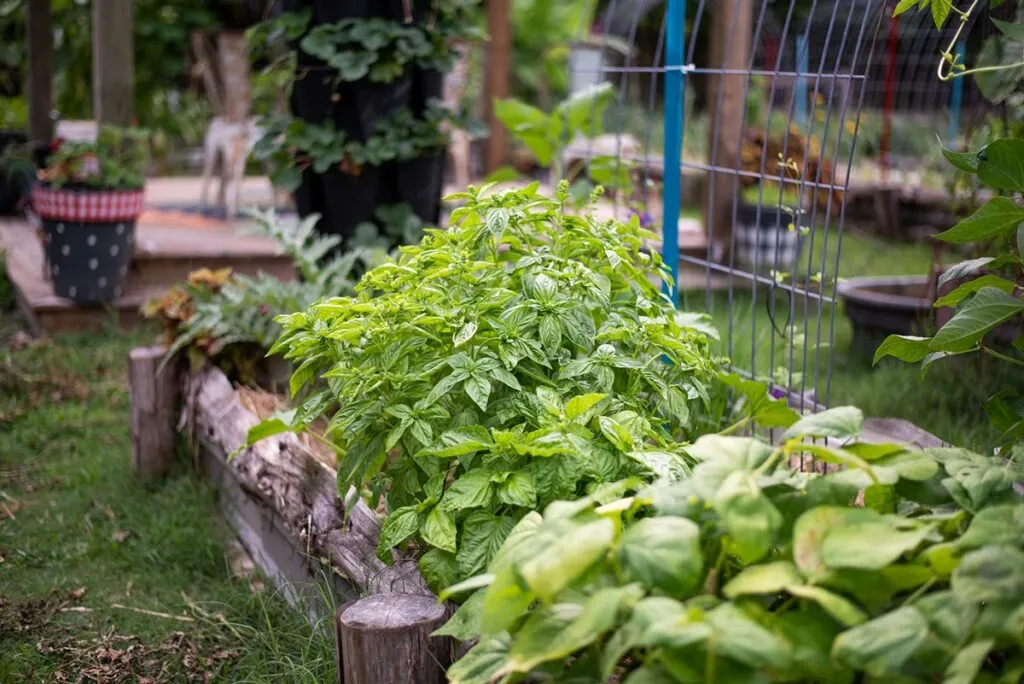 Basil growing in raised beds in a garden.
Unleash Your Inner Garden Artist
There you have it – a simple yet effective way to add vertical beauty and functionality to your garden. Building a DIY cattle panel trellis is a rewarding project that combines practicality with artistic expression. So, gather your materials, put on your gardening gloves, and let your creativity bloom alongside your vining plants.
Don’t forget to share your creations with me. I’d love to see the unique ways you’ve incorporated these trellises into your gardens. And remember, at Robert Kline Art, we believe in crafting beauty, one project at a time. Happy gardening!
