How to Create a Stunning Vertical Herb Garden from a Shoe Organizer

Do you long for the fresh, vibrant flavors of homegrown herbs, but think your limited garden space is a hurdle? Fear not! At Robert Kline Art, we believe anyone can have a thriving garden. This easy DIY project transforms a simple shoe organizer into a beautiful and functional vertical herb garden. Not only does it save precious ground space, but it also adds a touch of vertical charm to any outdoor area. Let’s get started!
Gathering Your Supplies
For this project, you’ll need just a few basic items:
- A cloth shoe organizer: Choose one with sturdy fabric and pockets deep enough to accommodate your herbs.
- Potting soil or compost: Select a high-quality mix that drains well.
- A rod, hooks, or nails for hanging: Make sure these are strong enough to hold the weight of the filled organizer.
- Herbs or plants of your choice: This is your chance to experiment with new and exciting varieties. Bonnie Plants offers a fantastic selection!
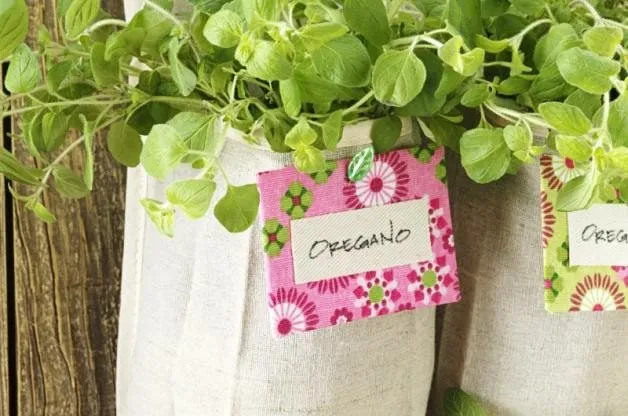
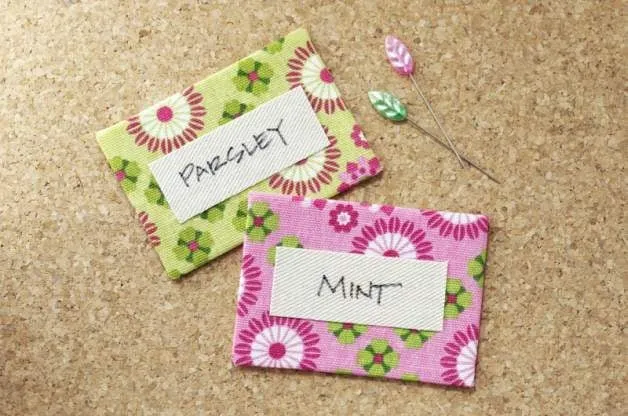
- Optional: Fabric scraps, ultra-firm stabilizer, iron-on adhesive, and a permanent marker to create plant tags.
Step-by-Step Guide
Step 1: Choose the Perfect Spot
Find a sunny location for your vertical garden, such as a fence, the side of a garage, or even a sunny wall. Make sure the area receives at least six hours of sunlight per day.
Step 2: Ensure Proper Drainage
Before you start planting, test the drainage of your shoe organizer by pouring water into each pocket. If the water doesn’t drain quickly, carefully poke a few small holes in the bottom of each pocket.
Step 3: Planting Time!
Fill each pocket with potting soil or compost, leaving about an inch of space at the top. Gently plant your chosen herbs, ensuring their roots are well-covered with soil.
Step 4: Label Your Herbs (Optional)
For easy identification, create personalized plant tags using fabric scraps and a permanent marker. This is a great way to add a personal touch and avoid any mix-ups!
Step 5: Hang and Enjoy!
Once your pockets are planted, hang your new vertical herb garden securely using your chosen method. And there you have it – a beautiful and functional garden that’s sure to be the envy of the neighborhood!
 Shoe Organizer vertical Herb Garden
Expert Tips
- “Watering needs will vary depending on the herbs you choose and your local climate,” says gardening expert Sarah Jones. “It’s always best to check the soil regularly and water when the top inch feels dry.”
- To create a visually appealing display, consider grouping herbs with similar light and water requirements.
- Regularly harvest your herbs to encourage new growth and ensure a continuous supply of fresh flavors.
 Herb Garden Tags
Unleash Your Inner Gardener
We at Robert Kline Art believe that everyone has a creative spark just waiting to be ignited. This simple DIY vertical garden is a fantastic way to bring the joy of gardening to even the smallest of spaces.
So why wait? Grab your supplies and unleash your inner gardener today! And don’t forget to share your creations with us! We’d love to see your unique and beautiful vertical gardens.
For even more handmade inspiration and unique gift ideas, browse our curated collection on the Robert Kline Art website. We’re passionate about helping you discover the beauty and joy of handcrafted treasures.
