Blog
Building Your Own DIY Outdoor Table: A Step-by-Step Guide

As an avid DIYer and craft enthusiast, I’m always looking for ways to spruce up my outdoor space and what’s better than crafting your own furniture? In this post, I’m going to share my experience building a stunning and budget-friendly outdoor table. This project is perfect for anyone who enjoys the satisfaction of creating something beautiful and functional with their own two hands. Let’s get started!
Gathering Your Tools and Materials
Before you begin, it’s important to gather all the necessary tools and materials. For this DIY outdoor table project, you will need:
- Lumber: 16 pieces of 2x4s. The length will depend on your desired table size. You can get them pretreated for outdoor use or treat them later.
- Screws: Outdoor screws are essential for durability and weather resistance.
- Drill: For driving in the screws and creating pilot holes.
- Table Saw: To cut the 2x4s to the desired length.
- Paint: Choose a high-quality outdoor paint in black or any color that complements your outdoor space.
- Sealer: Opt for a poly sealer or weatherproof stain to protect the wood from the elements.
- Optional: Wood filler and sandpaper for a more polished look.
Measuring and Cutting the Lumber
This DIY outdoor table is designed to be spacious, perfect for families and entertaining guests. My table measures 96 inches long, but you can adjust the dimensions to fit your needs. Here’s a cutting guide based on my measurements:
- Tabletop: 10 boards at 96 inches long (adjust this length if your table is a different size).
- Side Supports: 2 boards at 89 1/4 inches (this measurement will change if you adjusted the table length).
- Leg Pieces: 4 boards at 30 inches long and 4 boards at 36 inches long.
- Under Support: 1 board at approximately 36 inches long.
Pro Tip: Double-check all your measurements before cutting to avoid any costly mistakes.
Constructing the Table Legs
-
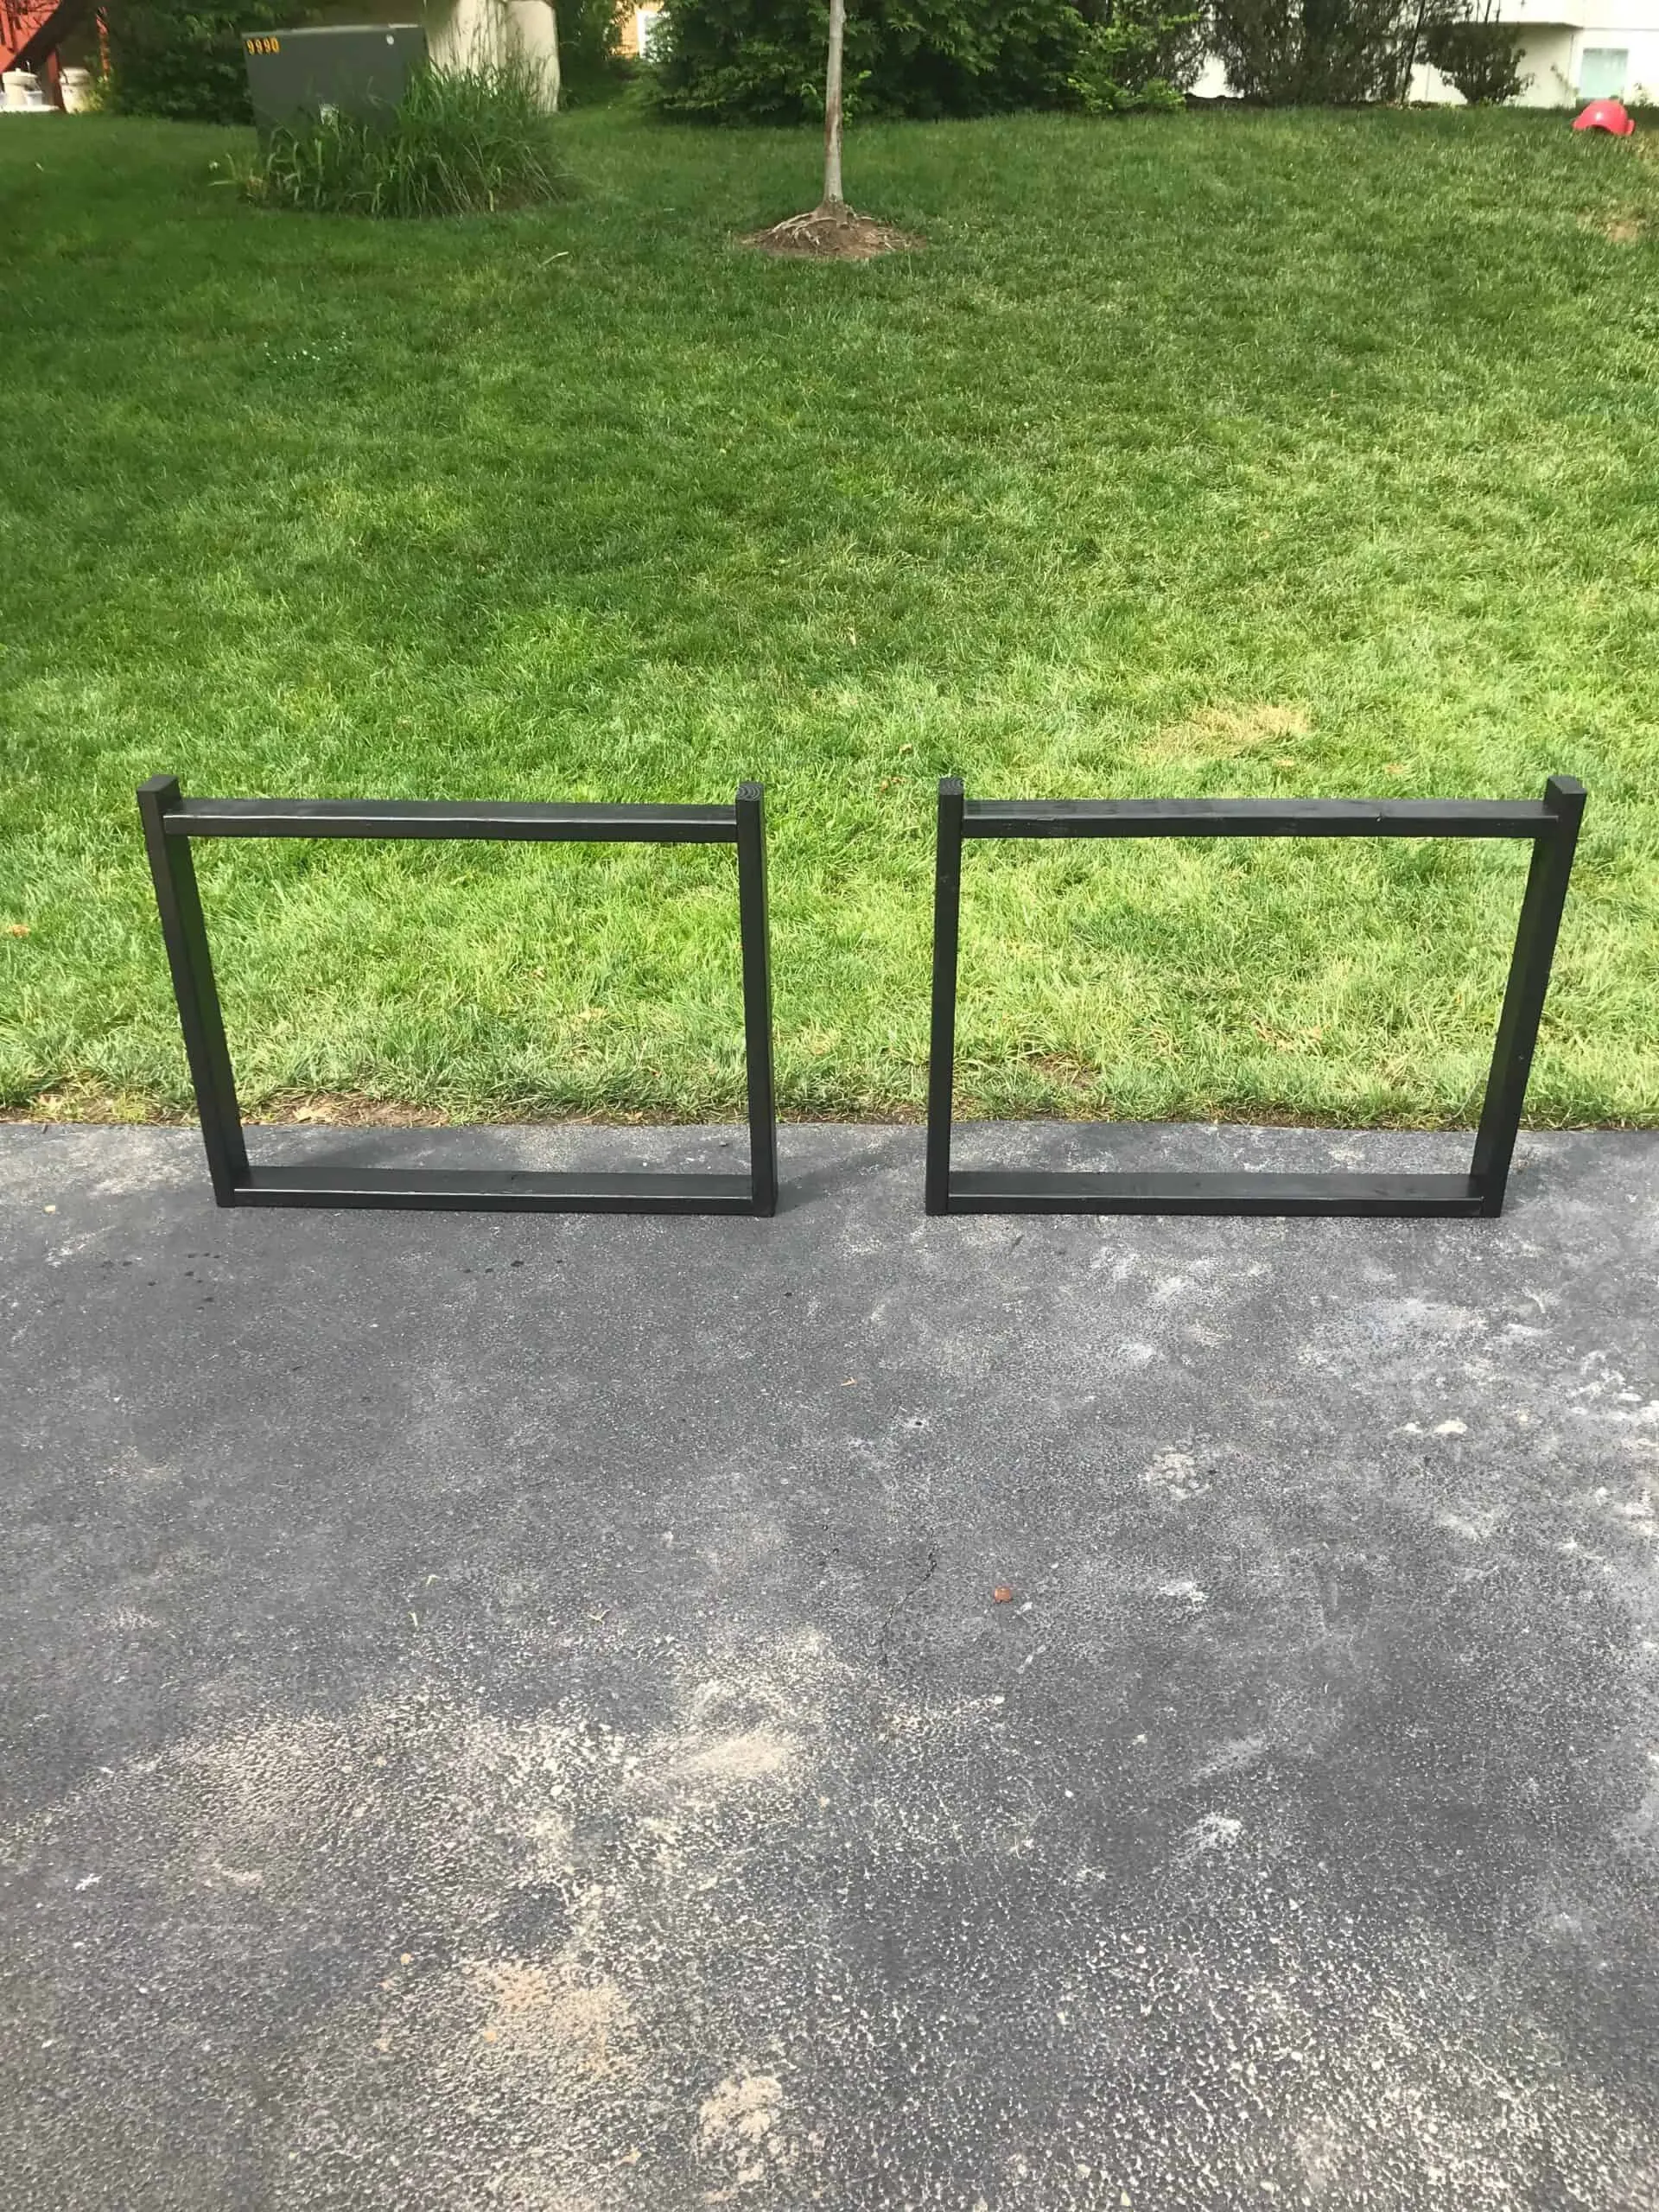
Create the “U” Shape: Begin by taking two of the 36-inch boards and positioning them vertically. Then, take two of the 30-inch boards and attach them horizontally between the 36-inch boards to form a “U” shape. Repeat this step to create a second identical “U” shape – these are your table legs.
-
Attach the Crossbeam: Measure the width of your assembled “U” to determine the length needed for your crossbeam (it should be slightly shorter than the width to allow the top boards to sit flush). Cut a 2×4 to this length and attach it as the top crossbeam of your “U” shape. Use a scrap piece of wood as a spacer to ensure you have the correct amount of clearance for the tabletop to sit flush.
-
Paint the Legs: Once your legs are assembled, apply two coats of your chosen outdoor paint. Allow ample drying time between coats.
Assembling the Tabletop
-
Position the Legs: Place your painted table legs upside down (so the feet are facing up) at your desired table width.
-
Attach the Top Boards: Lay your 10 tabletop boards across the legs, making sure they are evenly spaced and flush with the outer edges of the legs. Use screws to attach each board to the leg assemblies.
-
Reinforce with Under Support: Cut a 2×4 to approximately 36 inches for the under support and attach it to the center of the underside of the tabletop using screws.
-
Attach Side Supports: Align the two 89 1/4-inch side support boards along the length of the table, flush with the outer edges of the tabletop boards. Attach these boards using screws.
Final Touches and Finishing
-
Finishing Touches: Once the table is fully assembled, inspect it for any rough edges or screw holes that need filling. If desired, use wood filler to fill any imperfections and sand them down once dry.
-
Sealing and Protecting: Protect your DIY outdoor table from the elements by applying a high-quality sealer or weatherproof stain. This will help prevent moisture damage and maintain its beauty for years to come.
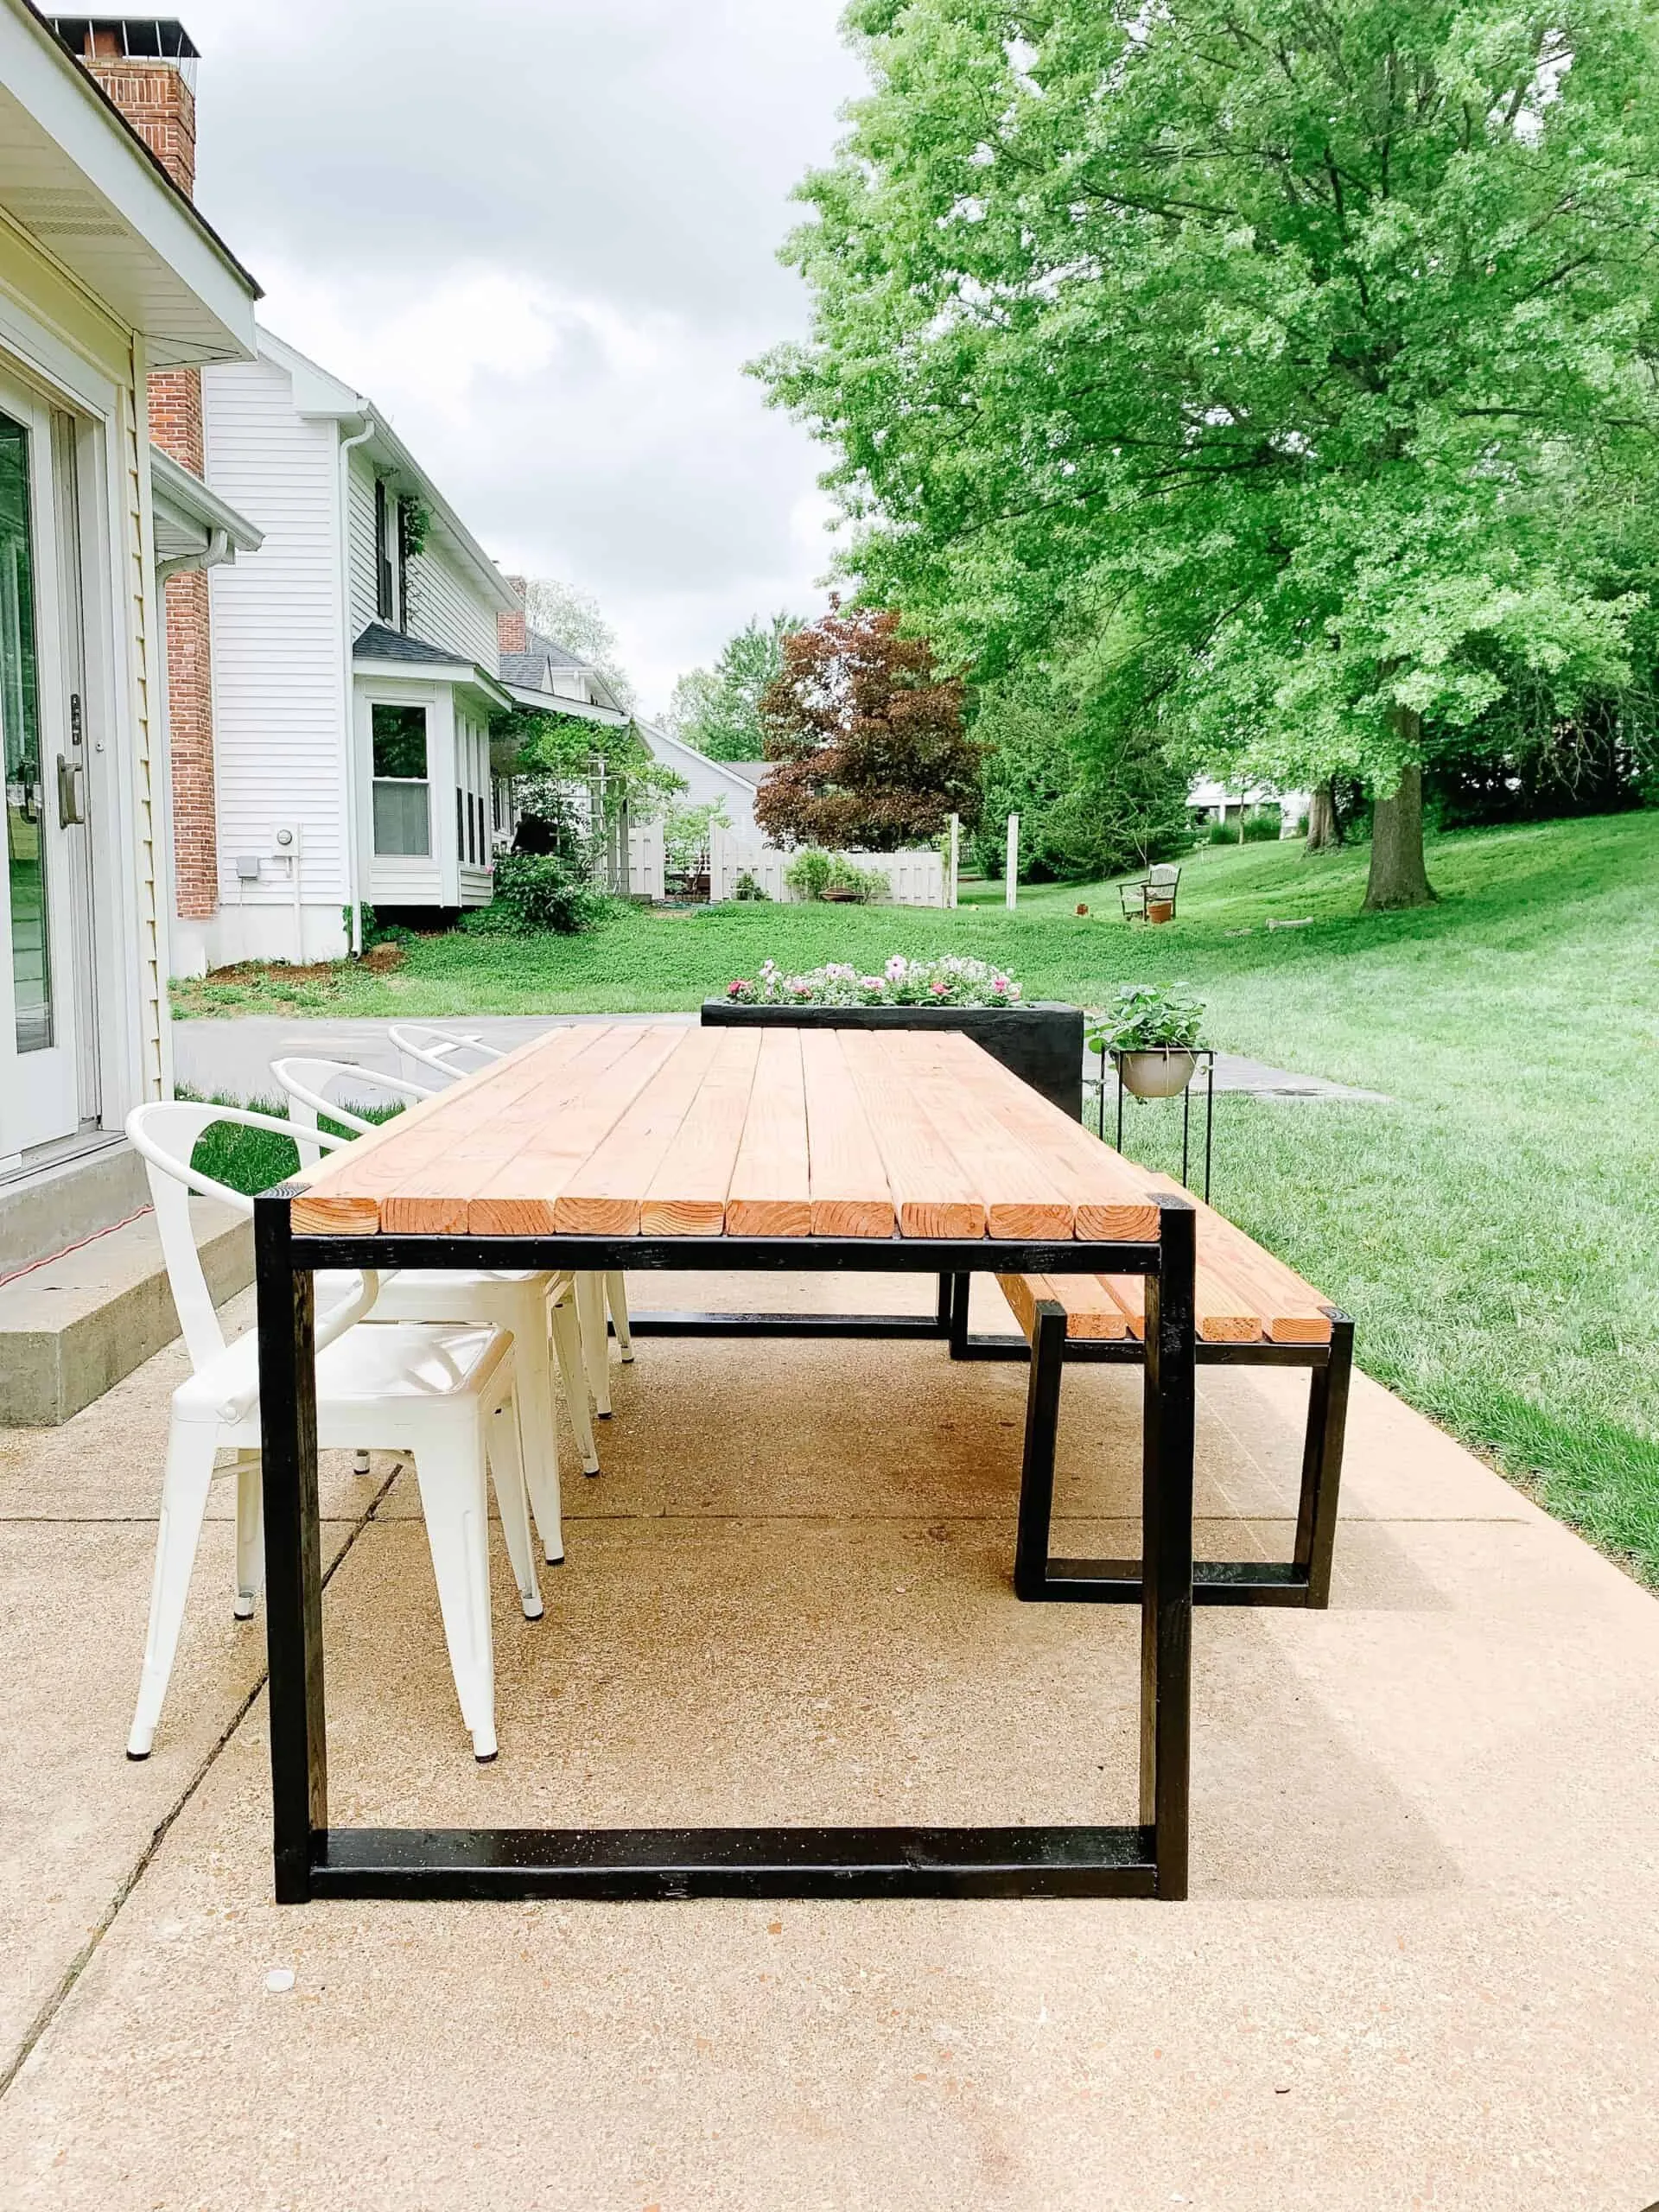
 Modern black and wood DIy outdoor table
 diy outdoor table
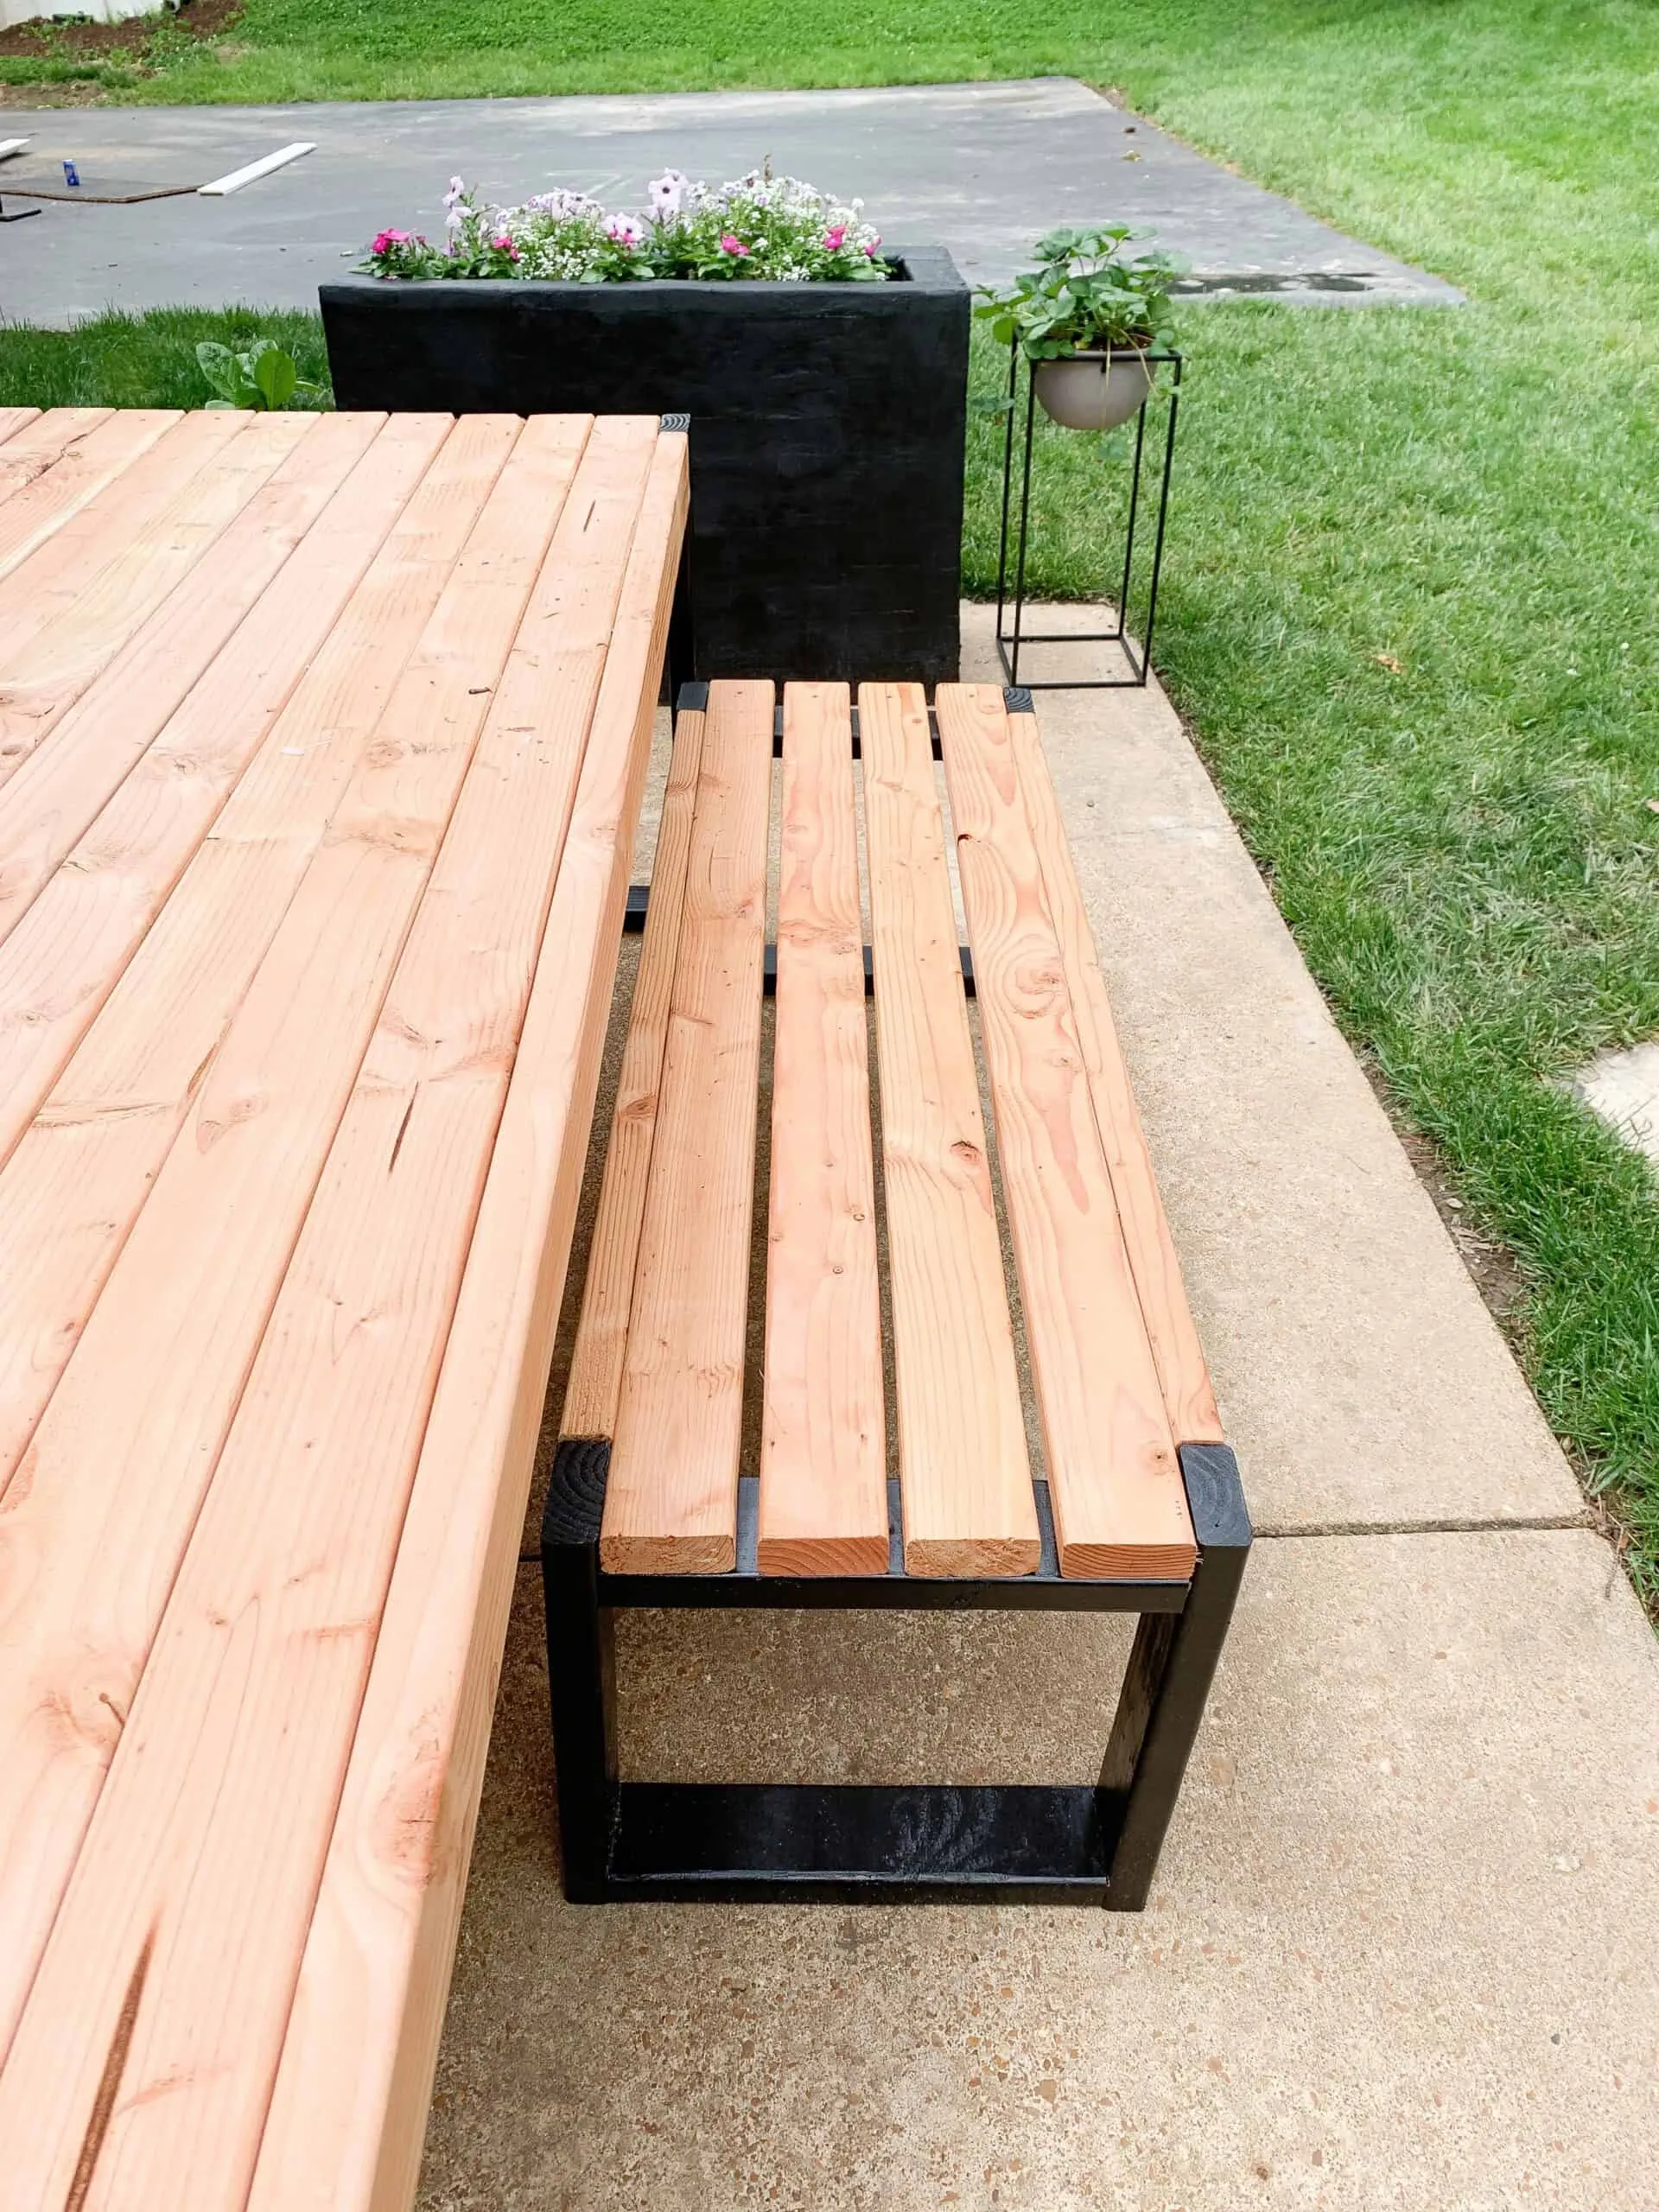
 Diy outdoor modern bench and table
 diy outdoor table
 legs for modern table
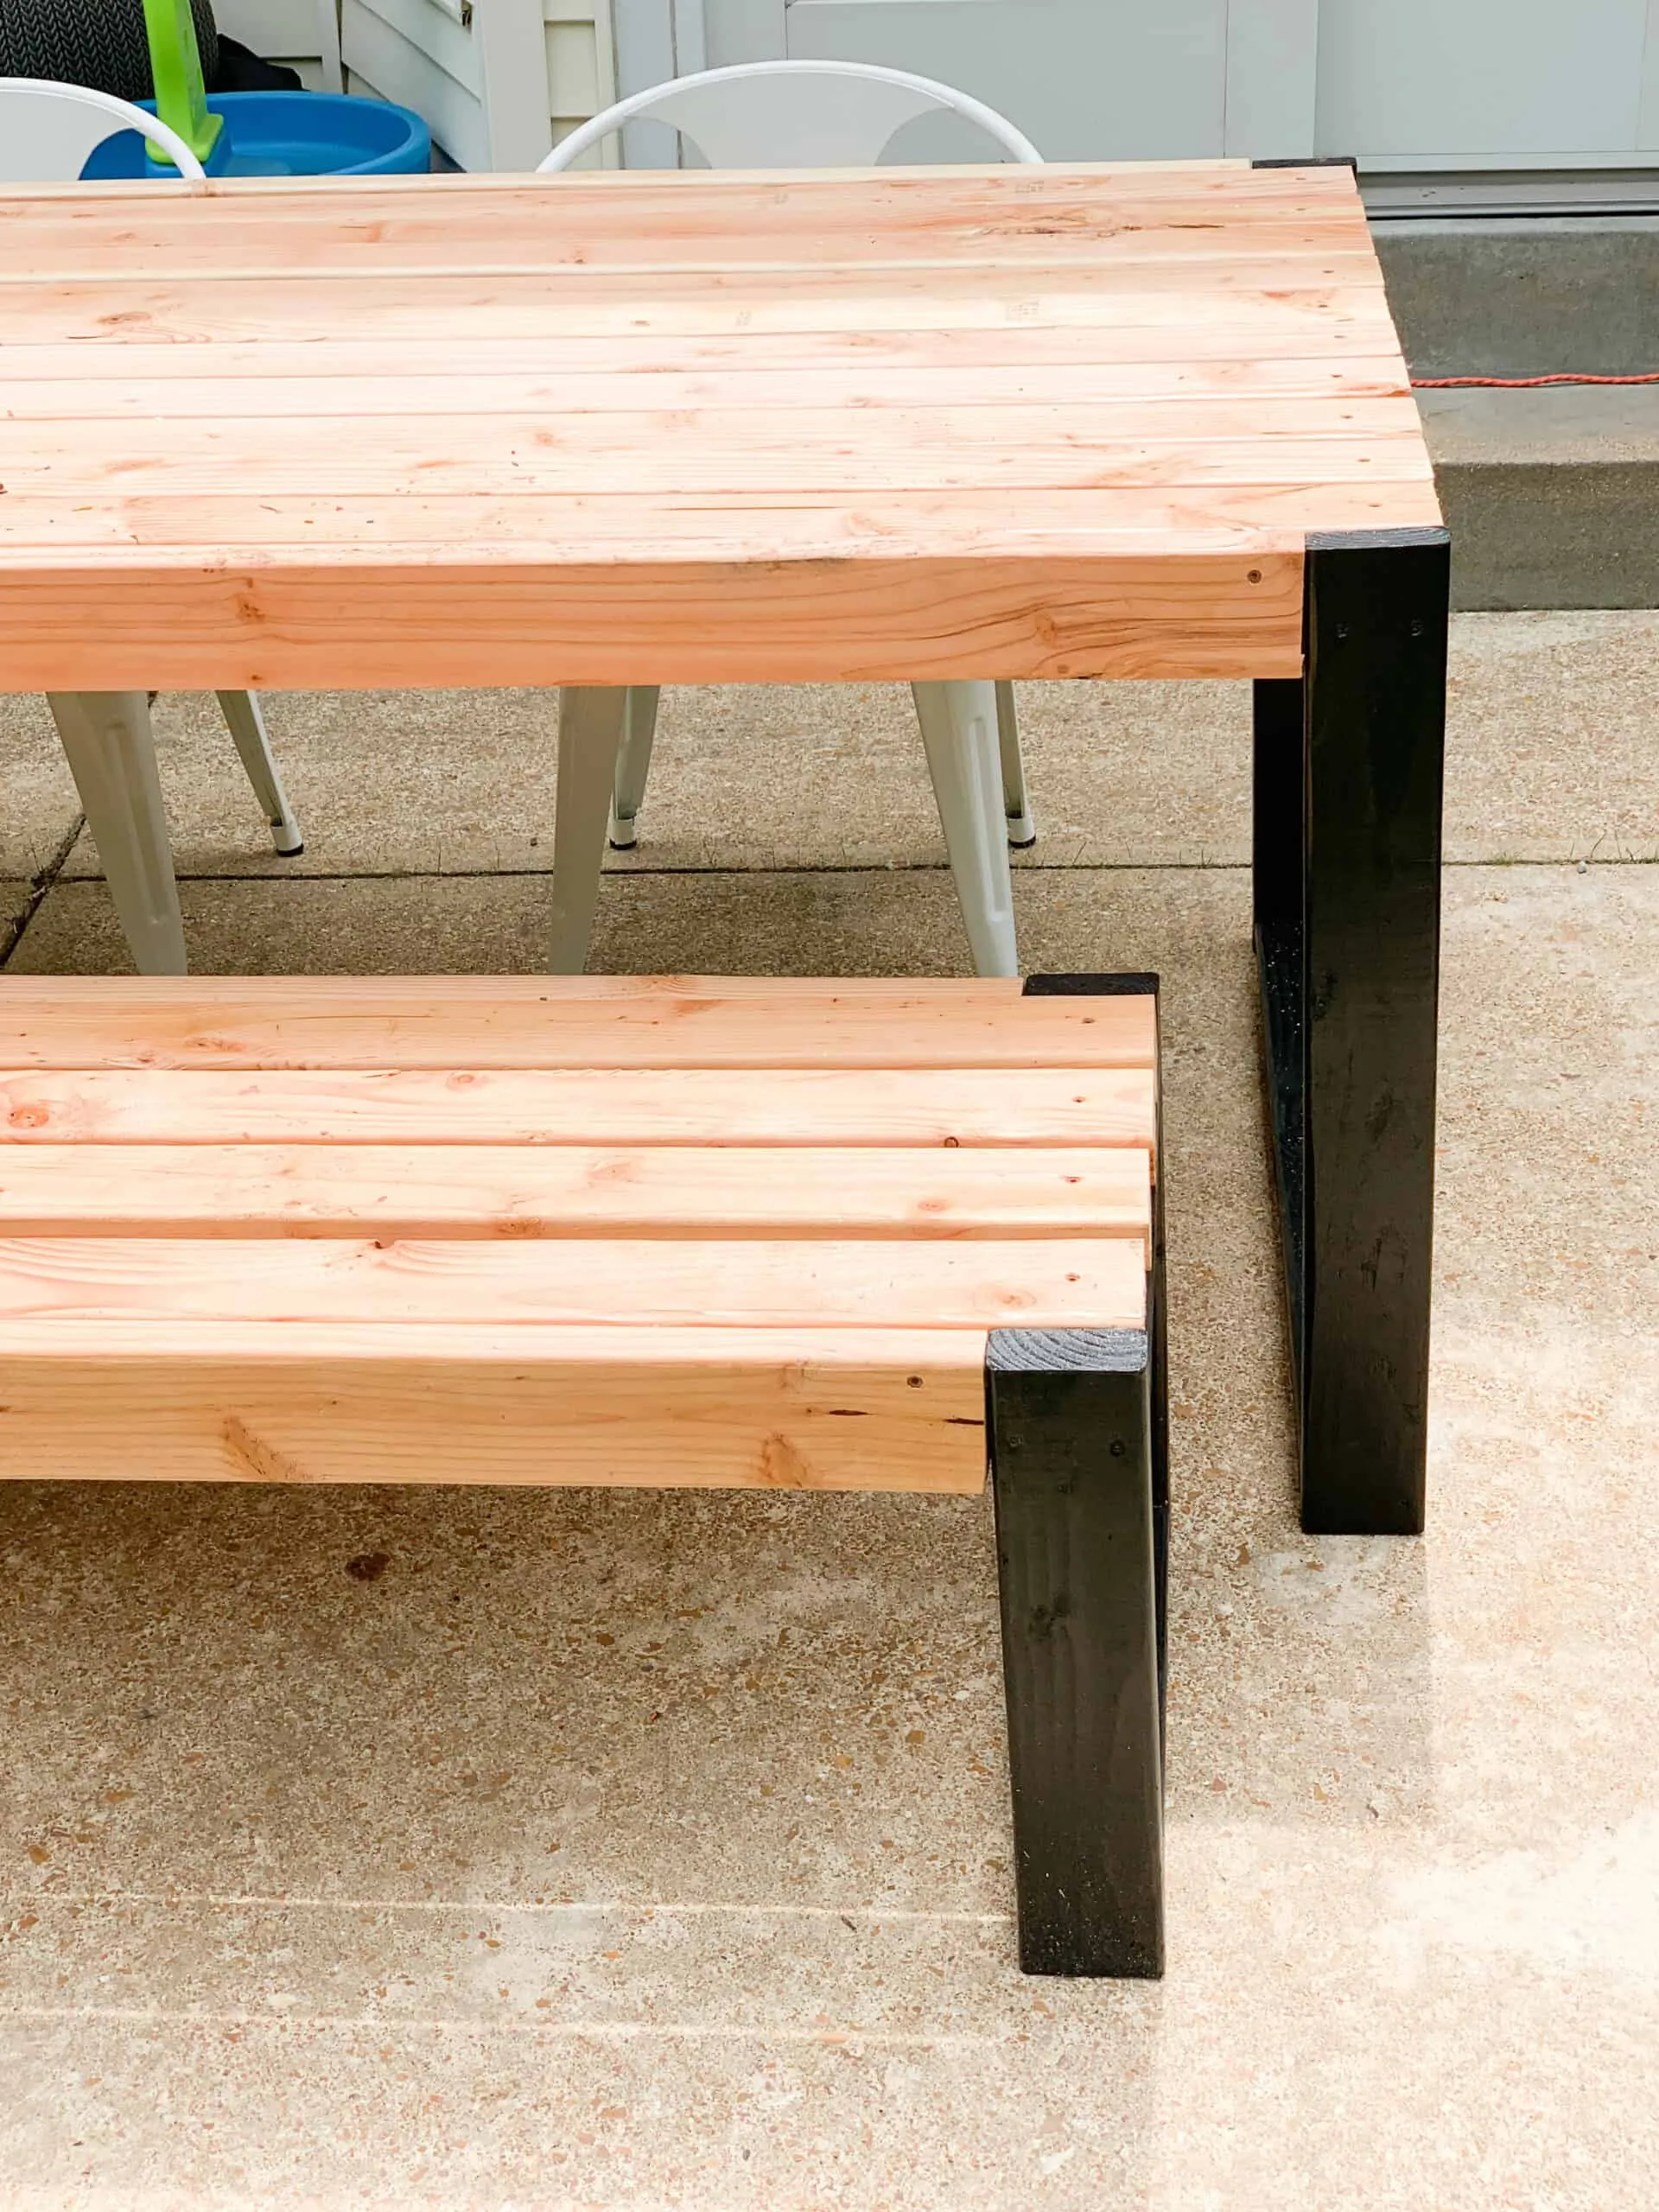
 DIY outdoor table and bench
 DIY Outdoor table
Enjoying Your New Outdoor Oasis
Congratulations! You’ve successfully built your own DIY outdoor table! Now it’s time to step back and admire your handiwork. Set it up in your favorite spot in the backyard, add some comfortable seating, and create a welcoming outdoor living space for friends and family to gather. This easy-to-follow guide makes building your own outdoor table an achievable project for any skill level. Remember, the key is to have fun, be creative, and enjoy the process of crafting something beautiful and functional for your home.
Be sure to explore Robert Kline Art for more inspiring DIY projects, crafting tips, and unique handmade gift ideas. Let’s make something beautiful together!
