Blog
Creating DIY Stepping Stones: A Fun and Easy Garden Project for the Whole Family

As someone who lives and breathes the world of handmade crafts, I’m always on the lookout for projects that blend creativity, practicality, and a touch of nature. That’s why I fell in love with the idea of DIY stepping stones. They’re not just functional additions to your garden, but little pieces of art that tell a story.
Remember those days spent collecting seashells by the shore? With this project, those treasures can find new life, nestled amongst the greenery of your garden. Imagine the joy of walking through your garden, each step a testament to a fun-filled crafting session with your loved ones.
Today, I’m excited to guide you through the process of making your very own DIY stepping stones, infused with the charm of seashells and the warmth of shared moments. Let’s turn your garden into an enchanting haven, one stepping stone at a time!
Gathering Your Stepping Stone Supplies
Before we embark on this creative journey, let’s gather the tools and materials that’ll bring our vision to life. Don’t worry, this project is surprisingly budget-friendly, proving that crafting masterpieces doesn’t have to break the bank!
Here’s what you’ll need:
- Quick concrete mix: The heart of our stepping stones, choose a quick-drying variety for a faster project turnaround.
- Water: Our trusty companion for mixing the concrete.
- Mixing container: A sturdy bucket (around 5 gallons) will do the trick.
- Seashells: Remember those seaside treasures? It’s their time to shine! You can also purchase these from craft stores if you’re landlocked.
- Decorative stones, glass crystals, or mosaic tiles (optional): For those who love an extra touch of sparkle and texture.
- Cooking spray: Our secret weapon for easy release from the mold.
- Plastic plant saucer: These inexpensive wonders serve as our stepping stone molds.
- Mixing spoon or trowel: For mixing the concrete and smoothing it out.
- Rubber gloves: Safety first! Protect those hands while working with concrete.
 "DIY Stepping Stone Supplies" class=
Step-by-Step Guide to Crafting Your Stepping Stones
Now comes the exciting part – bringing our stepping stones to life! Follow these easy steps, and you’ll be strolling through your own handmade garden path in no time.
Step 1: Setting the Stage for Creativity
Find a well-ventilated and spacious area for your crafting adventure, preferably outdoors or in a garage. Cover your work surface with a drop cloth or newspaper to protect it from spills.
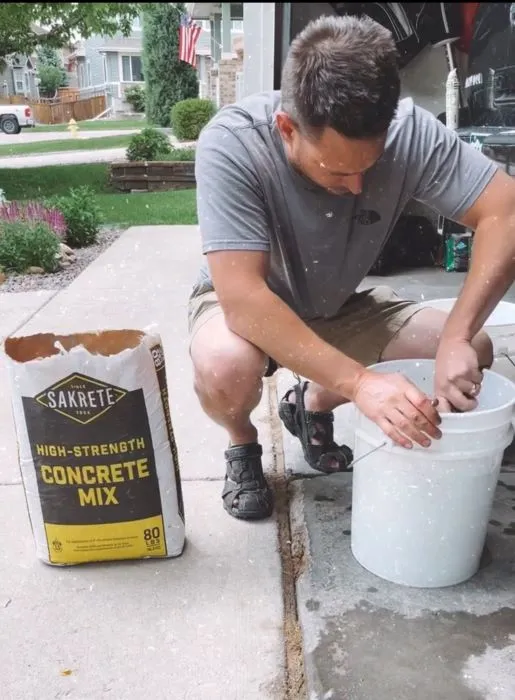
Step 2: Mixing the Foundation – Concrete
Don’t be intimidated by the concrete! Follow the instructions on your chosen mix, combining it with water in your bucket. Aim for a thick, pancake batter-like consistency that’s easily pourable.
 "Mixing Concrete for DIY Stepping Stones" class=
Step 3: Prepping the Mold for a Smooth Release
Give the inside of your plant saucer a light coating of cooking spray. This will prevent the concrete from sticking and ensure your beautiful creations pop right out when they’re dry.
 "Prepping the Mold for DIY Stepping Stones" class=
Step 4: Pouring the Concrete Base
Slowly and carefully pour the mixed concrete into your prepared plant saucer mold. Fill it to your desired thickness, ensuring the surface is evenly spread. A gentle shake of the mold helps eliminate any air bubbles trapped within the concrete.
 "Pouring Concrete for DIY Stepping Stones" class=
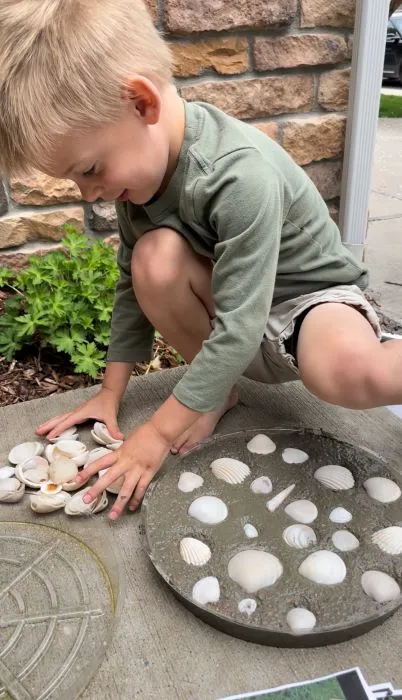
Step 5: Unleashing Your Inner Artist – Adding the Embellishments
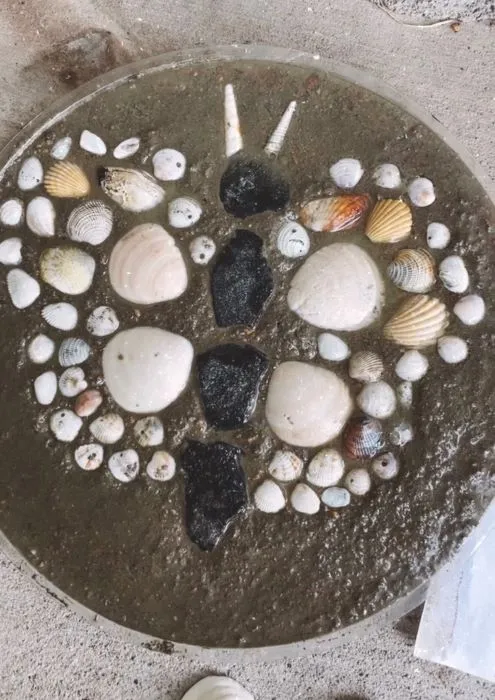
Now for the most anticipated part – decorating! Press your collected seashells, decorative stones, or any other chosen adornments into the wet concrete. Get creative with patterns! Consider a circular design, a mosaic look, or let your imagination run wild!
Pro Tip: Laying out your design before embedding it in the concrete can help you achieve a cohesive and visually appealing outcome.
 "Decorating DIY Stepping Stones" class=
Step 6: Adding a Personal Touch
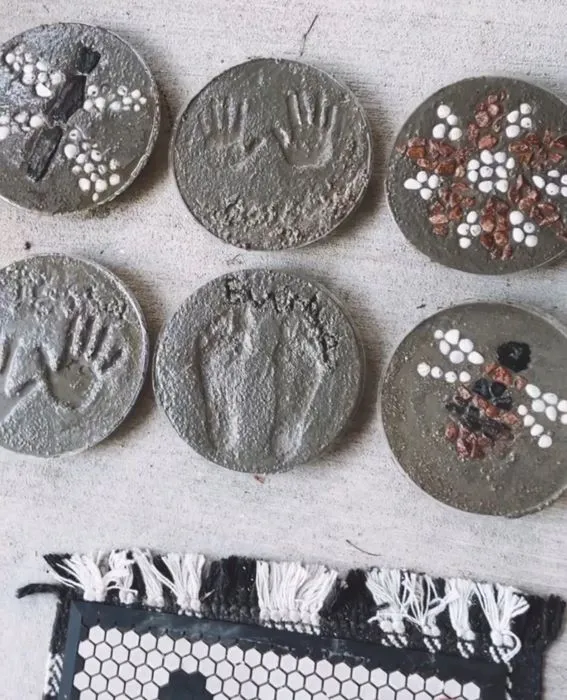
This is a wonderful opportunity to involve kids and make the stepping stones truly special. Encourage little ones to leave their handprints, names, or even create little drawings using their fingers or a small stick.
 "Personalized DIY Stepping Stone with Handprints" class=
Step 7: The Patience of Drying
Allow your stepping stones to dry and harden completely. Refer to your concrete mix instructions for the recommended drying time, which is typically around 48 hours. Patience is key here! Find a safe, undisturbed spot for them to rest during this crucial curing period.
 "DIY Stepping Stones Drying" class=
Step 8: Unveiling Your Masterpieces
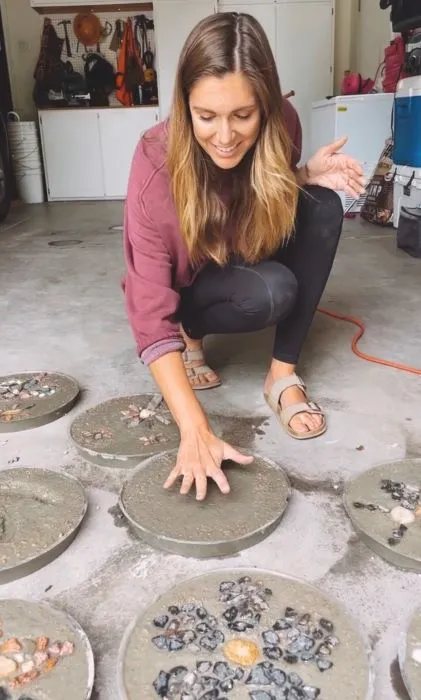
Once your stepping stones are fully cured, gently ease them out of their molds. If you’re using flexible plant saucers, gently bending the sides can help loosen the concrete for an easy release.
 "DIY Stepping Stones Out of the Mold" class=
Step 9: Placing Your Stepping Stones
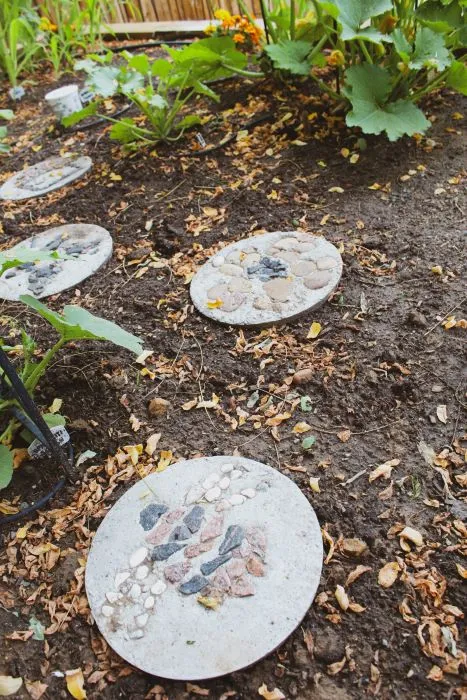
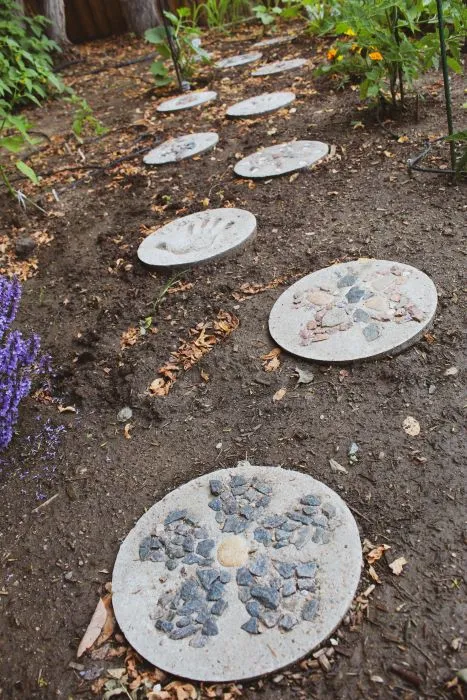
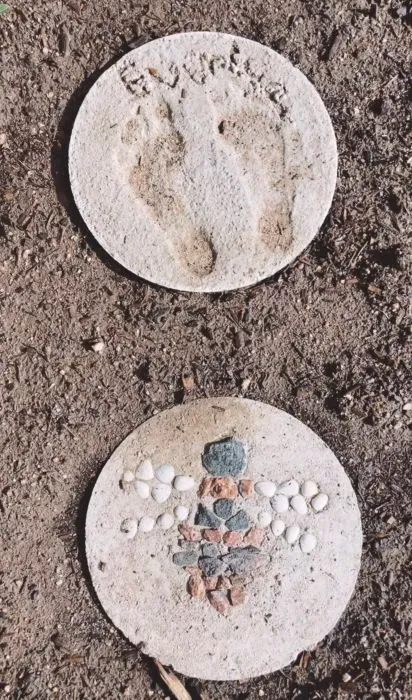
Strategically position your finished stepping stones throughout your garden. Line a pathway, create a whimsical trail leading to a seating area, or nestle them amongst your flowerbeds.
 "Finished DIY Stepping Stones in the Garden" class=
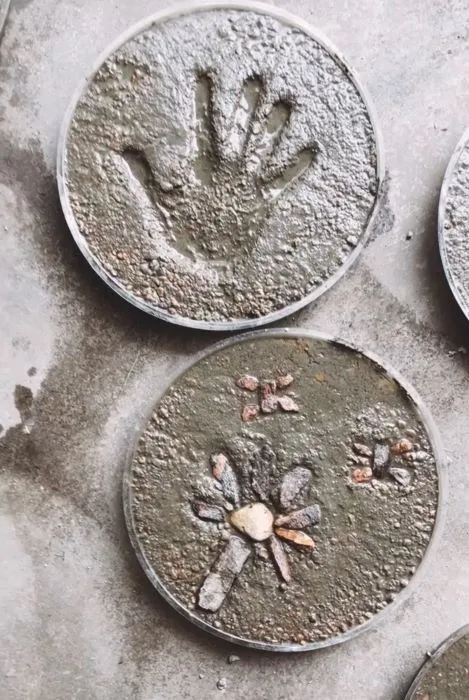 "DIY Stepping Stones with Seashells" class=
From Ordinary Gardens to Handmade Havens
Congratulations on creating your own unique stepping stones! Not only have you added a touch of personalized charm to your outdoor space, but you’ve also engaged in a rewarding crafting experience. Every time you stroll through your garden, these stepping stones will serve as a reminder of your creativity and the joy of crafting.
Looking for More Inspiration?
If this project sparked your crafting spirit, be sure to explore the Robert Kline Art website for a treasure trove of DIY ideas, crafting tips, and unique, handmade gifts. Let’s continue to fill the world with beauty, one handmade creation at a time!
