Blog
Building Your Own Backyard Brick Pizza Oven: A DIY Guide

There’s something magical about cooking with fire, wouldn’t you agree? The crackling flames, the dancing light, the irresistible smoky aroma – it speaks to something primal within us. And when that fire results in a perfectly charred, mouthwatering pizza, well, that’s a level of satisfaction that’s hard to beat.
At Robert Kline Art, we’re all about embracing the joy of creation. That’s why I was instantly smitten when I stumbled across the idea of building a DIY outdoor pizza oven. The thought of crafting such a unique and functional piece for my backyard, then using it to fire up delicious pizzas for friends and family – it was simply too tempting to resist!
This guide is the culmination of my pizza oven building journey. It’s packed with the lessons I learned, the tweaks I made, and everything you need to know to bring your own backyard pizza haven to life.
Let’s get started!
Designing Your Dream Oven
The beauty of a DIY project lies in its flexibility. You’re not limited by pre-set designs or sizes; you’re free to customize your pizza oven to fit your space, your needs, and your own creative vision.
When I first embarked on this adventure, I found inspiration in two fantastic online resources:
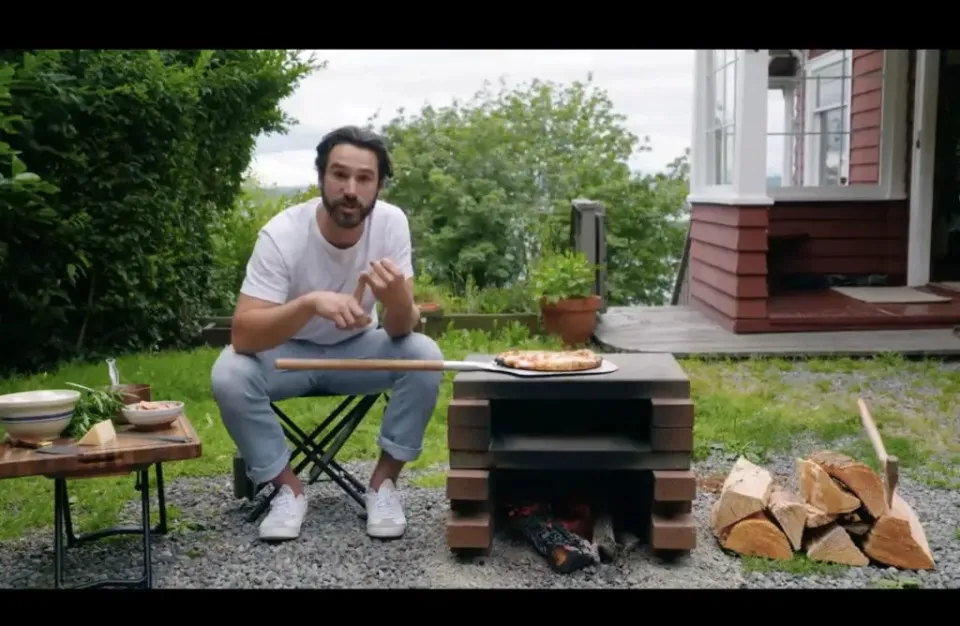
- Chefsteps: Their YouTube tutorial provided an excellent foundation for understanding the basic principles of building an outdoor pizza oven.
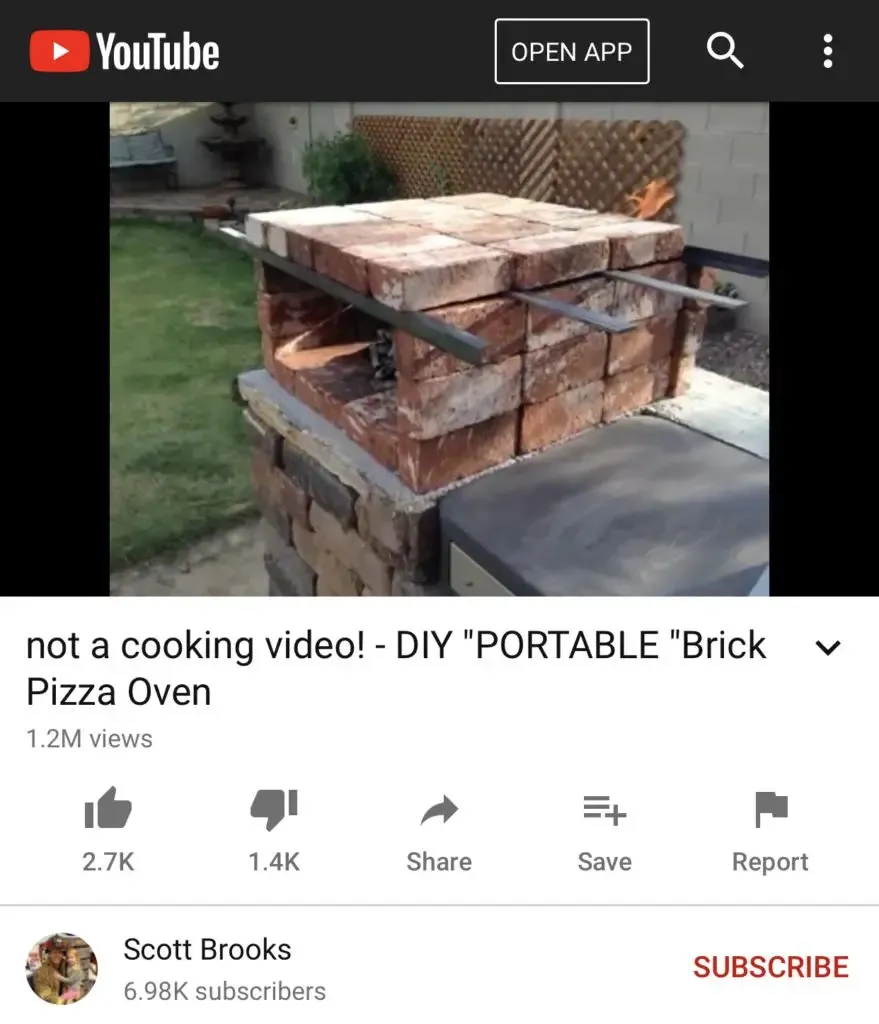
- Scott Brooks: His all-brick pizza oven design, secured with metal braces, sparked my creativity and guided my material choices.
Blending these concepts, I opted for a square oven design, a rarity in the online world. I wanted ample cooking space and a sturdy structure, and this design ticked all the boxes.
A Word of Caution on Materials:
My initial build used concrete pavers and pressed brick, which worked beautifully… for a while. However, through research and experience, I discovered the importance of using the right materials for the job. Concrete and pressed brick are susceptible to thermal shock, which can cause them to crack and crumble over time.
The Best Bricks for the Job:
- Firebrick: Your best bet for longevity! Firebrick is designed to withstand high heat and thermal shock.
- Clay Brick: A good alternative if firebrick is hard to come by.
- Pressed Brick: Avoid using this type, as it’s not designed for repeated high-temperature applications.
For a truly durable oven, I recommend investing in firebrick or researching reputable sources for reclaimed clay bricks.
Gathering Your Supplies
Building a pizza oven doesn’t require a treasure trove of expensive materials. Here’s what I used for my oven, which cost me around $140:
- (4) 16 inch x 16 inch Square Stone Concrete Pavers
- (18) 8 inch x 12 inch Concrete Olde Manor Wall Blocks
- (4) 12 inch x 12 inch Square Stone Concrete Pavers
- (47) Standard Paver Bricks
- (6) 8 inch x 16 inch Paver Stones
- (2) 1.5 inch x 48 inch, 1/4 inch thick Plain Steel Bar (cut in half to 24 inches)
Pro Tip: A truck or a large vehicle is a must for transporting these materials. Trust me, your back will thank you!
Laying the Foundation: A Solid Start
A level and stable foundation is crucial for your oven’s structural integrity. Here’s how to create one:
Step 1: Prep the Ground
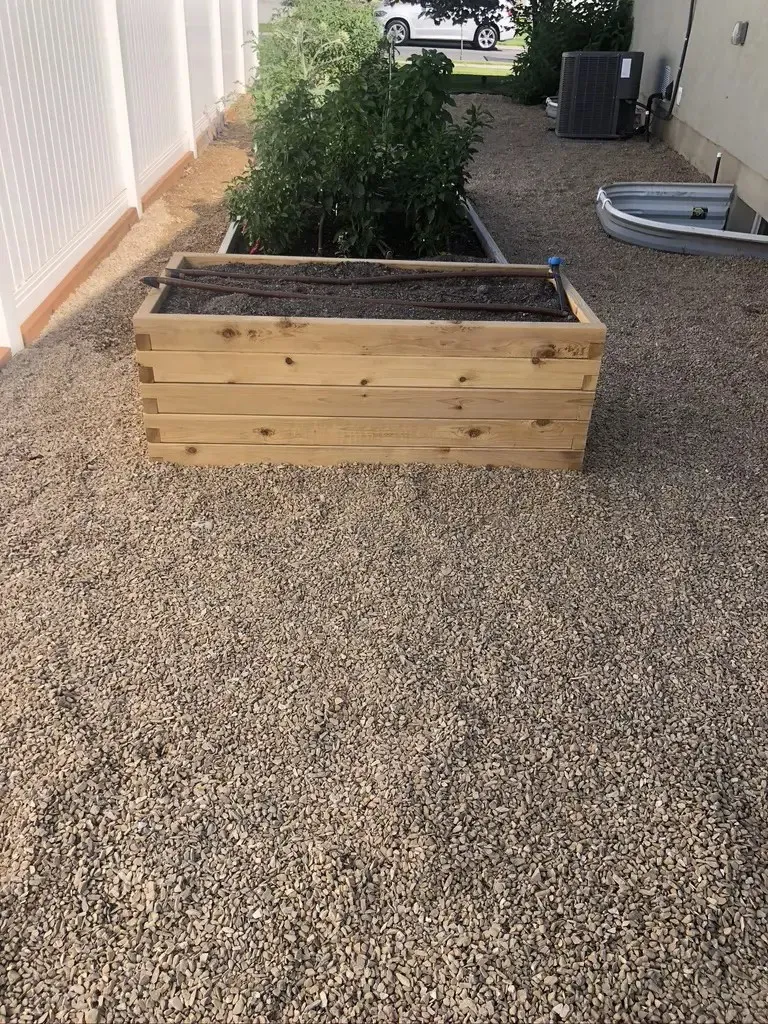
- Choose a level area, a safe distance from any structures or flammable materials.
- Clear the area of any debris or vegetation.
- Lay down a layer of 3/8 gravel, spreading it evenly and tamping it down firmly.
Step 2: Build the Base
- Arrange four 16 inch x 16 inch pavers in a square, ensuring they’re level and secure.
Step 3: Add the Foundation Layers
- Using the 8 inch x 12 inch wall blocks, create three layers on top of the base.
- For added stability, alternate the direction of the blocks with each layer.
 Foundation base of pizza oven with gravel underneath
Constructing the Oven: Brick by Brick
Now comes the fun part – building the oven itself! This process is surprisingly straightforward, almost like assembling a giant Lego set.
Step 4: Create the Oven Base
- Place four 12 inch x 12 inch pavers on top of the foundation, spacing them about 3/4 inches apart.
- These gaps are crucial for airflow and efficient burning.
 First layer of the base of the pizza oven on top of the foundation
Step 5: Build the Oven Walls
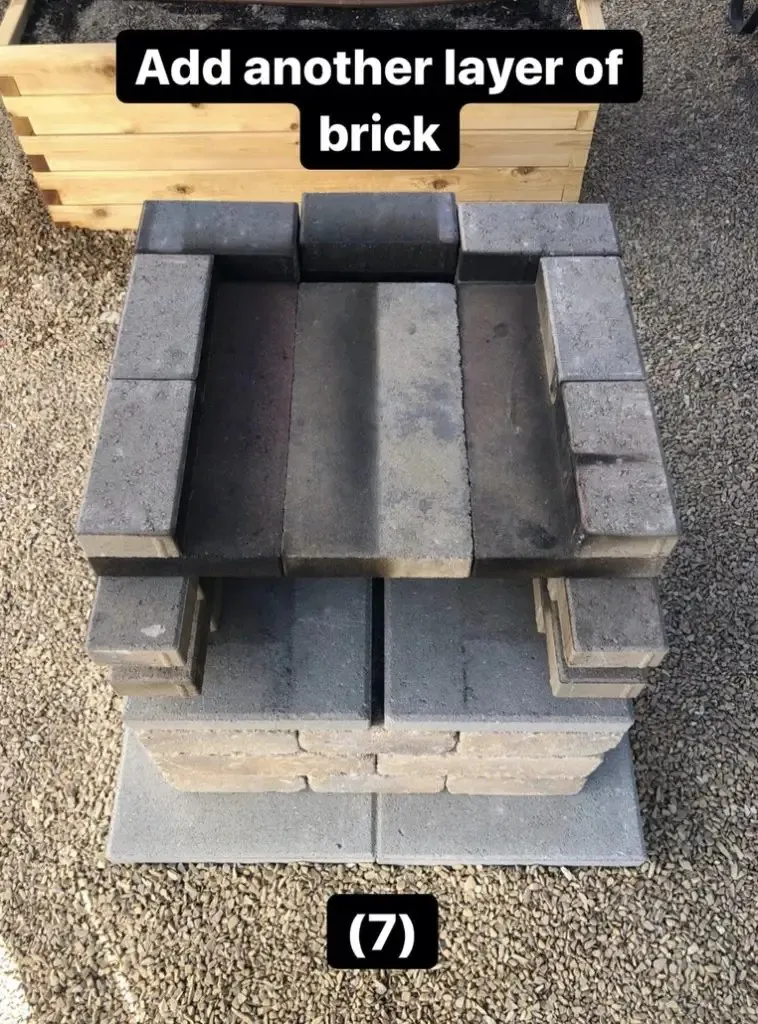
- Layers 1-4: Stack the bricks in a Lincoln Log fashion, starting with 7 bricks in the first layer (3 in the back, 2 on each side), then alternating with 8 bricks in the next layer (2 in the back, 3 on each side). Repeat this pattern for four layers.
- Layer 5: This is where we introduce the metal braces and 8 inch x 16 inch pavers. Place two metal braces on top of the brick layer, spaced about 8 inches apart. Add three bricks to the back, pushing the middle brick back about an inch to create an airflow vent. Finally, place three pavers on top.
- Layers 6-7: Add two more layers of bricks, maintaining the vent in the back by pushing the middle brick back in layer 6 and aligning it with the others in layer 7.
- Layer 8: Add the final two metal braces and top with the remaining 8 inch x 16 inch pavers, pushing them forward slightly to leave a small gap in the back for airflow.
 Close up of the finished pizza oven
Firing Up the Oven and Baking Pizza
Once your oven is complete, it’s time for the grand finale – baking your first pizza!
- Heating the Oven: A good fire built inside the oven will heat the bricks sufficiently in about 15 minutes.
- Safety First: Always exercise caution when working with fire. Keep a safe distance, supervise children and pets, and never leave the fire unattended.
- Baking Time: Depending on the heat of your oven and the thickness of your dough, pizzas typically cook in 8-15 minutes.
 Pizza dough cooking in the outdoor oven
Conclusion
Building a DIY outdoor pizza oven is a rewarding experience that combines creativity, craftsmanship, and the pure joy of cooking with fire. While my journey had a few learning curves regarding materials, the end result was well worth the effort.
Now, it’s your turn! Gather your tools, embrace the process, and soon you’ll be savoring the incredible taste of homemade pizza, baked to perfection in your very own backyard oven. And be sure to share your creations with us – we’d love to see what you’ve built!
If you’re looking for unique handmade gifts to complement your culinary creations, be sure to explore the wonderful selection at Robert Kline Art. From handcrafted serving platters to one-of-a-kind pottery, you’re sure to find the perfect piece to enhance your next pizza night gathering.
