Blog
How to Create a Stunning DIY Outdoor Living Plant Wall
Hey there, fellow art and craft enthusiasts! Robert Kline here, your go-to guide for all things handmade. With summer in full swing, I’m excited to share a recent project that’s brought a burst of life and color to my outdoor space: a DIY living plant wall!
Finding the Perfect Spot and Measuring Up
My journey began with finding the ideal location for this verdant masterpiece. A blank wall on my deck, blessed with ample eastern sunlight, seemed like the perfect candidate. Remember, when choosing your spot, consider sunlight needs and whether you want to make it a permanent fixture or something more temporary.
Once I had my location locked in, it was time to measure. I envisioned a statement piece that spanned the entire wall but wasn’t permanently attached to the house. This decision guided the dimensions of my living wall frame.
Constructing a Sturdy Frame for Your Living Wall
Materials You’ll Need:
- Two sheets of 4′ x 8′ plywood
- Minwax stain in your preferred shades (I used Early American and Ebony for contrast)
- Polyurethane
- Plant Pockets (consider the size and quantity based on your design)
- Screws
- Plants (more on plant selection later!)
Building the Frame:
-
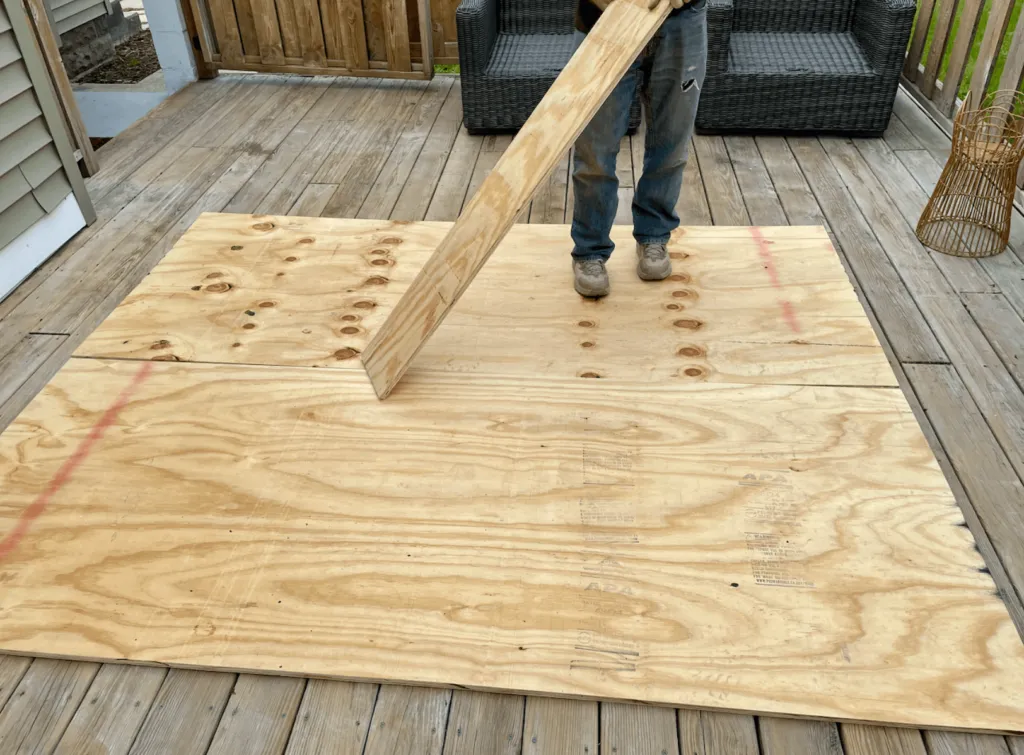
Creating the Base: We started by trimming 6 inches from each 4′ x 8′ plywood sheet, resulting in a 7′ x 8′ frame. For added support, we secured these pieces together with a strip of the leftover plywood on the back.
-
Framing for Visual Appeal: To give the plants a framed look, we attached 2″ x 4″ x 8′ boards along the plywood’s outer edges using screws.
 Process photo of a DIY outdoor living plant wall.
Caption: Assembling the base of our DIY plant wall
-
Staining and Sealing: A touch of color and protection goes a long way! We stained the plywood base with Minwax Early American and the frame with Minwax Ebony for a striking contrast. Three coats of polyurethane, with ample drying time between each coat, ensured weather resistance. I recommend adding another coat in the fall for extra protection.
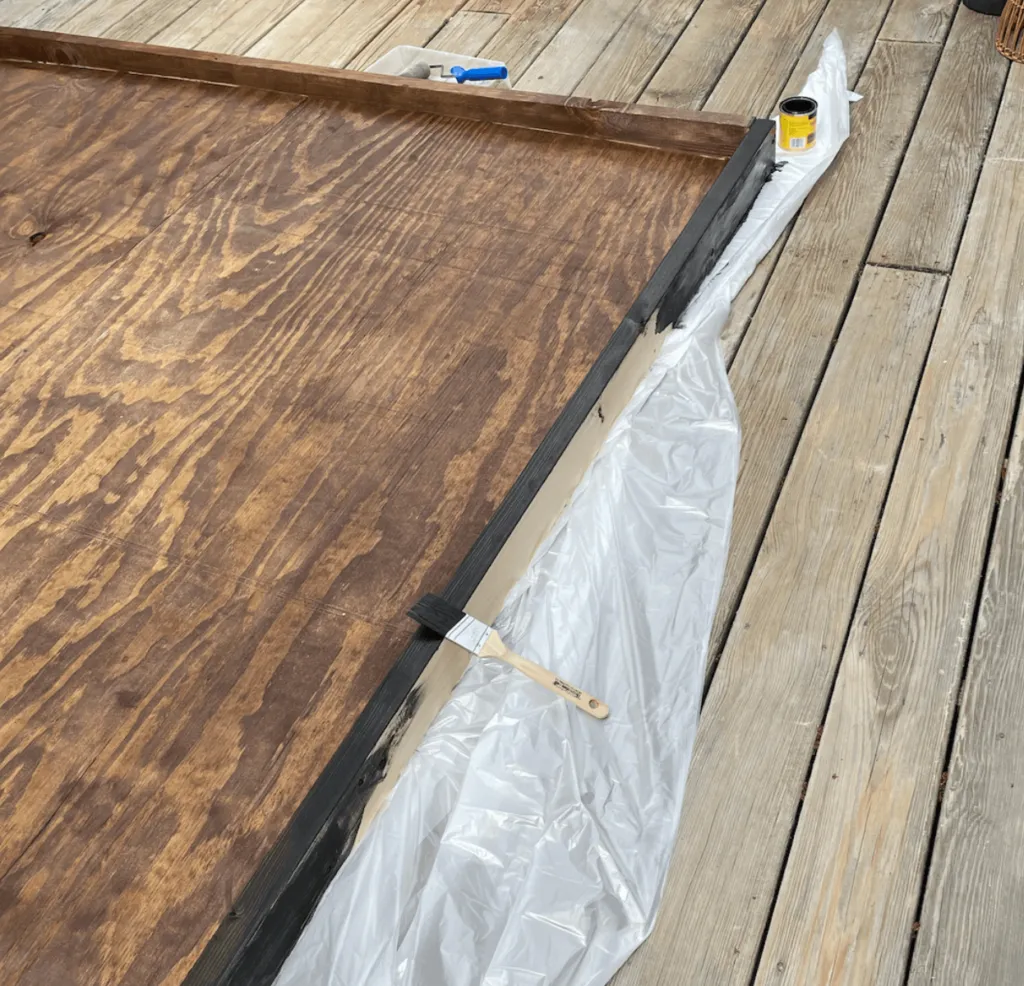 Staining the DIY outdoor living wall structure.
Caption: Adding a touch of color and protection with stain.
Selecting the Perfect Plants for Your Living Wall
Choosing the right plants is crucial for a thriving living wall. I sought advice from my local nursery experts to select varieties with compatible light and water requirements. Low-maintenance options were a top priority!
Here are the stars of my living wall show:
-
Moonbeam Coreopsis: Known for their cheerful yellow blooms and drought tolerance.
-
Vinca Vine: A perennial vine that adds a touch of delicate beauty (I’m hoping they return next season!).
-
Ajuga Bugleweed: Low-growing ground cover with colorful foliage, perfect for filling in spaces.
-
Campanula (white): Elegant white bell-shaped flowers add a touch of charm.
-
Asparagus Fern: Adds a feathery texture and can tolerate some shade.
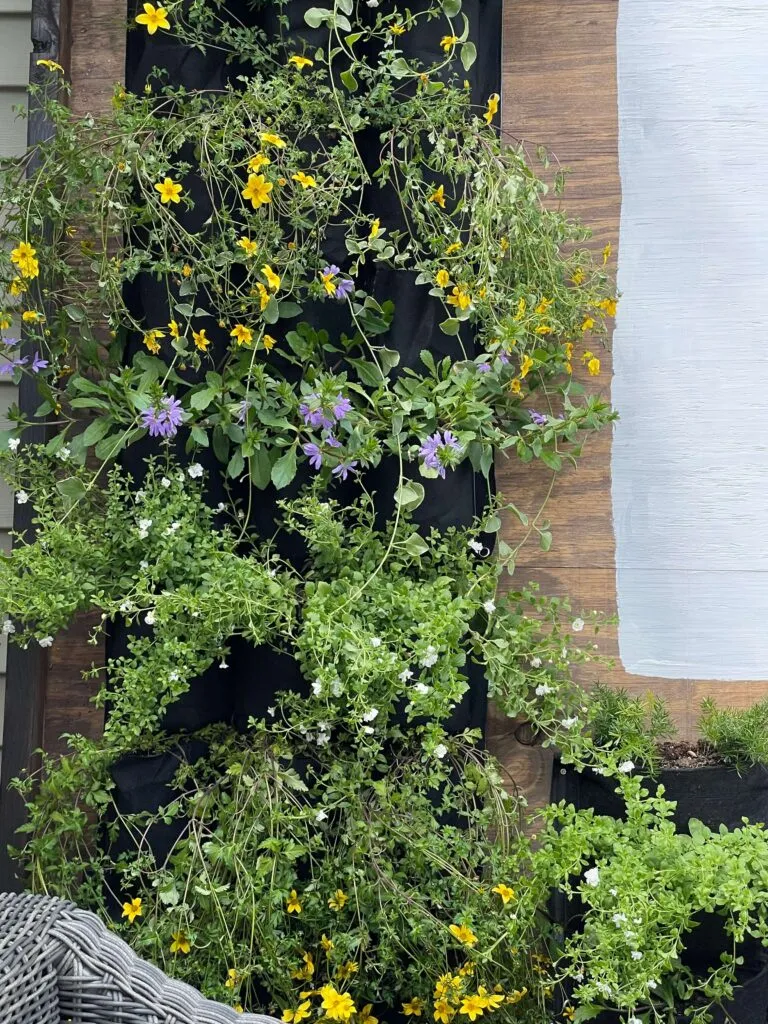 Plants for an Outdoor Living Plant Wall.
Caption: Selecting plants with care is essential for a thriving living wall.
Remember, when selecting your plants, consider the following:
- Sunlight Requirements: Choose plants that thrive in the amount of sunlight your wall receives.
- Water Needs: Opt for plants with similar watering needs to simplify maintenance.
- Growth Habits: Consider how each plant grows and whether it will complement your overall design.
Assembling Your Green Oasis
Attaching the Plant Pockets:
Before securing the plant pockets, I laid them out on the frame to visualize the final arrangement. It was during this step that inspiration struck! I decided to incorporate a large letter board into the design, adding a fun and personalized touch to the wall.
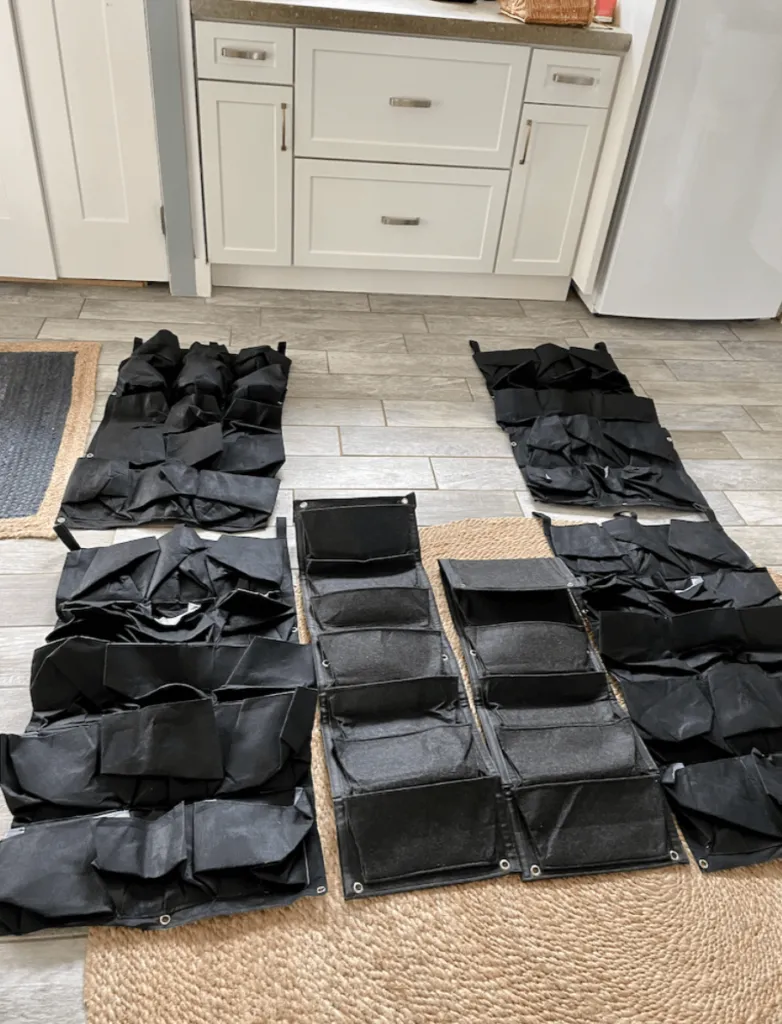 Plant pockets for DIY living plant wall.
Caption: Visualizing the layout before attaching the plant pockets.
For the plant pockets, I opted for sturdy vertical wall pockets designed for 4.5-inch plants. A mix of seven-pocket and twelve-pocket versions allowed for flexibility in my design while accommodating the letterboard.
Planting and Watering Tips:
Once the pockets were secured, it was time to introduce the plants to their new home. To help conserve moisture, especially during warmer months, I added Miracle-Gro Water-Storing Crystals to the soil. These crystals absorb excess water and release it gradually, reducing watering frequency and promoting healthy growth.
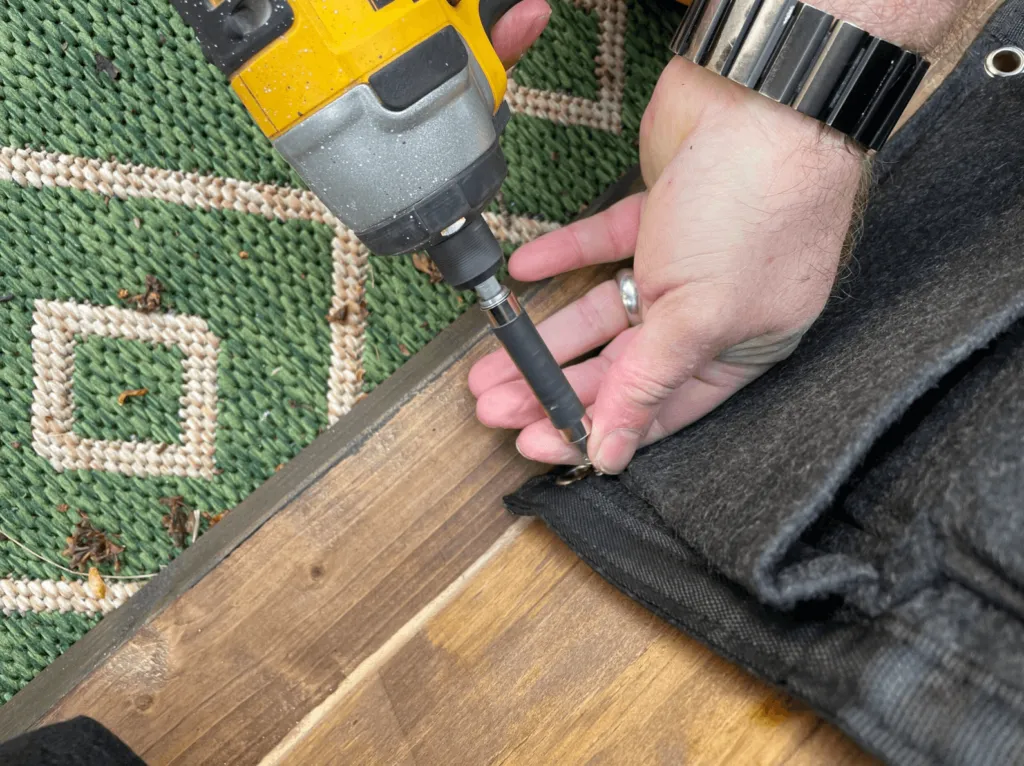 Installing the plant pockets on the outdoor plant wall.
Caption: Bringing the vision to life – installing the plants.
Pro Tip: Consider installing an irrigation system next season for simplified watering, especially if your plant selection requires frequent hydration.
Creating a Statement Piece with a Giant Letter Board
Materials:
- Porch paint (in your desired color)
- Primer
- Four pieces of 1.5″ x 36″ wood
- Four pieces of 1.5″ x 50″ wood
- Leftover stain (from the frame)
- Polyurethane
- Vinyl Letters (size according to your preference)
Assembly:
-
Preparing the Board: Prime the square backing for the letter board, followed by two coats of porch paint. Seal it with three coats of polyurethane for outdoor protection.
-
Creating the Ledges: Rip the wood pieces to create ledges for the letters. Stain them to match your frame and seal them with polyurethane for durability.
-
Assembling the Letter Board: Attach the ledges to the board using a pneumatic nailer.
-
Adding the Letters: Apply the vinyl letters to the letter board to create your personalized messages.
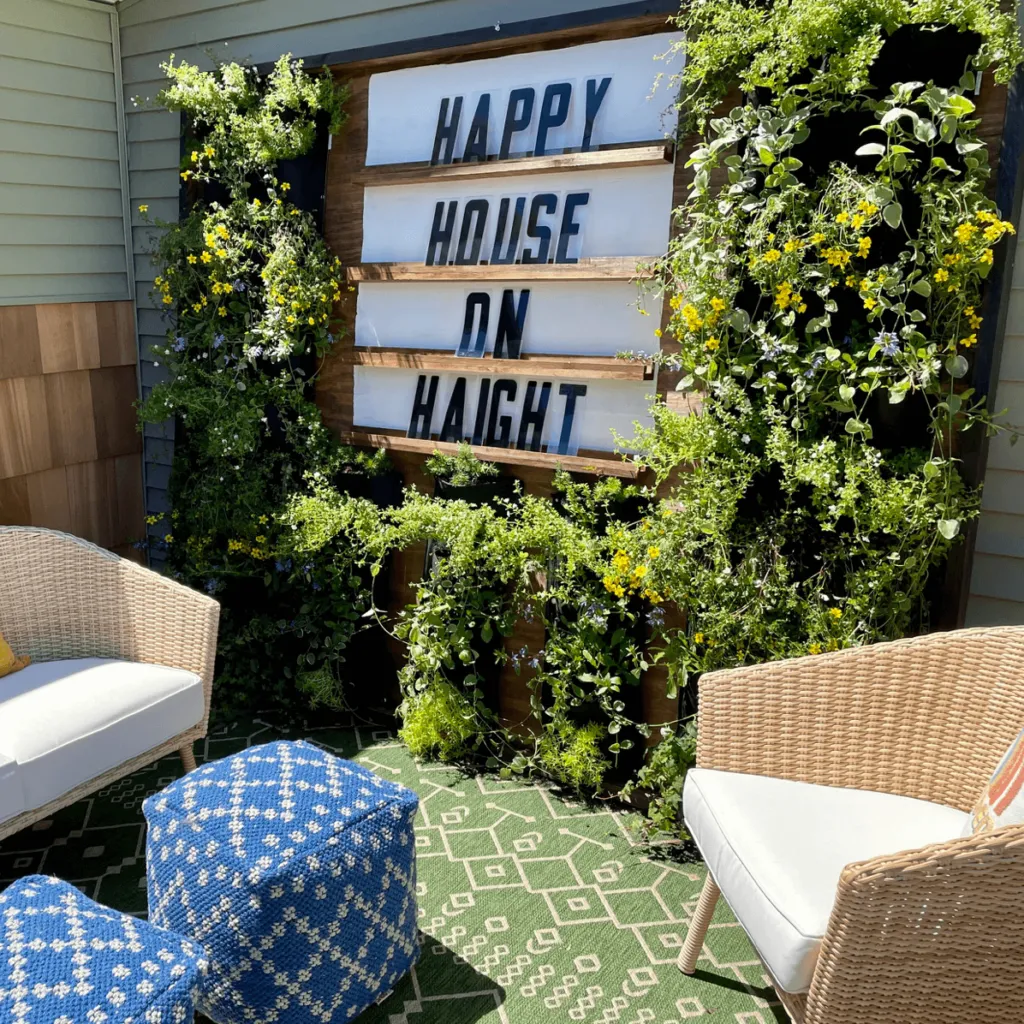 Giant letter board on outdoor living wall at an Airbnb.
Caption: Adding a personal touch with a DIY giant letterboard.
Final Touches and Enjoying Your Creation!
With all the elements in place, we secured the entire living wall to the house using a sturdy hook and eye to prevent any mishaps.
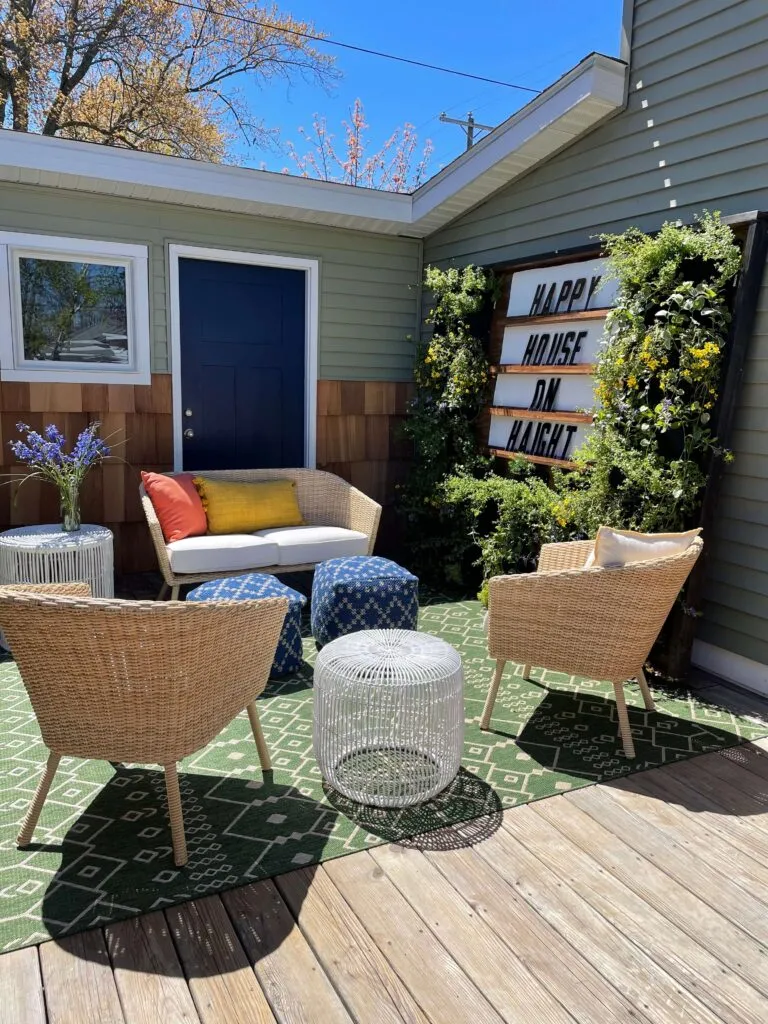 Small deck featuring an outdoor living plant wall at an Airbnb property.
Caption: Our completed DIY living wall, adding a vibrant focal point to the deck.
I’m thrilled with how the project turned out! The plants are flourishing, creating a lush and inviting atmosphere. It’s the perfect spot to relax, unwind, and connect with nature. And the giant letterboard? It’s been a hit with guests, allowing them to leave messages and become a part of our creative space.
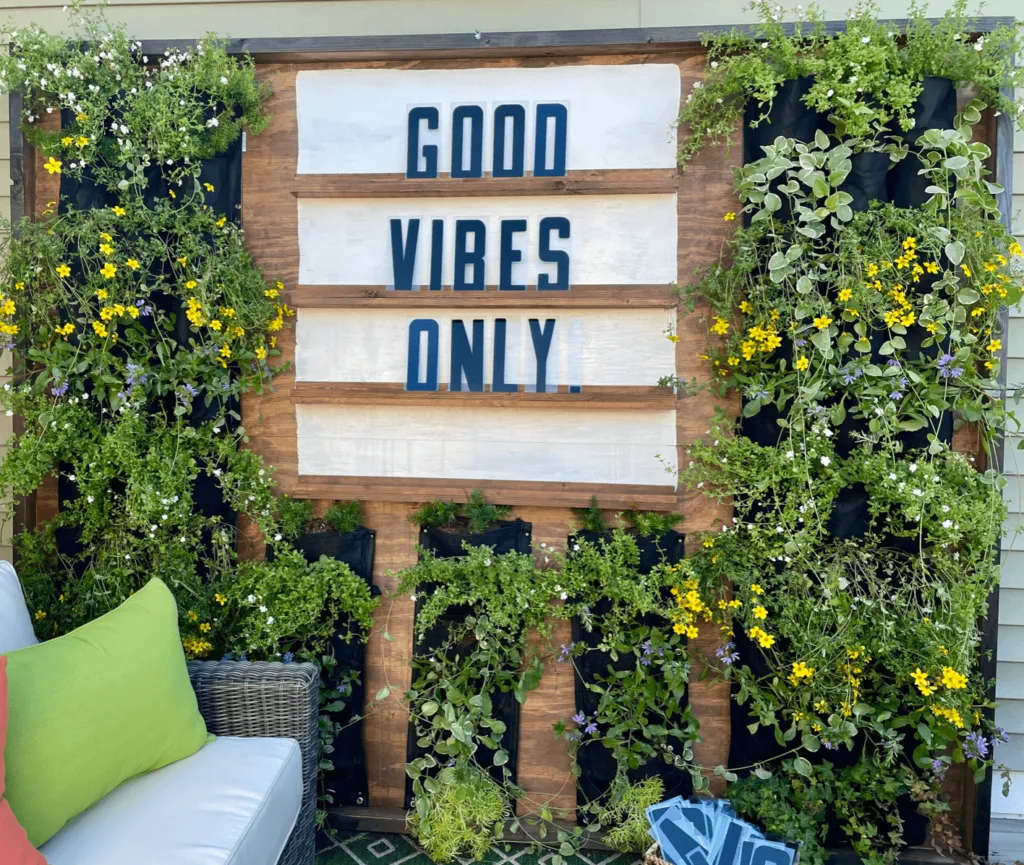 Letter board saying Good Vibes Only. With outdoor plant wall.
Caption: Sharing good vibes with our personalized message board.
Your Turn to Create!
I encourage you to give this DIY outdoor living plant wall a try and experience the joy of creating a stunning and unique piece for your outdoor space. Remember to share your creations with me; I can’t wait to see what you come up with!
And for more inspiration and handmade wonders, be sure to explore the wonderful world of Robert Kline Art! We have a treasure trove of creative ideas and unique handcrafted gifts waiting to be discovered. Happy crafting!
