Blog
DIY String Light Canopy: Create a Magical Outdoor Oasis
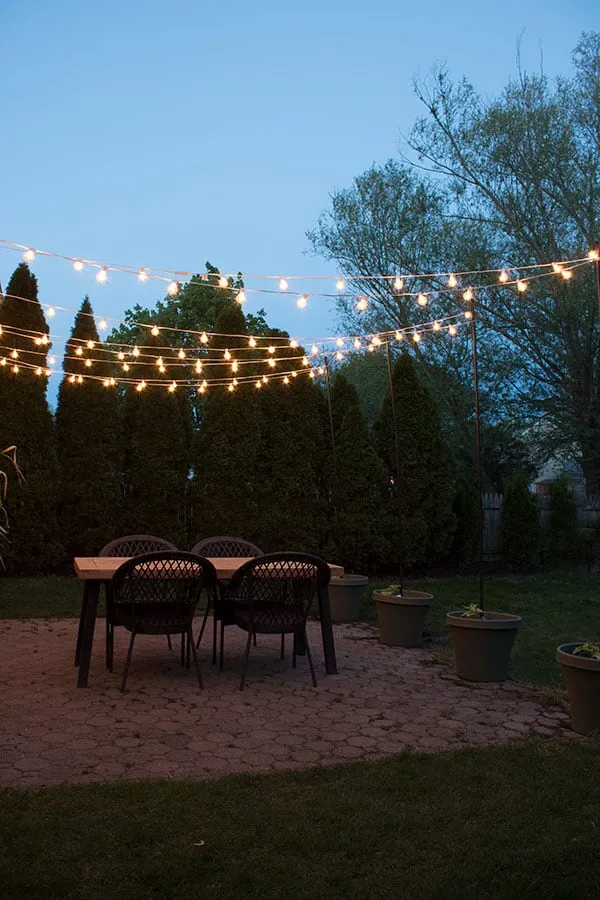
Hey there, fellow craft enthusiasts! Robert Kline here, and I’m excited to share a project that’ll instantly elevate your outdoor space. We’re diving into the magical world of DIY string light canopies – a simple yet stunning way to infuse your patio or deck with warmth and charm.
Picture this: you, relaxing under a starlit sky, the gentle glow of fairy lights creating a cozy ambiance. Sounds magical, right? It’s easier to achieve than you might think, and today, I’m going to guide you through every step of crafting your own DIY string light canopy.
Gathering Your Supplies: A Checklist for Success
Before we embark on this creative journey, let’s gather our tools and materials. Just like an artist preps their palette, we’ll ensure everything is within arm’s reach:
- String Lights: Opt for weather-resistant, outdoor-rated string lights. White wires blend seamlessly, while black wires offer a bolder look. Choose the length based on your desired coverage.
- Sturdy Poles: Look for 8-foot poles specifically designed for stringing lights. They often come with convenient hooks, simplifying the installation process.
- Large Planters: Choose planters that complement your aesthetic and provide ample stability for the poles. Aim for pots as tall as possible without being too wide to ensure the poles remain secure.
- Potting Soil & Rocks: These are essential for anchoring the poles within the planters. Rocks at the bottom add weight for stability, while potting soil fills the remaining space.
- Flowers & Plants: This is where your creativity can shine! Select your favorite flowers or cascading plants to adorn the planters and enhance the visual appeal of your canopy.
- Ladder: Safety first! A sturdy ladder is crucial for hanging the lights, especially if you have a high patio roofline.
- Christmas Light Clips (optional): These handy clips provide extra security when attaching the lights to the poles or your house.
- Helping Hand: While not mandatory, an extra set of hands can make the process smoother and more enjoyable. Plus, it’s always more fun to craft with a friend!
Creating Your DIY String Light Canopy: A Step-by-Step Guide
With our supplies prepped, let’s turn this vision into reality! Follow these simple steps to craft your enchanting outdoor oasis:
-
Planting for Stability: Fill your chosen planters with a layer of rocks, followed by potting soil, leaving enough space to securely anchor the poles. This step is crucial for ensuring the canopy withstands the elements.
-
Assembling the Poles: If your poles come in multiple pieces, assemble them according to the manufacturer’s instructions. This is where a helper can be a lifesaver!
-
Designing Your Light Pattern: Before stringing, visualize your desired light placement. Consider straight lines, gentle curves, or even a crisscross pattern. Experiment and find what suits your style!
-
Stringing the Lights: Carefully drape the string lights across the poles, ensuring they are taut but not overly tight. Use Christmas light clips for added stability, especially when attaching the lights to the house.
-
Adding Greenery: Now for the fun part! Plant your chosen flowers or cascading plants around the base of the poles, allowing them to gracefully spill over the edges. This adds a touch of natural beauty and softens the overall look.
-
Illuminating the Night: With your canopy complete, step back and admire your handiwork! As dusk settles, switch on the lights and bask in the warm, inviting glow of your creation.
Tips from Robert Kline Art:
- Consider Bulb Type: Warm white bulbs create a cozy, inviting ambiance, while cool white bulbs offer a more modern feel.
- Think Long-Term: When selecting plants, consider those that thrive in your climate and require minimal upkeep.
- Add Personal Touches: Get creative with your planters! Paint them, add decorative stones, or even wrap them in fairy lights for an extra touch of magic.
- Safety First: Always prioritize safety when working with ladders and electricity.
Conclusion: Let Your Creativity Shine Bright
Creating a DIY string light canopy is a rewarding project that transforms your outdoor space into a captivating haven. It’s an opportunity to unleash your inner artist and infuse your personal style into your surroundings. So gather your supplies, let your creativity blossom, and prepare to be amazed by the magical transformation.
And remember, at Robert Kline Art, we believe that handmade creations hold a special kind of magic. Don’t hesitate to share photos of your DIY string light canopies – we’d love to see your illuminated masterpieces!
Looking for more unique DIY projects and handcrafted treasures? Explore the Robert Kline Art website and discover a world of artistic inspiration!
 String light canopy over a patio
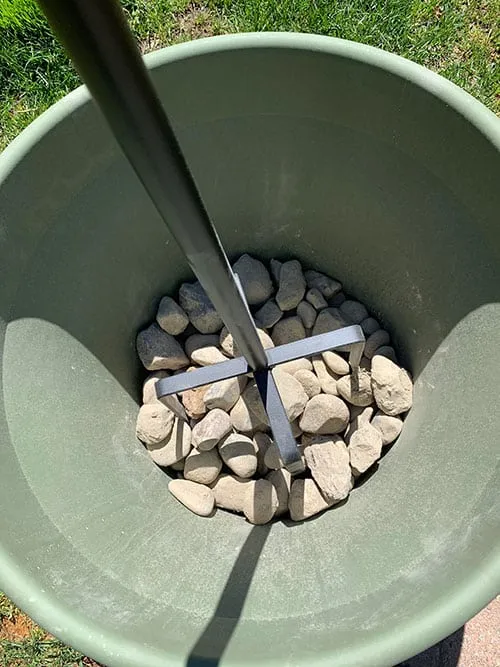 DIY String Light Arbor over patio
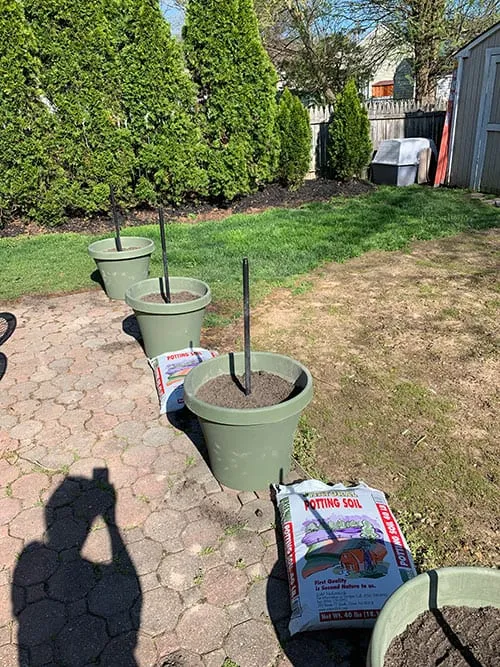 Hanging String Lights for a canopy
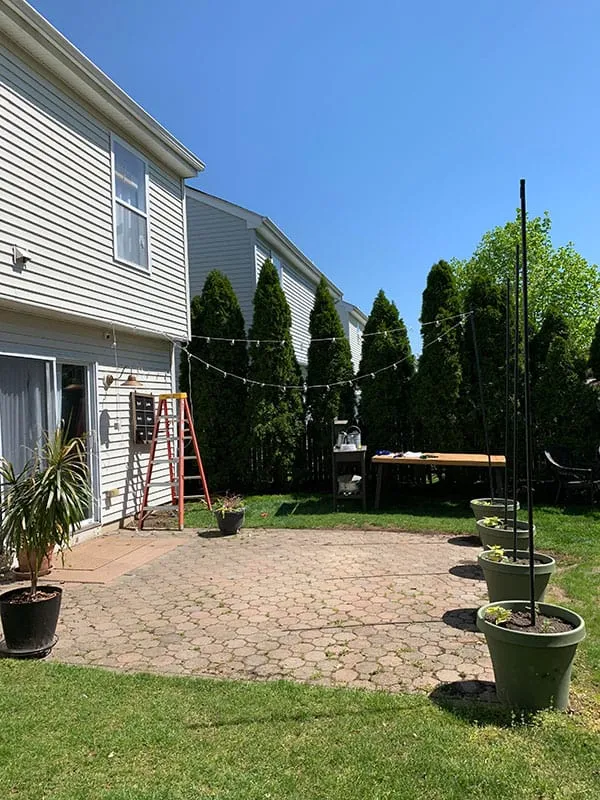 Creating an arbor of string lights over patio
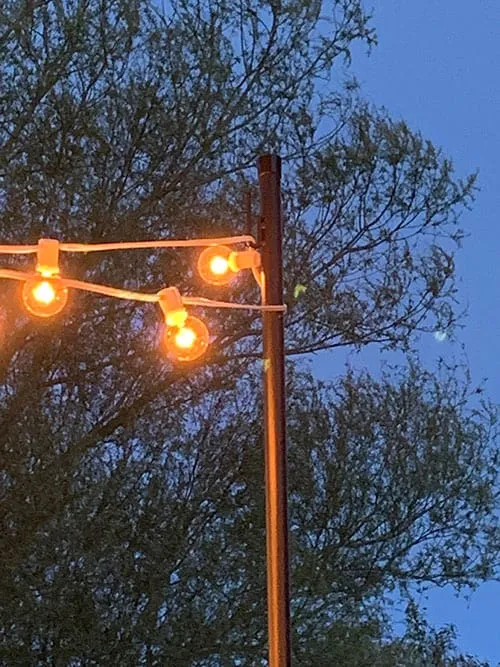 Pole for hanging string lights
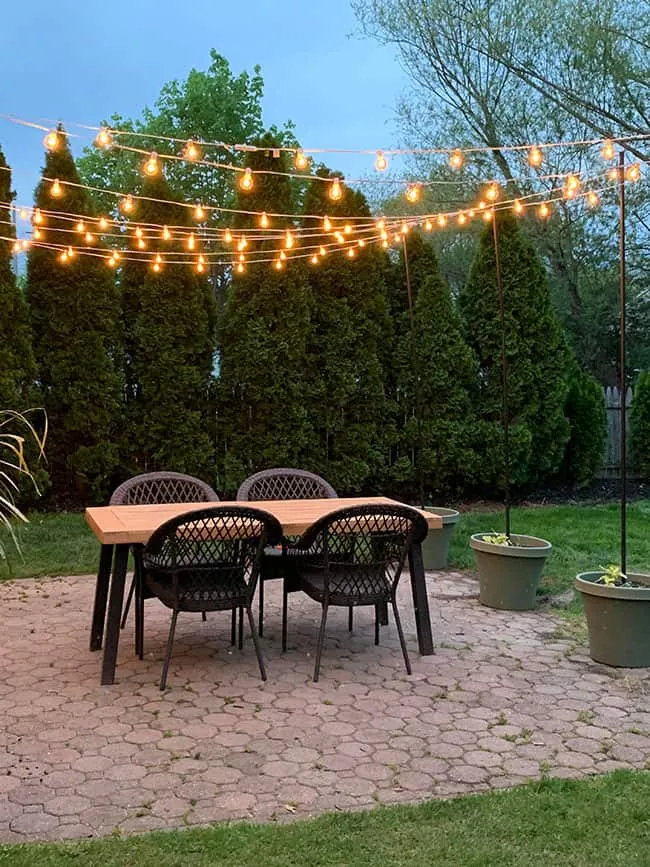 Arbor of string lights over patio with flowers
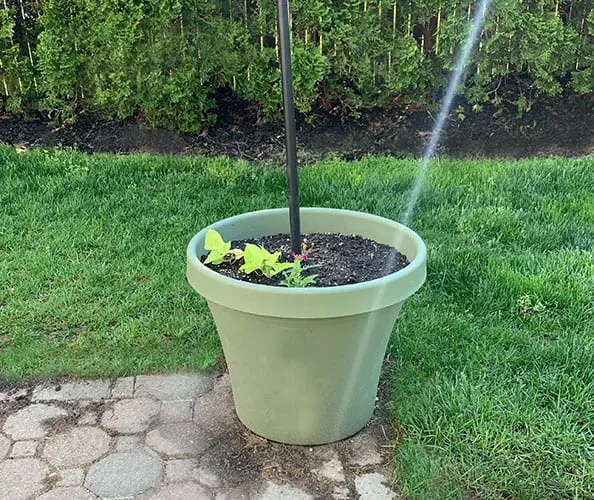 Large planters for string light poles
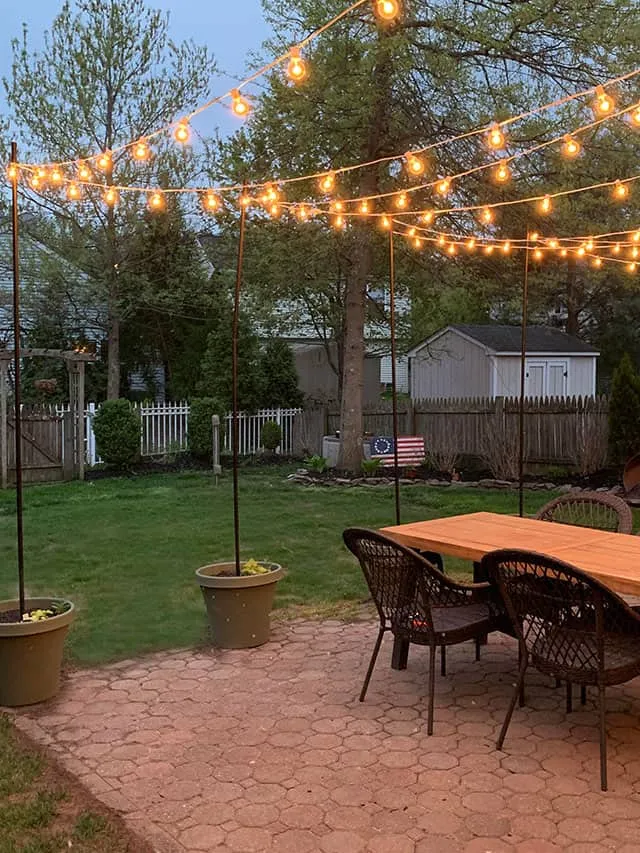 Easy way to add string lights to a patio
