Blog
DIY Upholstered Headboard: Elevate Your Bedroom with This Easy Project
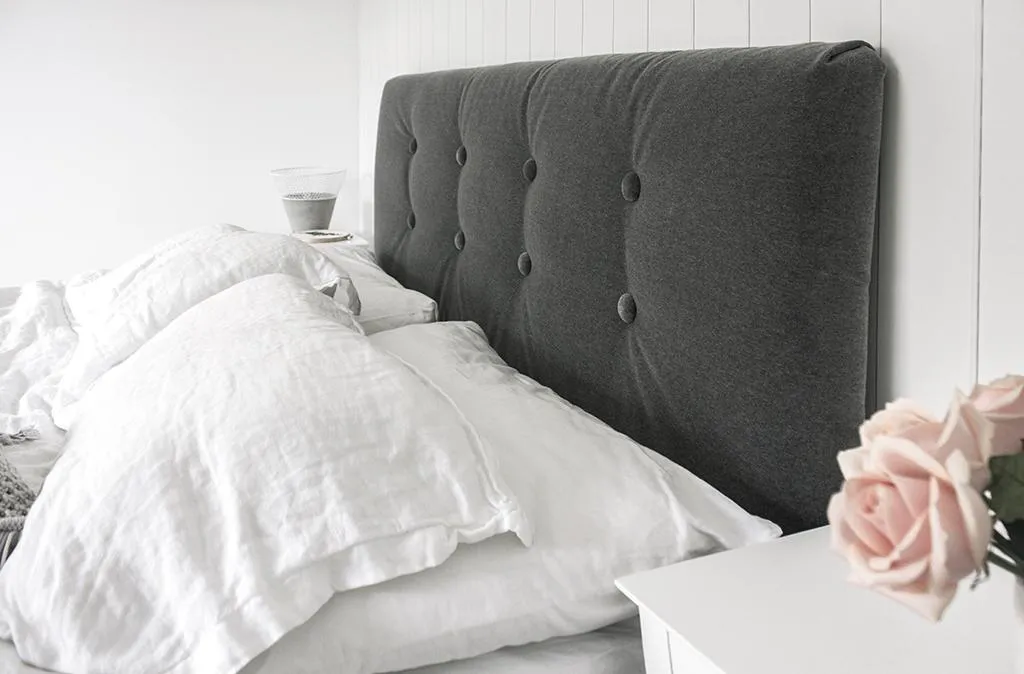
Hey there, fellow craft enthusiasts! Robert Kline here, and today, we’re diving headfirst into the world of DIY with a project that’s close to my heart: crafting a stunning upholstered headboard.
A beautifully upholstered headboard can instantly transform your bedroom from simple to simply stunning! For months, I’ve dreamt of having one, but the hefty price tags on store-bought options had me searching for alternatives. And that’s when the DIY bug bit! Let me tell you, the results have me completely smitten.
Imagine sinking into bed every night with a headboard that not only looks luxurious but also carries the pride of being handcrafted by you. And the best part? You can achieve this elegant upgrade without breaking the bank. Intrigued? Let’s get started!
Gathering Your Supplies
Before we embark on this creative journey, let’s gather our tools and materials:
For the Headboard Structure:
- MDF Board: I used a queen-size board measuring 1.5m wide x 0.5m high. You can adjust the dimensions to fit your bed size. Plywood is a great alternative too!
- Legs: I opted for MDF legs measuring 0.8m long x 0.15m wide. This provides a freestanding headboard, saving you the hassle of wall mounting.
- Foam: A thick, plush foam is key! I found that a foam mattress topper (around 5cm thick) offered the best value for money compared to buying foam sheets separately.
- Foam Wadding (or Batting): This adds a luxurious softness and helps achieve those smooth, rounded edges. I used about 2 meters of 170 gsm bonded fiber wadding.
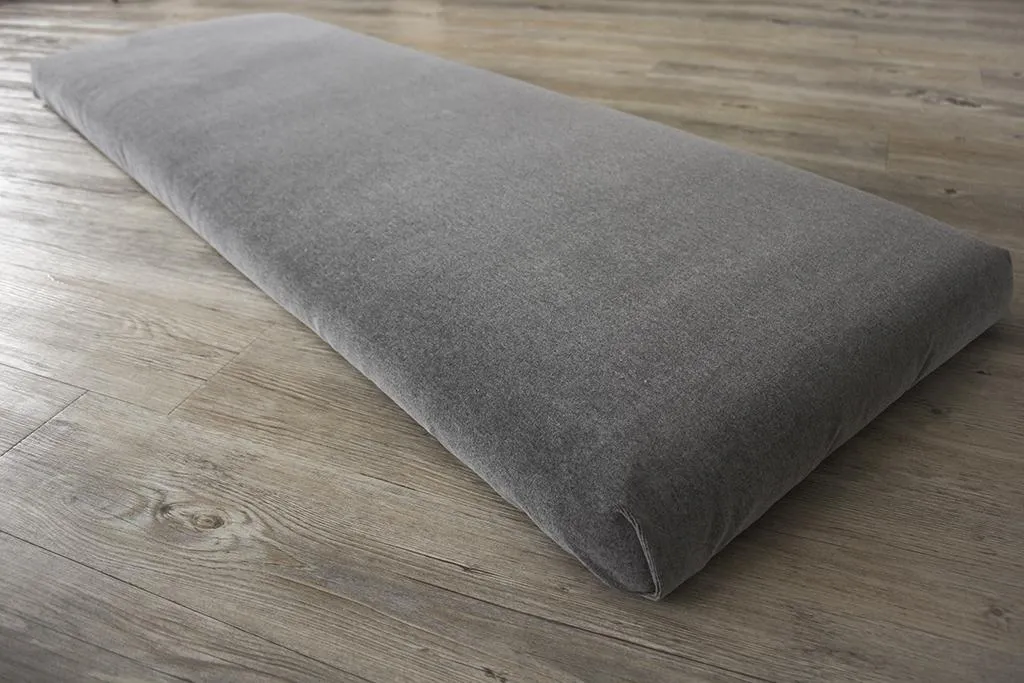
- Fabric: Upholstery fabric is your best bet here. Its durability and thickness will give your headboard a professional finish. I’ve experimented with both linen and velvet, and they both yield fantastic results!
Essential Tools and Extras:
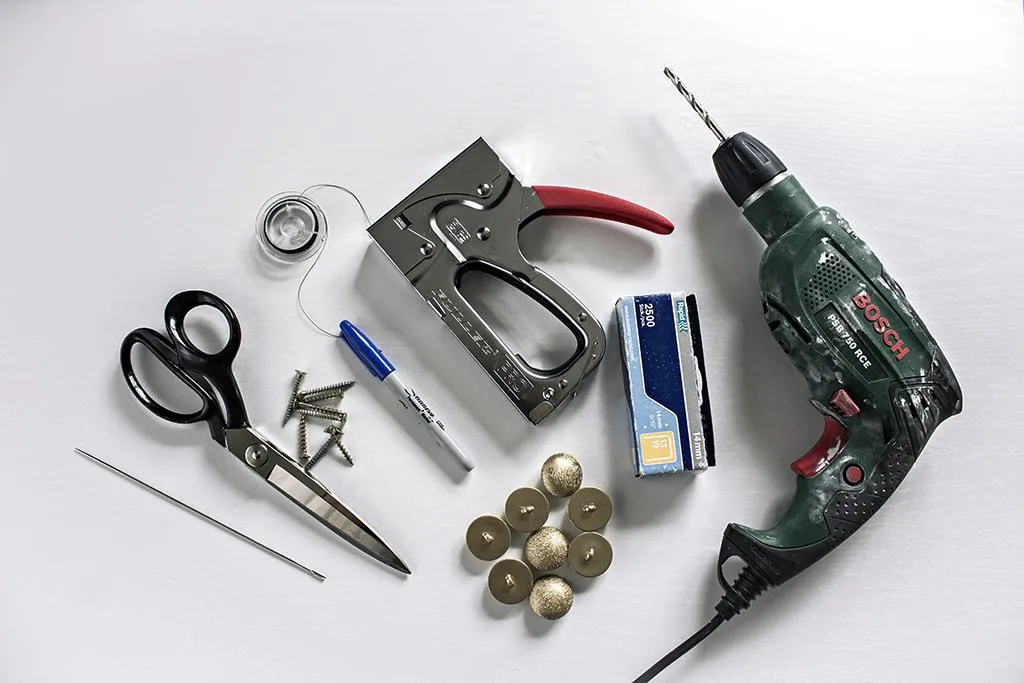
- Staple Gun (Heavy-duty, preferably air-powered)
- Staples (14mm)
- Buttons (Shank buttons, around 35mm wide)
- Upholstery Needle (long and straight)
- Strong Thread
- Small Sewing Needle
- Hand Drill
- Screws (for attaching the legs)
- Sharp Scissors
- Sharpie or Dark Pencil
- Ruler
- Stanley Knife and Cutting Board (for trimming foam)
- Hammer
 This is an image of the supplies used for an upholstered headboard – including the MDF board, legs, fabric, foam wadding, and mattress topper.
Step-by-Step Guide: Crafting Your Masterpiece
Step 1: Mapping Out the Button Placement
We’ll begin by marking the button placements on the MDF board. These buttons will add a touch of classic elegance and create that coveted tufted look.
I opted for two rows of four buttons, positioning them slightly closer to the top for better visibility. Remember to space them evenly for a polished look.
 This is a headboard that's drawn up.
Step 2: Layering and Stapling: The Foundation
Lay down the wadding, followed by the foam, and finally, the MDF board on top. Trim any excess foam to match the board size.
Now, let’s secure the layers. Wrap the wadding around the foam and board, stapling it firmly along the sides. For a smooth, professional finish, pay close attention to the corners. Instead of a single fold, create multiple small folds and staple each one down.
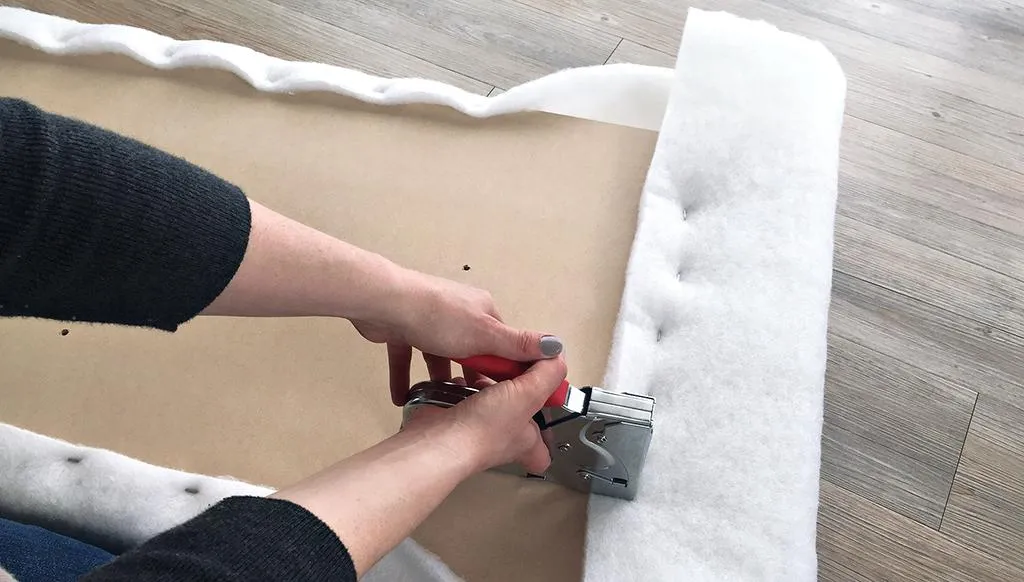 Fabric is laid underneath the foam board.
Step 3: Upholstering with Flair: Fabric Time!
Center the layered headboard on your chosen fabric (right side down). Wrap the fabric tautly around the board, stapling along the sides, leaving the corners for last.
For crisp, clean corners, I recommend the “one visible fold” technique. It might seem tricky at first, but trust me, it’s a game-changer. I’ve found that watching a few video tutorials can work wonders in mastering this technique.
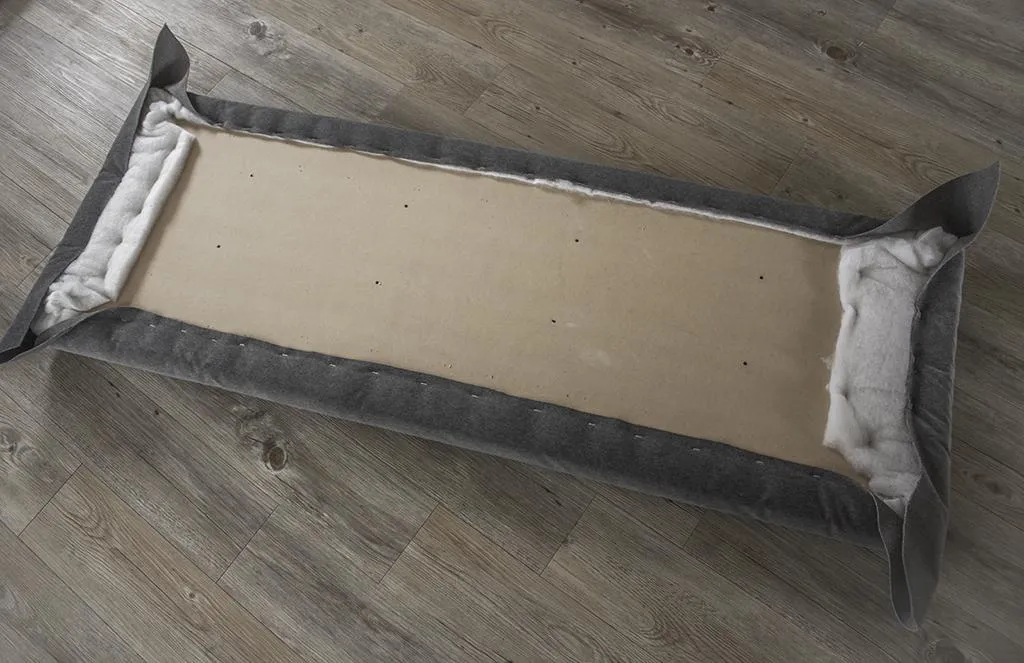 This is a close-up corner of the foam board, showing the fold and stapling of one corner.
Step 4: Button Up!: Adding the Details
To elevate the look of our headboard, we’ll be covering the buttons with the same upholstery fabric.
Cut out generous fabric circles and hand-stitch around the edges. Place the button in the center, pull the fabric taut, and knot securely. Voila! Your custom-covered buttons are ready.
 Fabric is sewn around a button.
Step 5: Creating the Tufted Effect
Now, for the part that brings it all together – attaching the buttons! Prop up the headboard. Thread the upholstery needle with a long piece of thread and push it from the back to the front of a buttonhole.
Thread the button and carefully guide the needle back through the same hole. Tie off the thread securely at the back. Gently pull the button to create the tufted effect and secure it with a staple.
Repeat this process for all your beautiful buttons.
Step 6: Attaching the Legs: The Final Touch
Lay the headboard face down and position the legs. Mark the screw placements and pre-drill pilot holes. Finally, screw the legs in place, and there you have it – your very own upholstered headboard!
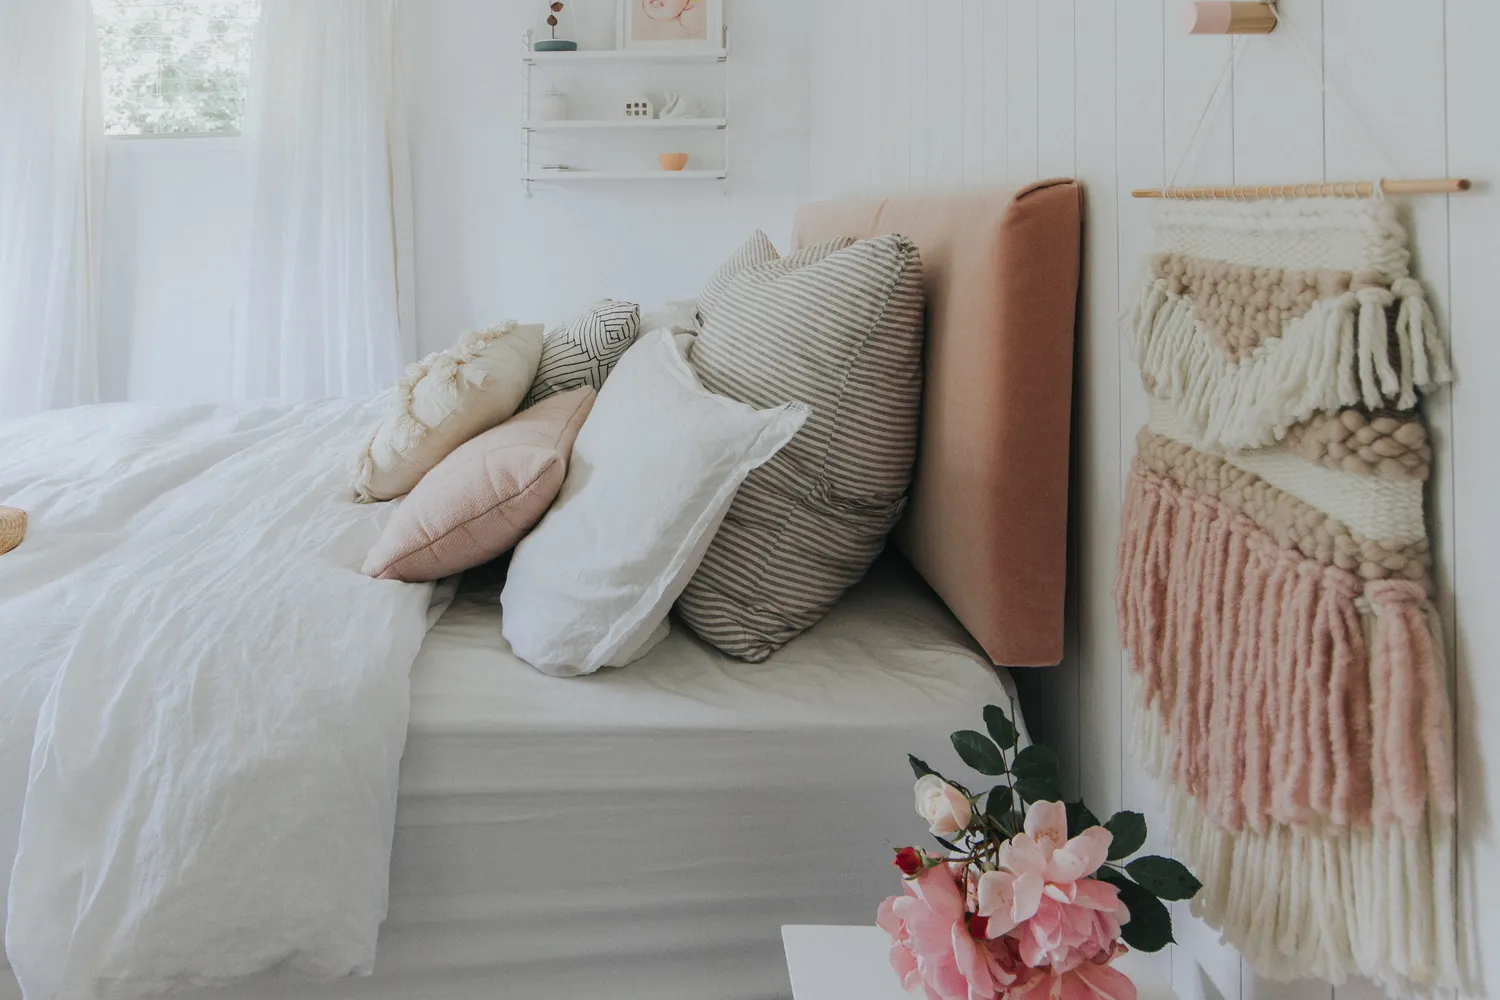 This is an image of a bed with an upholstered headboard with decor around the room.
Conclusion
Congratulations, you’ve done it! You’ve transformed your bedroom with a stunning headboard that’s both stylish and uniquely yours.
I hope this guide has empowered you to embrace the art of DIY and create a piece that brings you joy for years to come. Remember, crafting is a journey, and every project, no matter how big or small, contributes to your creative growth.
Be sure to share your creations and crafting experiences with me. Your journey might just inspire another fellow artist! And for more crafting inspiration, explore the world of handmade treasures on the Robert Kline Art website. Happy crafting!
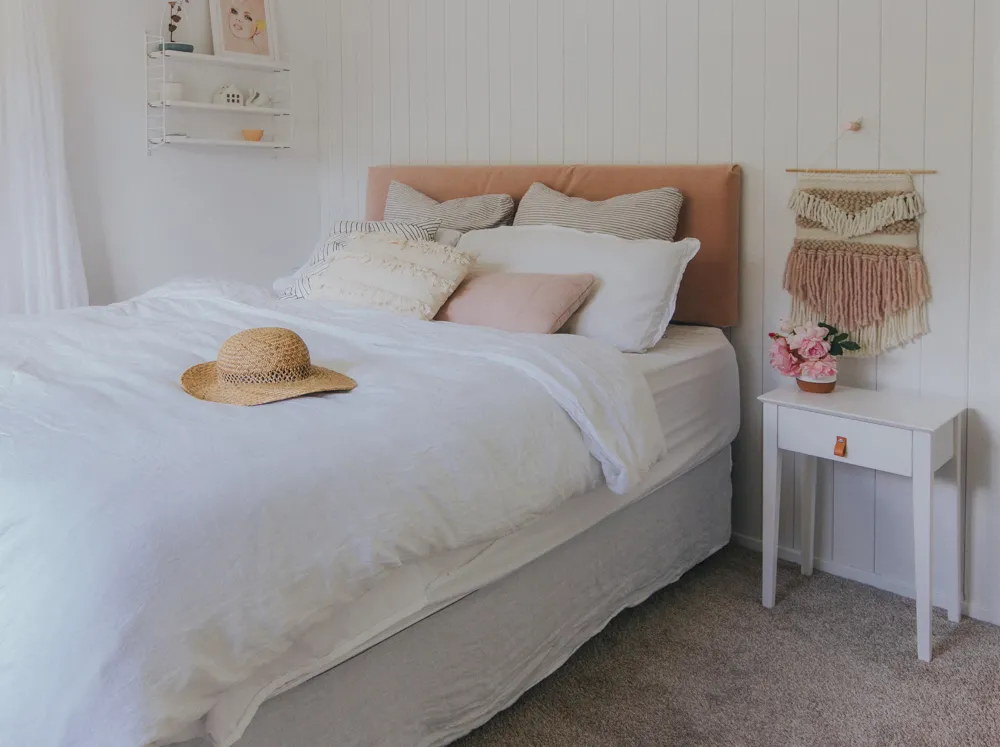 This is an image of a bed with a grey upholstered headboard with beautiful decor around the room.
