Blog
Creating a Charming and Functional DIY Hanging Spice Rack from Mason Jars
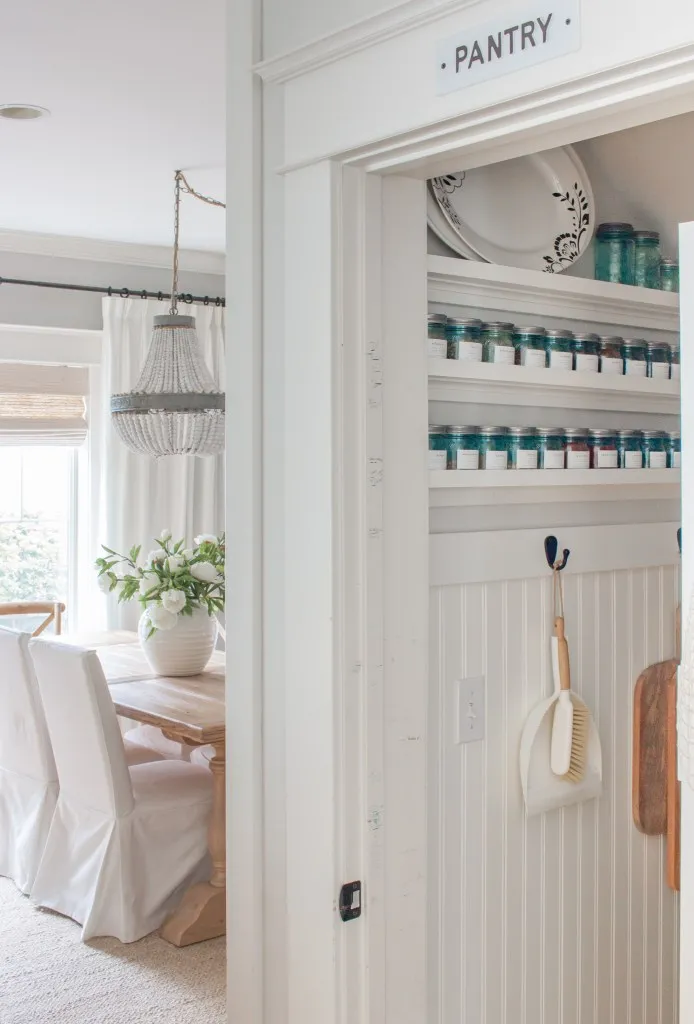
As an artist who finds beauty in the everyday, I’m always drawn to the rustic charm and practical elegance of mason jars. They’re like blank canvases just begging for a creative touch! Today, I’m excited to share a recent project that transformed my cramped pantry into a space-saving haven of organization, all thanks to the humble mason jar.
From Chaos to Farmhouse Chic: The Story of My Pantry Makeover
Let’s be honest, pantries are notorious for becoming black holes of forgotten ingredients and precarious stacks. Mine was no exception! Picture this: a narrow, oddly-shaped space crying out for a makeover. I’m talking mismatched spice jars, limited shelving, and a desperate need for a fresh coat of paint. Sound familiar?
 Pantry before makeover
My pantry before the transformation. It served its purpose, but definitely lacked inspiration!
My journey began with a simple desire to reorganize my herbs and spices. But, as any seasoned DIY enthusiast knows, one thing often leads to another, and before I knew it, I was knee-deep in a full-blown pantry overhaul.
DIY Mason Jar Spice Storage: A Step-by-Step Guide
Here’s how I transformed my cluttered pantry with a touch of DIY magic:
Materials:
- Mason Jars: Opt for wide-mouth jars for easy scooping. I fell in love with these adorable 8-ounce Ball jars!
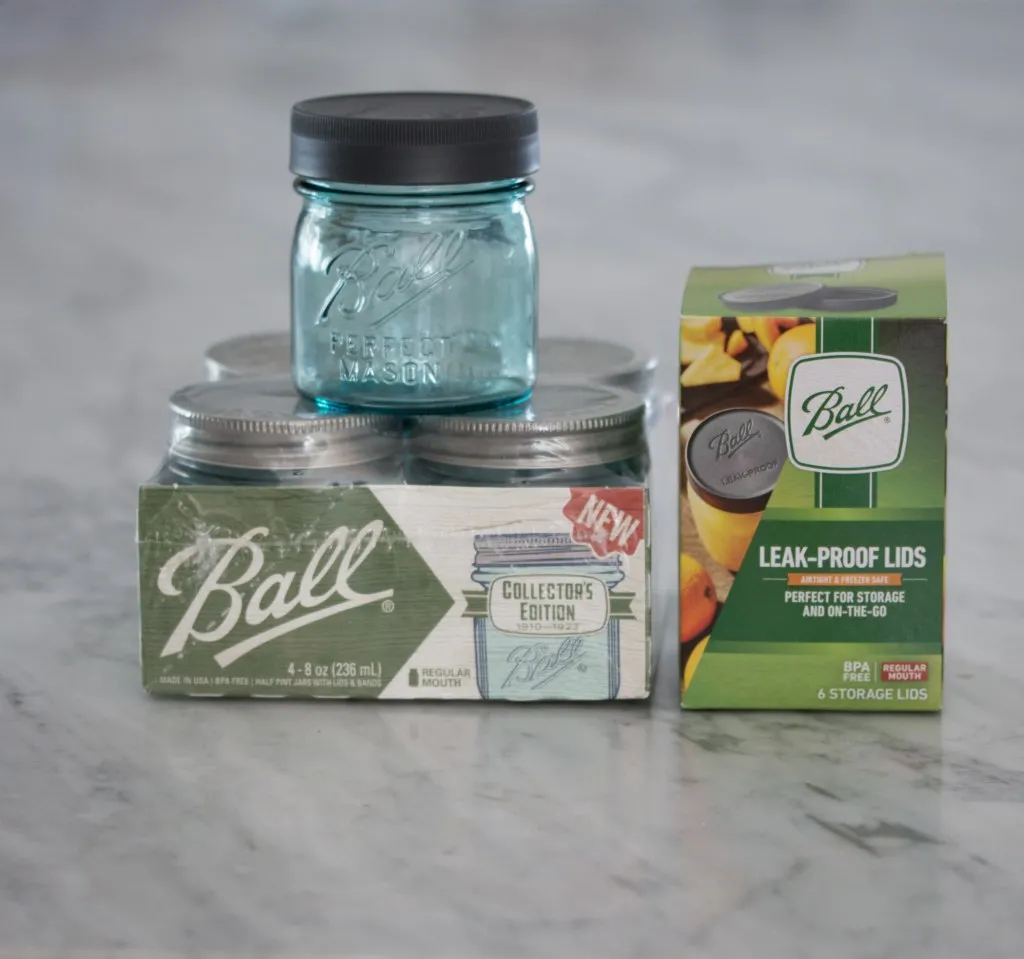 Blue Ball jars for spice storage
 - Labels: Etsy is a treasure trove of beautiful label options. I chose a vintage-inspired design that complements the jars perfectly.
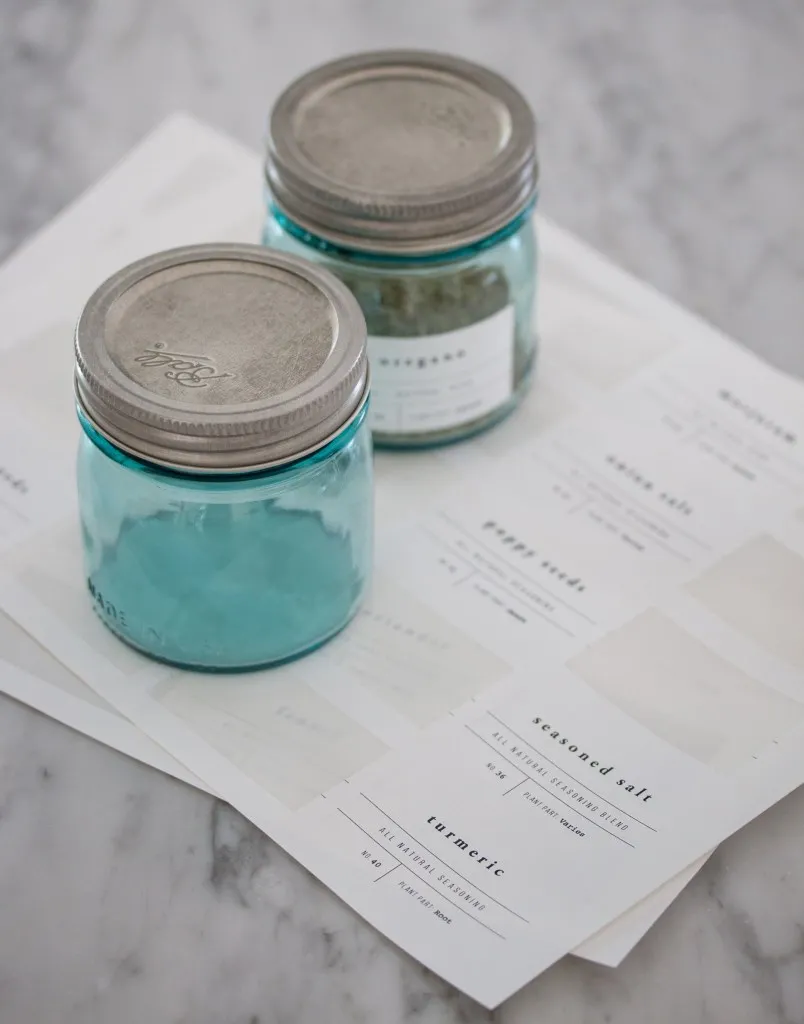 Spice jar labels
 - Floating Shelves: To maximize space, I built custom shelves angled to fit the slope of my pantry ceiling.
- Beadboard: I added beadboard wainscoting for a touch of farmhouse charm and easy cleaning.
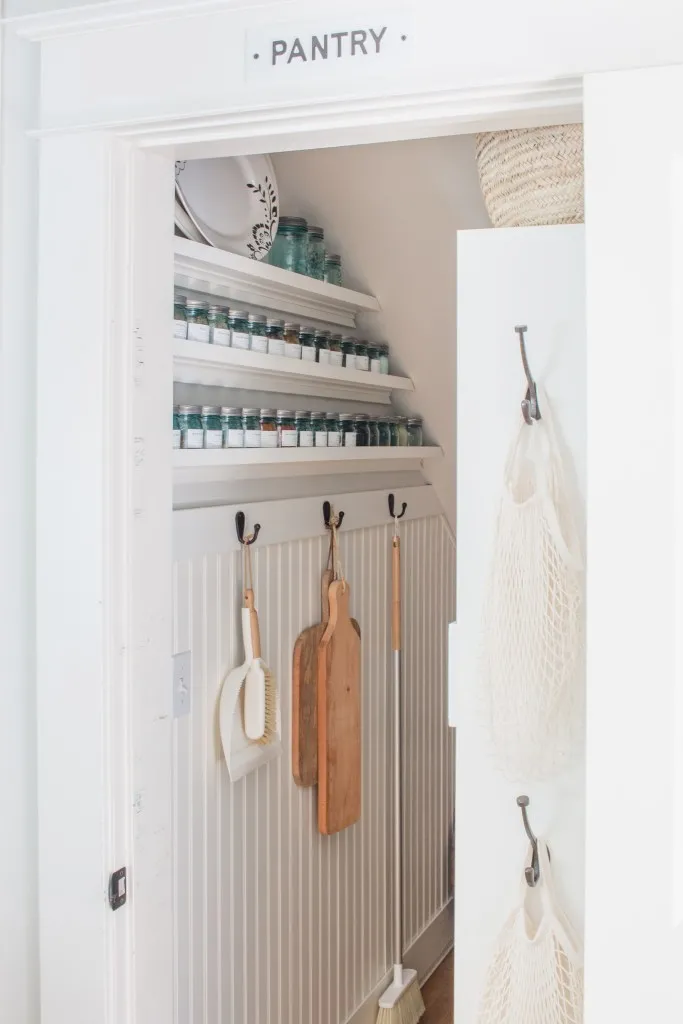 Pantry after makeover with beadboard
 - Paint: A fresh coat of light, bright paint instantly opened up the space.
- Hook Rail: Essential for hanging frequently used tools and keeping them within reach.
Instructions:
- Prep the Space: Empty your pantry, remove any existing shelving, and give the walls a good cleaning.
- Paint and Install Beadboard: Apply a fresh coat of paint to the walls. Then, install the beadboard wainscoting, following the manufacturer’s instructions.
- Build and Install Shelves: Measure and cut your shelves to fit the space, ensuring they are level and securely attached to the wall.
- Organize Your Spices: Decant your spices into the mason jars. I recommend buying spices in bulk to save money and reduce packaging waste.
- Label Your Jars: Carefully apply your chosen labels to the jars. I like to arrange my spices alphabetically for easy access.
- Hang Your Jars: You can either install a magnetic strip under your shelves to hold the jars or simply arrange them on the shelves.
Tips and Tricks from a Seasoned DIYer
- Lighting is Key: Pantries are often dimly lit. Consider adding under-shelf lighting to make finding what you need a breeze.
- Get Creative with Labels: Don’t be afraid to add a personal touch with decorative labels or even a label maker.
- Think Vertical: Utilize wall space to the fullest by incorporating hanging baskets or a pegboard for additional storage.
The Joy of a Well-Organized Pantry
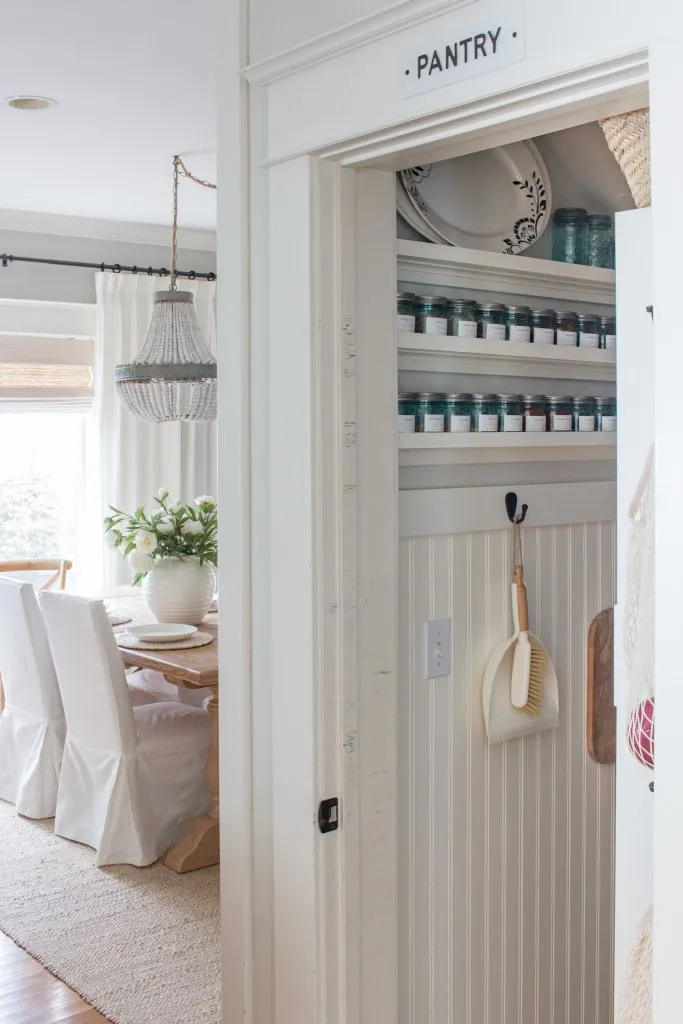 Pantry makeover complete
My completed pantry. A dream come true for any organization lover!
My DIY hanging spice rack is more than just a storage solution—it’s a testament to the transformative power of creativity and a little elbow grease. I’m now greeted with a sense of calm and order every time I open my pantry door.
Remember, the true beauty of DIY lies in the journey. So, embrace the process, personalize it to reflect your unique style, and most importantly, have fun!
Feeling inspired to tackle your own pantry makeover? Share your creations with me! And be sure to explore Robert Kline Art for more handmade inspiration and unique gift ideas.
