Blog
DIY Hanging Shoe Organizer: Taming the Footwear Frenzy
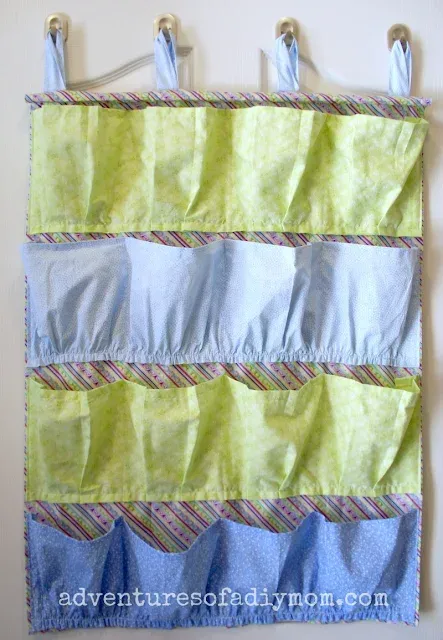
Hey there, fellow craft enthusiasts! Robert Kline here, and if there’s one thing I’ve learned over the years, it’s that a well-organized home is a happy home. And let’s be honest, few things can disrupt the peace like a mountain of shoes! Today, we’re tackling this common household chaos with a fun and functional project: a DIY hanging shoe organizer.
This isn’t just about neatness; it’s about reclaiming your space and adding a touch of handmade charm to your home. Plus, imagine the satisfaction of knowing you crafted it yourself!
Why You Need a DIY Shoe Organizer
Remember that feeling of frantically searching for a matching pair of shoes as you’re rushing out the door? We’ve all been there. A DIY hanging shoe organizer is the solution to your shoe woes. It’s:
- Space-saving: Keeps shoes off the floor and maximizes vertical space, perfect for small closets or entryways.
- Customizable: Tailor the size, fabric, and number of pockets to perfectly fit your needs and style.
- Cost-effective: A budget-friendly alternative to store-bought organizers.
- Fun and rewarding: Creating something with your own two hands is incredibly satisfying!
Gathering Your Supplies
Before we dive in, let’s gather our crafting arsenal. You’ll need:
- Fabric:
- ¾ yard for the back panel
- ¼ yard each for 4 pocket strips
- For a sturdier organizer, opt for canvas or duck cloth, especially if you’re storing heavier shoes.
- Adhesive-backed hooks (or sturdy over-the-door hooks)
- Dowel: I recommend a 7/16″ diameter, but any size that fits comfortably in the fabric tube you’ll create will work.
- Sewing machine and basic sewing supplies (thread, scissors, pins, measuring tape, iron)
Pro Tip: Don’t be afraid to get creative with your fabric choices! Choose patterns and colors that complement your decor for a personalized touch.
 basket full of shoes
Step-by-Step Guide: Let’s Get Crafting!
Ready to banish shoe clutter for good? Let’s break down the process into manageable steps:
Step 1: Cut and Prep the Back Panel
- Cut your back panel fabric to 27″ x 36″.
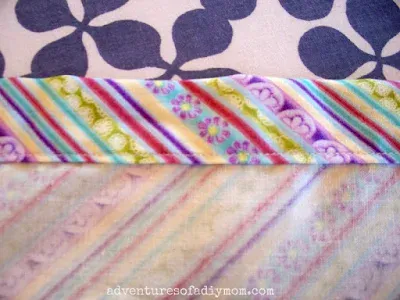
- On three sides (both 36″ sides and one 27″ side), fold the fabric edge over ¼ inch, press with an iron, fold over another ¼ inch, and press again. Stitch the hems in place.
- For the remaining 27″ side (the top edge), fold and press ¼ inch, then fold and press at least 1 inch to create a pocket for the dowel. Stitch along the fold, leaving the ends open for the dowel.
Step 2: Create the Hook Straps (Optional)
- If you’re using adhesive-backed hooks, you’ll need hook straps. Cut four fabric strips measuring 3″ x 9″.
- For each strap, fold in half lengthwise (right sides together) and stitch along the long edge.
- Turn right side out, press flat, and topstitch close to the edges for a polished look.
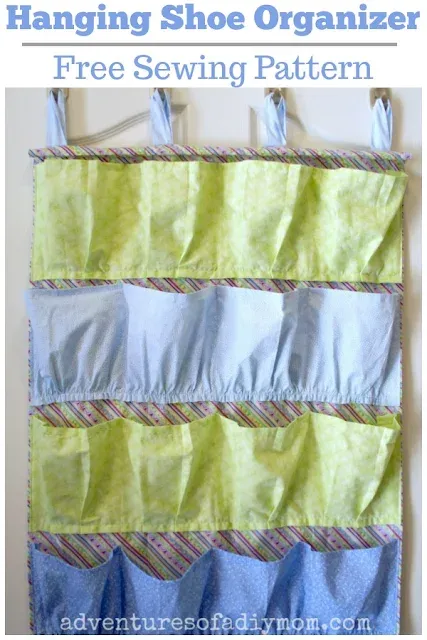 DIY Hanging Shoe Organizer
Step 3: Sew the Pockets
- Cut four fabric strips measuring 9″ x 36″ for the pockets.
- Hem the long sides of each pocket strip by folding and pressing ¼ inch twice and stitching in place.
- Fold and press ¼ inch on each short end of the pocket strips.
- To create the gathered pocket effect, use the longest stitch on your sewing machine and sew along the bottom hemline of a pocket strip. Sew again 1/8 inch from the first stitches.
- Gently pull on one of the threads to gather the fabric evenly.
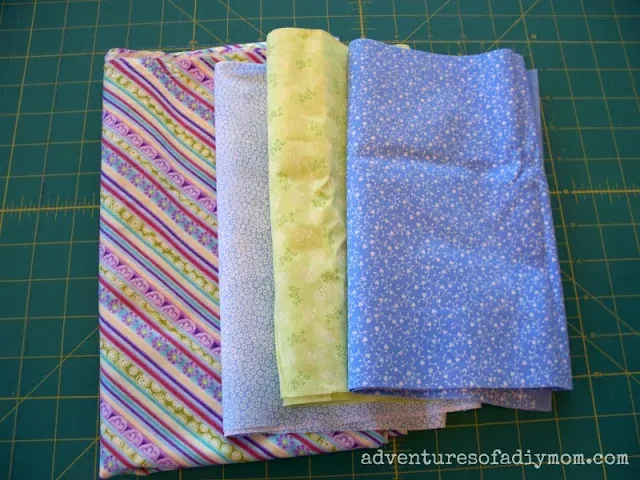 hemming edges – fold and press at 1/4 inch
Step 4: Attach the Pockets to the Back Panel
- Pin the gathered edge of the first pocket strip to the back panel, starting about 2 inches from the top edge. Adjust the gathers for even distribution.
- Stitch along both sides and the bottom of the pocket strip to secure it to the back panel.
- Measure every 6 inches along the top and bottom of the pocket strip and mark with pins. Stitch along these lines to create the individual shoe pockets.
- Repeat for the remaining pocket strips, adjusting the spacing as desired.
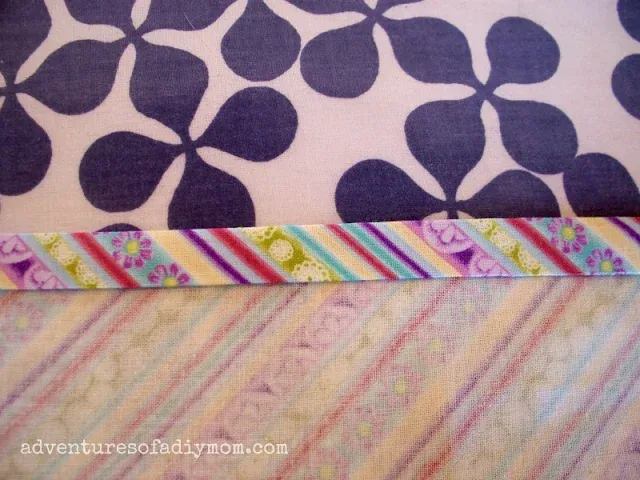 stitching hems
Step 5: Insert the Dowel and Hang Your Organizer
- Insert the dowel into the pocket at the top of the organizer.
- Mark the dowel on each side to determine the desired length, and cut it to size.
- If using adhesive hooks, attach them to the inside of the door, using the organizer as a guide for spacing. For over-the-door hooks, simply hang the organizer on the hooks.
- Fill those pockets with shoes, and admire your handiwork!
 straps for hooks
Robert Kline Art: Your Partner in Crafting Creativity
I hope this tutorial empowers you to conquer shoe clutter with your very own DIY hanging shoe organizer. Remember, the beauty of handmade lies in the personalization. Make it your own by experimenting with different fabrics, adding decorative embellishments, or adjusting the size to fit your unique needs.
For more inspiring craft projects and DIY ideas, explore the treasure trove of creativity at Robert Kline Art! Happy crafting!
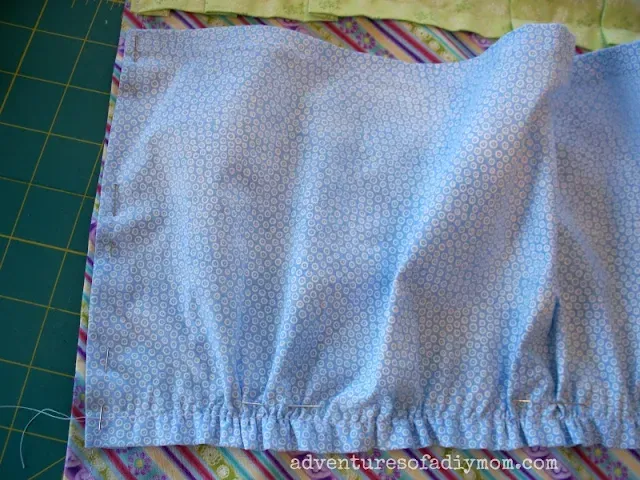 sew a vertical seam to create a pocket for the shoe organizer
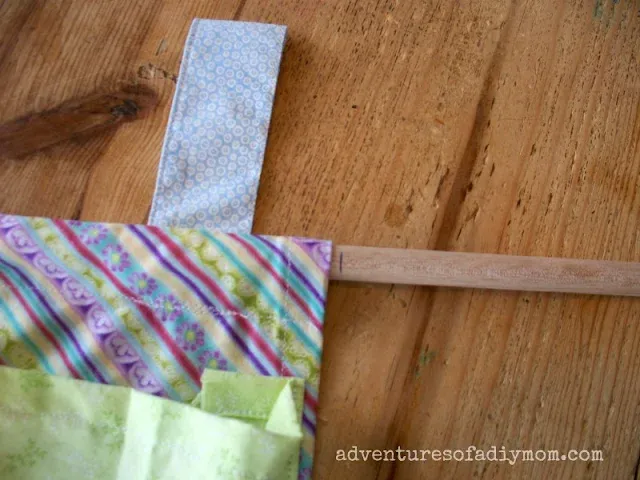 how to make a shoe rack out of cloth
