Blog
DIY Hanging Shoe Organizer: Taming the Footwear Chaos with a Personal Touch

Hey everyone, Robert Kline here! Does the mere mention of “shoe organization” send shivers down your spine? We’ve all been there, staring at a mountain of footwear threatening to take over our closets. But fear not, my friends, because today, we’re crafting our way to a more organized life with a DIY hanging shoe organizer! This project is perfect for adding a handmade touch to your home while banishing shoe clutter for good.
Why You’ll Love This Project
This isn’t just about neatness, though that’s a definite bonus. It’s about:
- Conquering clutter with creativity: We’re talking personalized storage solutions, bursting with character.
- Cost-effectiveness: This project lets you upcycle fabric scraps, making it budget-friendly and eco-conscious.
- Customization: Tailor the size, fabric, and even the number of pockets to fit your needs perfectly.
Ready to get started? Let’s gather our materials!
What You’ll Need
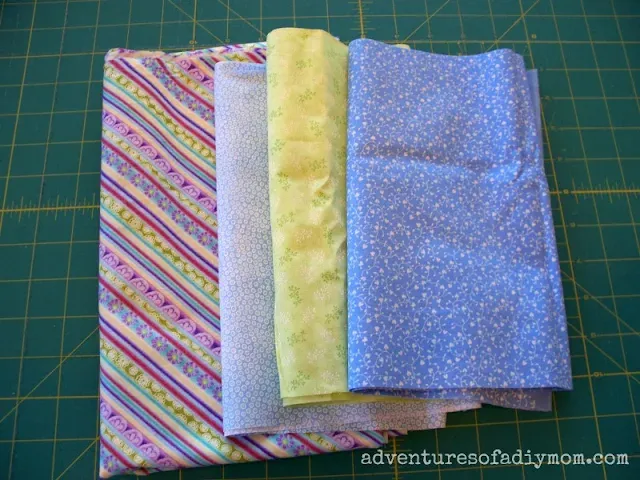
- Fabric:
- 3/4 yard for the back panel
- 1/4 yard each for 4 pocket strips
- Sturdy Door Hooks: These will be our anchor, so choose wisely!
- Dowel Rod: I used a 7/16″ diameter, but adjust based on your preference.
- Sewing Machine and Basic Supplies (thread, scissors, pins, etc.)
- Iron and Ironing Board
 basket full of shoes
Image: The “before” picture – a chaotic shoe basket. We’ve all been there!
Let’s Get Crafting!
Step 1: Prep Your Pieces
- Cutting:
- Back Panel: 27″ x 36″
- Pocket Strips: 9″ x 36″ (x4)
- Hook Straps: 3″ x 9″ (x2 – if using over-the-door hooks)
- Hemming:
- Back Panel: Hem three sides (two shorter sides and one longer side) using a double-fold hem (1/4″ folds pressed flat).
- Top Hem: On the remaining long side, create a wider hem (at least 1″ double fold) to accommodate the dowel rod. Leave the ends open for insertion.
- Pocket Strips: Hem the long sides of each strip using a double-fold hem (1/4″ folds).
Step 2: Creating the Hook Straps
- Fold and Stitch: Fold each hook strip in half lengthwise, right sides together. Stitch along the long edge, then turn right side out and press flat.
- Topstitch: Add a line of topstitching close to the edges of each strap for a polished look.
- Attach to Back Panel: Sew the hook straps to the top hem of the back panel, along the existing stitching line. Evenly space them, ensuring the straps align with your chosen door hooks.
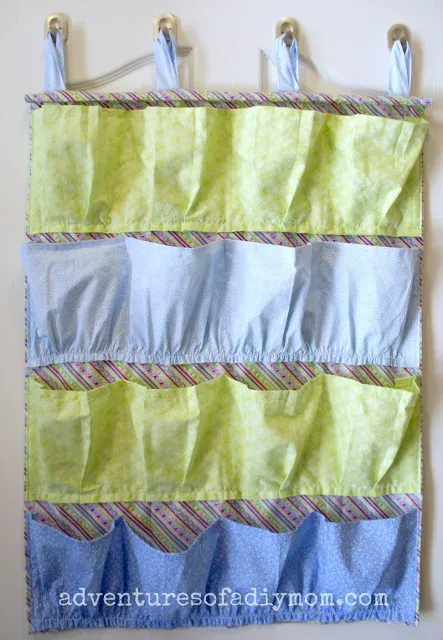
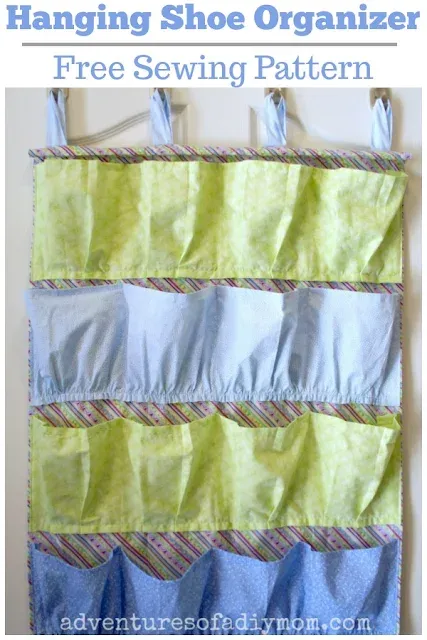
 DIY Hanging Shoe Organizer
Image: The finished hanging shoe organizer, ready to wrangle footwear!
Step 3: Pocket Power!
- Prepare the Pockets: Fold and press a 1/4″ hem on each short end of the pocket strips.
- Gathering: Use your sewing machine’s longest stitch length to sew two rows of basting stitches along the bottom raw edge of each pocket strip. Gently pull the bobbin threads to gather the fabric.
- Attach to Back Panel: Pin the gathered edge of each pocket strip to the back panel, adjusting the gathers for even distribution. Stitch in place along both sides and the bottom of each pocket.
Step 4: Divide and Conquer
- Mark and Stitch: Measure and mark vertical lines every 6 inches along the top and bottom of each pocket strip. Stitch along these lines to create individual shoe compartments.
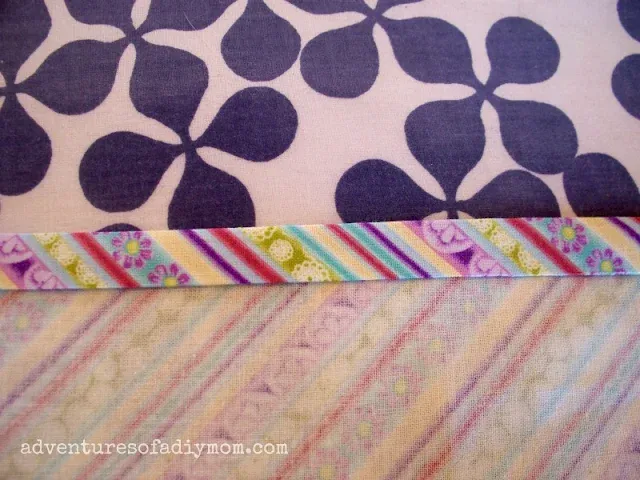
 hemming edges – fold and press at 1/4 inch
Image: Hemming the fabric edges – precision is key!
Step 5: Final Touches
- Insert Dowel Rod: Slide the dowel rod through the top hem of the organizer. Trim it to your desired length.
- Hang it Up: Using your sturdy door hooks, hang your masterpiece!
Tips and Tricks
- Fabric Choice: A sturdy fabric like canvas or duck cloth will hold up best, especially for heavier shoes.
- Pocket Placement: Experiment with different pocket heights to accommodate various shoe types.
- Embellishments: Get creative! Add decorative stitching, fabric paint, or even iron-on patches for a personalized touch.
 stitching hems
Image: Securing those hems with sturdy stitching.
Conclusion: A Place for Every Sole
Congratulations! You’ve not only created a practical storage solution but also a unique expression of your creativity. This DIY hanging shoe organizer is a testament to the power of handmade, proving that even the most mundane tasks can be transformed into opportunities for artful organization.
Now, I’d love to hear from you! What are your go-to tips for taming shoe clutter? Share your thoughts and experiences in the comments below. And be sure to explore Robert Kline Art for more inspiring DIY projects, craft ideas, and unique handmade gifts. Let’s keep those creative sparks flying!
