Blog
DIY Rope and Wood Hanging Shoe Organizer: A Step-by-Step Guide
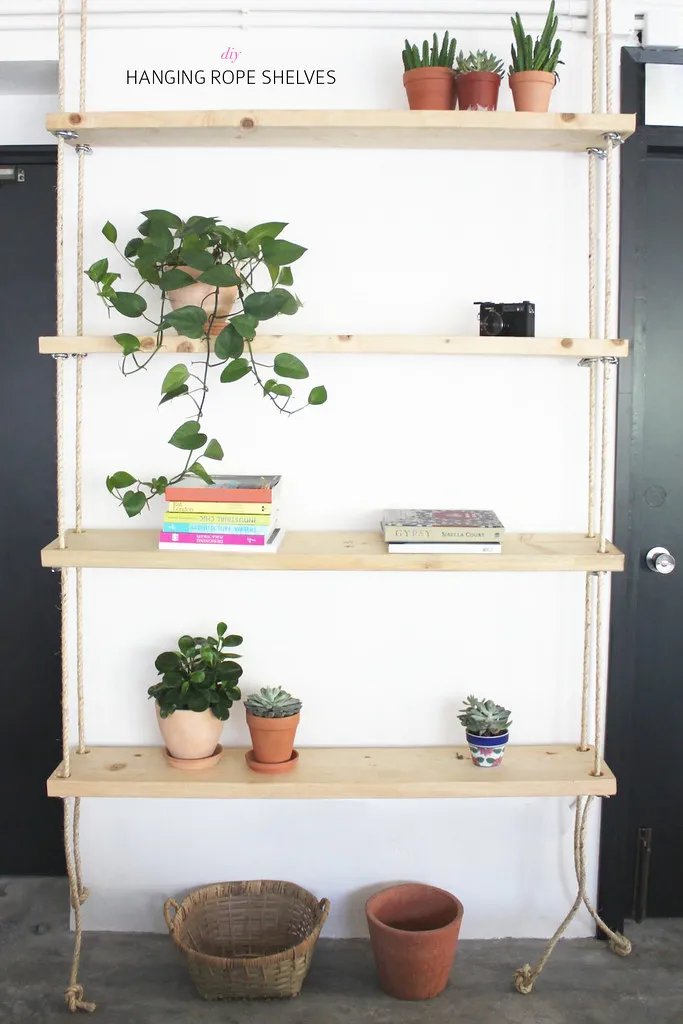
As an artist, I’m always looking for ways to organize my studio and maximize space. Recently, I discovered the magic of DIY projects, and let me tell you, there’s nothing more satisfying than seeing your own creation come to life! This hanging shoe organizer made from rope and wood is not only functional but also adds a touch of rustic charm to any room. It’s surprisingly easy to make and, best of all, incredibly budget-friendly. So, grab your tools, and let’s get crafting!
Gathering Your Materials
Before we dive into the construction process, let’s gather all the necessary materials. Here’s what you’ll need:
- Four pieces of plank (approximately 5cm thick and 1.5m long) – You can adjust the size based on your storage needs.
- Measuring tape – Accuracy is key in this project!
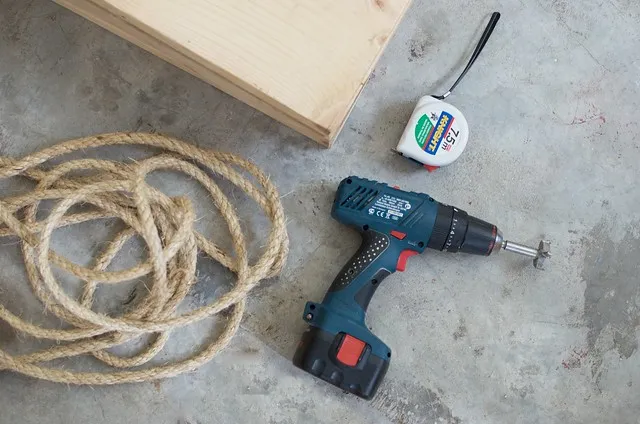
- 20m of thick raffia rope – Choose a sturdy rope that can withstand the weight of your shoes.
- 10 cable locks – These will keep your shelves securely in place.
- Drill with a wood boring drill bit – A power drill will make this project a breeze.
- Scissors – For cutting the rope.
- Hooks from the ceiling – Make sure these are securely installed.
- Wrench – To tighten the cable locks.
Building Your Hanging Shoe Organizer
Now, let’s get down to business! Follow these simple steps to create your very own hanging shoe organizer:
Step 1: Measure and Drill
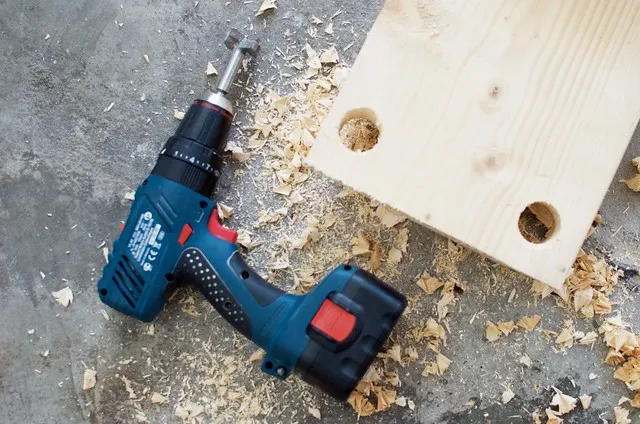
Using your measuring tape, mark the location of the holes on each plank. Ensure that the markings are aligned so that the shelves will hang straight. Once you’ve marked the spots, drill holes through the planks using your drill.
 Drilling holes in wooden planks
Step 2: Prepare the Rope
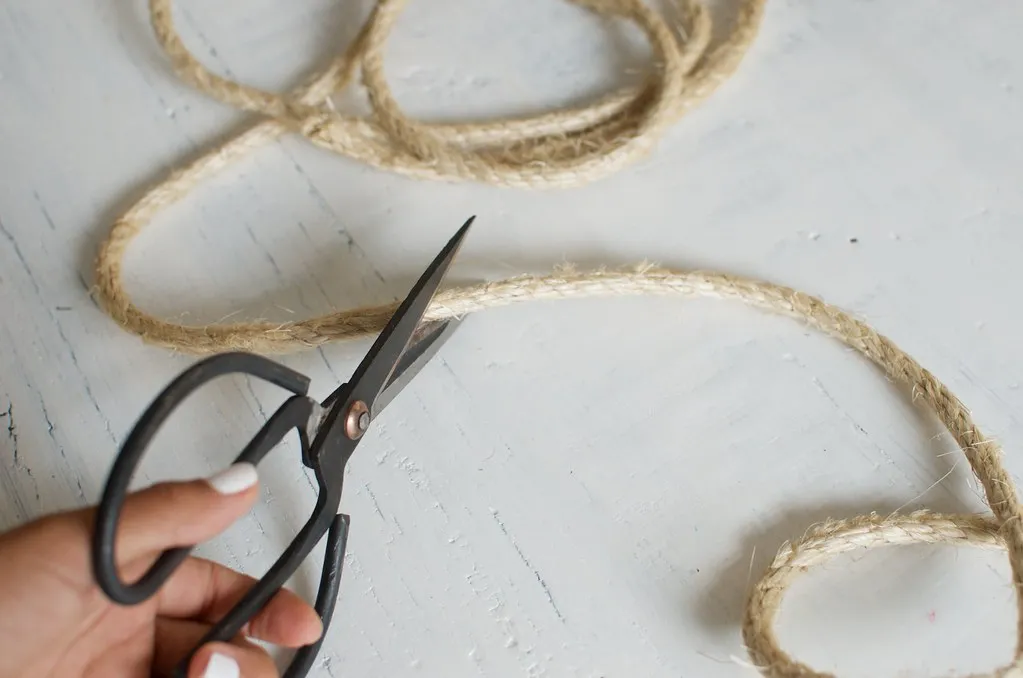
Cut four pieces of rope to the desired length, ensuring they are long enough to reach from the ceiling hooks to the desired height of your bottom shelf. Securely tie each rope onto the ceiling hooks.
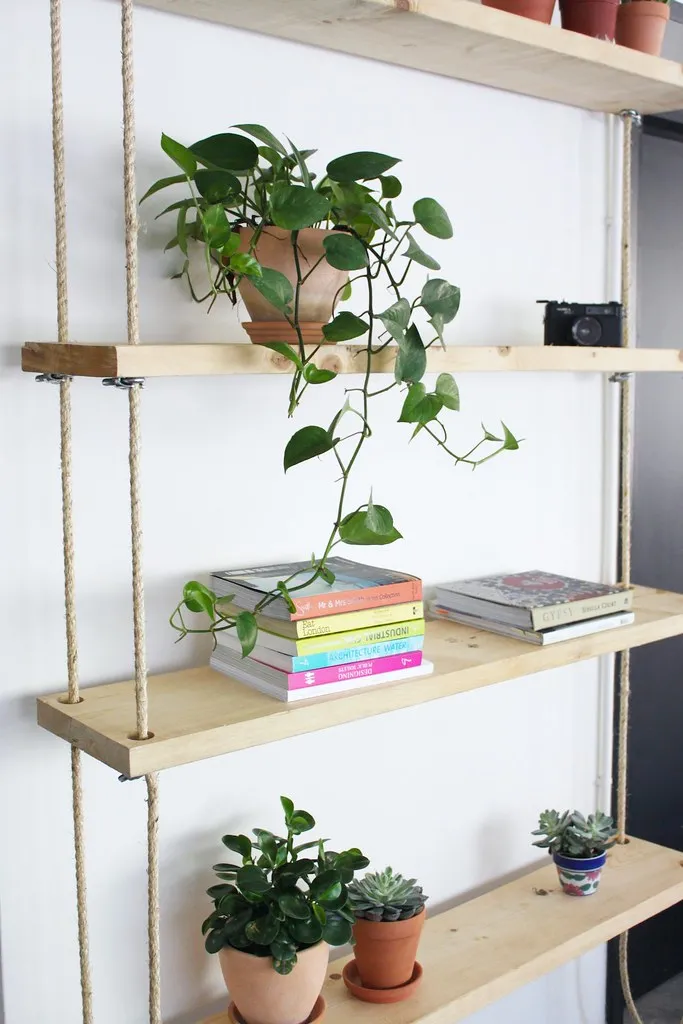 Rope hanging from ceiling hooks
Step 3: Threading the Planks
This step is easier with a helping hand. Starting with the top shelf, thread the planks through the ropes. Use a ladder or have a friend hold the planks in place while you secure them. Remember to measure the distance between each plank to ensure evenly spaced shelves.
 Threading wooden planks onto ropes
Step 4: Securing the Shelves
Once you’ve added a plank and ensured it’s level, attach a cable lock to each rope, just below the plank. This will prevent the shelves from sliding down. Repeat this process for each shelf, using a table or stool to support the bottom shelf while you secure it.
 Securing shelves with cable locks
Step 5: Tighten and Enjoy
After all shelves are in place and you’re satisfied with their alignment, use a wrench to tighten the cable locks. This will ensure the shelves are secure and can hold your shoes and other items.
 Tightening cable locks with a wrench
Conclusion
Congratulations! You’ve successfully created a stylish and functional hanging shoe organizer that will transform your space. Not only have you gained valuable DIY skills, but you’ve also crafted a unique piece for your home. Now, step back and admire your handiwork – you’ve earned it!
Ready to tackle more DIY projects? Share your creations and explore more unique, handcrafted gift ideas on Robert Kline Art!
